
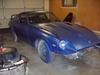
My 1982 280ZXT!!


Mr Z++ Wiki
Joined: Sep 2009
Posts: 2,195
From: Victoria, BC
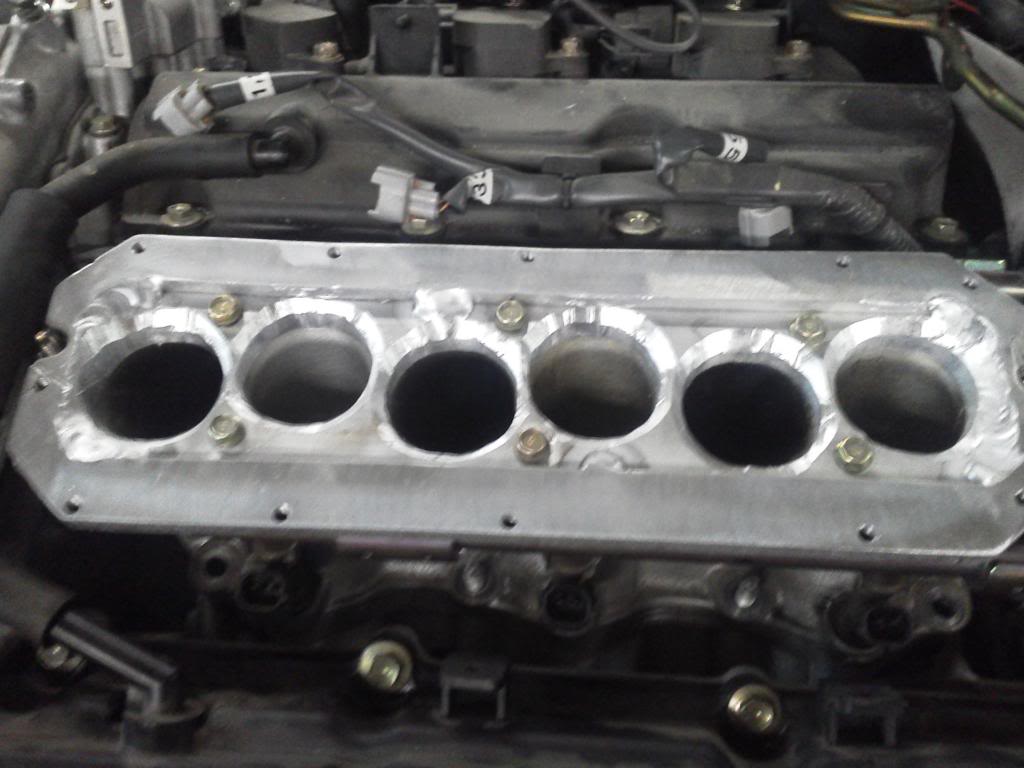
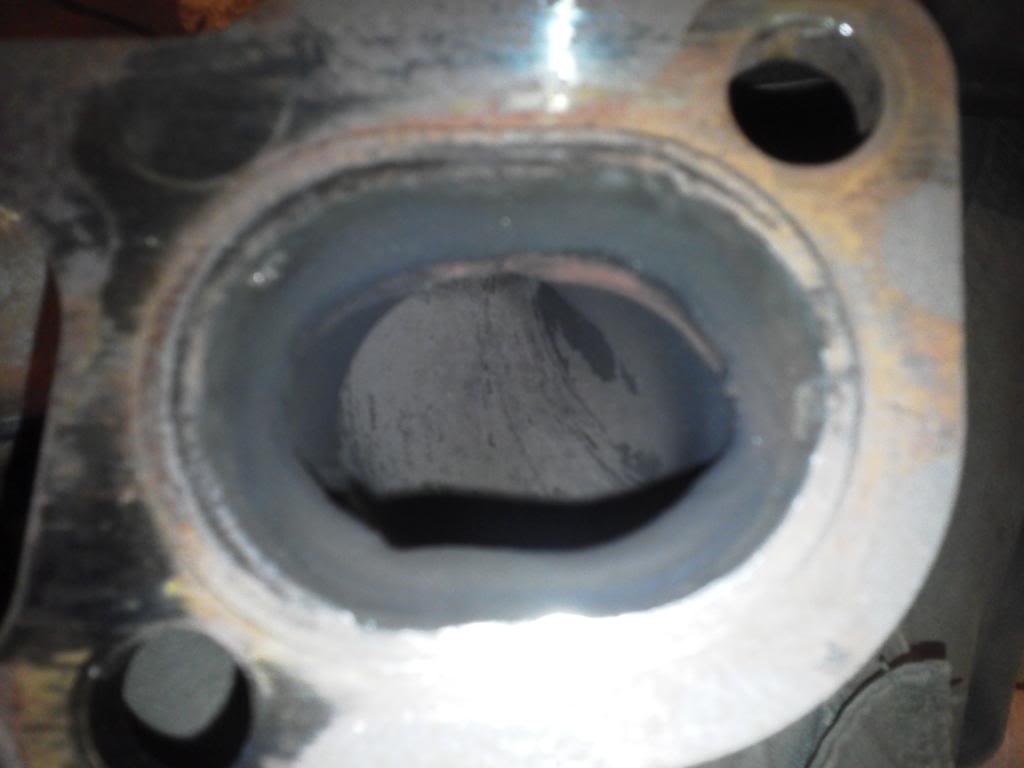
Nice work but a plenum isn't just a hunk of tubing esp on a N/A car. You've got a big flat spot that the air is going to hit at the end of the plenum and create all sorts of turbulence. It's the runners on the car that are the biggest restriction - making a bigger plenum isn't going to do anything. At least curve the end of the plenum to reduce the turbulence. Your intake runners are 53% the diameter of your intake valves - that's the part you need to deal with. I see you replaced the runners so that's a great step in the right direction. Remember the stock intake valves are 44mm so that's what you should be shooting for with your intake runners and outlet....

Last edited by FricFrac; Apr 9, 2012 at 02:27 PM.
Thread Starter
Primer Grey FTW!
Joined: Jul 2010
Posts: 587
From: hawthorne, nv
Like thus??
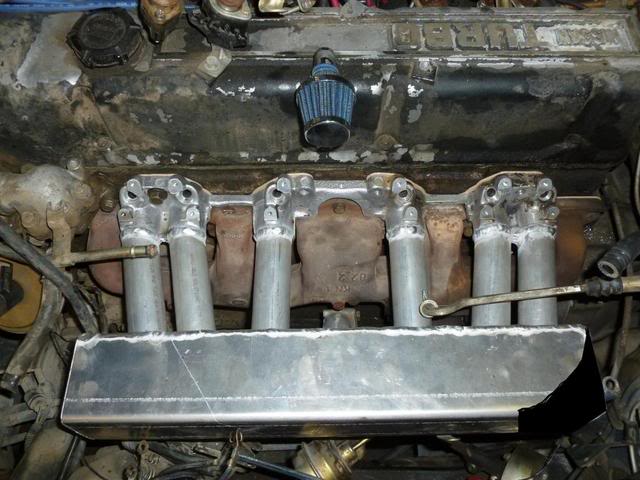
My runners are 1.25" which is 32mm, the reason I did that size is because that's what the intake is. The head is 1-3/8", 44mm is 1.73". So when they port the head do they actually take it out to 44mm? Has what I've done with the manifold helped anything other than heat soak and aesthetics?
What you are saying makes sense, valves are 44m so everything to that point needs to be 44 mm ( ports in head and runners in plenum ) for maximum potential, correct?
I've learned so much in such a short amount of time!!!! (I think)
My runners are 1.25" which is 32mm, the reason I did that size is because that's what the intake is. The head is 1-3/8", 44mm is 1.73". So when they port the head do they actually take it out to 44mm? Has what I've done with the manifold helped anything other than heat soak and aesthetics?
What you are saying makes sense, valves are 44m so everything to that point needs to be 44 mm ( ports in head and runners in plenum ) for maximum potential, correct?
I've learned so much in such a short amount of time!!!!
(I think)
Last edited by evandubya; Apr 9, 2012 at 07:10 PM. Reason: typo

Mr Z++ Wiki
Joined: Sep 2009
Posts: 2,195
From: Victoria, BC
2.5% decrease in diameter is "optimal" for increasing the velocity as the air moves through the pipe so you would want 38mm to be the minimal "exit" diameter and if you can taper backwards increasing by 2.5% would theoretically give you optimal flow and velocity. Running a bell mouth at the entry to the runners makes a significant difference in turbulence in the runners as well.
Check out some of the 7MGTE, 1JZ, 2JZ, RB25, RB26 after market plenums and notice the shape of the plenum for the straight six. You'll notice alot of them are radiused at the neck and the end of the plenum to keep the air flow smooth. At least rounding yours off as you have show will make a significant difference compared to the flat dead end you've got right now.
For heat soak well you'll get arguments either way but what I would recomend is a piece of heat shielding under the plenum and runner with a heat barrier like the DEI Heat Screen underneath it to provide a barrier. Wrap the manifold and inducer side of the turbo as well as the downpipe will also significantly reduce temps and increase spool time.

The Good Twin
Joined: Aug 2005
Posts: 20,639
From: Wild Wild West, UTAH!
^^^ There used to be (several years ago?) a thread on HBZ on building custom intakes for the L28. There were many Cad design and flow illustrations that would be very useful to build an efficient intake.

Big Poppa
Joined: Jan 2005
Posts: 4,499
From: Mission, British Columbia
the father in law bought me a miller tig unit. its small but its still a really nice tig. there are a few great manifold designs at hybridz, youll have to search thru all the usless jargon to actually get the info. most of the discussion is arguing with peple flowing it on the computer and saying it sucks. what i was gonna do for injector mounting it cut just the top half of the manifold off where the injector mounts and weld it to the size of tube i need. that way the diameter is correct.
Thread Starter
Primer Grey FTW!
Joined: Jul 2010
Posts: 587
From: hawthorne, nv
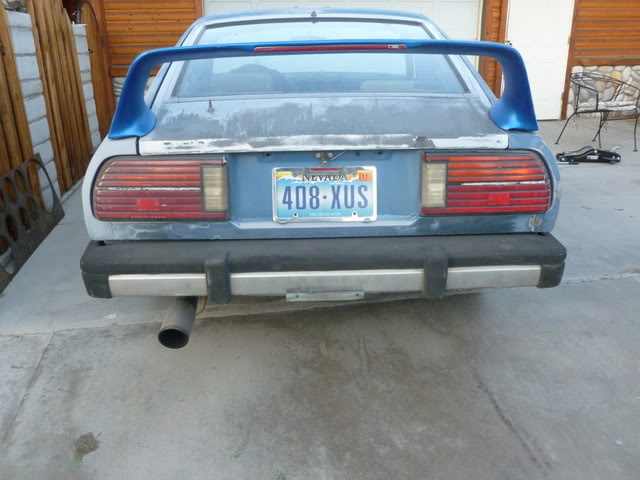
I grenaded the front diff in my truck, so I had to bring my z home so I can drive it back and forth to work. Still not painted yet. The different colors of blue, bondo, greys and black, make it a nice looking urban camo!!!!
Thread Starter
Primer Grey FTW!
Joined: Jul 2010
Posts: 587
From: hawthorne, nv
Update
I have the whole week off! In my possession I have: Electric fan with adjustable thermostat, urethane bushings, shocks, a/c conversion fittings, and o-rings for r134-a. Lots to do!!! 
I have the whole week off!
In my possession I have: Electric fan with adjustable thermostat, urethane bushings, shocks, a/c conversion fittings, and o-rings for r134-a. Lots to do!!!
Mr Z++ Wiki
Joined: Sep 2009
Posts: 2,195
From: Victoria, BC
Tell us more about the A/C bits..
Oh and speaking of A/C someone on one of the forums mentioned that switching from R-12 to R-134a because of the higher preasure caused (maybe) his system to fail. I talked to an A/C guy and he said the pressure difference a 100F was only 8 psi so it's unlikely what caused the failure. Oil compatibility is th e big issue with R-12 to R-135a and flushing the system is very important
Oh and speaking of A/C someone on one of the forums mentioned that switching from R-12 to R-134a because of the higher preasure caused (maybe) his system to fail. I talked to an A/C guy and he said the pressure difference a 100F was only 8 psi so it's unlikely what caused the failure. Oil compatibility is th e big issue with R-12 to R-135a and flushing the system is very important
Thread Starter
Primer Grey FTW!
Joined: Jul 2010
Posts: 587
From: hawthorne, nv
It's bone dry, so I don't have to worry about r-12 in the system. I bought an o-ring kit with the adapters and big can of r-134a with the pressure gauge and hose. I opened the system when I got the car so I could clean the 20 lbs. of dog food that the mice put in every spot the could find. So in theory: I jump the clutch on the compressor, to make sure its good, change my o-rings, charge it and go. 
Thread Starter
Primer Grey FTW!
Joined: Jul 2010
Posts: 587
From: hawthorne, nv
Put belt on compressor, jumped the clutch on the compressor to make sure it worked. Replaced o-rings, had to run tubing to the vacuum tank, put the r-134a adapter on the low side of the compressor. Stuck my big can of R-134a on it, Turned on the car, turned to A/C max and blower to the max. Pushed the button on the can then the compressor engaged by itself, continued pressing until it hit 45 psi. And I had cold air!!!!!
Belt $14
O-rings and adapter $30
Big can-O-R134a $40

 Opens calculator
$84
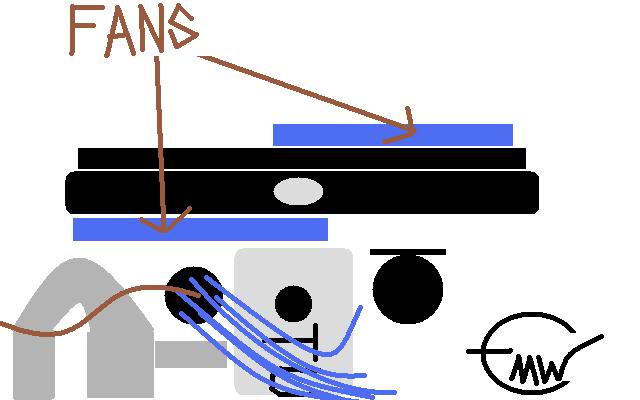
I guess I don't trust the Electric radiator fan I got from Black Dragon it works but I'm getting another one, so one will push on one side of the radiator and one will pull one the other.
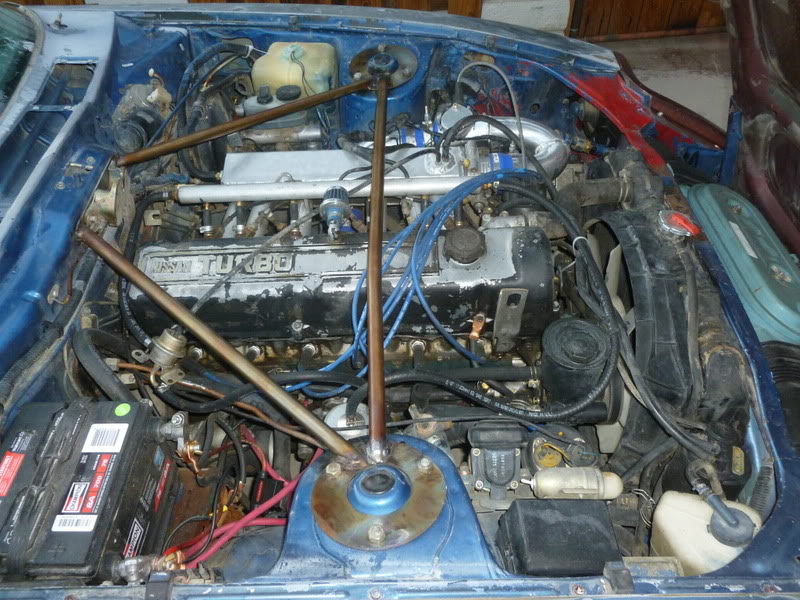
Like this
Belt $14
O-rings and adapter $30
Big can-O-R134a $40
Opens calculator $84
I guess I don't trust the Electric radiator fan I got from Black Dragon it works but I'm getting another one, so one will push on one side of the radiator and one will pull one the other.
Like this
Thread Starter
Primer Grey FTW!
Joined: Jul 2010
Posts: 587
From: hawthorne, nv
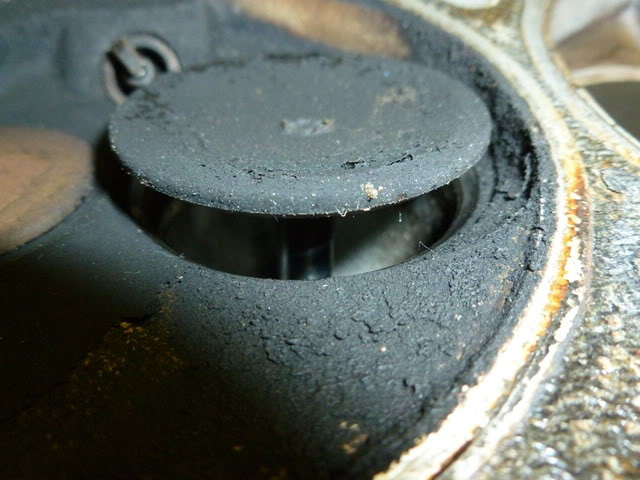
Haven't posted anything for a while so here is an update! I installed a heater control valve so the heater works again. It started to run crappy, and missing on no. six, so I pulled the spark plug. It was black, oily, and fouled out, so I pulled the rest and they were about the same. Did a compression check, they were anywhere from 120 to 135, not awesome but okay. I burn about 1 quart between oil changes, the pcv valve isn't stuck and the breather on the valve cover isn't plugged. So I think the valve guide seals leak. I changed the plugs adjusted the timing and it runs awesome again. Any suggestions, Should I put in some 10w40? I do put in the Lucas oil stabilizer. I'm not too concerned about the engine I'll rebuild in the spring, I just want it to make it through the winter. I have the body work on the hood and the right fender done, my electric fan conversion also works very well.
Mr Z++ Wiki
Joined: Sep 2009
Posts: 2,195
From: Victoria, BC
I use it in all my manuals as well. The only exception is the 370Z where they recomend using the MT-85. Haven't gotten to the change for the 370Z yet but it will get the Redline. Motor oil isn't as big of a deal to a degree as long as you are using a synthetic and frequent changes with the oil filter. The oil in the diff and tranny, however, stay in for a LONG time and are not filtered.
Mr Z++ Wiki
Joined: Sep 2009
Posts: 2,195
From: Victoria, BC
Haven't posted anything for a while so here is an update! I installed a heater control valve so the heater works again. It started to run crappy, and missing on no. six, so I pulled the spark plug. It was black, oily, and fouled out, so I pulled the rest and they were about the same. Did a compression check, they were anywhere from 120 to 135, not awesome but okay. I burn about 1 quart between oil changes, the pcv valve isn't stuck and the breather on the valve cover isn't plugged. So I think the valve guide seals leak. I changed the plugs adjusted the timing and it runs awesome again. Any suggestions, Should I put in some 10w40? I do put in the Lucas oil stabilizer. I'm not too concerned about the engine I'll rebuild in the spring, I just want it to make it through the winter. I have the body work on the hood and the right fender done, my electric fan conversion also works very well.
 Besides when oil comes up to it's operating temp its almost the same viscosity with 10W30 and 10W40. Bobistheoil guy has some great reading (as much as most people can humanly stomach lol - there is a ton there). I've done a ton of reading and it's funny with all the research and testing guys have done for the last 40 years the best plugs are the ones the factory says to use and the best oil viscosity is the one the manual says to use (for most of us 10W30).
If an L28 is burning that much oil you need to address the worn out parts. The L28 is tough and if you're waiting till the spring to fix it that shouldn't be an issue. If it was me I'd just change the valve steam seals - just need a spring compressor and you can do the valve adjust while you're in there. If that's a stretch just watch the plugs to make sure they aren't fouling.
Mr Z++ Wiki
Joined: Sep 2009
Posts: 2,195
From: Victoria, BC
Put belt on compressor, jumped the clutch on the compressor to make sure it worked. Replaced o-rings, had to run tubing to the vacuum tank, put the r-134a adapter on the low side of the compressor. Stuck my big can of R-134a on it, Turned on the car, turned to A/C max and blower to the max. Pushed the button on the can then the compressor engaged by itself, continued pressing until it hit 45 psi. And I had cold air!!!!!
Belt $14
O-rings and adapter $30
Big can-O-R134a $40
Opens calculator
$84
I guess I don't trust the Electric radiator fan I got from Black Dragon it works but I'm getting another one, so one will push on one side of the radiator and one will pull one the other.
Like this

Belt $14
O-rings and adapter $30
Big can-O-R134a $40
Opens calculator $84
I guess I don't trust the Electric radiator fan I got from Black Dragon it works but I'm getting another one, so one will push on one side of the radiator and one will pull one the other.
Like this
I have yet to do this myself so that's great info.I'm running an electric fan on mine - puller is the best setup when you have air coming into the front of the rad. If you have a second fan I'd just run it as a secondary as a puller. You're probably pulling more air through the rad just having the fan and it's shroud up against the rad itself as compared to the stock fan and whatever air leaks are in it's shroud.
The only advantage to a pusher/puller is if you are sitting in traffic a lot with no air moving at all. The puller will work fine but a pusher/puller would help somewhat. It would, howeve,r work better if you use the same two fans as pullers as you'll be cooling a larger surface area as compared to moving more air through a smaller surface area.
Big Poppa
Joined: Jan 2005
Posts: 4,499
From: Mission, British Columbia
i got a flexilite dual 12" fans on mine. it just fits in all directions and i have mine run to a painless temp switch. i hate those adjustable types. they fail all the time and im not going to let a $10 part kill my engine instead of spending 31 bux. with the ac system to convert properly (mechanic speaking here) you have to change all the seals and do an evac, then add the correct oil and amount to the system then add r134a. i havent done it to mine yet as it still works. you dont need to change anything else, but you do need to get everything out of the system or it will fail eventually. even just taking the compressor out and dumping the oil out is good enough. still way cheaper than going to a shop that charges 1200+ bux for the same proceedure

More Than Meets The Eye
Joined: Feb 2005
Posts: 5,120
From: Mesa, Az
Woo hoo! I am off till January 7th. Tonight was my last for this year. Keep us posted man. Looking forward to your Z turning into something awesome! I am going to here soon, work on my Z. Mostly cosmetic, as I have done all I can mechanically for now. I am going to take it to a body shop, and get a quote on how much it will cost to straighten out my rear sub-frame. Then hopefully get that done, this coming year. Along with other things I have put off. lol
Keep us posted man. Looking forward to your Z turning into something awesome! I am going to here soon, work on my Z. Mostly cosmetic, as I have done all I can mechanically for now. I am going to take it to a body shop, and get a quote on how much it will cost to straighten out my rear sub-frame. Then hopefully get that done, this coming year. Along with other things I have put off. lol

Registered User
Joined: Aug 2012
Posts: 201
I am hoping to get back in the garage as well. After work today all of the parts that are in the apartment are going back out to the garage and (might) get put on the motor. Still have not drilled out the rest of that damn broken bolt. Without a heater in the garage it has been a bit cold...
Thread Starter
Primer Grey FTW!
Joined: Jul 2010
Posts: 587
From: hawthorne, nv
Lots of progress, not as much as I would like, but it's finally warming up.
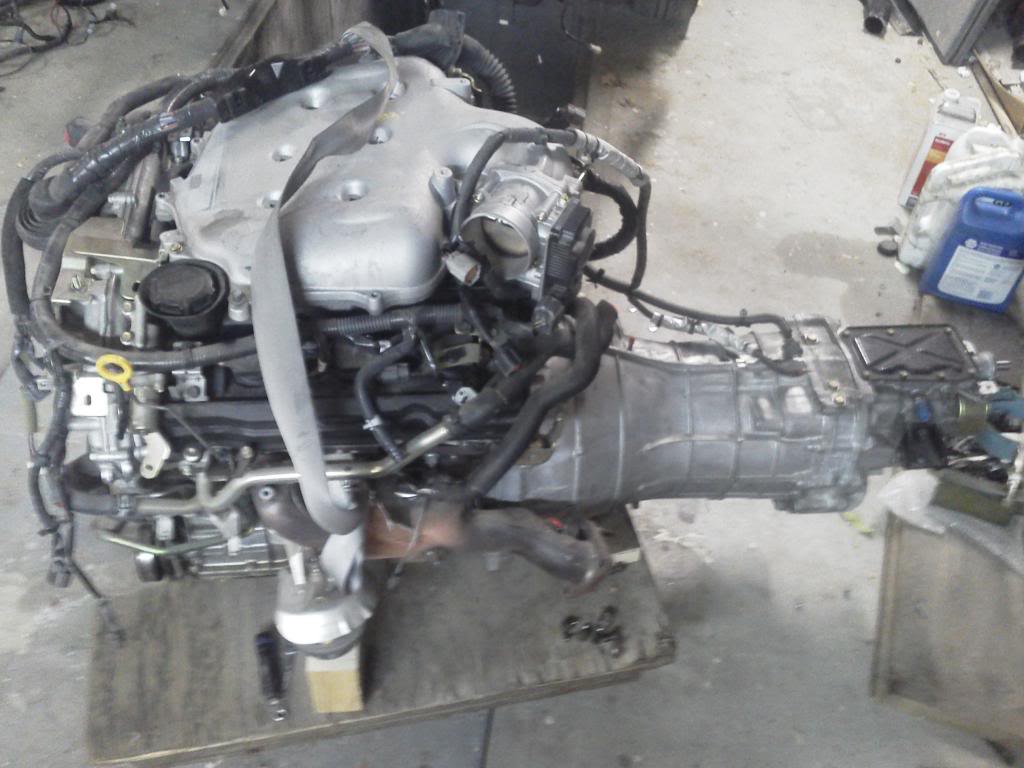
So here's what's going in the car 2005 VQ35DE w/ 6-speed
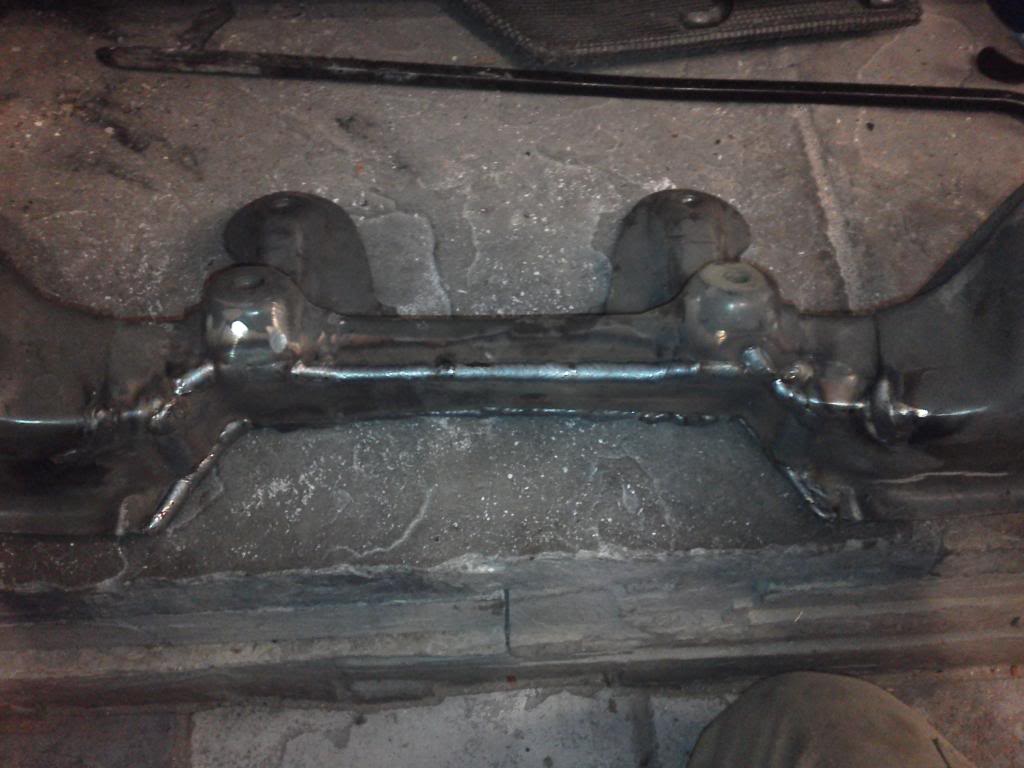
modifying cross member for clearance
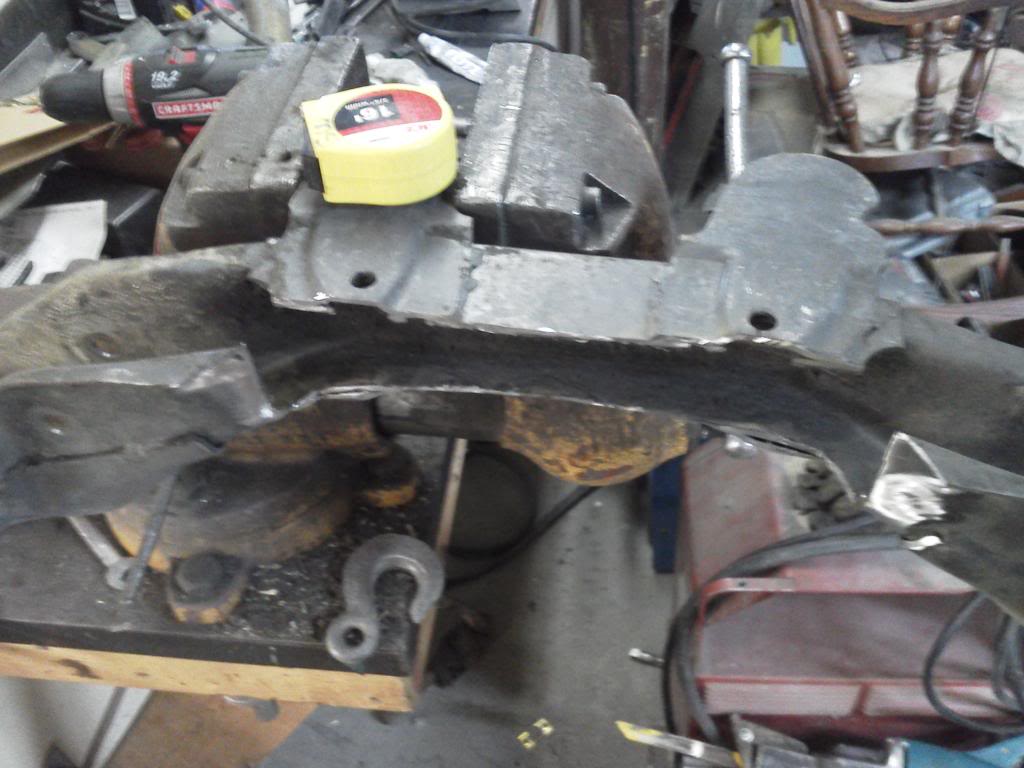
here's the cross member welded up after being reinforced
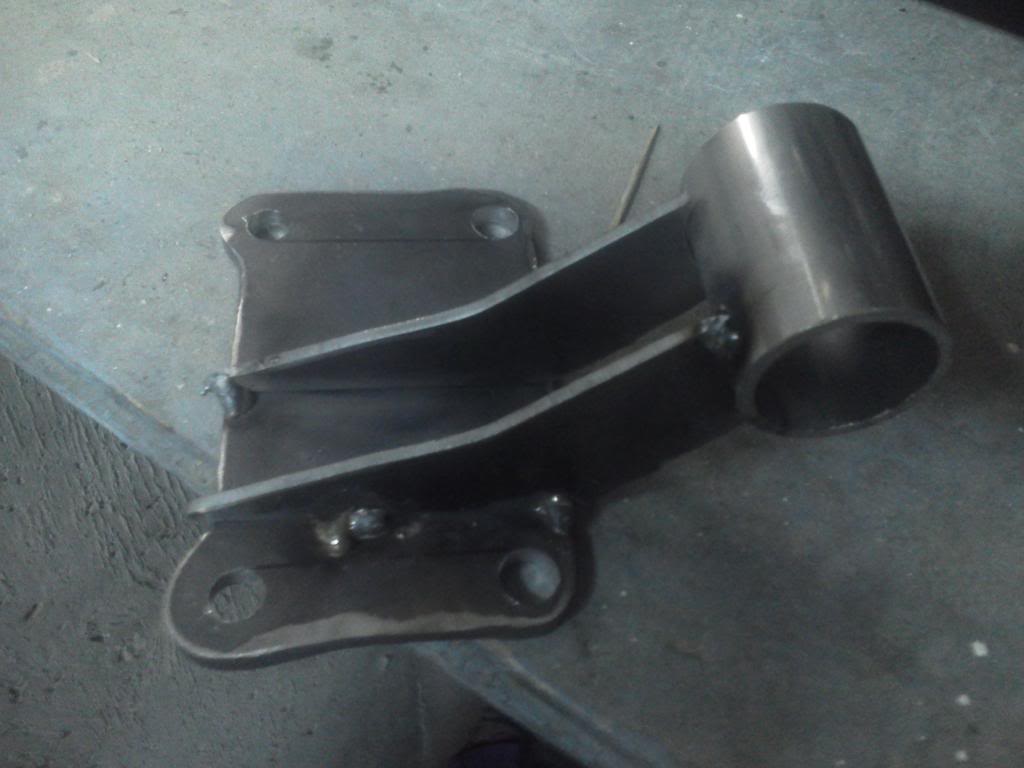
engine mount
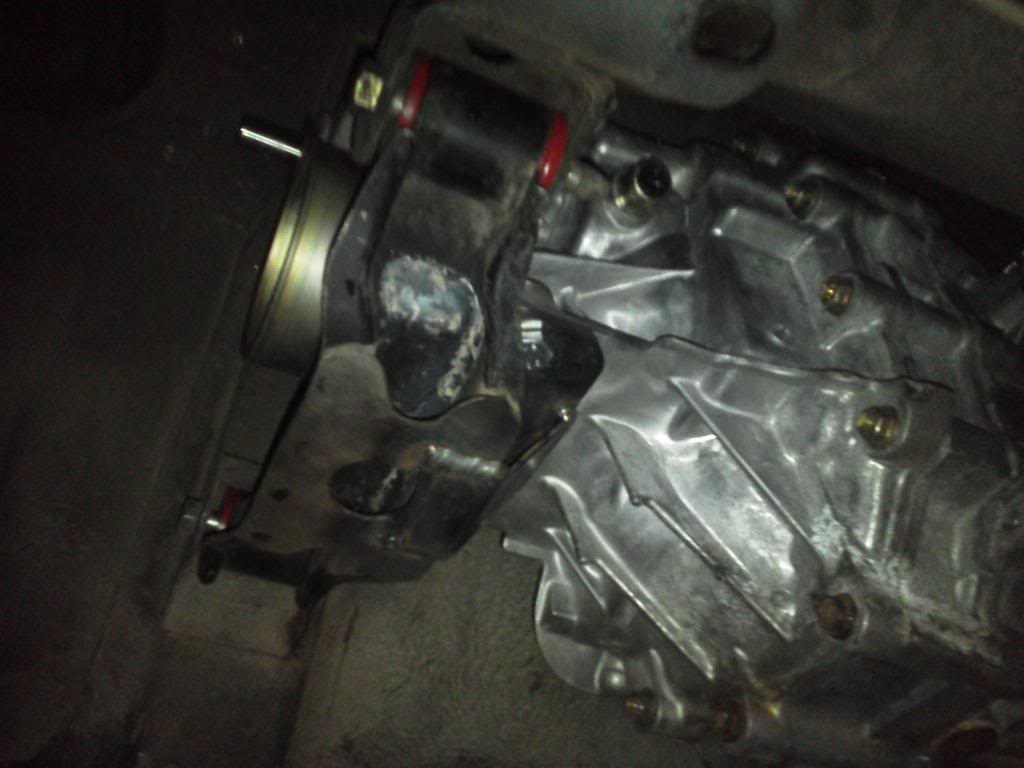
engine mounted

6-speed mounted
Stock intake will not clear the hood, so here's the lower portion I made
Here's the upper section
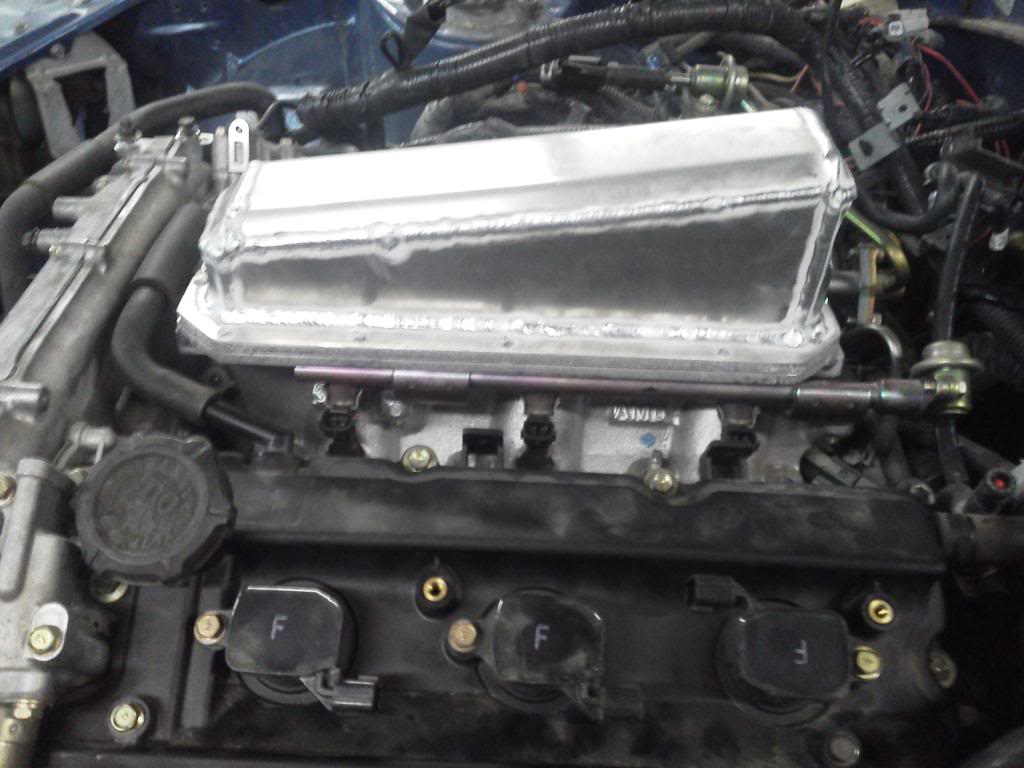
And fabbing new manifolds is next on the list, because of how restrictive
they are. I'm not modding the engine so I'll get everything out of it I can.
So as I get more done I'll let you know!!!
So here's what's going in the car 2005 VQ35DE w/ 6-speed
modifying cross member for clearance
here's the cross member welded up after being reinforced
engine mount
engine mounted
6-speed mounted
Stock intake will not clear the hood, so here's the lower portion I made
Here's the upper section
And fabbing new manifolds is next on the list, because of how restrictive
they are. I'm not modding the engine so I'll get everything out of it I can.
So as I get more done I'll let you know!!!


