
HOW TO: Sectional carpet kit install and sound deadening


Thread Starter
Registered User
Joined: Oct 2011
Posts: 56
HOW TO: Sectional carpet kit install and sound deadening
Ok, so i finally received my carpet kit from ups. I purchased it on ebay with some skepticism but i was pleasantly surprised by the quality of the product. It came in black cut-pile heavy carpet with 20oz padding already glued where it needed to be and it was cut and stitched rather that press molded. It even came with the anti-wear pads for under your heel and beside the accelerator!
The kit did not come with a diagram or any installation instructions, so here is my contribution. I hope it helps someone who is having trouble or has never done one of these before.
First thing first, Prep work. Strip everything out of your z including seats, console, lower door trims, etc. Basically anything that will be in the way or that is holding down the original carpeting. I didn't have to do most of this step thanks to Skittle lol. He had already done most of the gutting for me.
[IMG]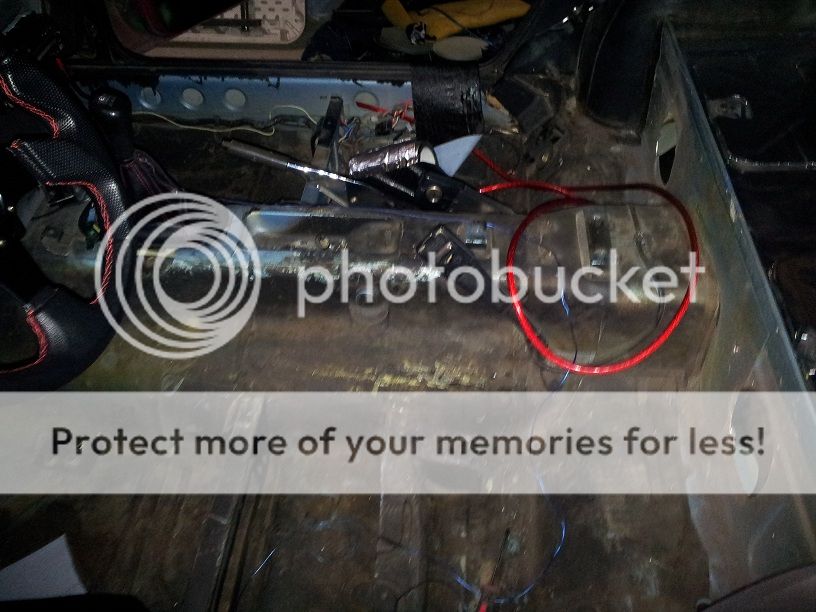 [/IMG]
Get the interior completely bare
[IMG] [/IMG]
Here is a pic of the entire kit. I numbered as best i could.
[IMG] [/IMG]
{OPTIONAL} This product is called U-seal. It's basically flashing tape for roof repair. It is a pretty heavy rubber material with a foil coating on one side and adhesive on the other. I paid about 16 bucks per roll and each roll is 6in by 25ft. The roller is helpful in corners and to generally get the stuff laid down firmly.
[IMG]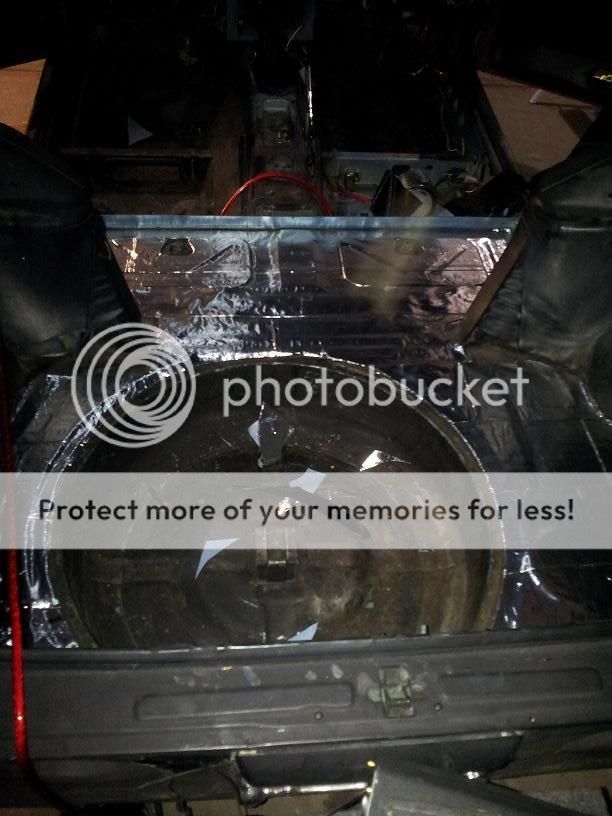 [/IMG]
I started in the cargo area. It was mostly flat and i thought it would be a good area to test out the workability of the flashing material. I was very surprised to find that the flashing tape was very forgiving and adhered well. The flashing tape has a film that needs to be removed before applying . What I did was leave it on until i had the piece cut to fit, then i removed the backing and stuck it down. I laid eack piece edge to edge. I didn't overlap it to make it stretch as far as possible as i only had 2 rolls and i didnt want to drive to depot for more haha.
[IMG]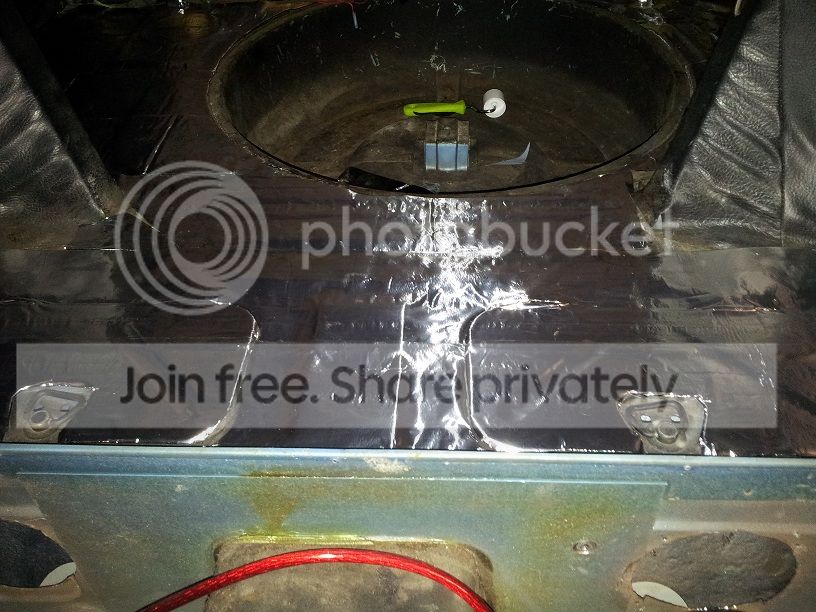 [/IMG]
I covered every bit of bare metal that I could. Before i put this stuff in, My Z was louder inside than it was outside.
[IMG] [/IMG]
After you are happy with the coverage of your sound deadening material, grab your carpet kit. I purchased a can of headliner and carpet adhesive from autozone for around 12 bucks. It's the one on the ORANGE can. Lay your carpet piece down and check fitment first, then pick it up and spray an even coat of the adhesive on the floor AND the back of the carpet. This is important. It will stick if you only spray one side but it will stick 100 times better if you spray both sides. Make sure to wait a minute or so to let it tack up then lay your piece down. Make sure you get it where you want it because if you let this stuff sit it;s crazy hard to pull it off again. I suggest starting with the transmission tunnel piece, then move to the floor pieces, side trim, and flashing behind the seats.
[IMG]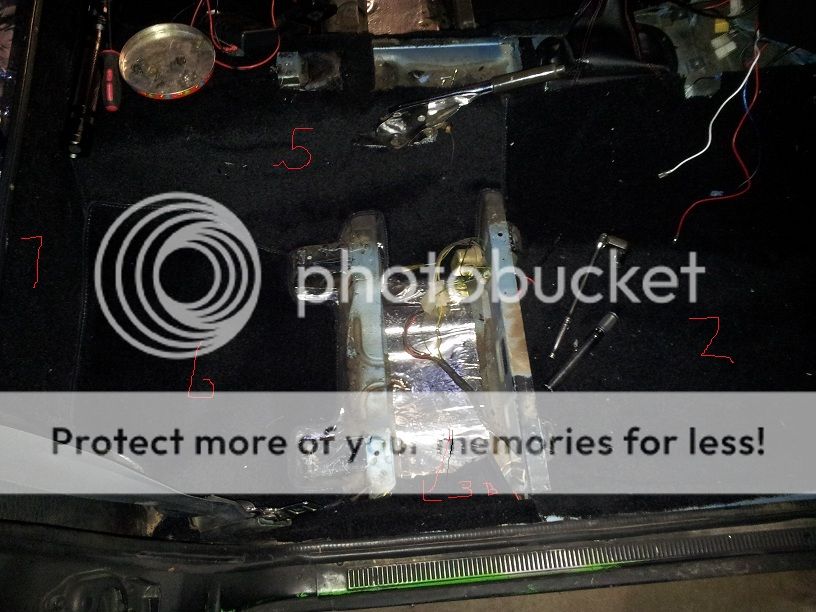 [/IMG]
This is the orientation of the pieces that go under the seat area. The unfinished area in the middle stays that way.
[IMG]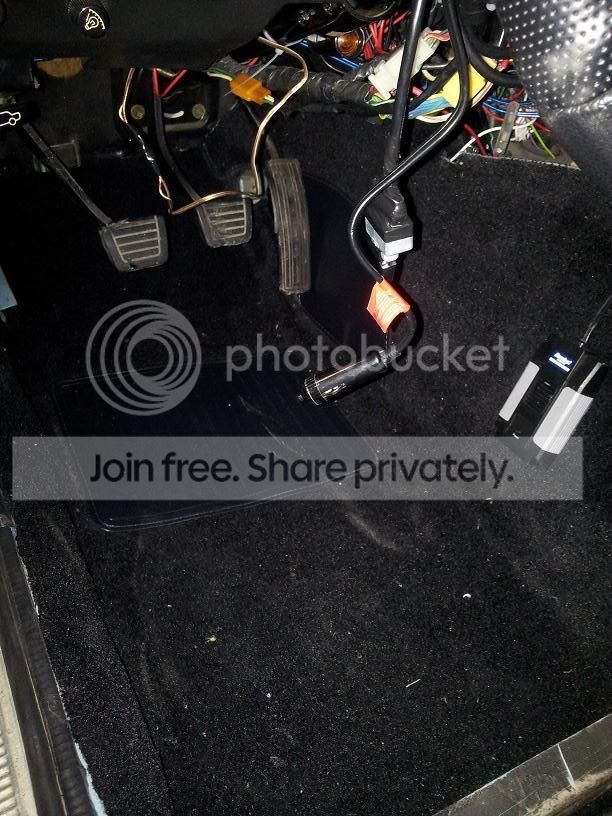 [/IMG]
Driver side laid in.
[IMG]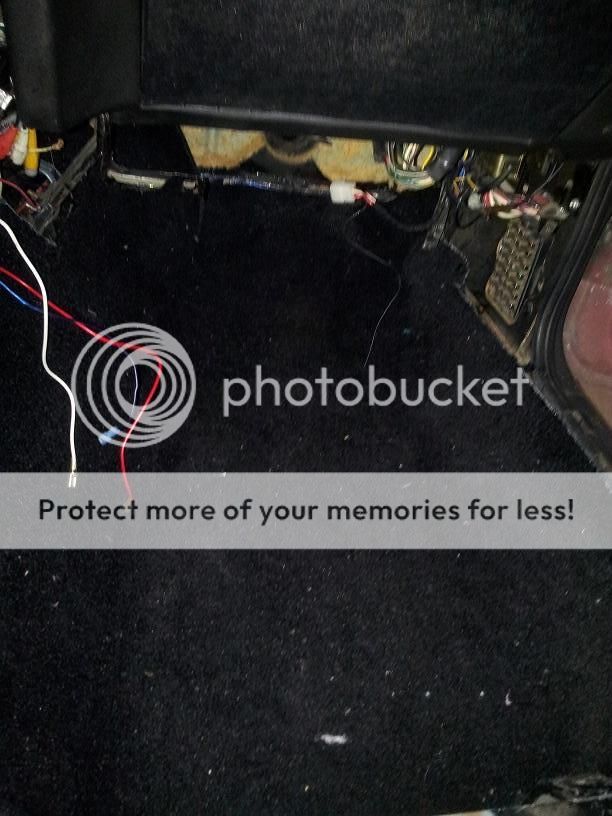 [/IMG]
Passenger side.
[IMG] [/IMG]
I saved the cargo area for last, as it's as simple as a couple of glue shots and lay it in. I chose to glue the front half, and the lids for the cargo containers down but i left the rest so i could pick it up to access the spare. I only glued the small lids on the cargo containers si i can still lift them up and get inside. The carpet just folds up with them.
This has been one of the best improvements I have done so far. The car is still reasonably loud inside but I do have an LT1 with a 40 series flowmaster under it. What it did was got rid of all the road noise that i DIDN'T want to hear. The engine now has that low drone that i love so much, and it is so much nicer inside. Just take your time and make sure you get the pieces where they belong and this is a cakewalk.
Thanks for reading, And i hope i was able to help someone!
The kit did not come with a diagram or any installation instructions, so here is my contribution. I hope it helps someone who is having trouble or has never done one of these before.
First thing first, Prep work. Strip everything out of your z including seats, console, lower door trims, etc. Basically anything that will be in the way or that is holding down the original carpeting. I didn't have to do most of this step thanks to Skittle lol. He had already done most of the gutting for me.
[IMG]
[/IMG]Get the interior completely bare
[IMG]
[/IMG]Here is a pic of the entire kit. I numbered as best i could.
[IMG]
[/IMG]{OPTIONAL} This product is called U-seal. It's basically flashing tape for roof repair. It is a pretty heavy rubber material with a foil coating on one side and adhesive on the other. I paid about 16 bucks per roll and each roll is 6in by 25ft. The roller is helpful in corners and to generally get the stuff laid down firmly.
[IMG]
[/IMG]I started in the cargo area. It was mostly flat and i thought it would be a good area to test out the workability of the flashing material. I was very surprised to find that the flashing tape was very forgiving and adhered well. The flashing tape has a film that needs to be removed before applying . What I did was leave it on until i had the piece cut to fit, then i removed the backing and stuck it down. I laid eack piece edge to edge. I didn't overlap it to make it stretch as far as possible as i only had 2 rolls and i didnt want to drive to depot for more haha.
[IMG]
[/IMG]I covered every bit of bare metal that I could. Before i put this stuff in, My Z was louder inside than it was outside.
[IMG]
After you are happy with the coverage of your sound deadening material, grab your carpet kit. I purchased a can of headliner and carpet adhesive from autozone for around 12 bucks. It's the one on the ORANGE can. Lay your carpet piece down and check fitment first, then pick it up and spray an even coat of the adhesive on the floor AND the back of the carpet. This is important. It will stick if you only spray one side but it will stick 100 times better if you spray both sides. Make sure to wait a minute or so to let it tack up then lay your piece down. Make sure you get it where you want it because if you let this stuff sit it;s crazy hard to pull it off again. I suggest starting with the transmission tunnel piece, then move to the floor pieces, side trim, and flashing behind the seats.
[IMG]
[/IMG]This is the orientation of the pieces that go under the seat area. The unfinished area in the middle stays that way.
[IMG]
[/IMG]Driver side laid in.
[IMG]
[/IMG]Passenger side.
[IMG]
[/IMG]I saved the cargo area for last, as it's as simple as a couple of glue shots and lay it in. I chose to glue the front half, and the lids for the cargo containers down but i left the rest so i could pick it up to access the spare. I only glued the small lids on the cargo containers si i can still lift them up and get inside. The carpet just folds up with them.
This has been one of the best improvements I have done so far. The car is still reasonably loud inside but I do have an LT1 with a 40 series flowmaster under it. What it did was got rid of all the road noise that i DIDN'T want to hear. The engine now has that low drone that i love so much, and it is so much nicer inside. Just take your time and make sure you get the pieces where they belong and this is a cakewalk.
Thanks for reading, And i hope i was able to help someone!

Registered User
Joined: Mar 2013
Posts: 97
nice job.. thats what im about to do on my car.. was there a brand name or anything specific as to what carpet kit you got off ebay? i need about half that kit as i still have some good condition original carpet with padding on it.. how was the price on the kit? .. really like what you did and plan on doing similar work.. thanks for show and telling in detail on your interior. 

Thread
Thread Starter
Forum
Replies
Last Post
nismo619
300ZX (Z32) Brakes, Wheels, Suspension and Chassis
5
Sep 15, 2008 11:35 AM
Bookmarks


