When you click on links to various merchants on this site and make a purchase, this can result in this site earning a commission. Affiliate programs and affiliations include, but are not limited to, the eBay Partner Network.
Just like anything else it takes some practice. Corners and curves are very difficult. There are lots of youtube vids and good written instructions from Vvividvinyls.com. The 3M costs 3 times as much and the cheap china brand is crap. I'm going to do the hood next. I'll still have to paint the inside edges and jams.
Will have to butt edges in some places so this is practice. The wrap comes in 60" wide sheets. I think I will have to go lengthwise rather than across so the only joint will be in the roof panel near the hatch. So it will only be 3" long.
The vinyl sticks really well to the bare metal so I think it best to seal it.
Jeez... that thing is a track ready screamer right from the factory.
All options include video/sound track recorder, run flat track tires. A real racecar with creature comforts galore. 0 to 60 in 3.6, top speed 175 (not with this fool). Not to mention the women omg. It's been to hot to work on the Z anyway.
Picked up this little rag for a little more marital agitation. It's a '75. Traded some new floor pans and a set of strut bars for it. Got the parts to make it new
Her comment was "WTF is wrong with you?"
This of course brings to mind an old joke-
Wife says can I ask you a question?
Sure babe
Do you realize that if you had all the money you've spent on alcohol, drugs, gambling and women you could buy a nice Corvette?
Yes babe, now can I ask you a question?
Yes dear.
Where the f is your Corvette?
Finished up the bushings. It's a real tight fit. (I know that's what she said) The bushings have a edge that makes them difficult to get in the frame so I just ground the flash off and they slip right in. Really hard to get the tension rods back in so the best thing is to align the holes and tighten them slightly until the holes line up on the lower control arm
Yeah Scott, just added a new grandson. Got the roof, hood and quarters blocked out. Next the doors and fenders. Next will be high build primer and yes more sanding. Rethinking color. I like the color on the Vette a dark metallic grey with the wheels and carbon fiber should look pretty good. Engine bay and jams are still yellow. Never ending project
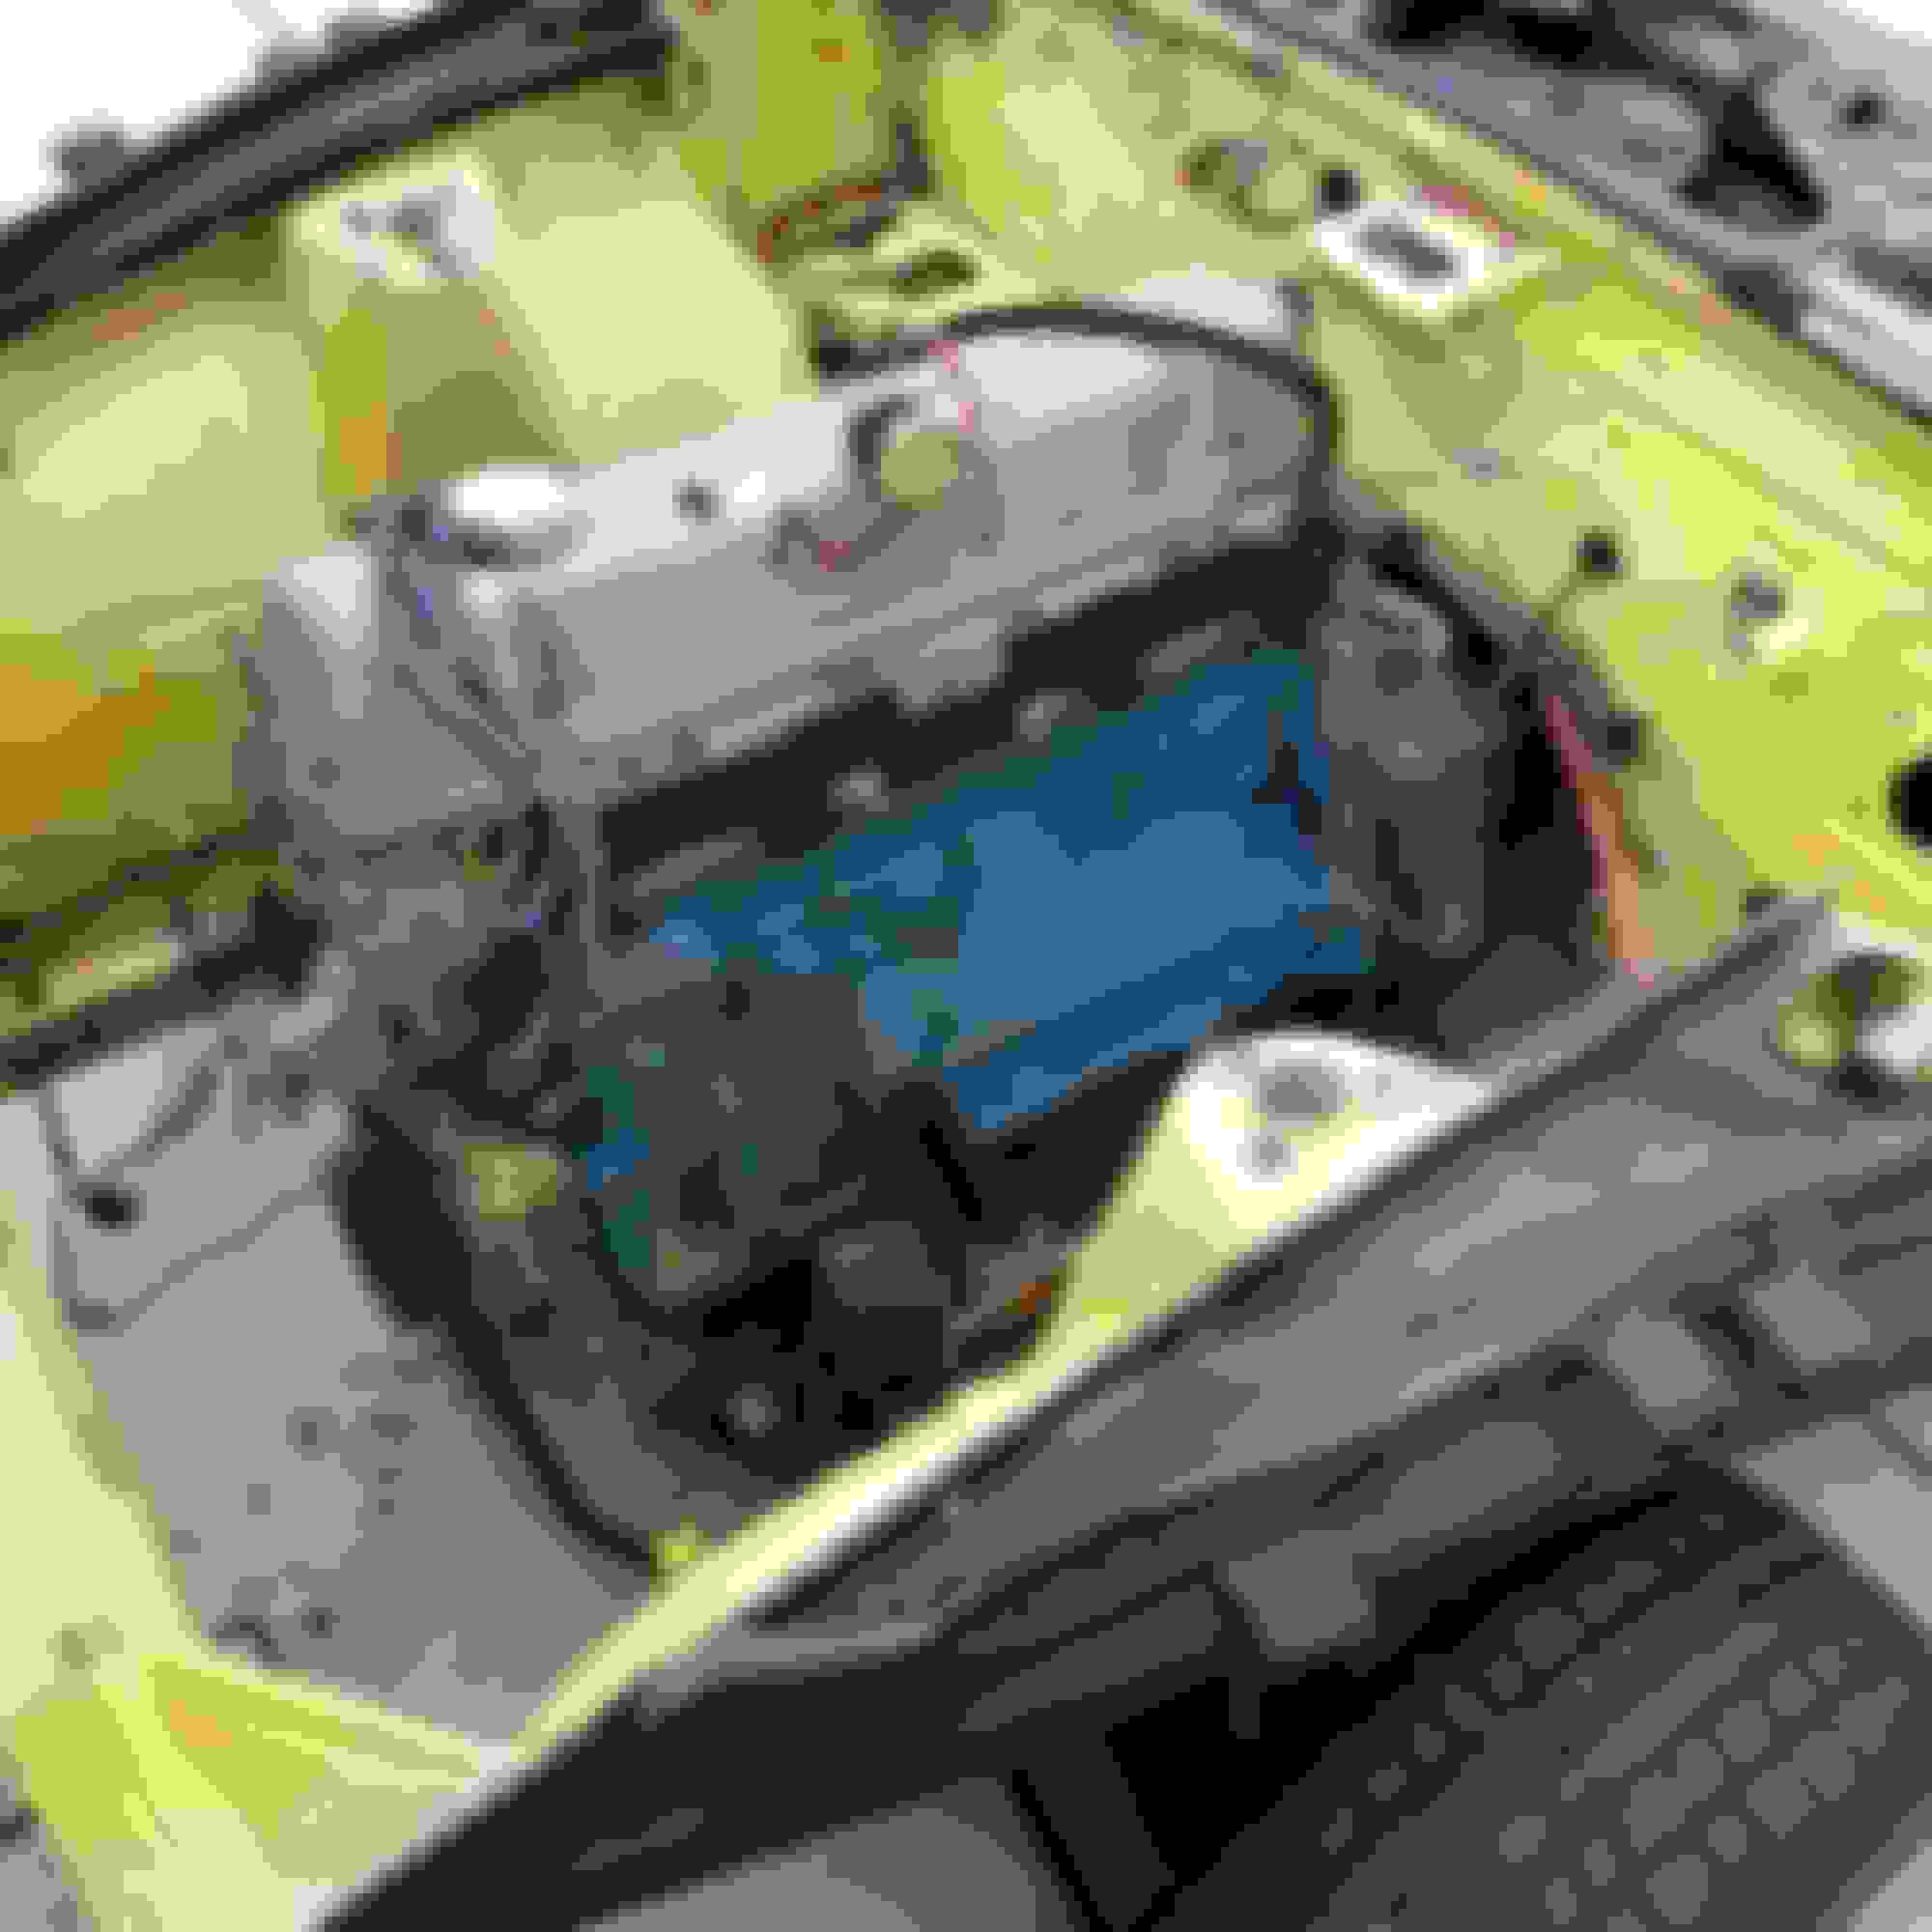
Well guys I finally got back to it. With a complete color changs I can't very well have a yellow engine compartment. I pulled everything off the engine and the firewall and inner fenders. I sprayed everything with EasyOff heavy duty oven cleaner. Then I power washed it.
Next I painted everything with my air brush. Pulling wiring and brake lines to paint behind them. I'm going to paint the engine block gloss black. Should look good with all the polished aluminum and coated header. Next underside of the hood.
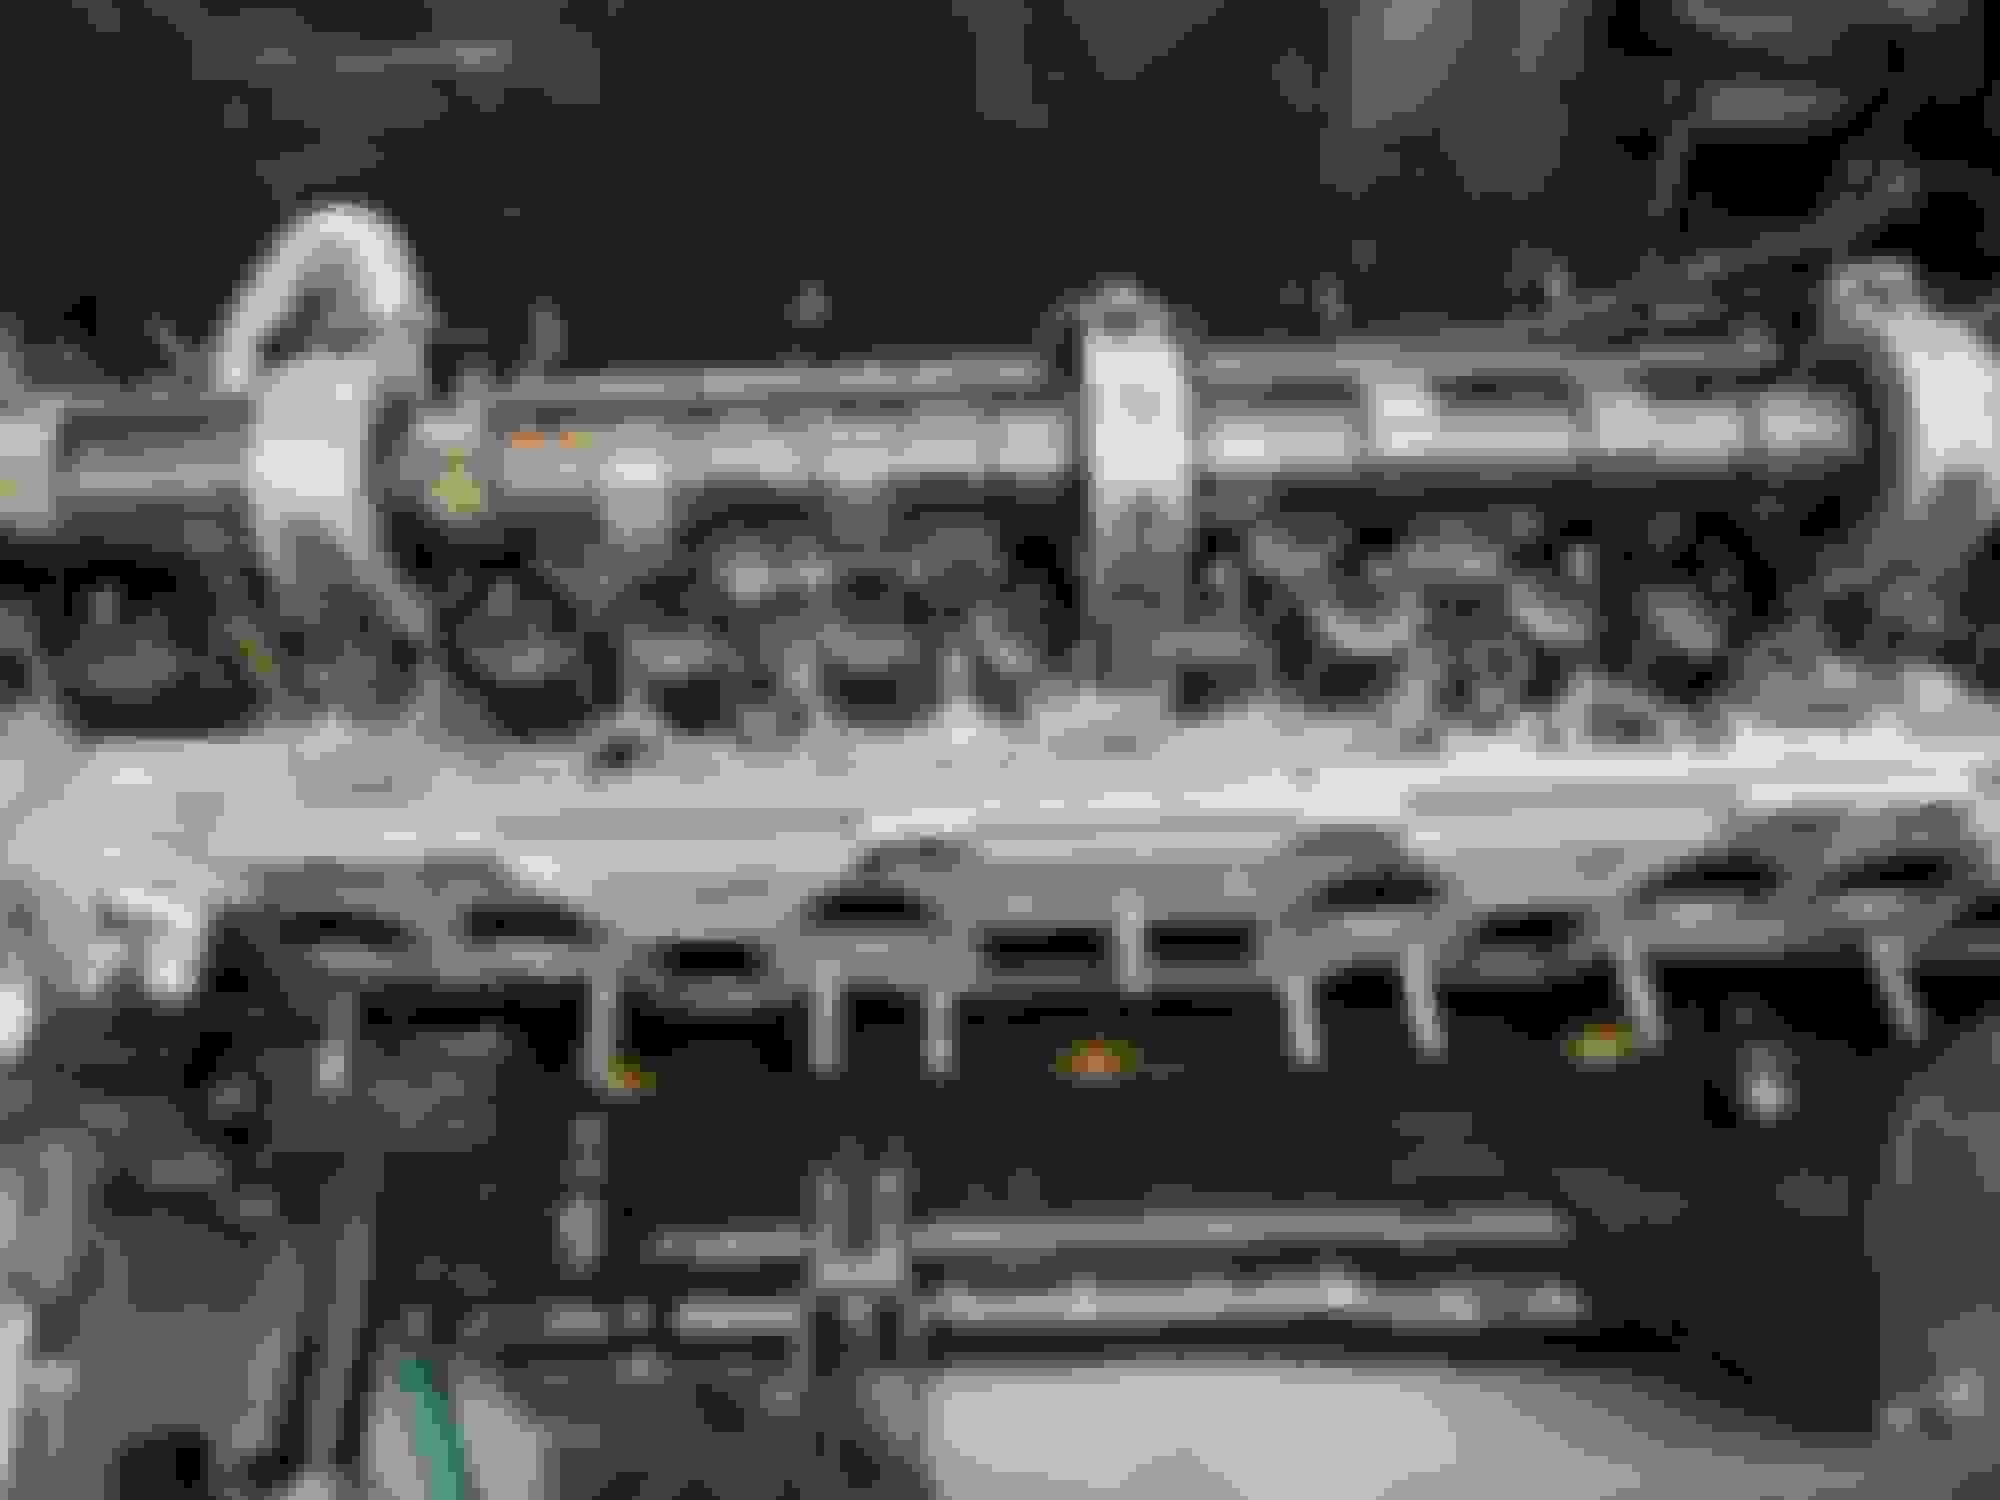
I knocked out the freeze plugs just because I wanted new looking ones. I was surprised at how clean it was. Then I removed the cam cover and saw how clean it was inside. It must have been rebuilt or not very many miles. It did not smoke at all when I drove it.
Brake booster install was a pain. Next time I will hire a little kid to reach under the dash to start the nuts. I need to mount the Wilwood brake bias valve because of the rear disc conversion
I started to mount the carbs and realized they were to fugly so I started to polish them. A lot of work for bling but I can't just spend my way out of this one
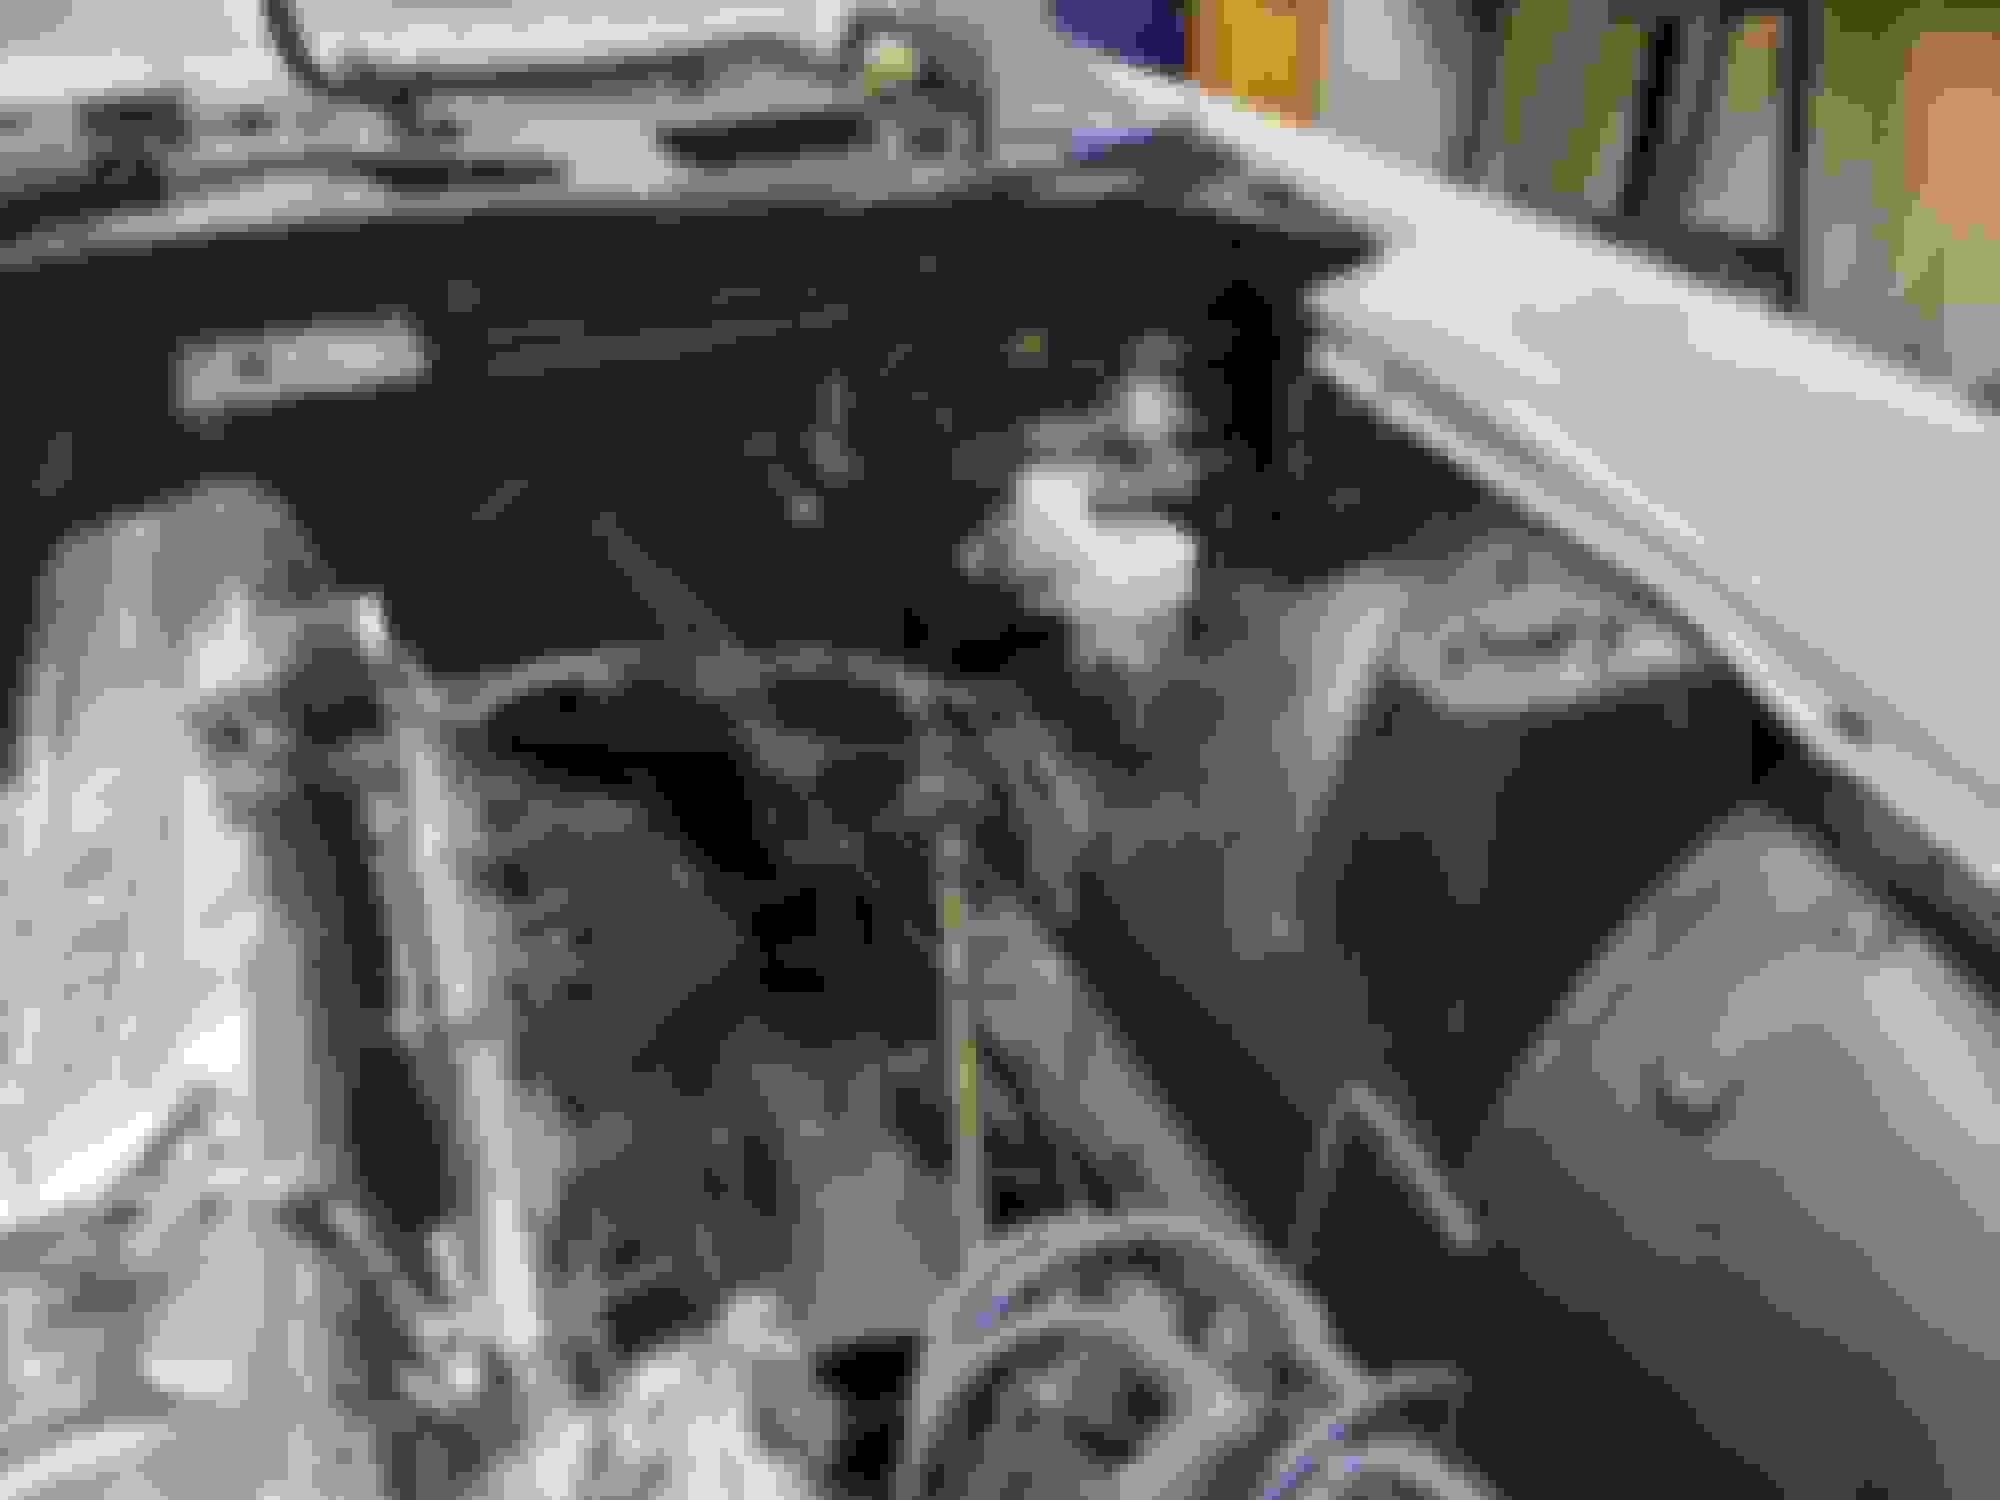
About 20 hours work is done. Sheesh! That was harder than painting the car. But I think it needed it. Also insulated the hood with sound deadener mat. Next is carbs