

adjustable height rear coilover conversion using Tokico HP's


Thread Starter
i felld offa mai trike
Joined: Nov 2008
Posts: 827
adjustable height rear coilover conversion using Tokico HP's
So my friend wanted some coilovers for his 280ZX, the fronts were easy, just did what everyone else does with GC sleeves and Tokico HP front inserts. Now he just needed the rears, but he wanted to keep the matching Tokico HP�s all around, so he had me build him a pair of adjustable height coilovers for using the standard 280ZX Tokico Blue shocks, and I figured I might as well make a write-up on how I did it.
This is A LOT like how slownrusty did his conversion, but he was using some other, now discontinued shocks for a 280ZX.
First, start with your standard 280ZX Tokico HP rear shock:
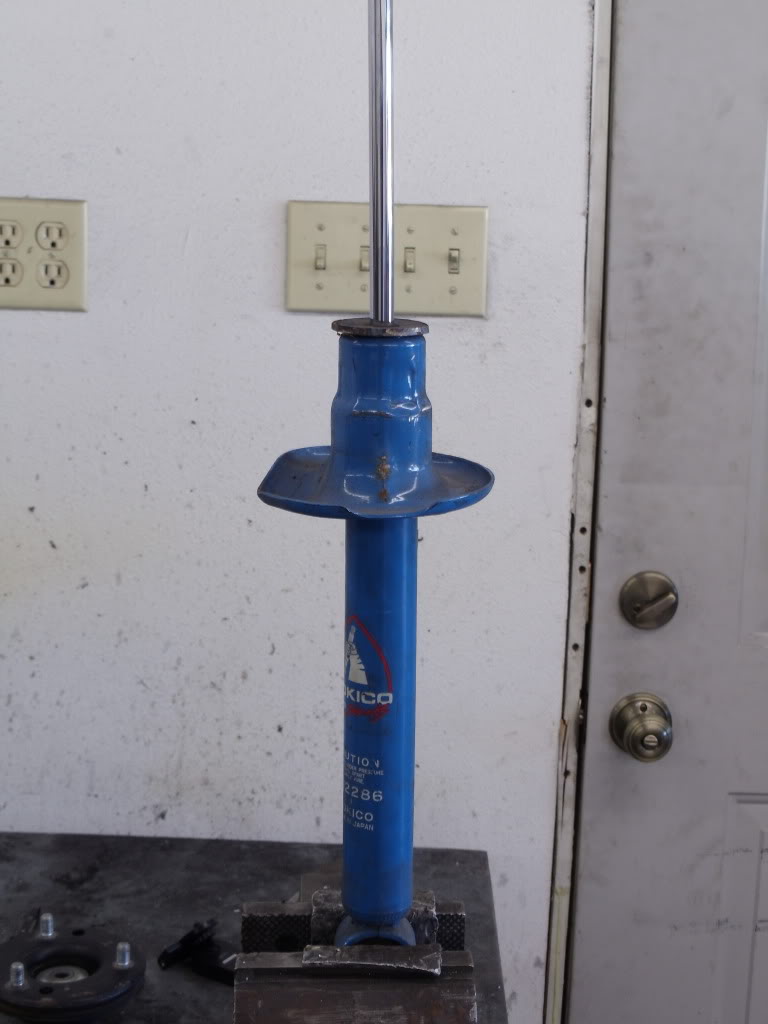
and you also need some steel pipe. I chose to use the exhaust pipe because it�s readily available, and I don�t think it should have too much of a problem holding the weight of the car (I cut mine to 8� long just to leave me some room for adjustment):
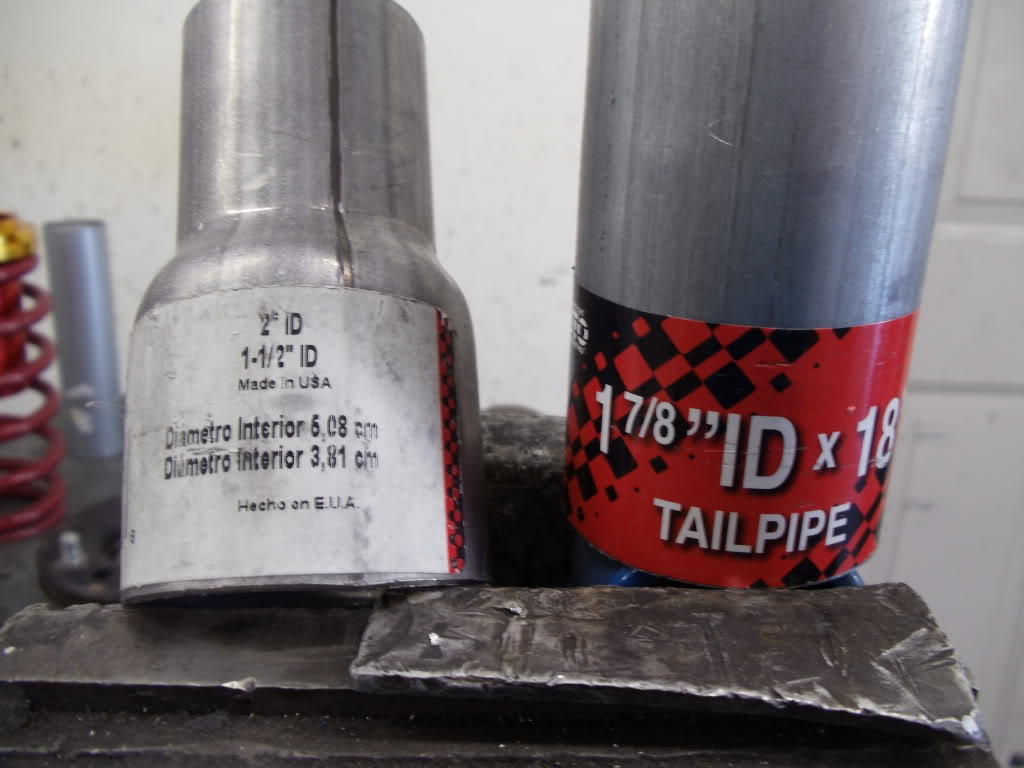
whatever you choose to use, just make sure that one tube is small enough to fit tightly into the coilover sleeve you choose to use, and the other one fits over the first pipe and is large enough for the sleeve to sit on.
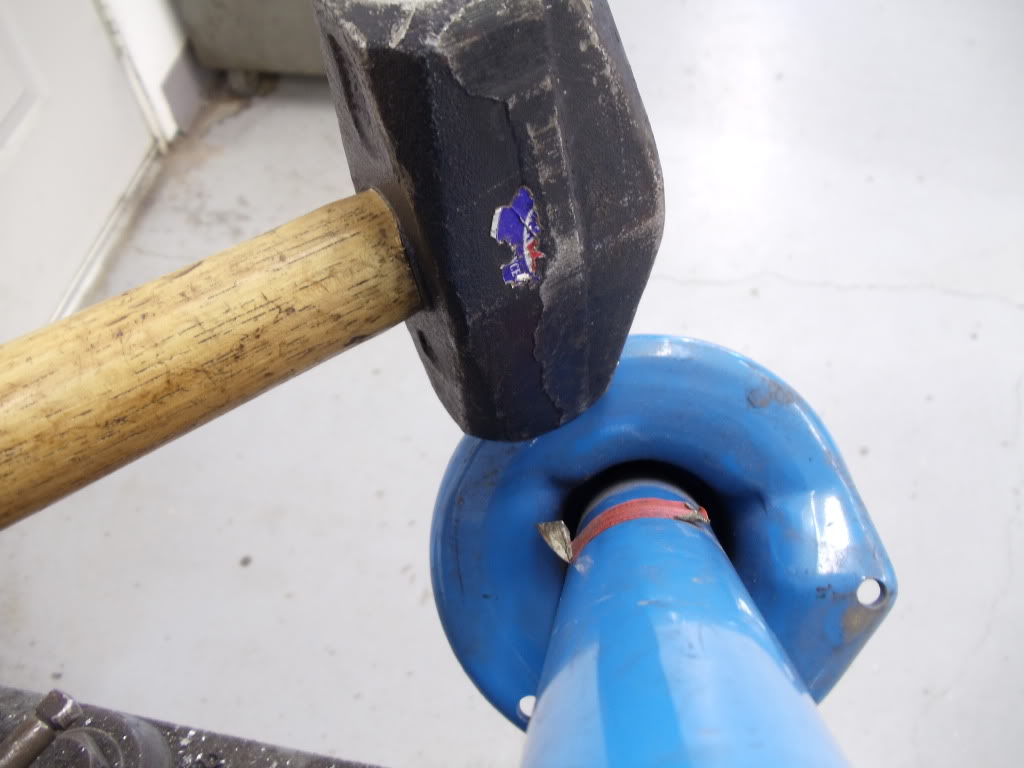
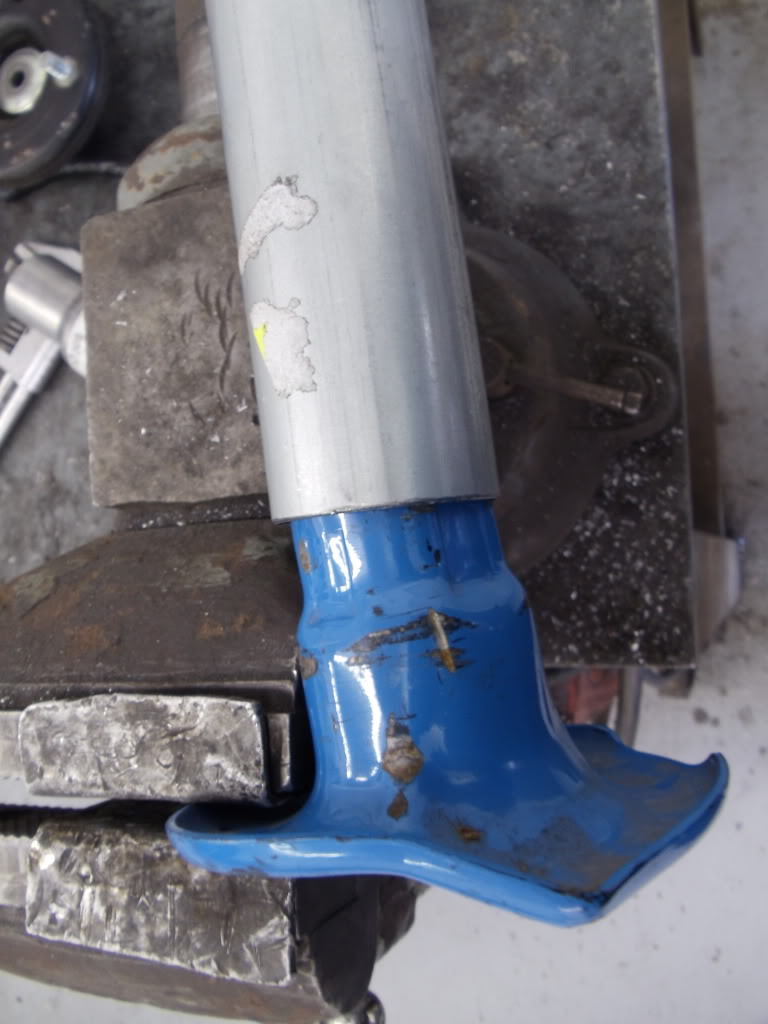
Then put the shock in the vice facing down, and hit the lower spring perch with a hammer (it�s only pressed on, should come off fairly easy)
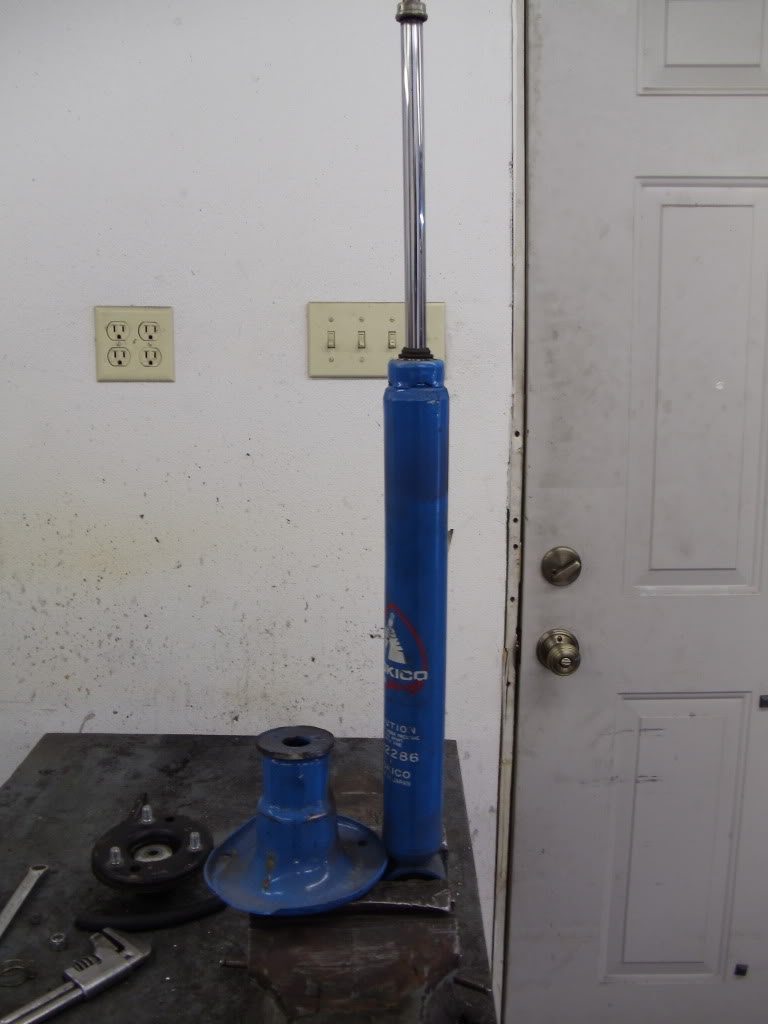
now you�re left with this:
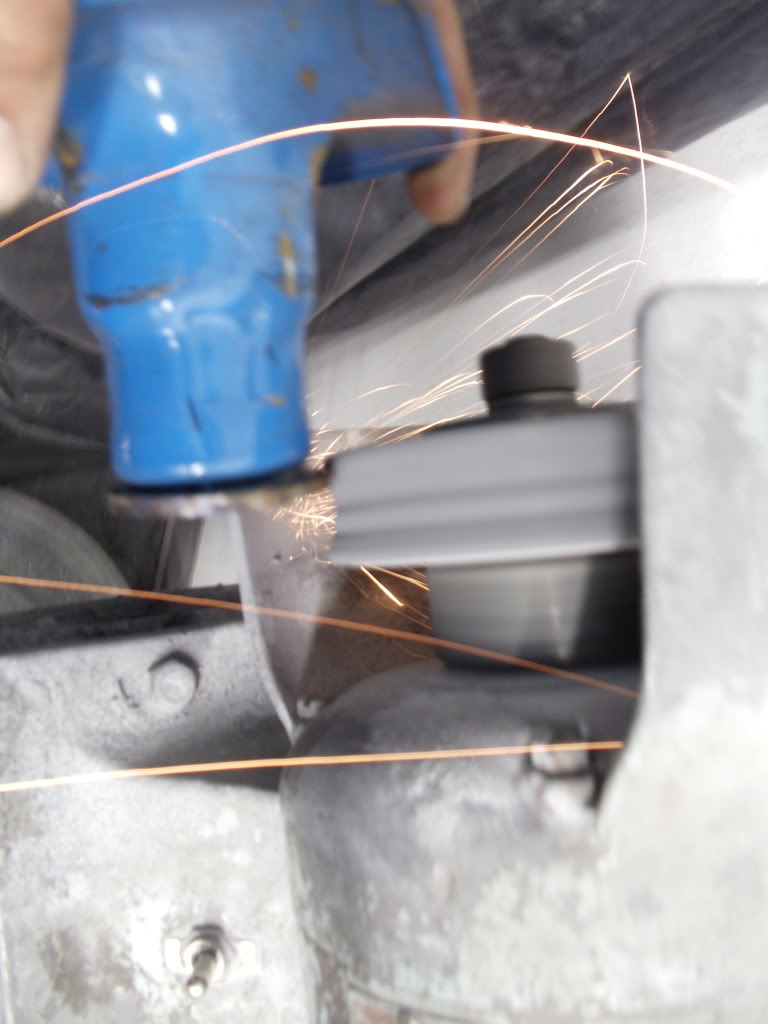
what you need to do now is grind the upper washer looking thing on the top of the spring seat so that it will fit inside the first pipe (make sure to not make it too small):
should fit like this, I was able to achieve a bit of a press-fit so I could put the top in the pipe by hand, and still have it snug enough to hold it�s weight:
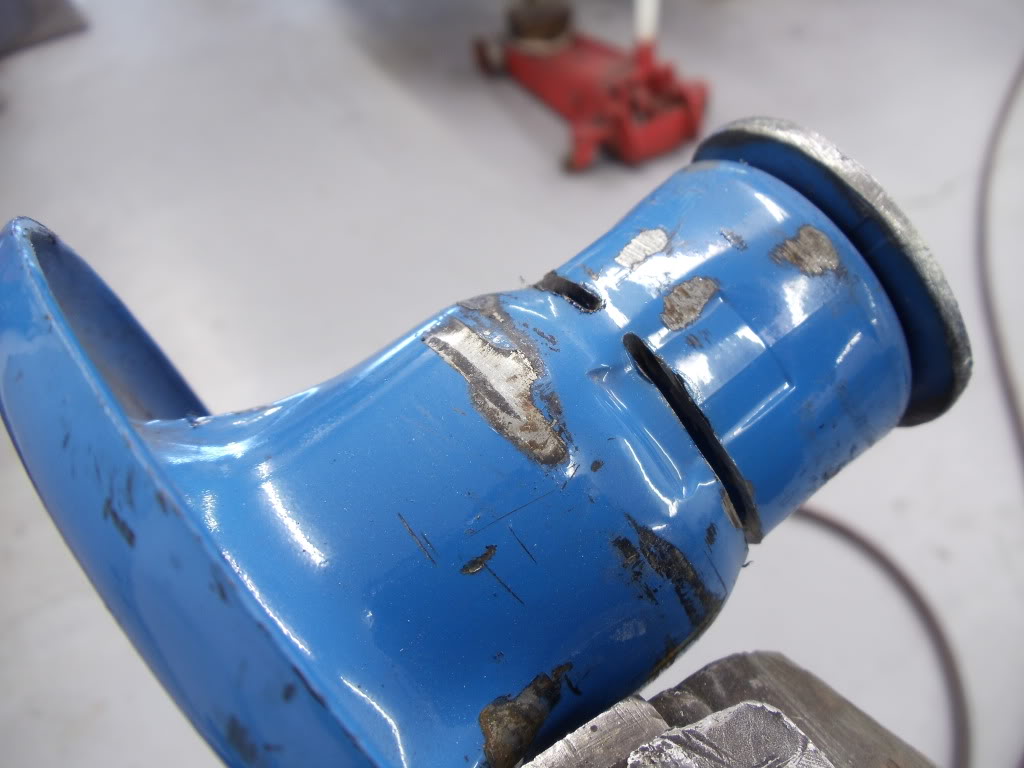
what you want to do now is cut the upper portion of the spring seat off, as low as possible while still fitting inside the pipe (so as to still maintain the press-fit originally designed):
you should end up with this:
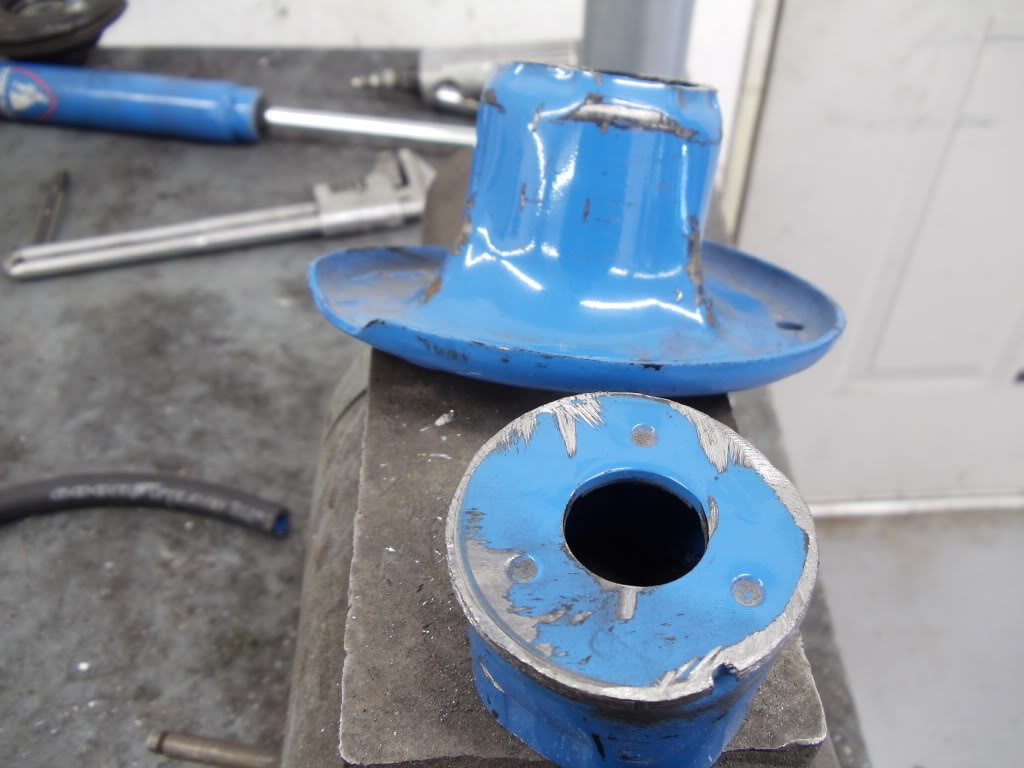
discard the larger portion, or save it for scrap metal, I don�t care lol
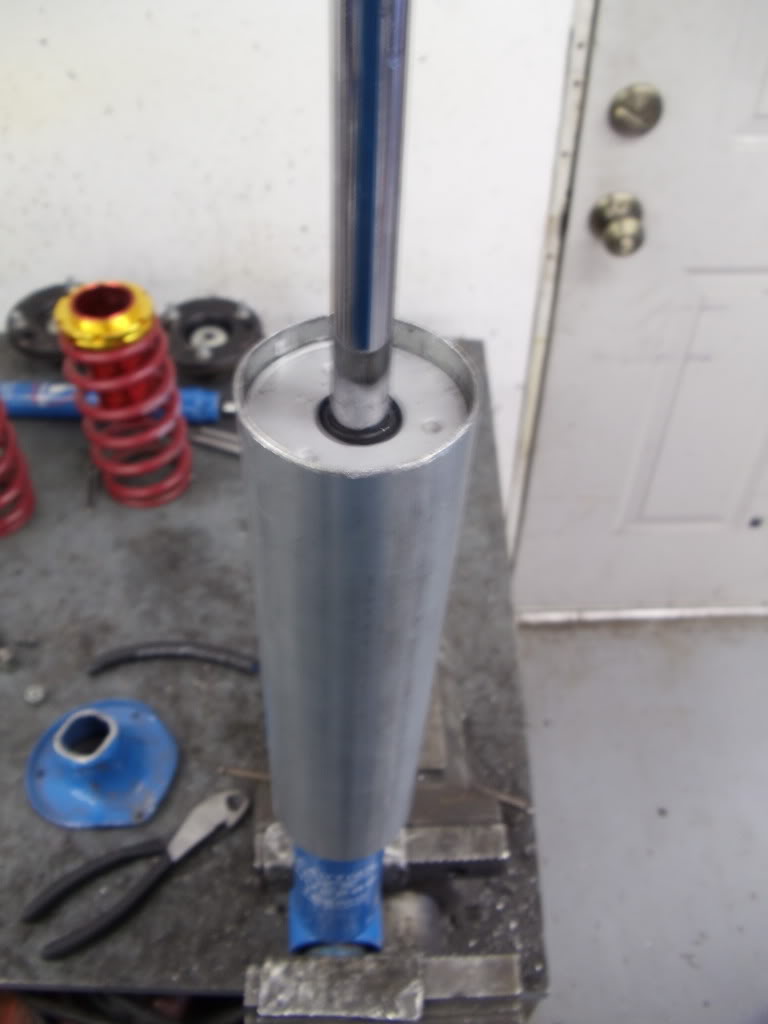
now put the smaller part (let�s call it upper washer from now on) inside the pipe and put it on the shock like so:

I also put one of the rubber grommets the sleeve kit I used came with to center the pipe over the shock, and made sure the upper washer was completely flat against the top of the shock so as to make sure everything was straight.
Also make sure the upper washer is clean of any debris:
This is A LOT like how slownrusty did his conversion, but he was using some other, now discontinued shocks for a 280ZX.
First, start with your standard 280ZX Tokico HP rear shock:
and you also need some steel pipe. I chose to use the exhaust pipe because it�s readily available, and I don�t think it should have too much of a problem holding the weight of the car (I cut mine to 8� long just to leave me some room for adjustment):
whatever you choose to use, just make sure that one tube is small enough to fit tightly into the coilover sleeve you choose to use, and the other one fits over the first pipe and is large enough for the sleeve to sit on.
Then put the shock in the vice facing down, and hit the lower spring perch with a hammer (it�s only pressed on, should come off fairly easy)
now you�re left with this:
what you need to do now is grind the upper washer looking thing on the top of the spring seat so that it will fit inside the first pipe (make sure to not make it too small):
should fit like this, I was able to achieve a bit of a press-fit so I could put the top in the pipe by hand, and still have it snug enough to hold it�s weight:
what you want to do now is cut the upper portion of the spring seat off, as low as possible while still fitting inside the pipe (so as to still maintain the press-fit originally designed):
you should end up with this:
discard the larger portion, or save it for scrap metal, I don�t care lol
now put the smaller part (let�s call it upper washer from now on) inside the pipe and put it on the shock like so:
I also put one of the rubber grommets the sleeve kit I used came with to center the pipe over the shock, and made sure the upper washer was completely flat against the top of the shock so as to make sure everything was straight.
Also make sure the upper washer is clean of any debris:
Thread Starter
i felld offa mai trike
Joined: Nov 2008
Posts: 827
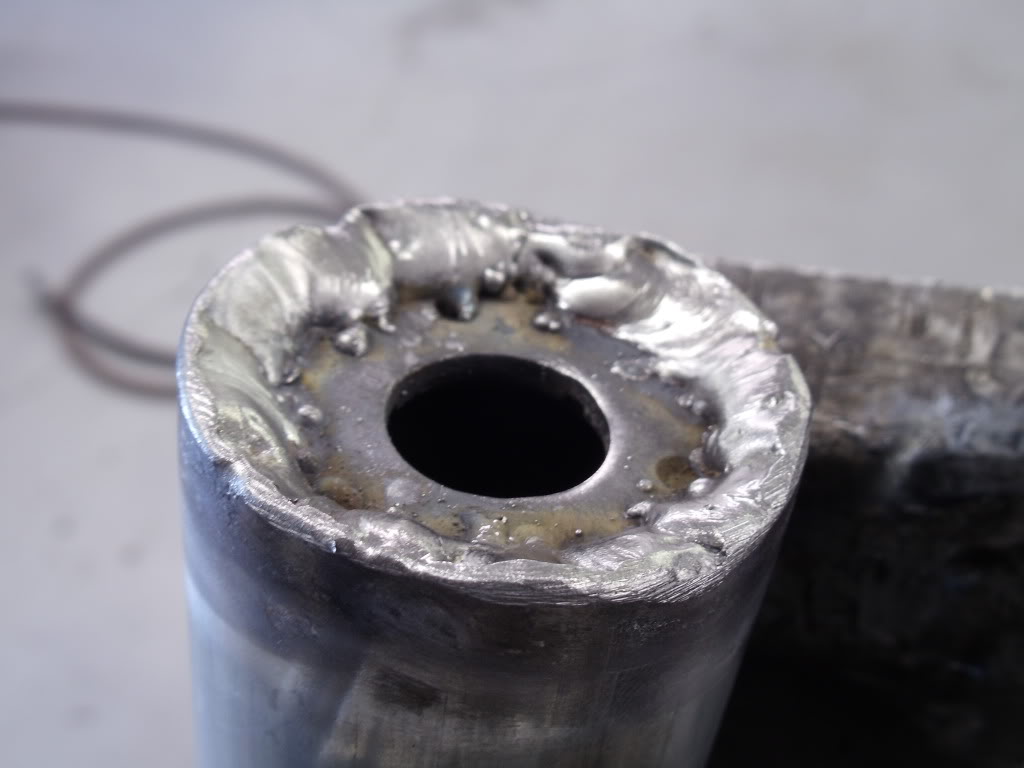
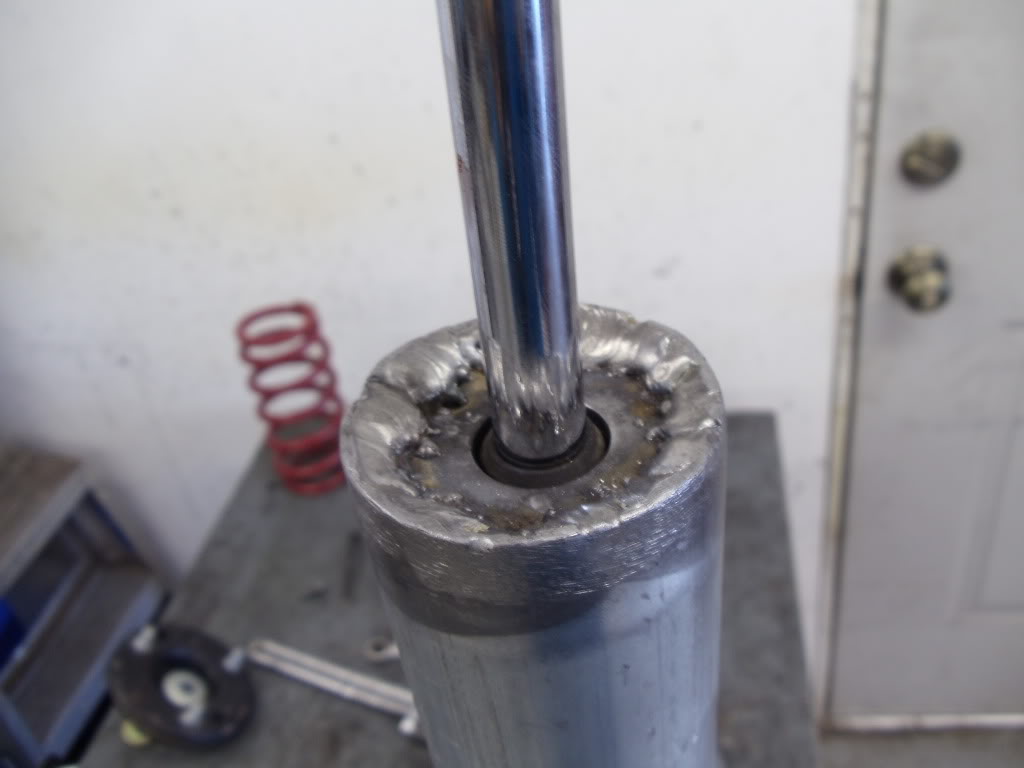
Now tack the washer into the pipe like so (I chose to leave a lip on the upper portion so I could weld the crap out of it and not have to worry about grinding too much of for it to fit inside the sleeve):

be sure to not use too much heat or you could blow up the shock in your face!!!
now take the whole pipe off of the shock and complete the weld:
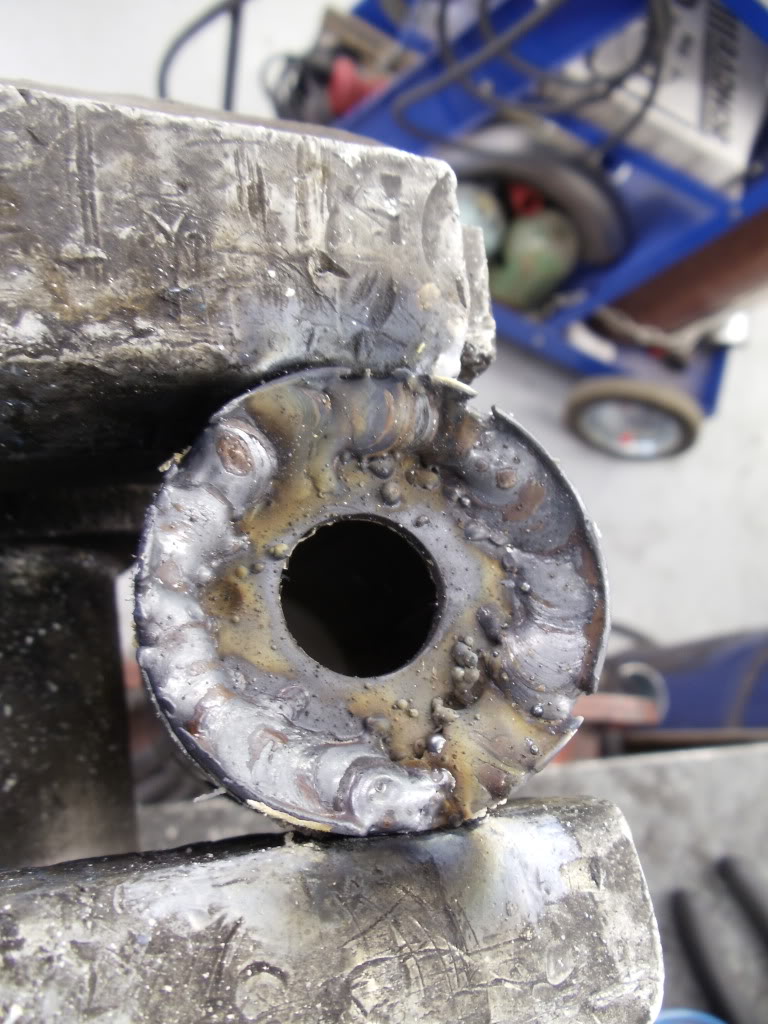
I know it looks like crap, don’t flame me too much haha
While you’re waiting for the pipe to cool off, you might as well cut the lower pipe to length and prepare it for welding:
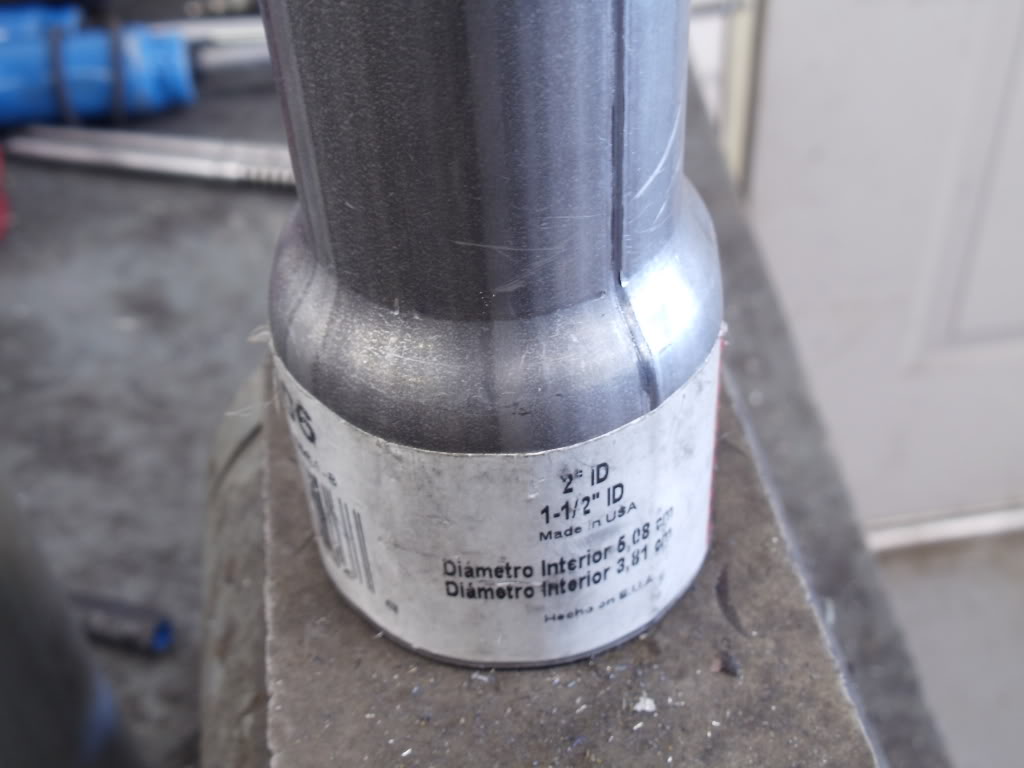
cut the smaller part off so that it will fit on the pipe no problem:
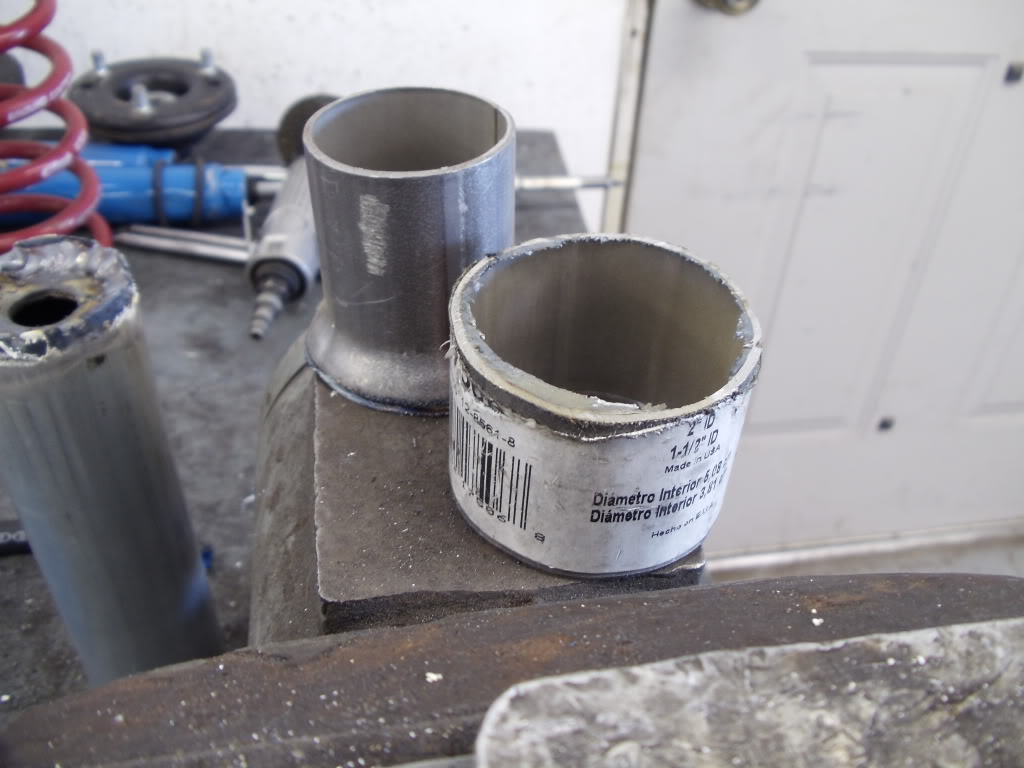
and discard the reducer.
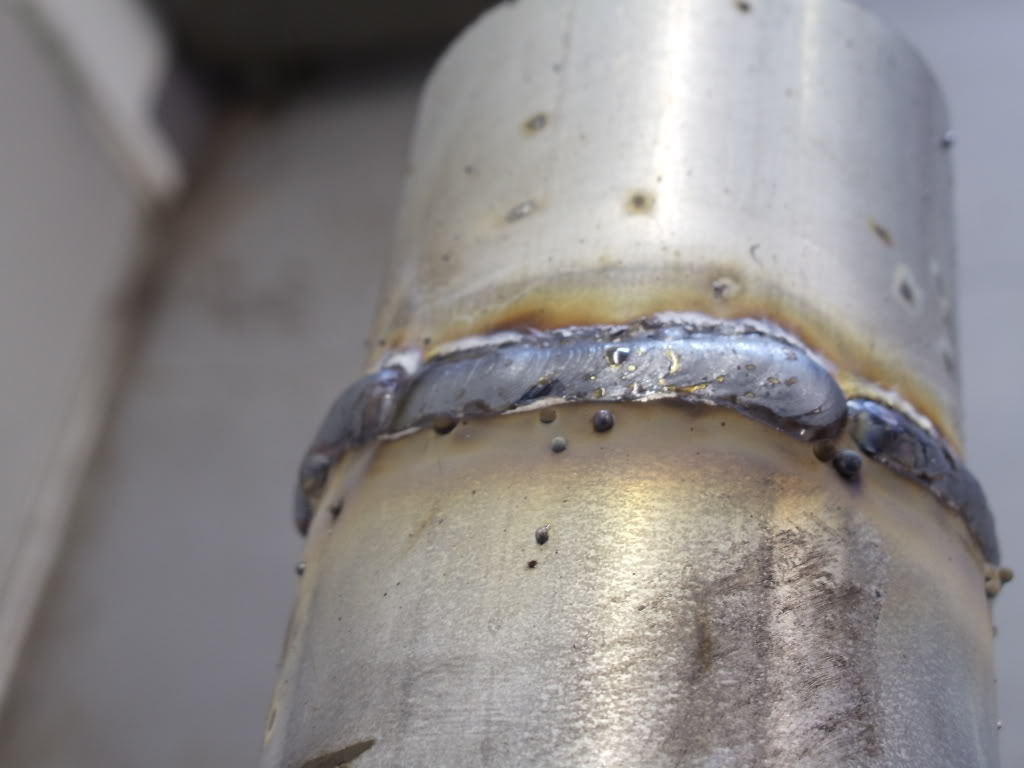
Now clean up the weld after it’s cooled off (not necessary if you’re really good at welding):
one of the hard parts is figuring out where you want to put the sleeve for the coilover. I chose to make it so that with the collars adjusted all the way up, there was slight preload on the shock using the 330lb/in springs I’m using (I know, too stiff for HP’s, but it’s what the owner wants)
put the sleeve on the pipe and tack the other pipe into position as flat as possible against the sleeve (sleeve isn’t pictured, sorry lol):
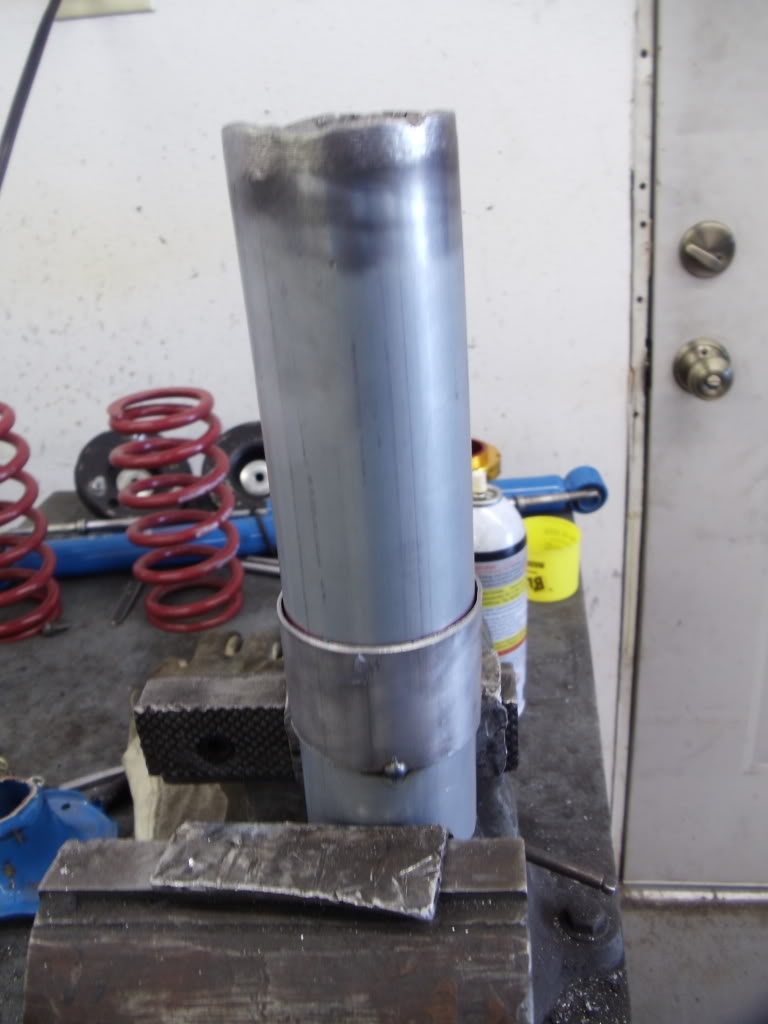
take the sleeve off and finish the weld:
wait for the pipe to cool off
Put a couple of O-rings on the shock to insulate it from the pipe:
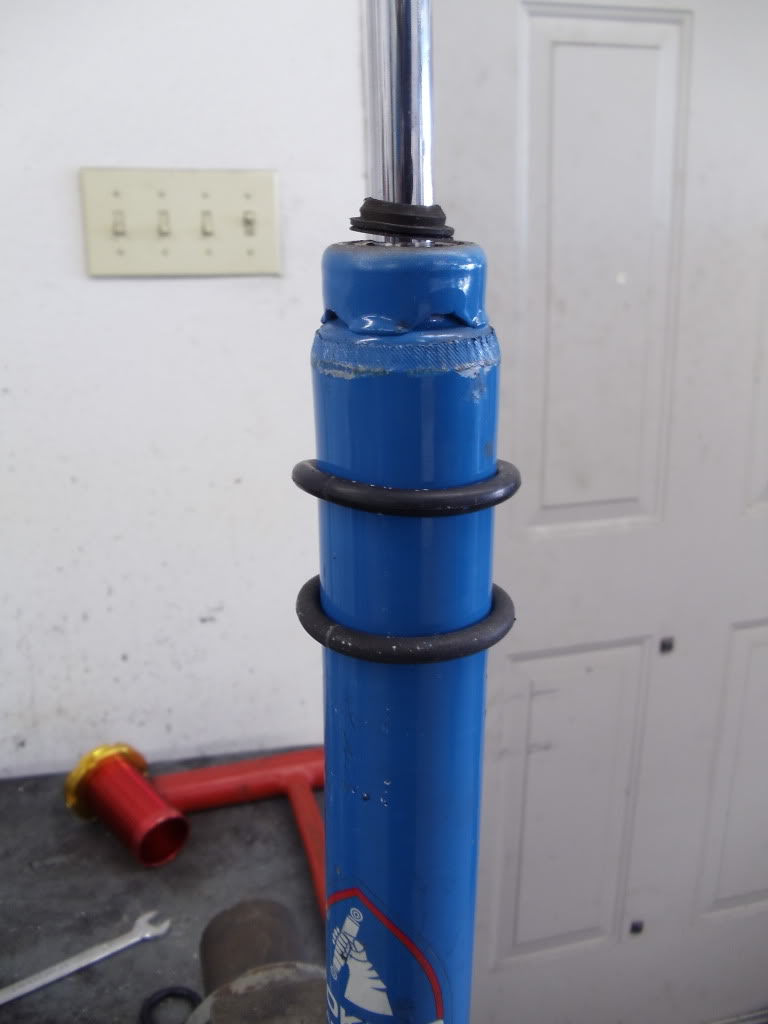
and put the pipe back on:
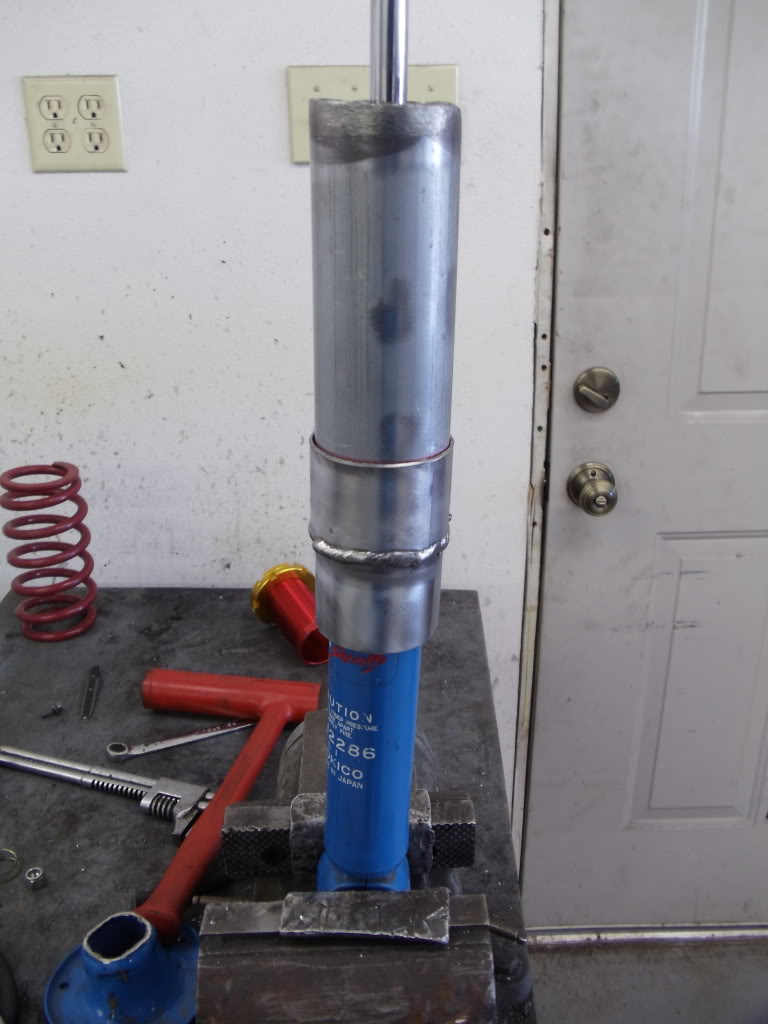
lightly tap it down onto the shock and make sure it’s seated:
be sure to not use too much heat or you could blow up the shock in your face!!!
now take the whole pipe off of the shock and complete the weld:
I know it looks like crap, don’t flame me too much haha
While you’re waiting for the pipe to cool off, you might as well cut the lower pipe to length and prepare it for welding:
cut the smaller part off so that it will fit on the pipe no problem:
and discard the reducer.
Now clean up the weld after it’s cooled off (not necessary if you’re really good at welding):
one of the hard parts is figuring out where you want to put the sleeve for the coilover. I chose to make it so that with the collars adjusted all the way up, there was slight preload on the shock using the 330lb/in springs I’m using (I know, too stiff for HP’s, but it’s what the owner wants)
put the sleeve on the pipe and tack the other pipe into position as flat as possible against the sleeve (sleeve isn’t pictured, sorry lol):
take the sleeve off and finish the weld:
wait for the pipe to cool off
Put a couple of O-rings on the shock to insulate it from the pipe:
and put the pipe back on:
lightly tap it down onto the shock and make sure it’s seated:
Thread Starter
i felld offa mai trike
Joined: Nov 2008
Posts: 827
put the sleeve on:
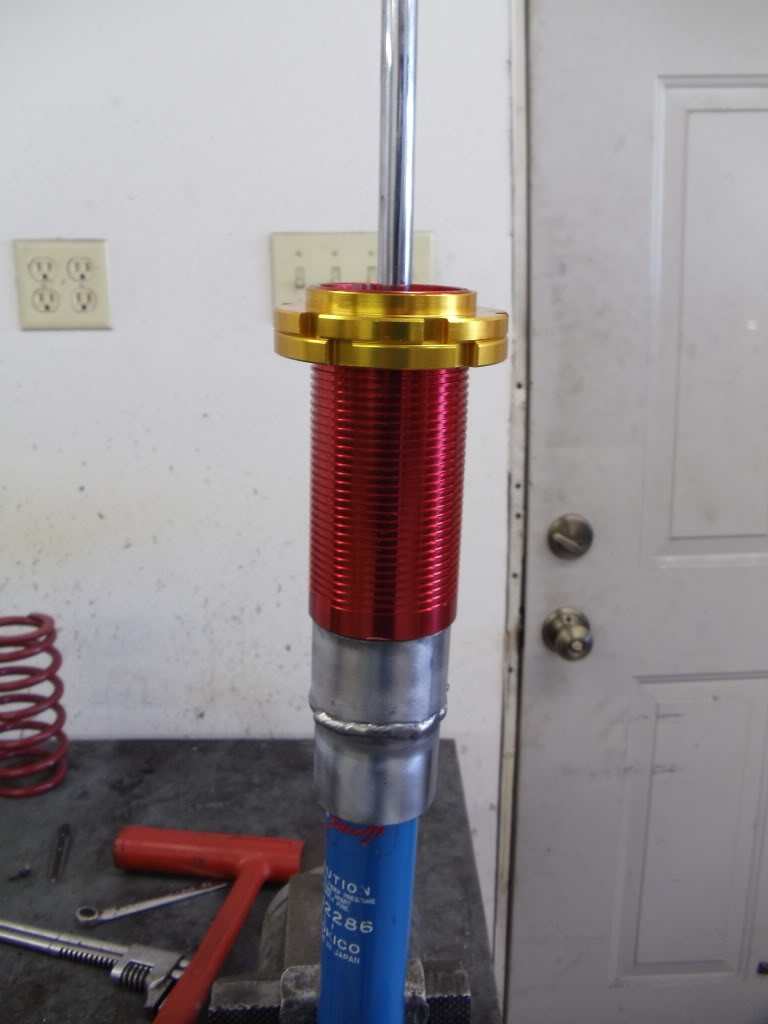
and reassemble the whole assembly similar to this:

I didn’t put a bumpstop in there because my friend is using his own shocks and these are damn near used up.
You might also want to figure out a way to make an upper hat for the spring to make sure it stays centered, but it may be difficult using the stock upper hat with the large bushings.
And also paint or powder coat the pipes to keep them from rusting.
And that’s how I converted my Tokico HP rear shocks to coilovers!
and reassemble the whole assembly similar to this:
I didn’t put a bumpstop in there because my friend is using his own shocks and these are damn near used up.
You might also want to figure out a way to make an upper hat for the spring to make sure it stays centered, but it may be difficult using the stock upper hat with the large bushings.
And also paint or powder coat the pipes to keep them from rusting.
And that’s how I converted my Tokico HP rear shocks to coilovers!


Thread
Thread Starter
Forum
Replies
Last Post
guycali
FS: 240Z,260Z,280Z & 280ZX (70-83)
0
Oct 9, 2004 08:59 PM
guycali
FS: 240Z,260Z,280Z & 280ZX (70-83)
0
Oct 9, 2004 08:58 PM
gtplus2
For Sale (VIEW ALL)
0
Apr 17, 2004 09:12 AM
zpeedrazer
240Z, 260Z, 280Z (S30) Forums
9
Mar 15, 2002 05:12 AM
Bookmarks


