
Uphostery - first attempt at recovering a car seat.
 01-05-2019, 02:19 AM
#1
Mr Z++ Wiki
Thread Starter

Join Date: Sep 2009
Location: Victoria, BC
Posts: 2,195
Uphostery - first attempt at recovering a car seat.
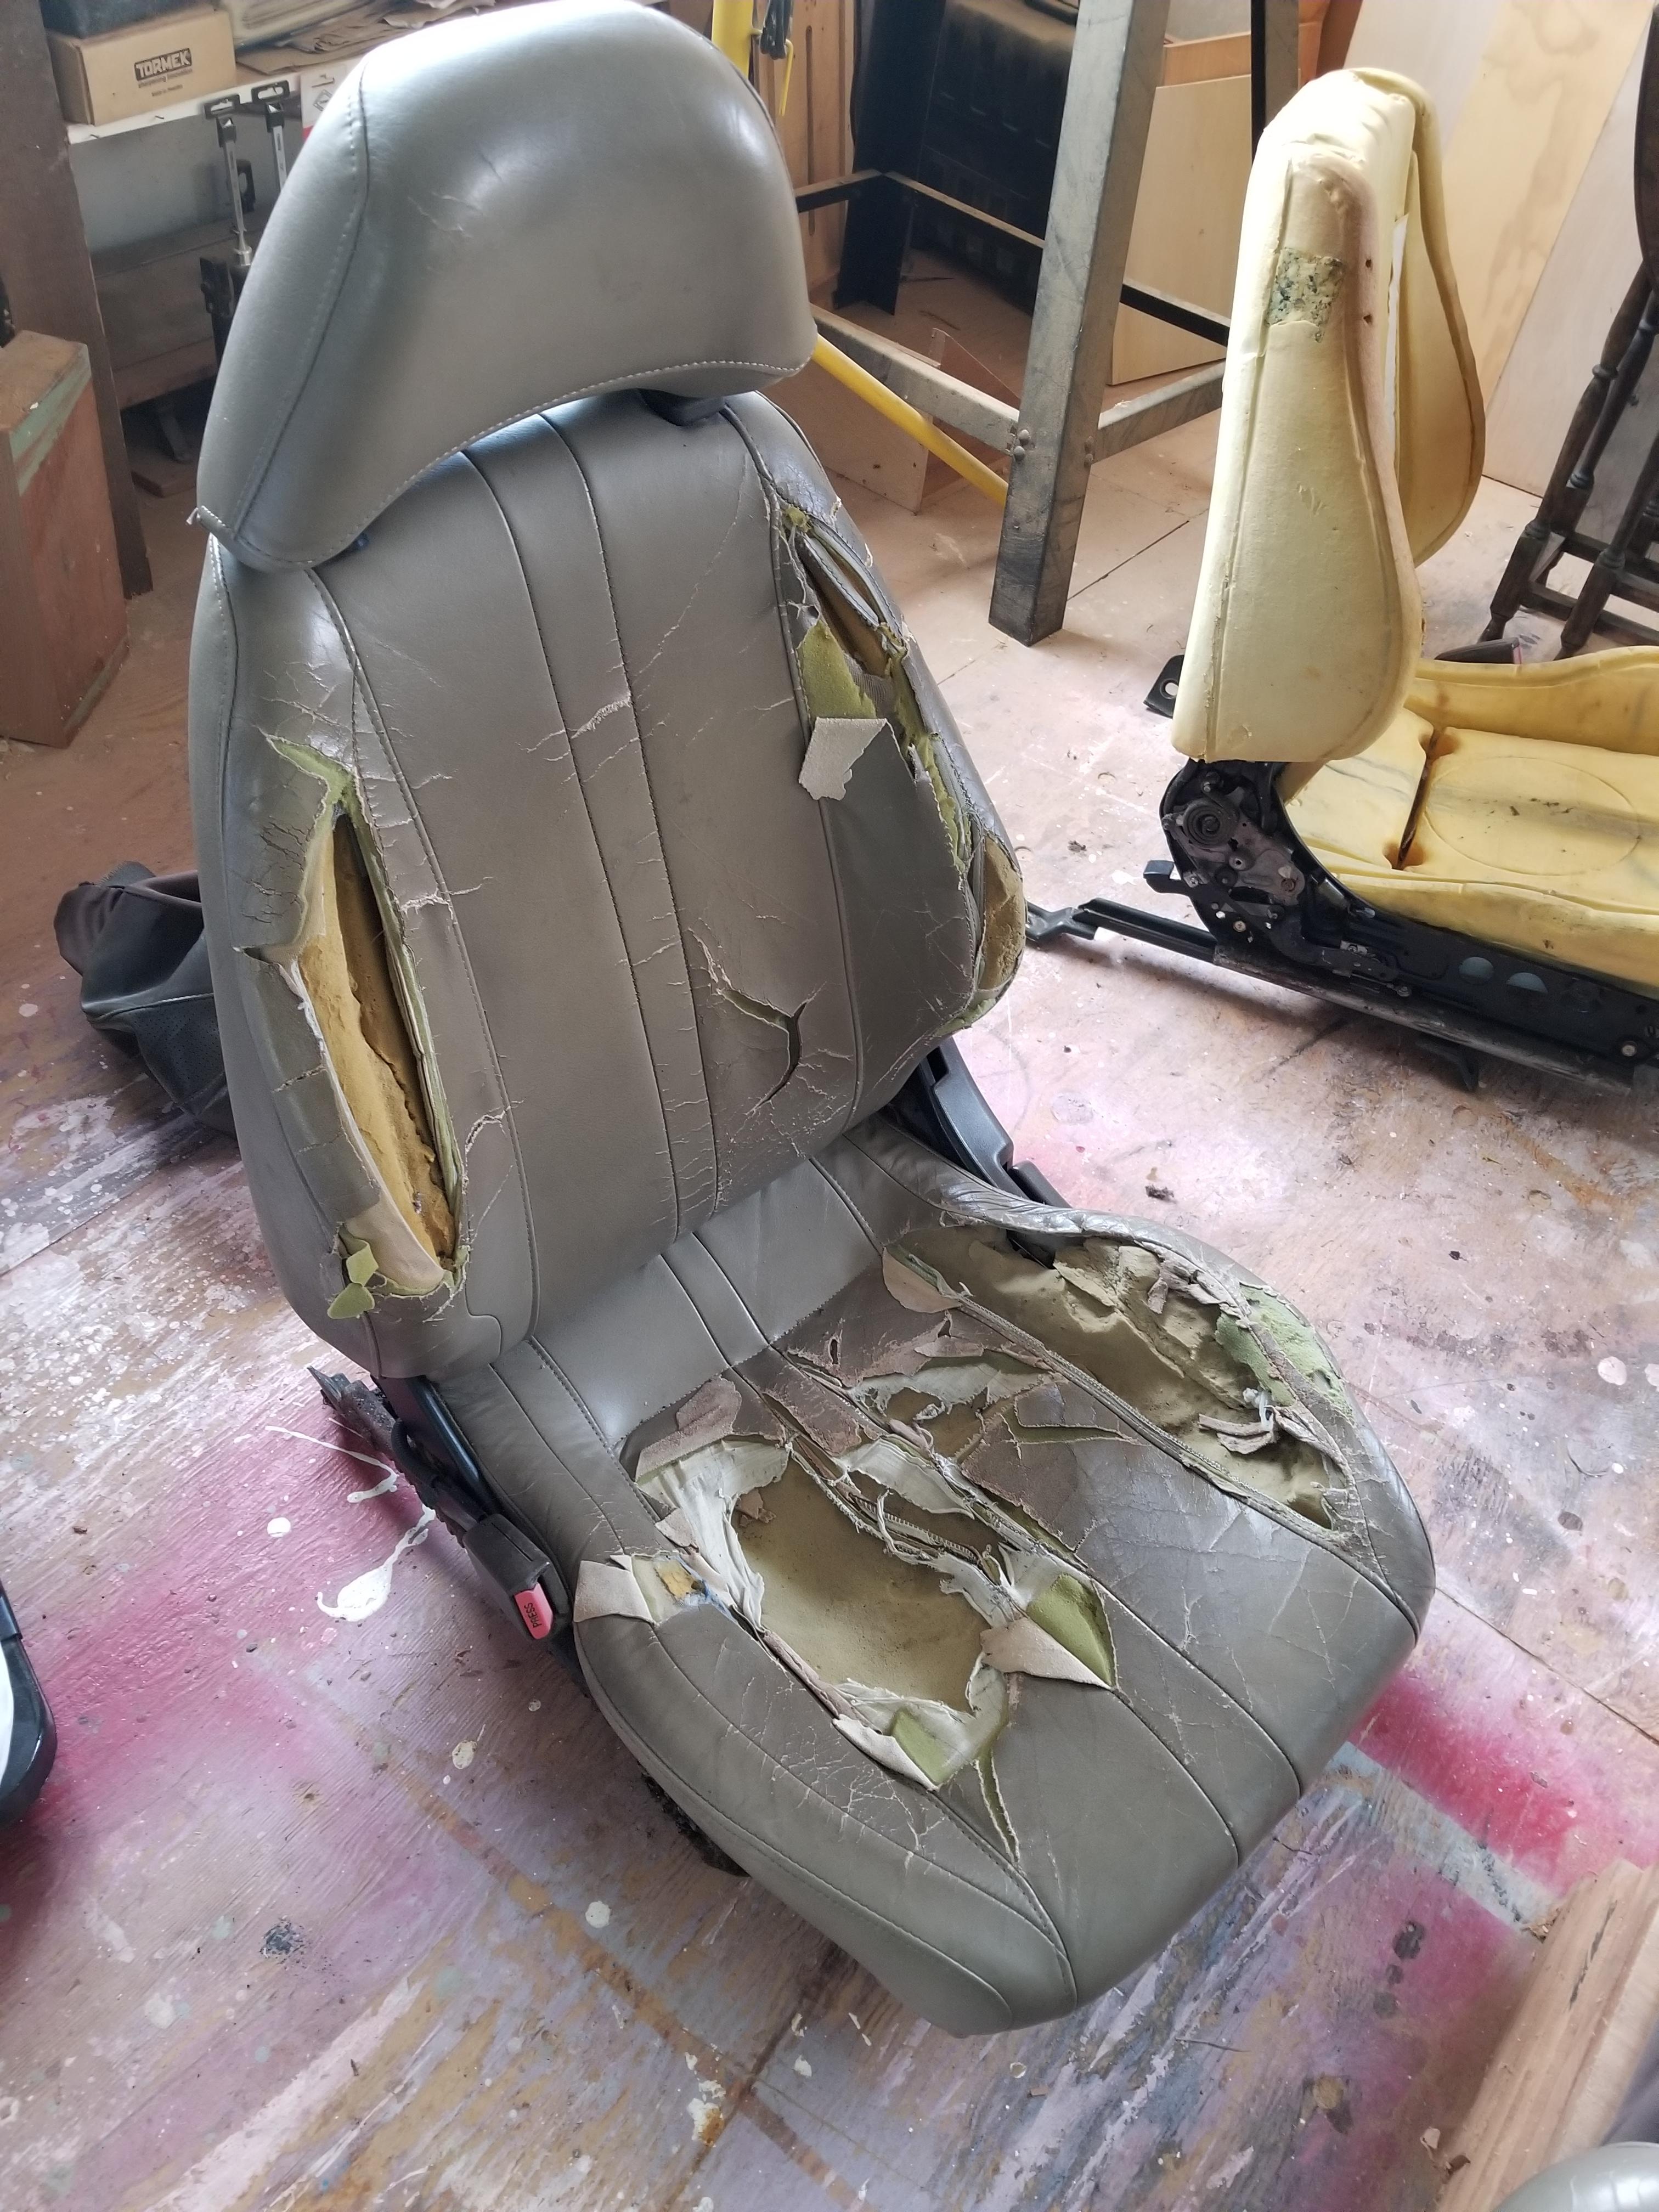
Thought this might be a helpful reference for anyone wanting to redo their seats. This is my first attempt at a car seat so I did a lot of reading and watching YouTube videos. I've got a little bit of experience fixing up a couple of antique chairs so I thought I'd try my hand at some automotive upholstery. I bought an industrial sewing machine so I'm kind of committed now  The plan is to do the interior on the 4dr 510 but thought I'd practice on my daughter's 240SX interior. The seats are BEAT! I can only make them better than what they are and that's not saying much - a piece of duct tape is a vast improvement
On the "to do" upholstery list
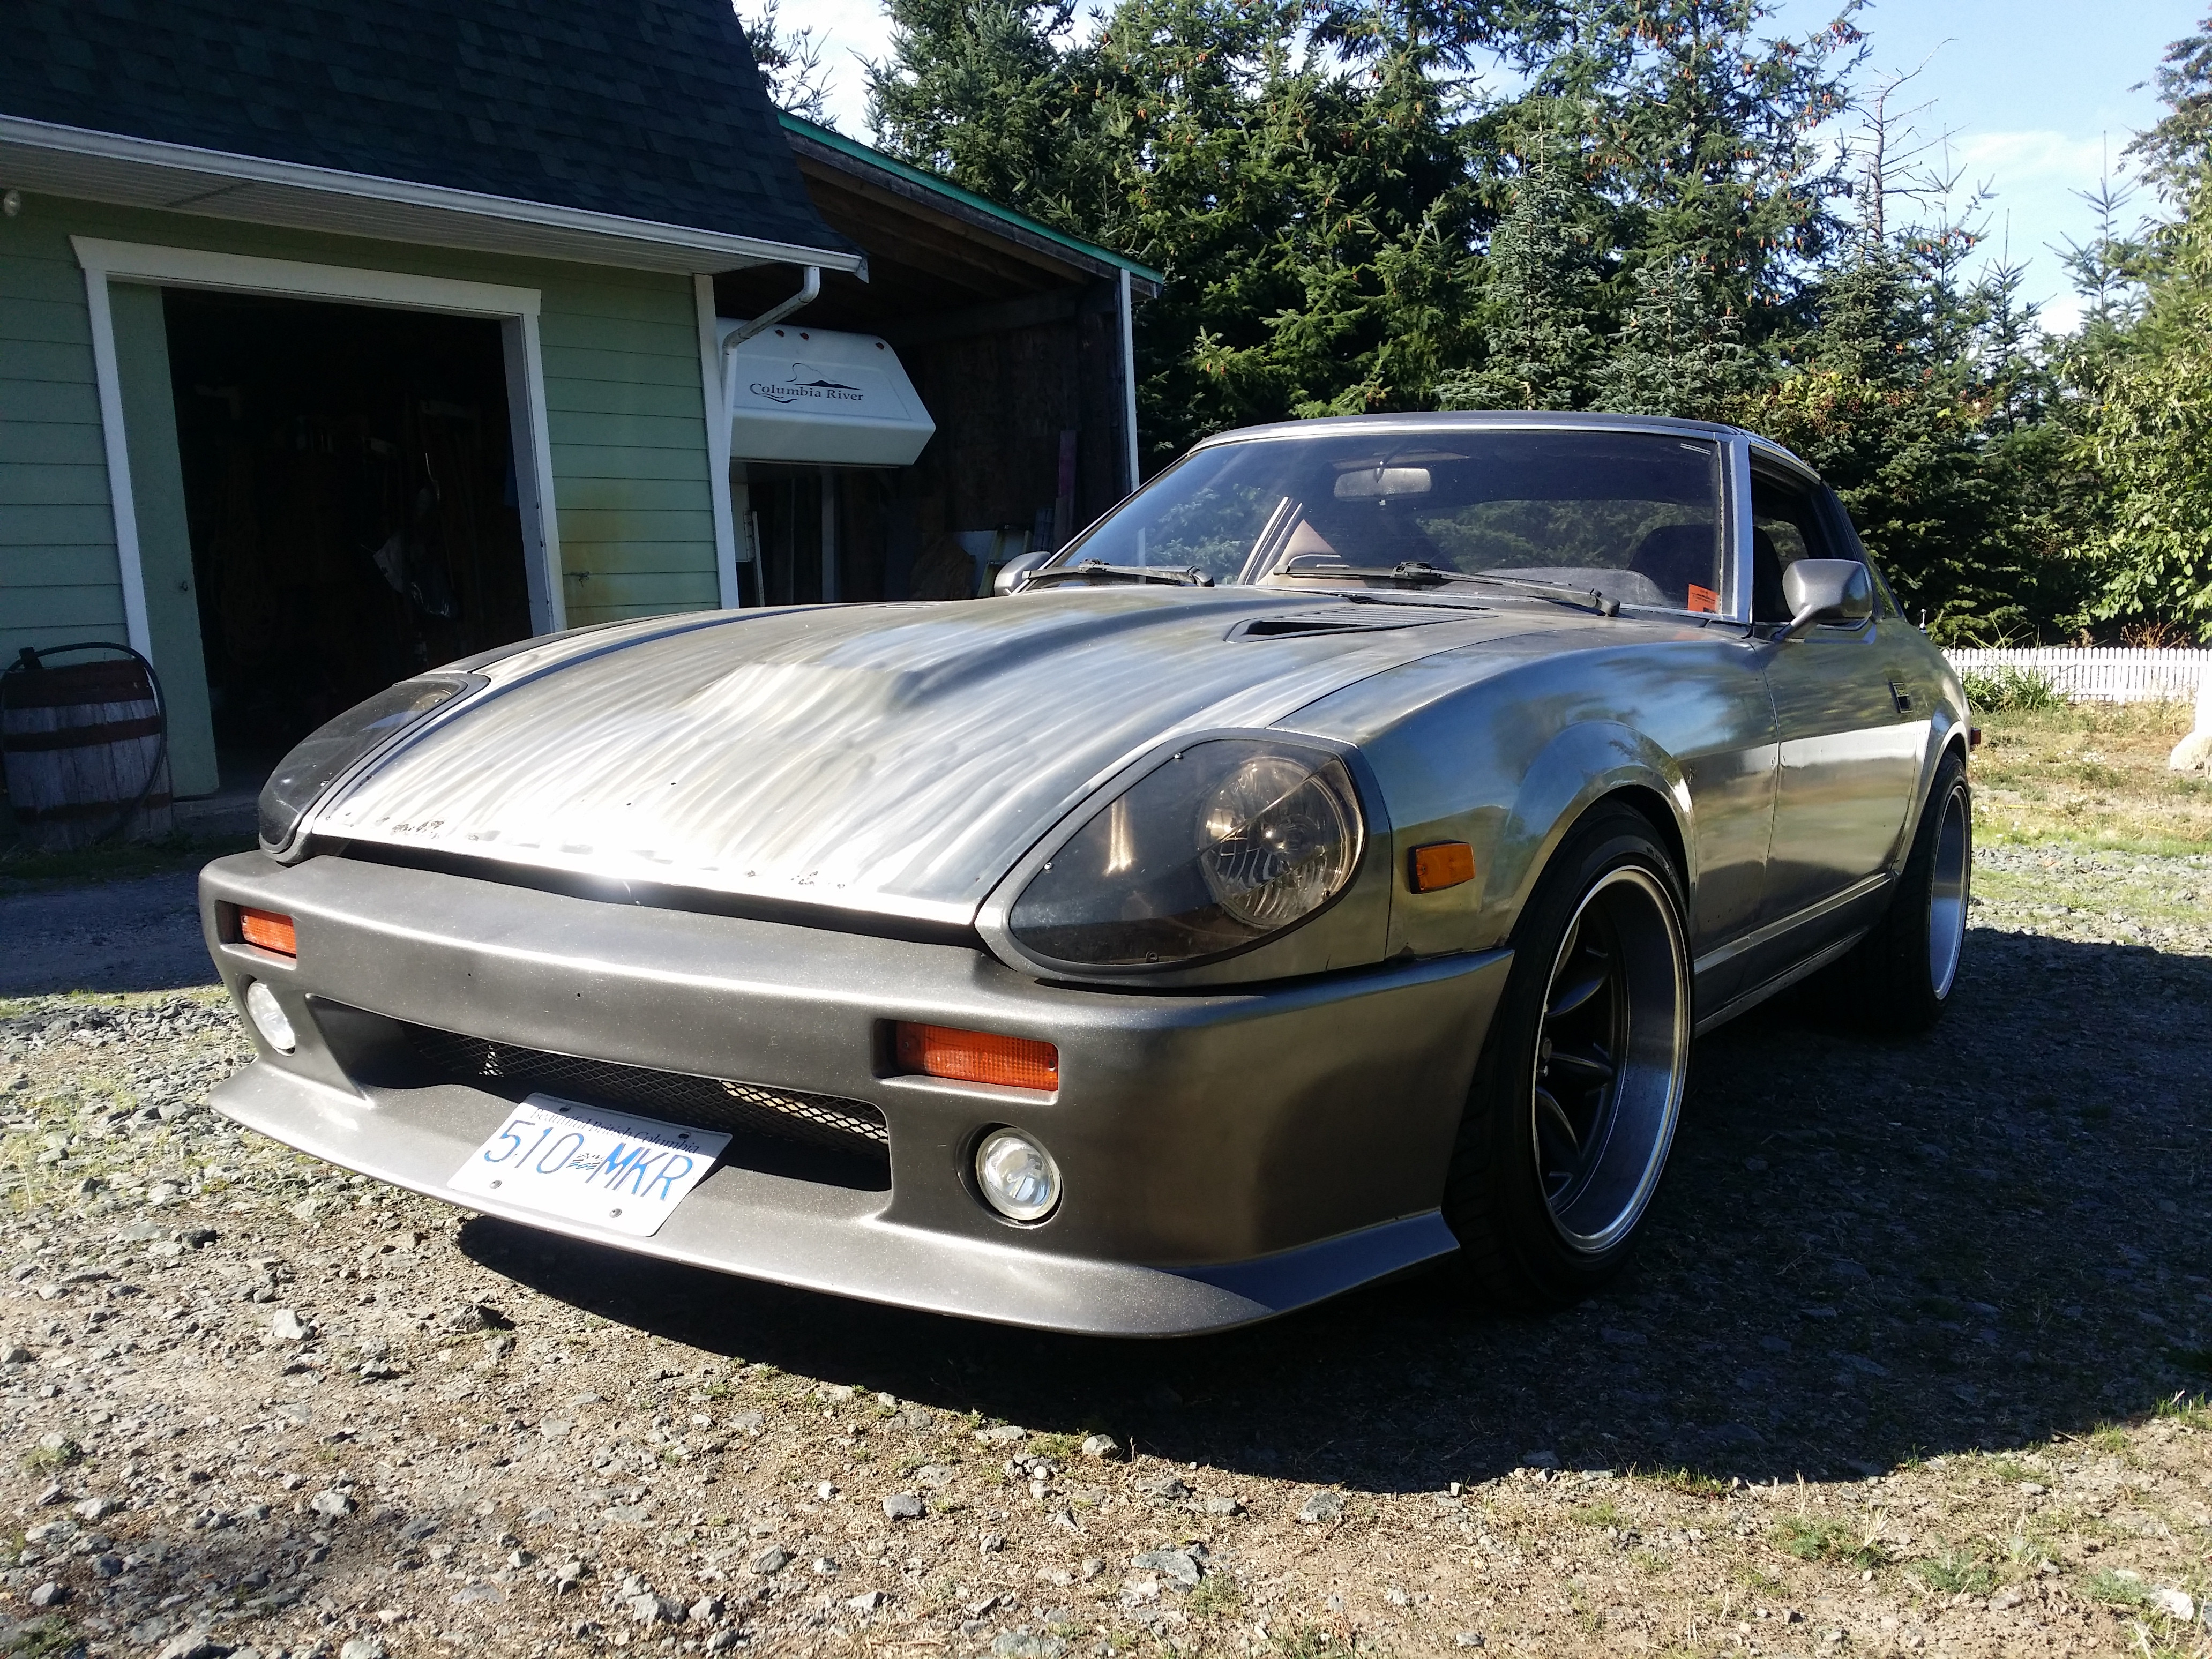
The 4dr 510 and future upholstery recipient
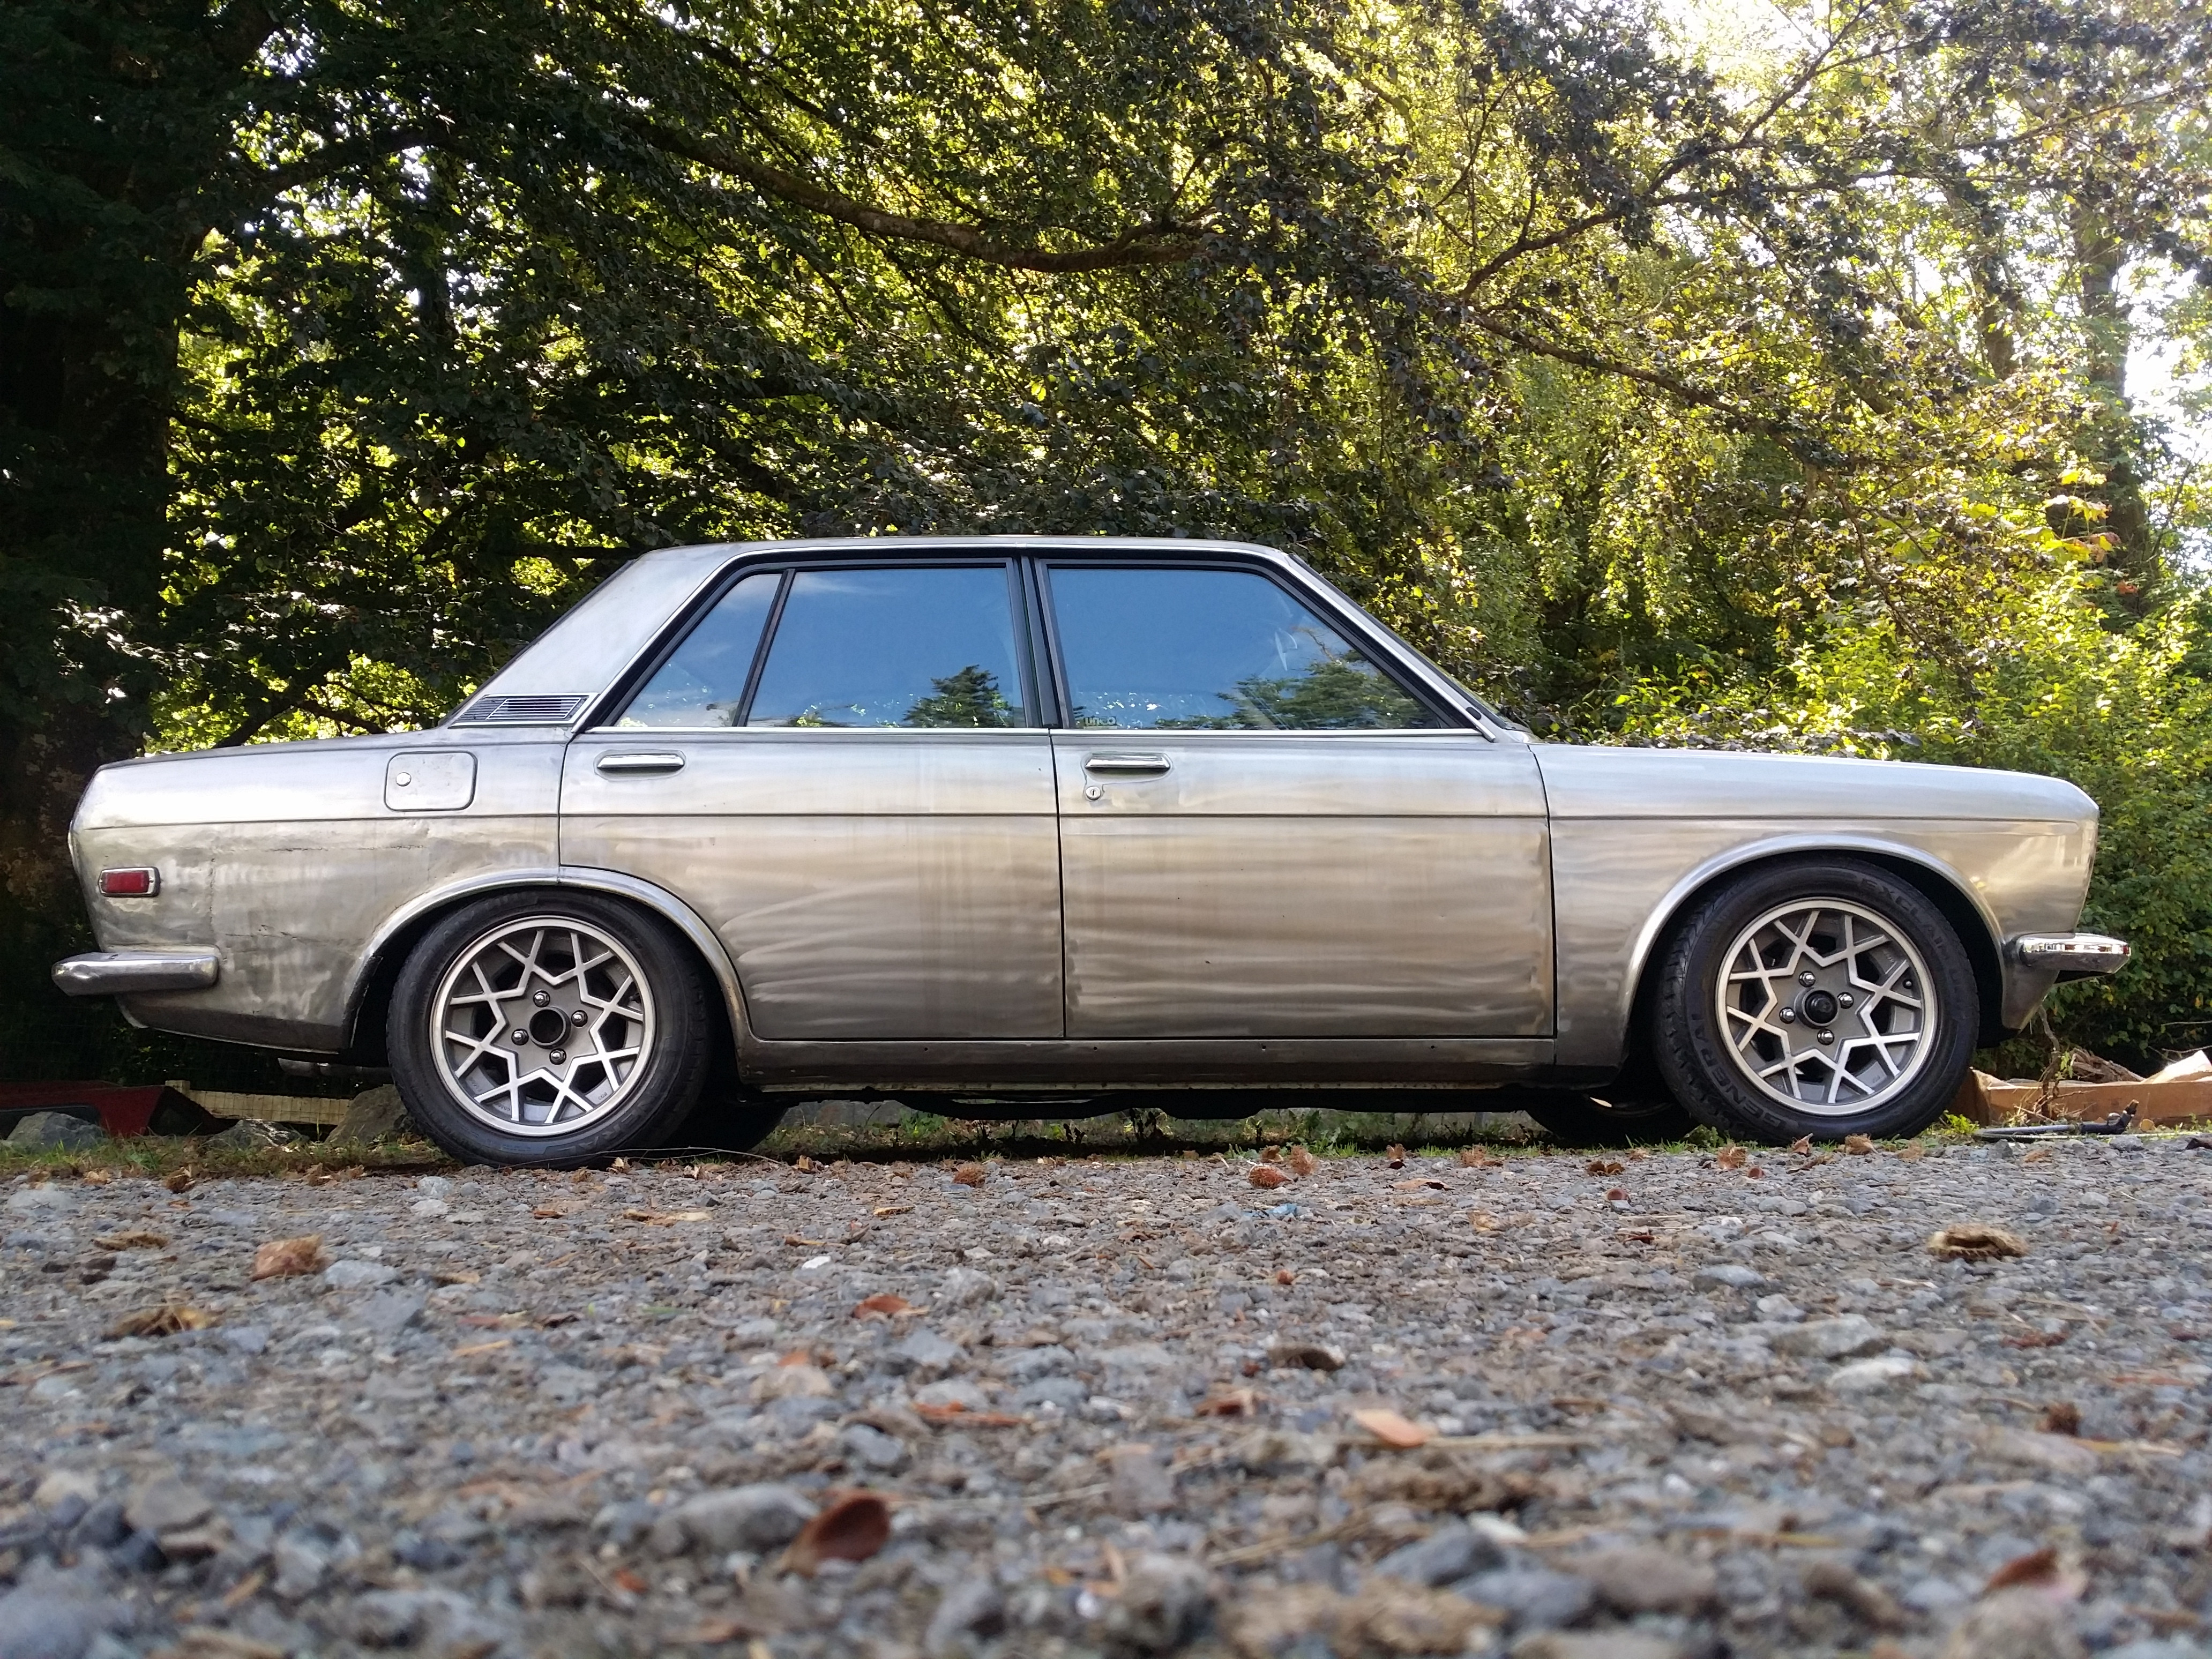
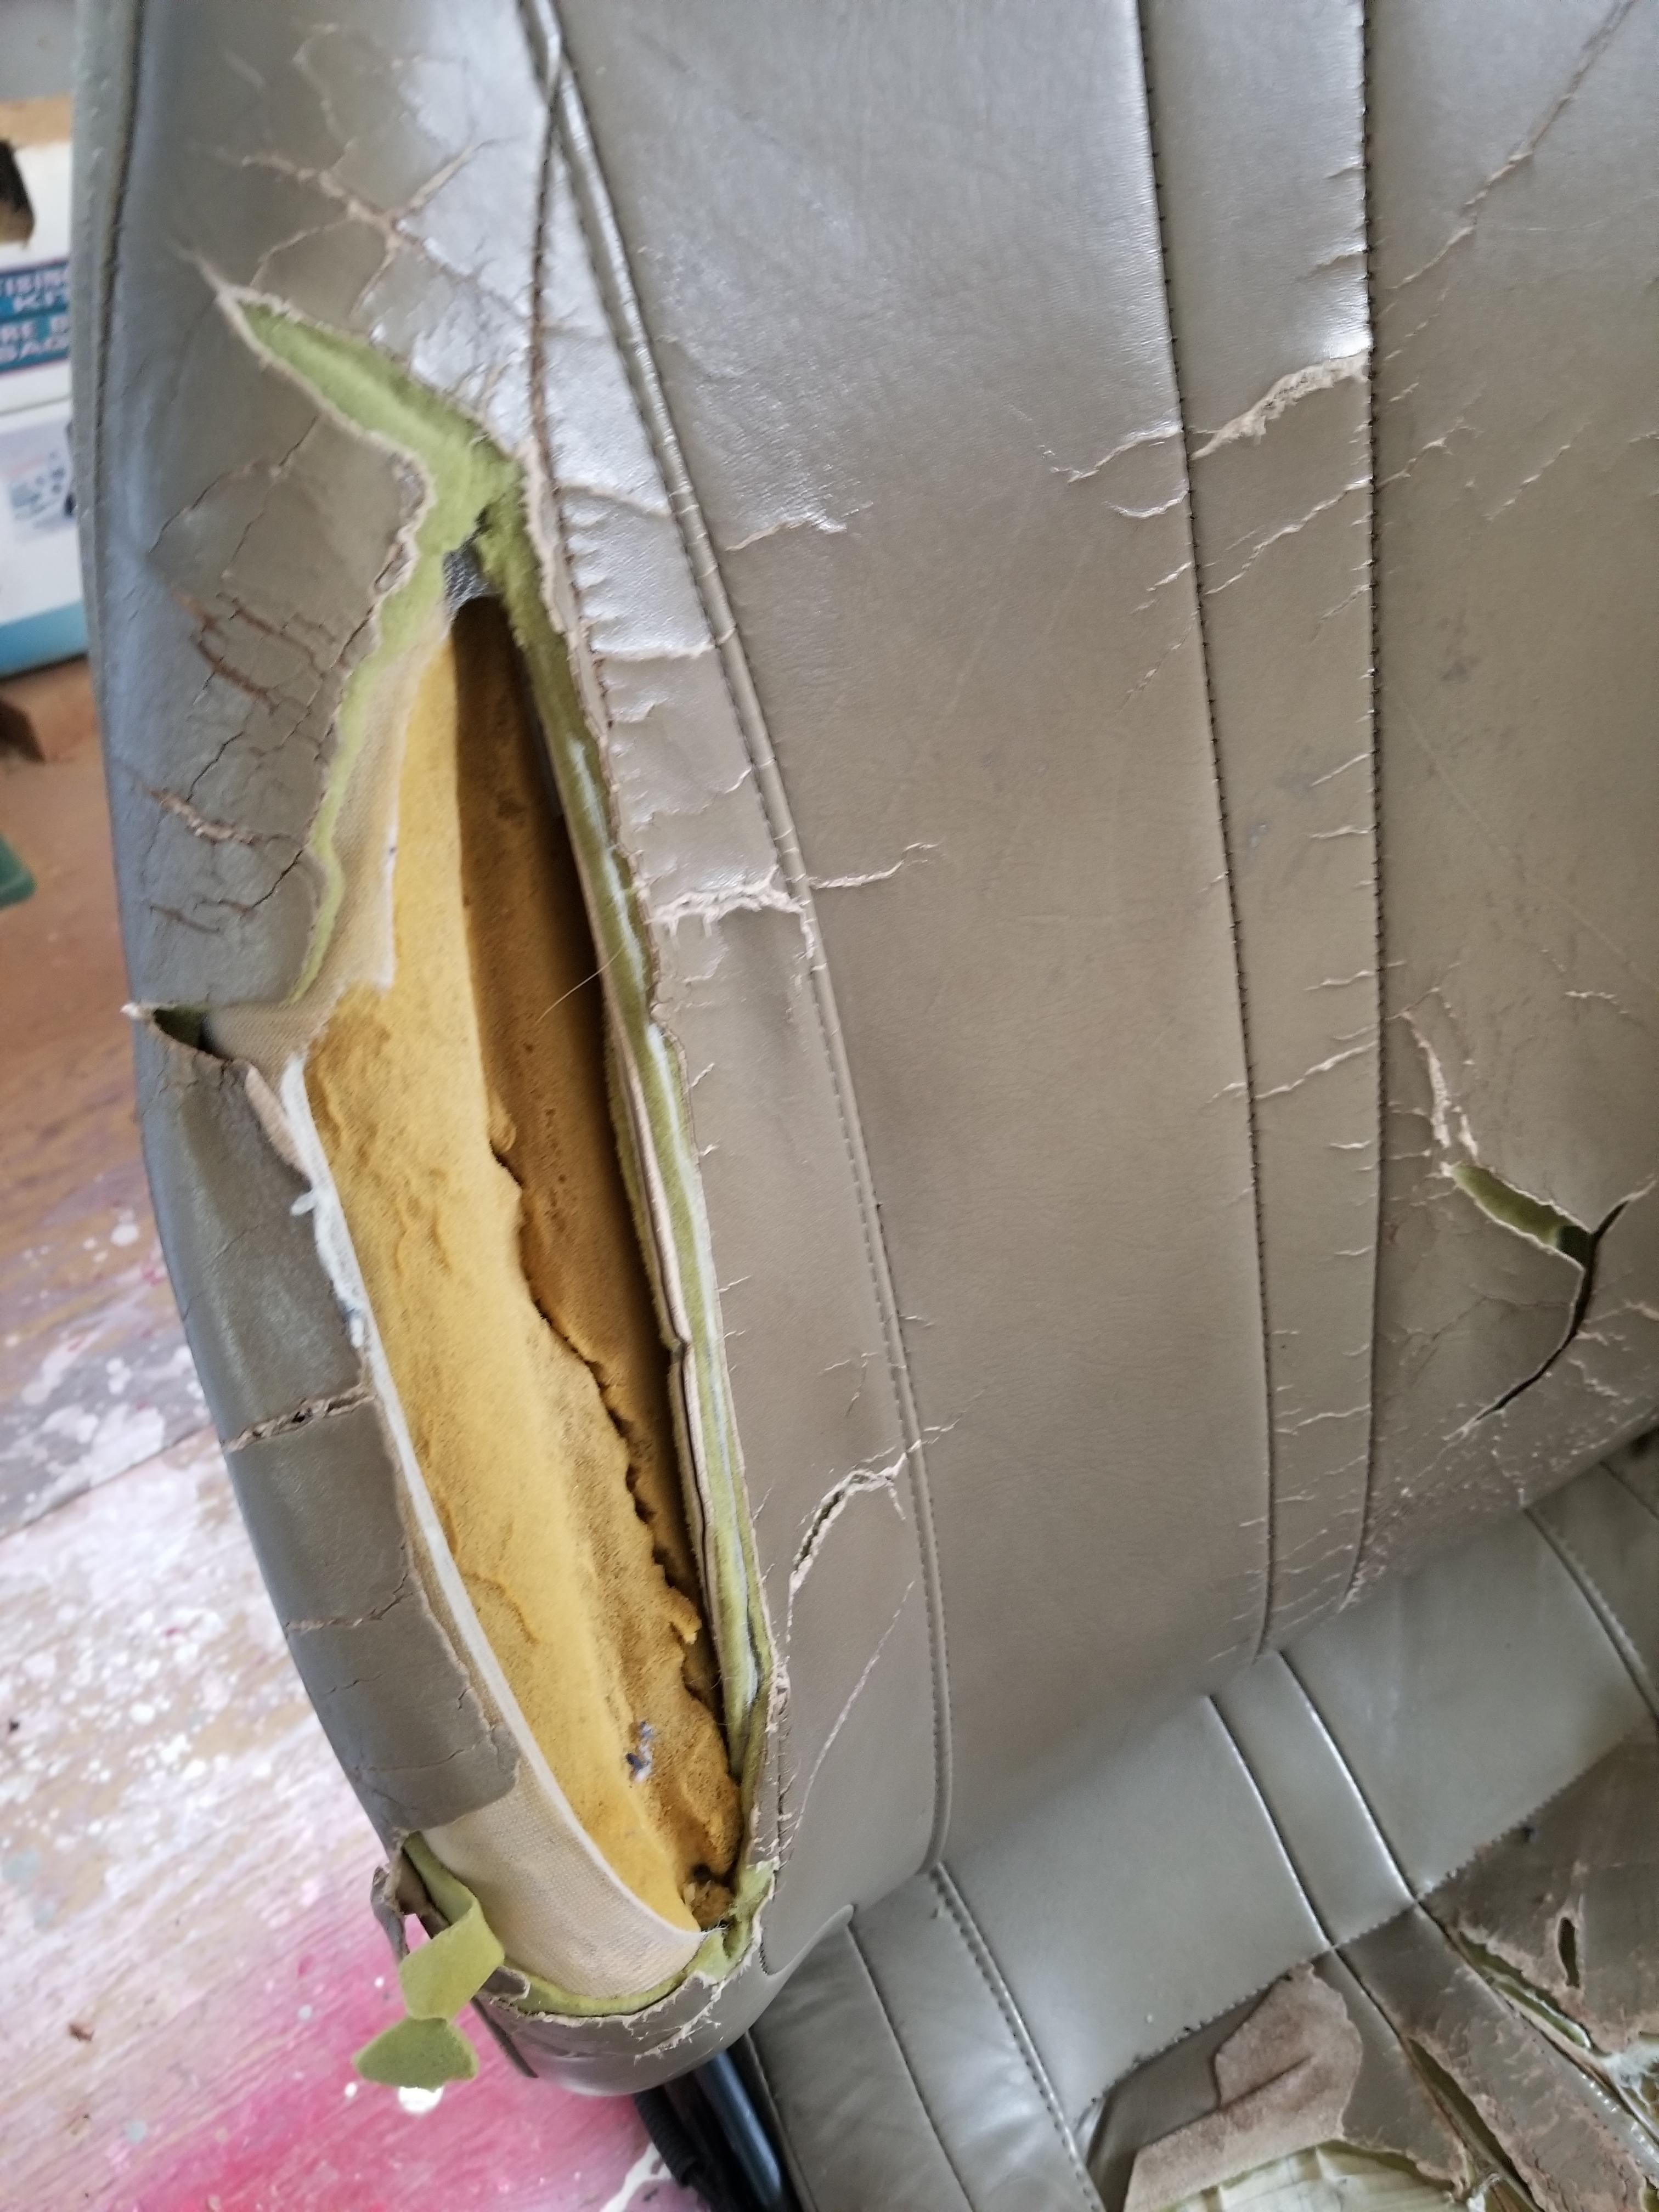
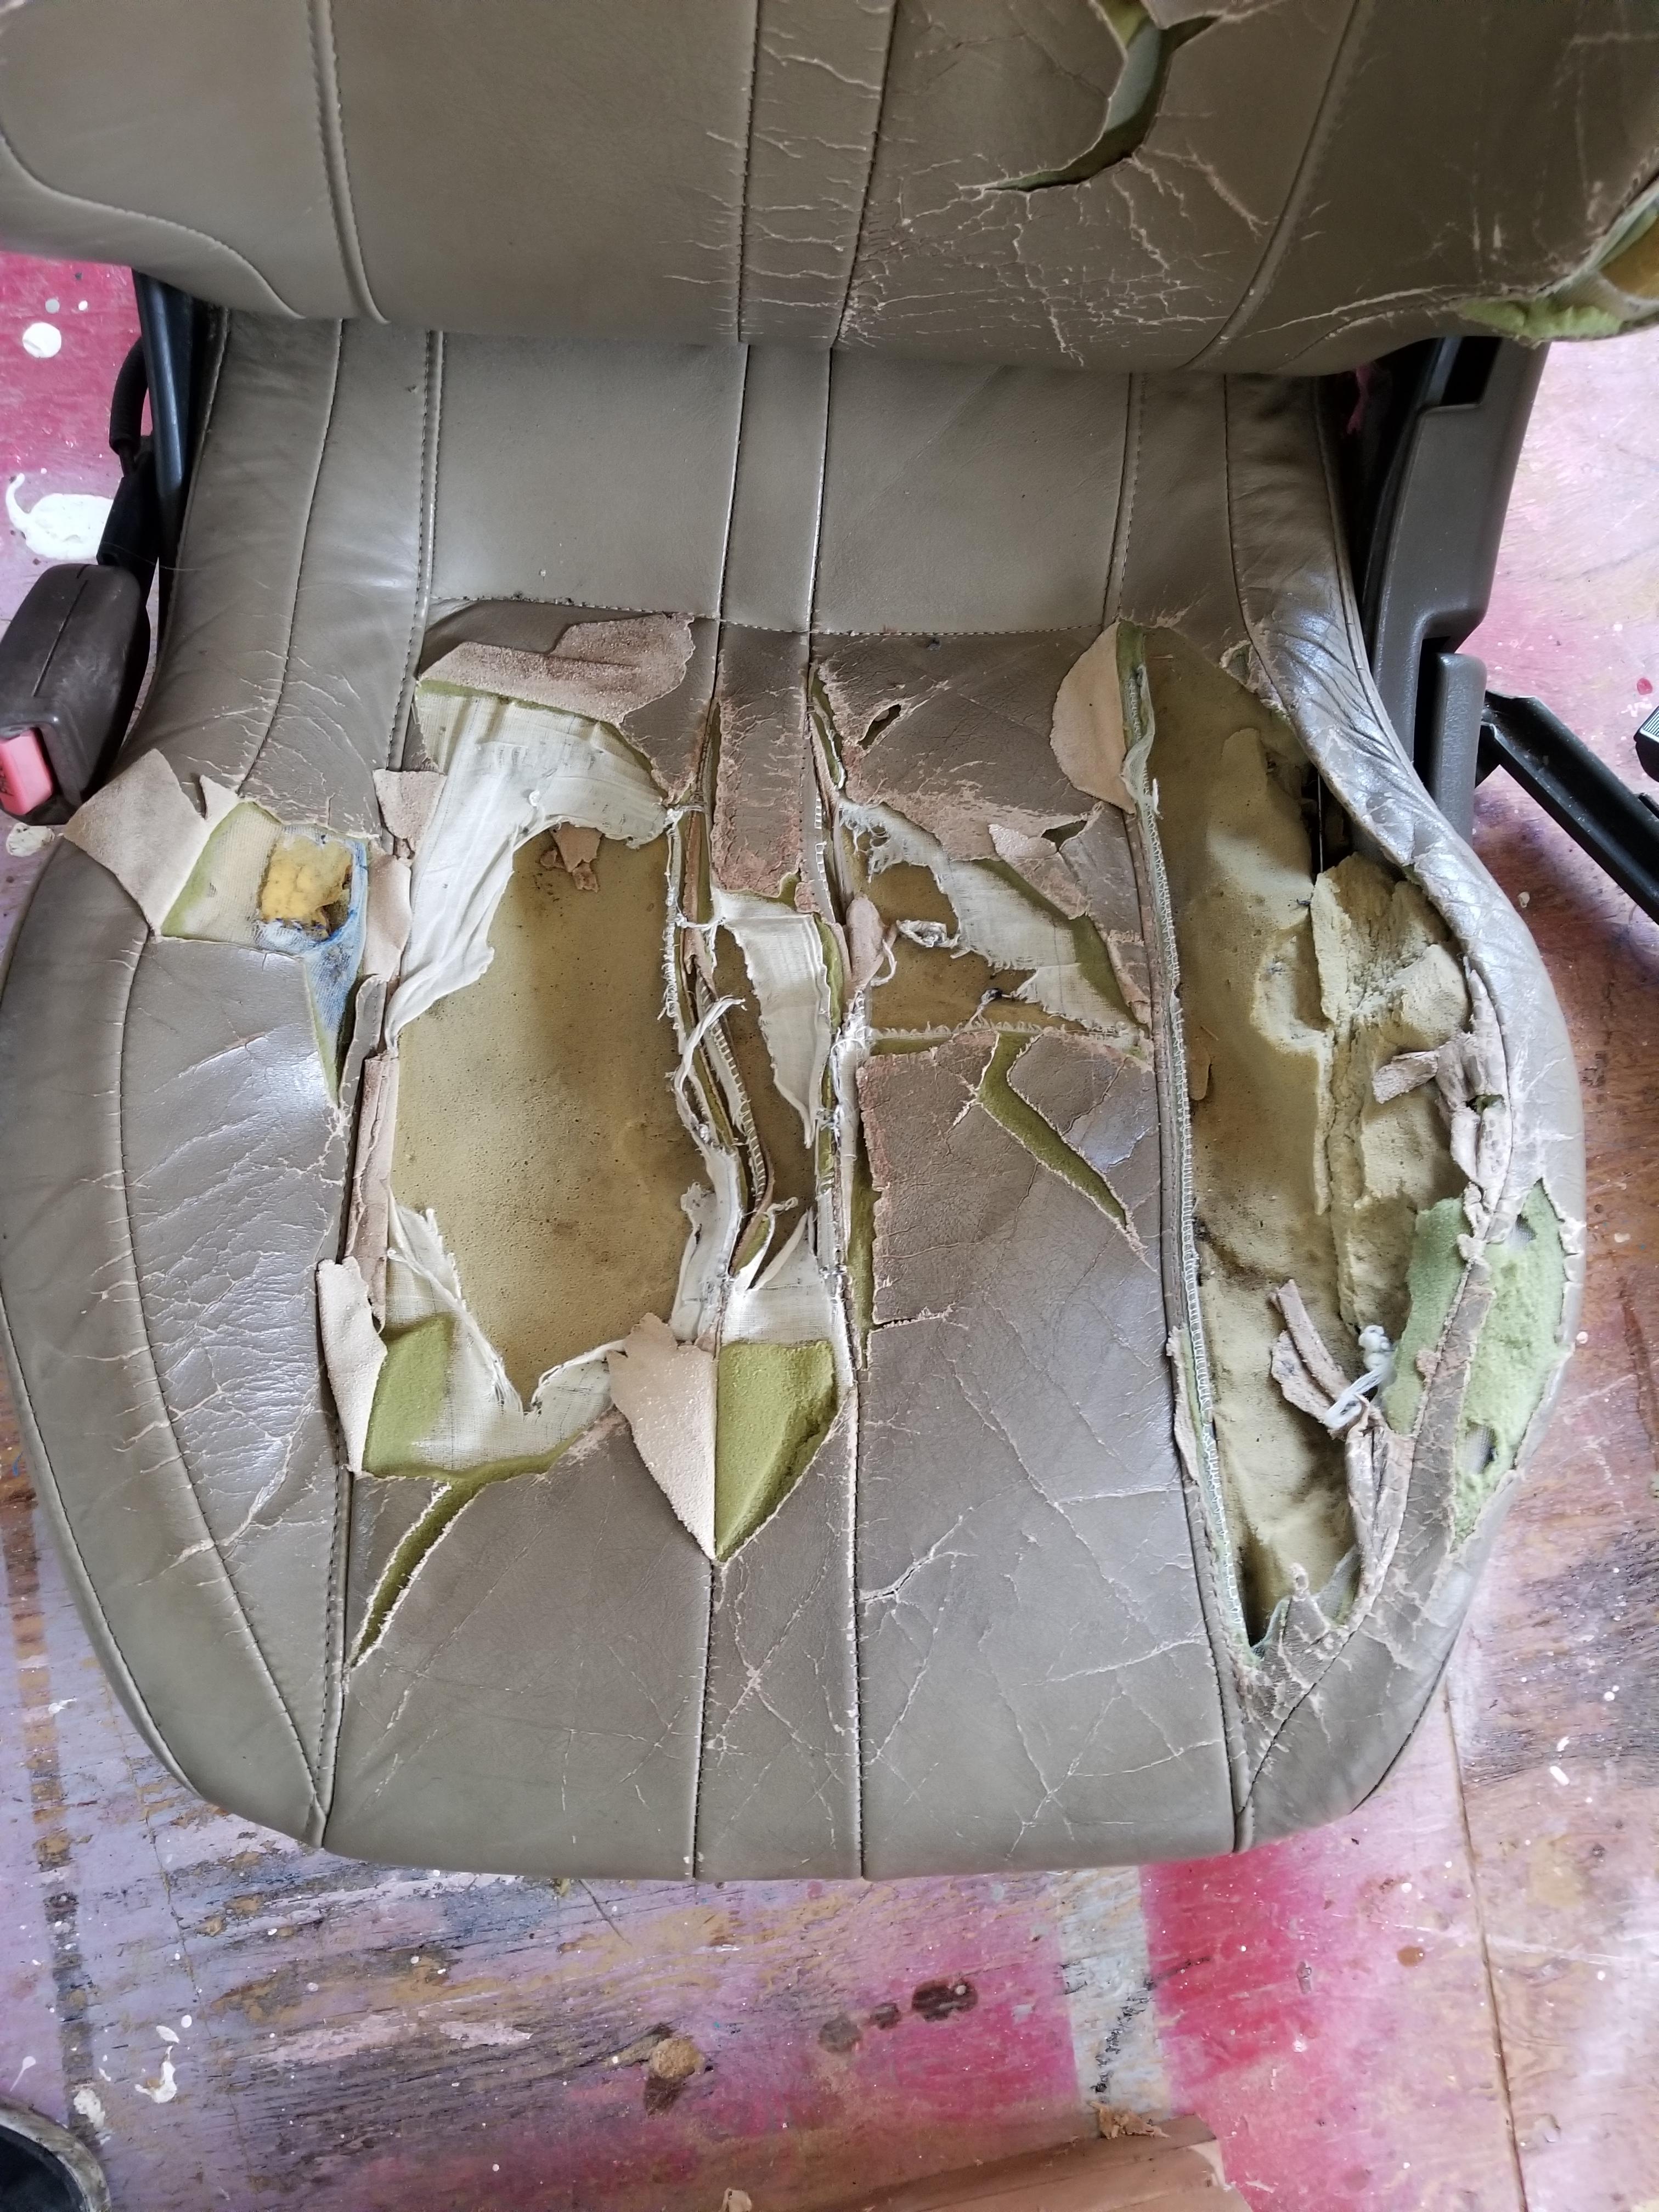
So lets start with some before pictures. Like I said I can only improve on this
The plan is to do the interior on the 4dr 510 but thought I'd practice on my daughter's 240SX interior. The seats are BEAT! I can only make them better than what they are and that's not saying much - a piece of duct tape is a vast improvement On the "to do" upholstery list
The 4dr 510 and future upholstery recipient
So lets start with some before pictures. Like I said I can only improve on this
Last edited by FricFrac; 01-05-2019 at 02:27 AM.
 01-05-2019, 02:20 AM
#2
Mr Z++ Wiki
Thread Starter
Join Date: Sep 2009
Location: Victoria, BC
Posts: 2,195
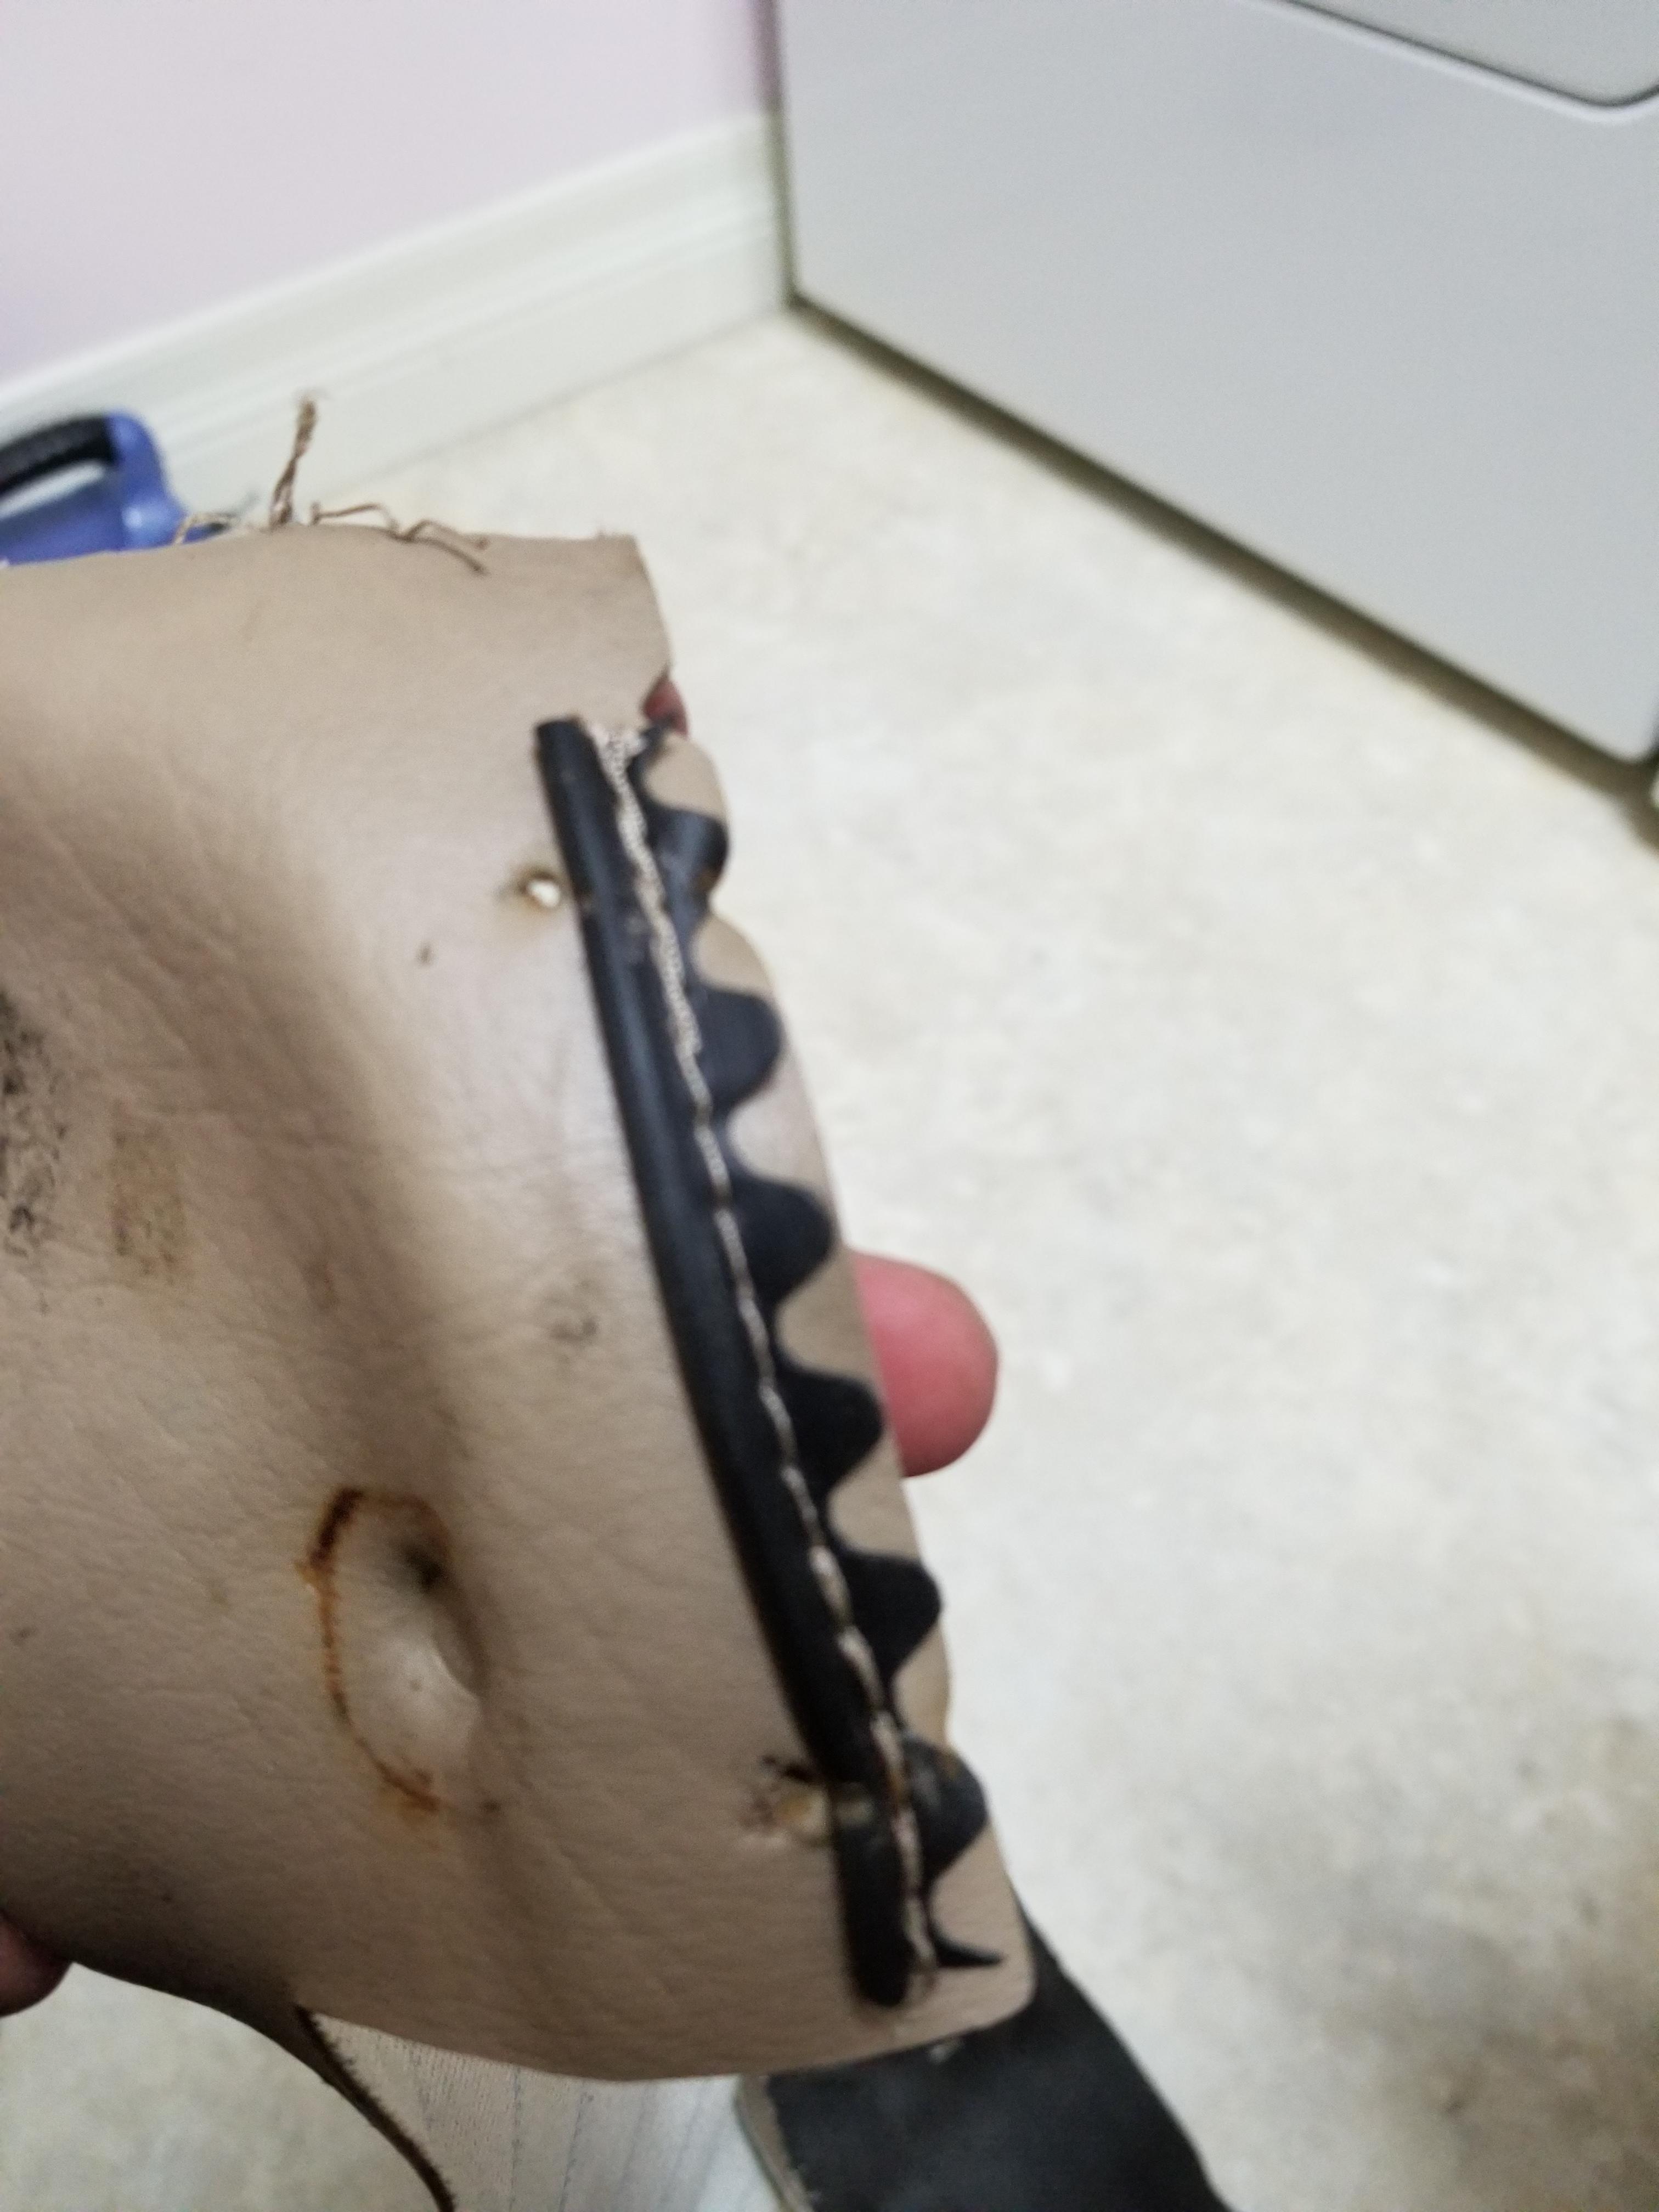
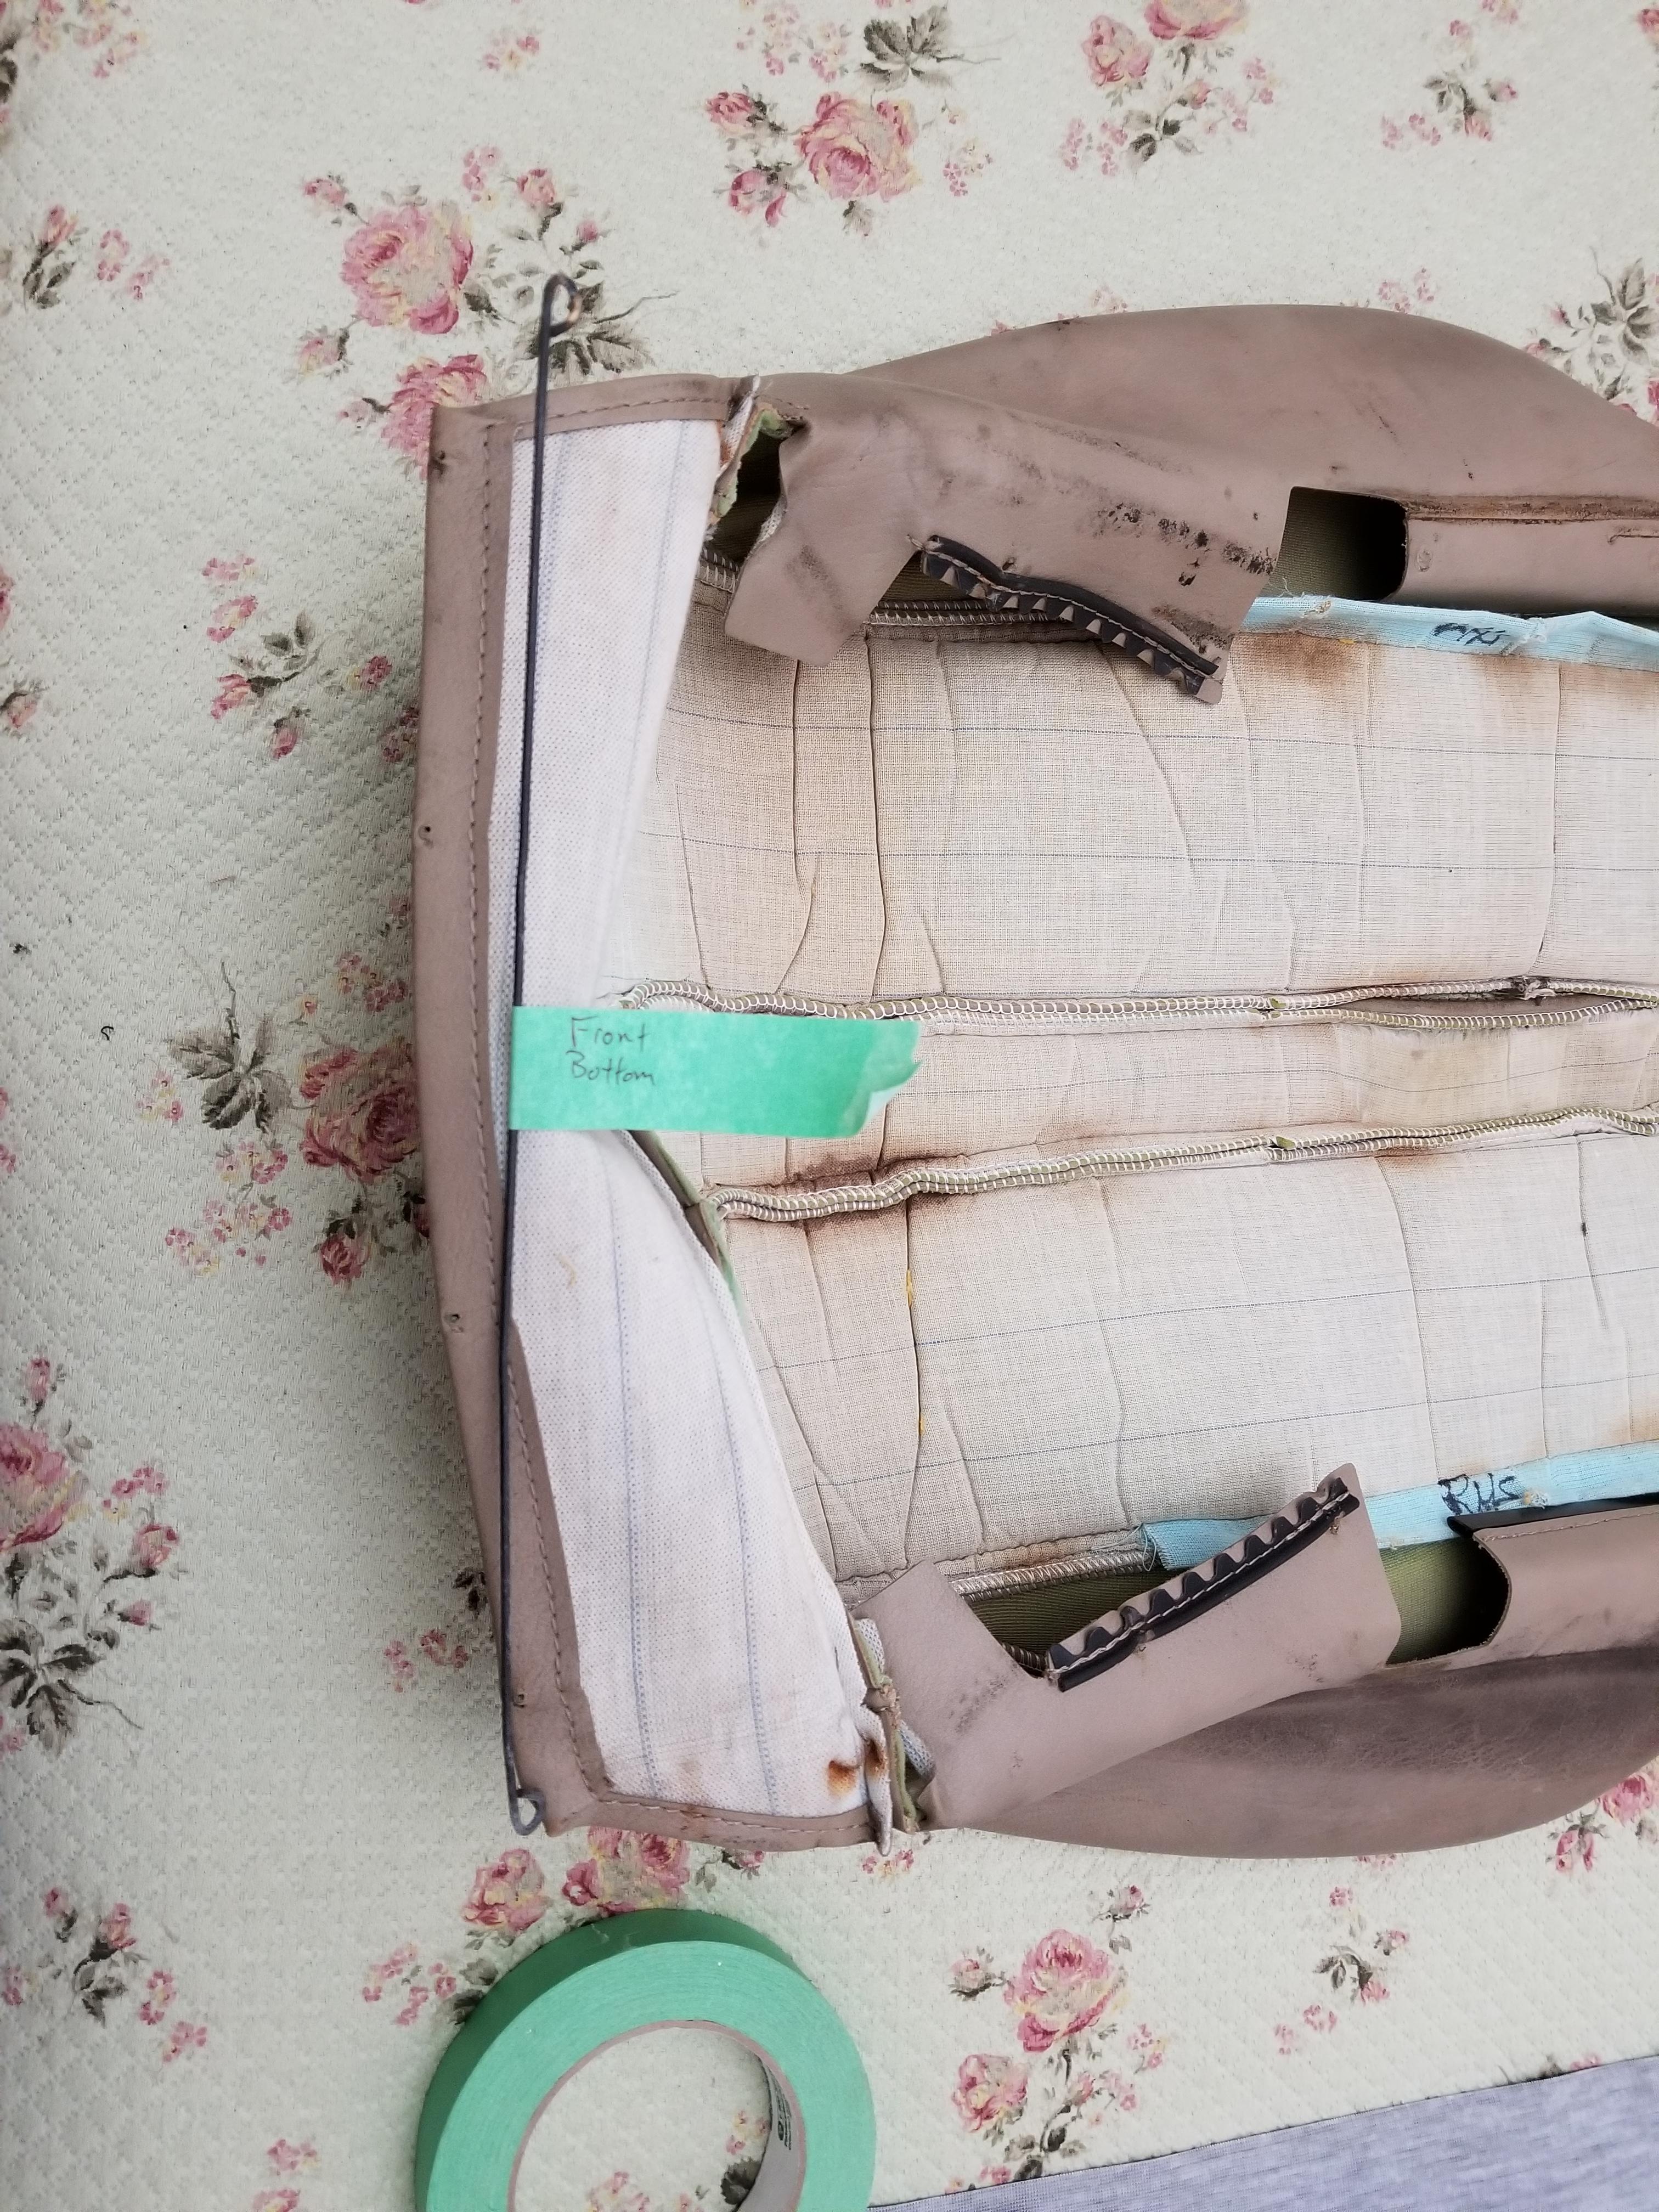
I won't put all the pictures I took here but I'll try and keep it as step by step as possible so you can see the process. Take lots of pictures as you take it apart. Sometimes there is something you need to go back as reference. In this picture you can see where the top stitch was done so that you replicate it when you sew it back together and it lays properly.

Bottom of the seat - you can see where the hog rings attach the seat cover and hold it in place.
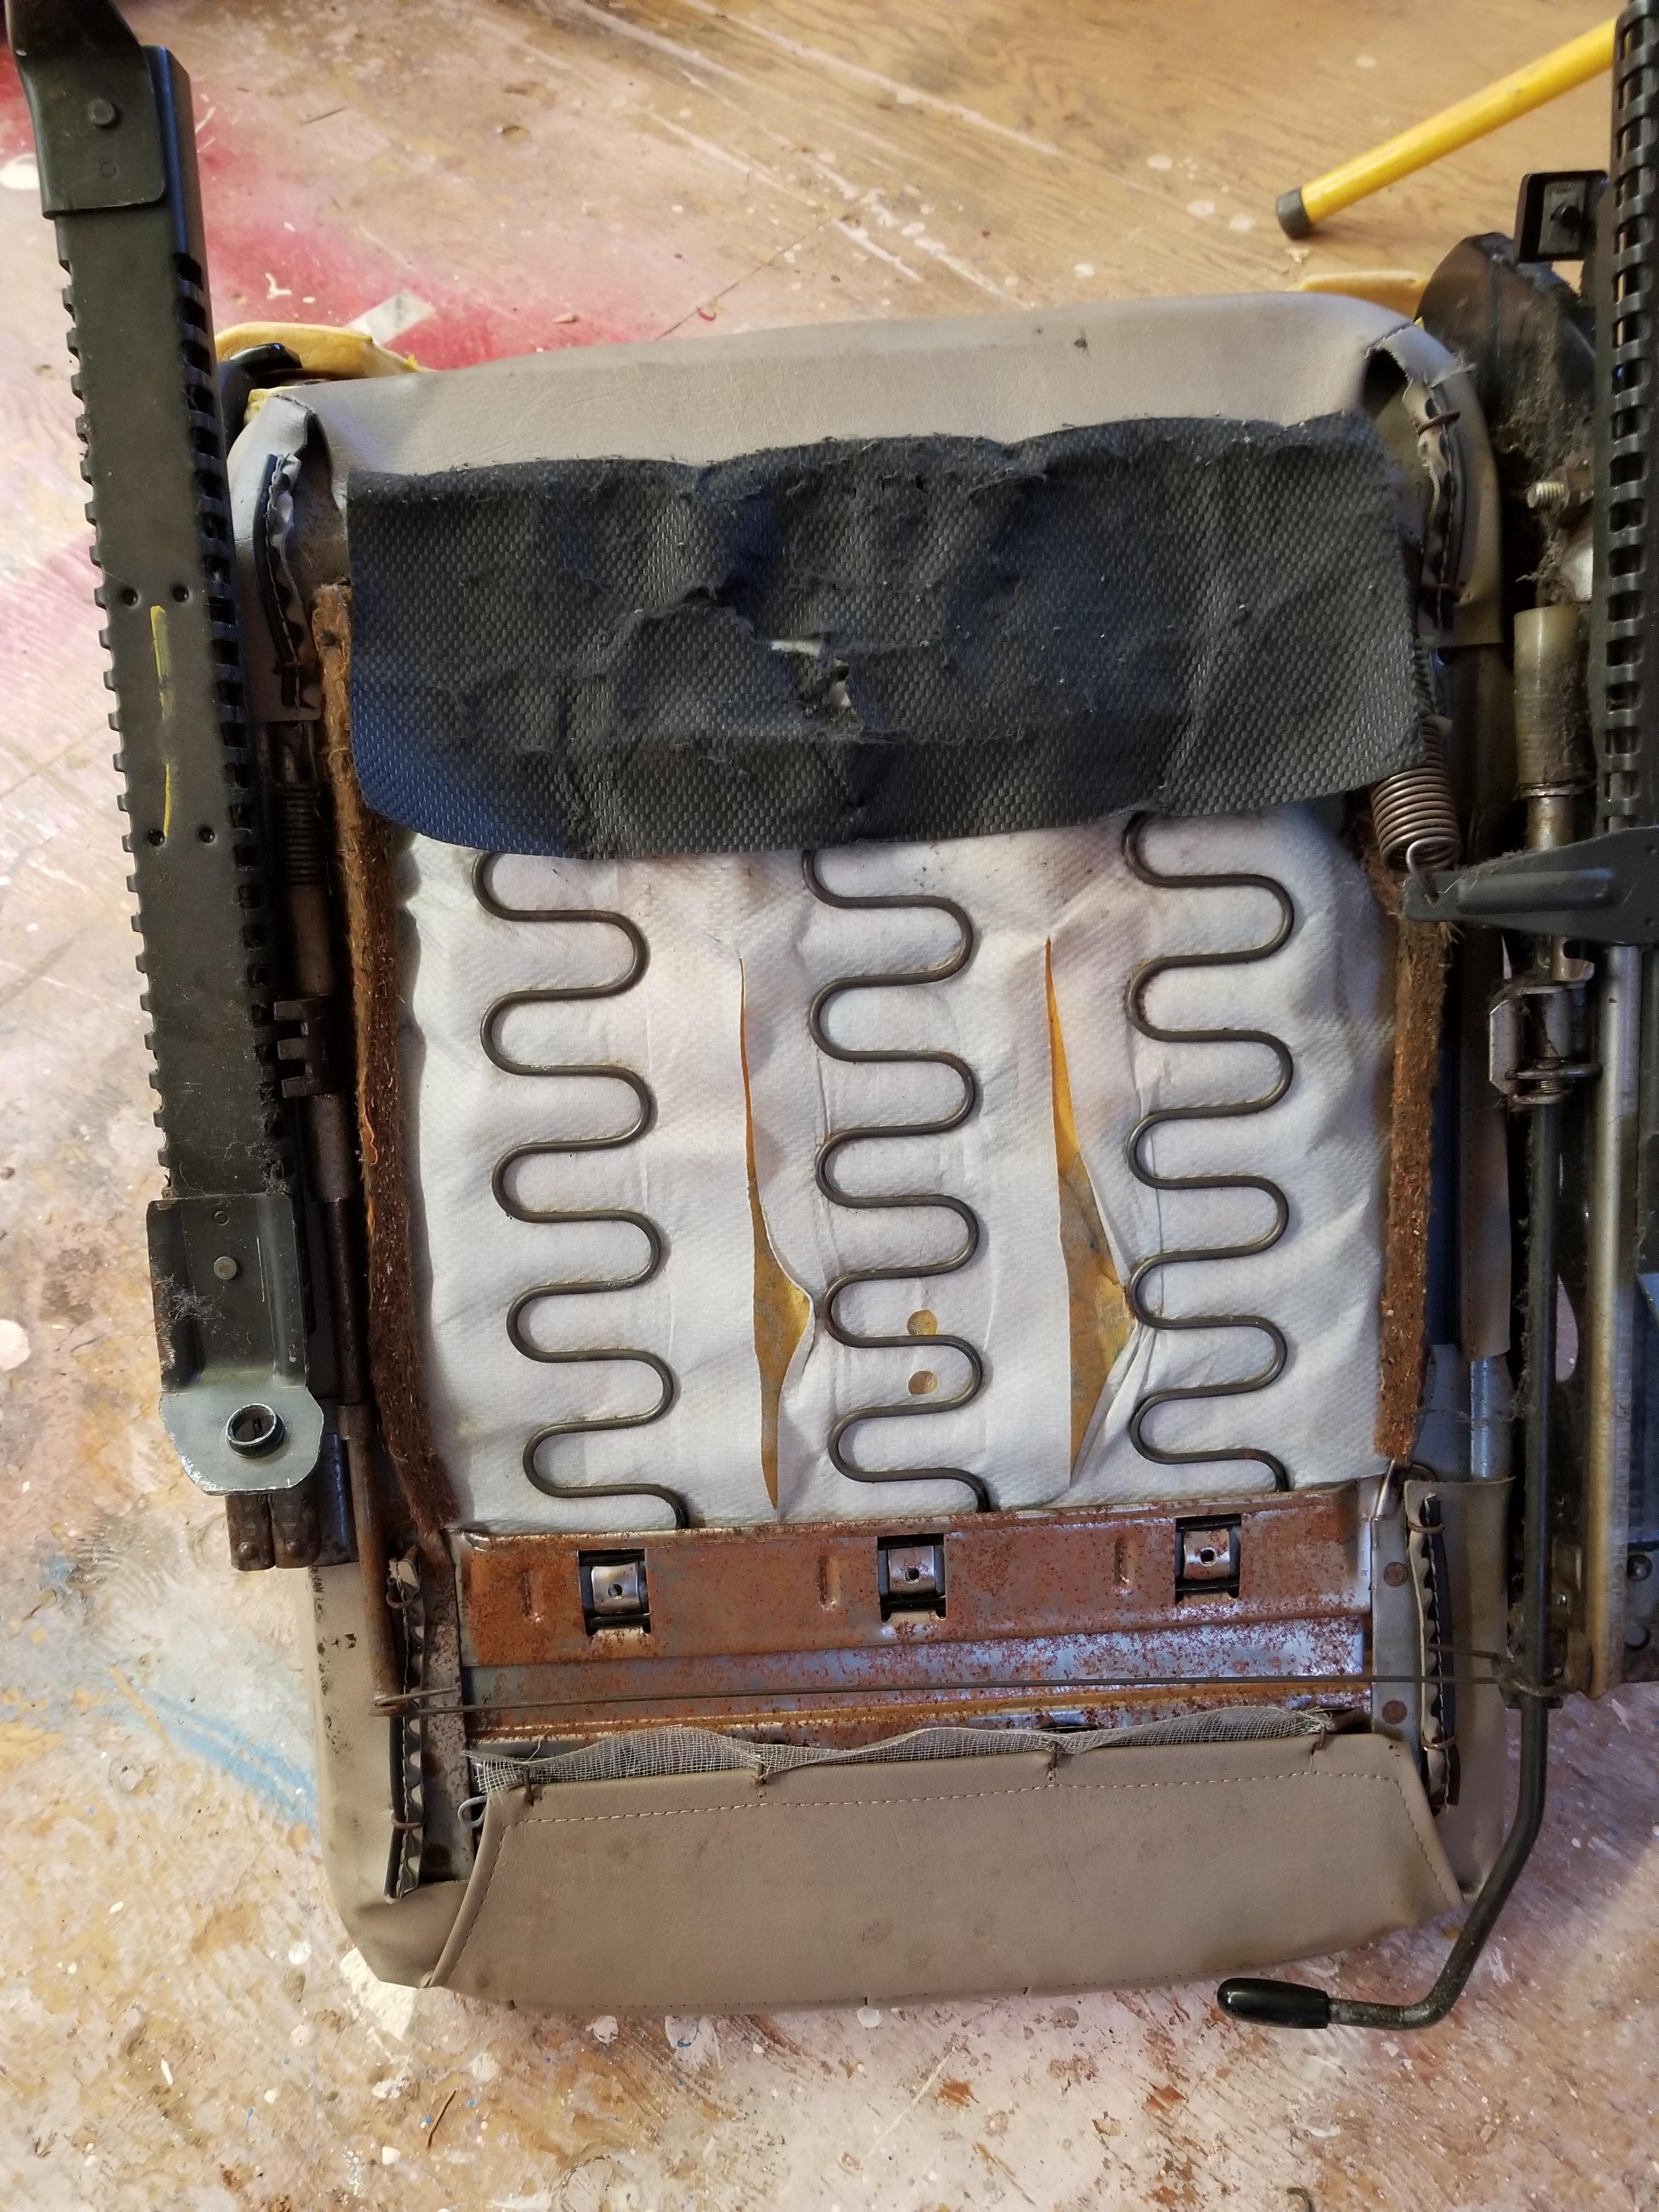
On furniture you use staples into the frame to hold the fabric in place. On a car seat you use hog rings and wire in a pocket sewn into the cover.
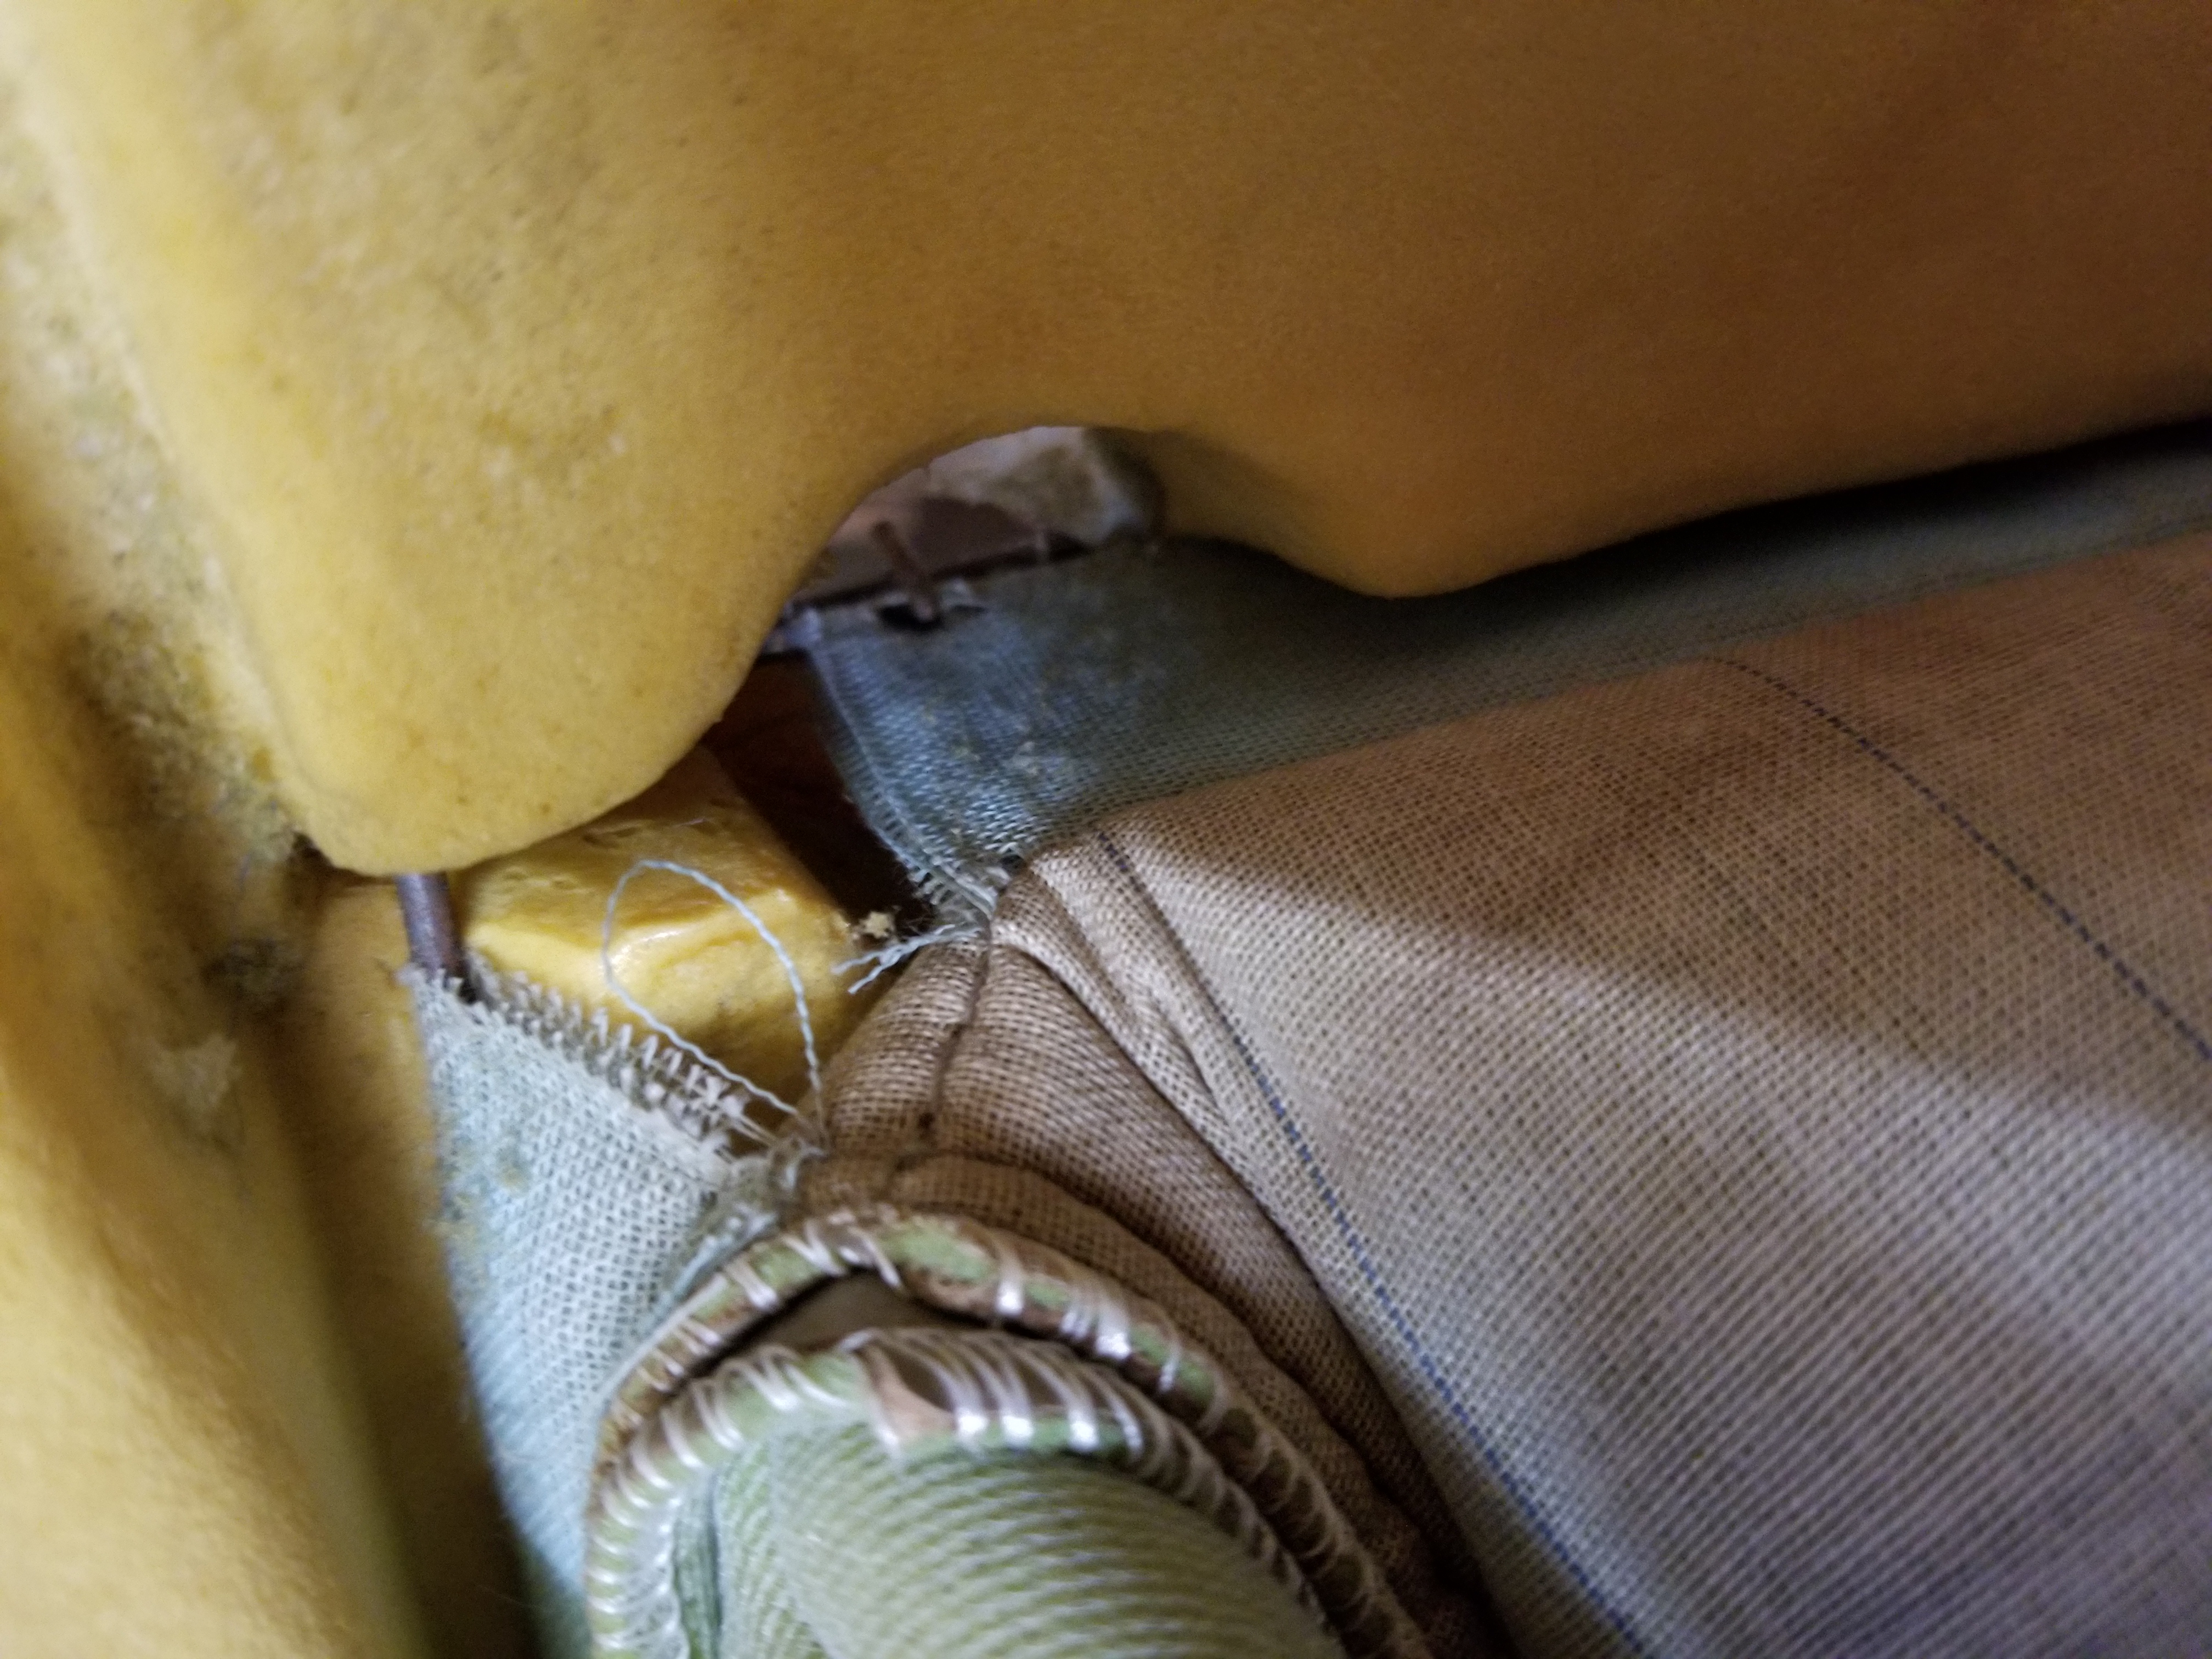
or a reinforcement of some sort like these plastic sew on strips
I'm reusing the wires from whats left of the seat covers so I make sure they are labeled. You can make your own of course. It looks like they bend the ends back to keep it from poking through.
Bottom of the seat - you can see where the hog rings attach the seat cover and hold it in place.
On furniture you use staples into the frame to hold the fabric in place. On a car seat you use hog rings and wire in a pocket sewn into the cover.
or a reinforcement of some sort like these plastic sew on strips
I'm reusing the wires from whats left of the seat covers so I make sure they are labeled. You can make your own of course. It looks like they bend the ends back to keep it from poking through.
01-05-2019, 02:22 AM
#3
Mr Z++ Wiki
Thread Starter
Join Date: Sep 2009
Location: Victoria, BC
Posts: 2,195
Now the fun part - time to get creative. My daughter wants to paint the car powder blue so the theme is mainly black with pink and blue for the interior.
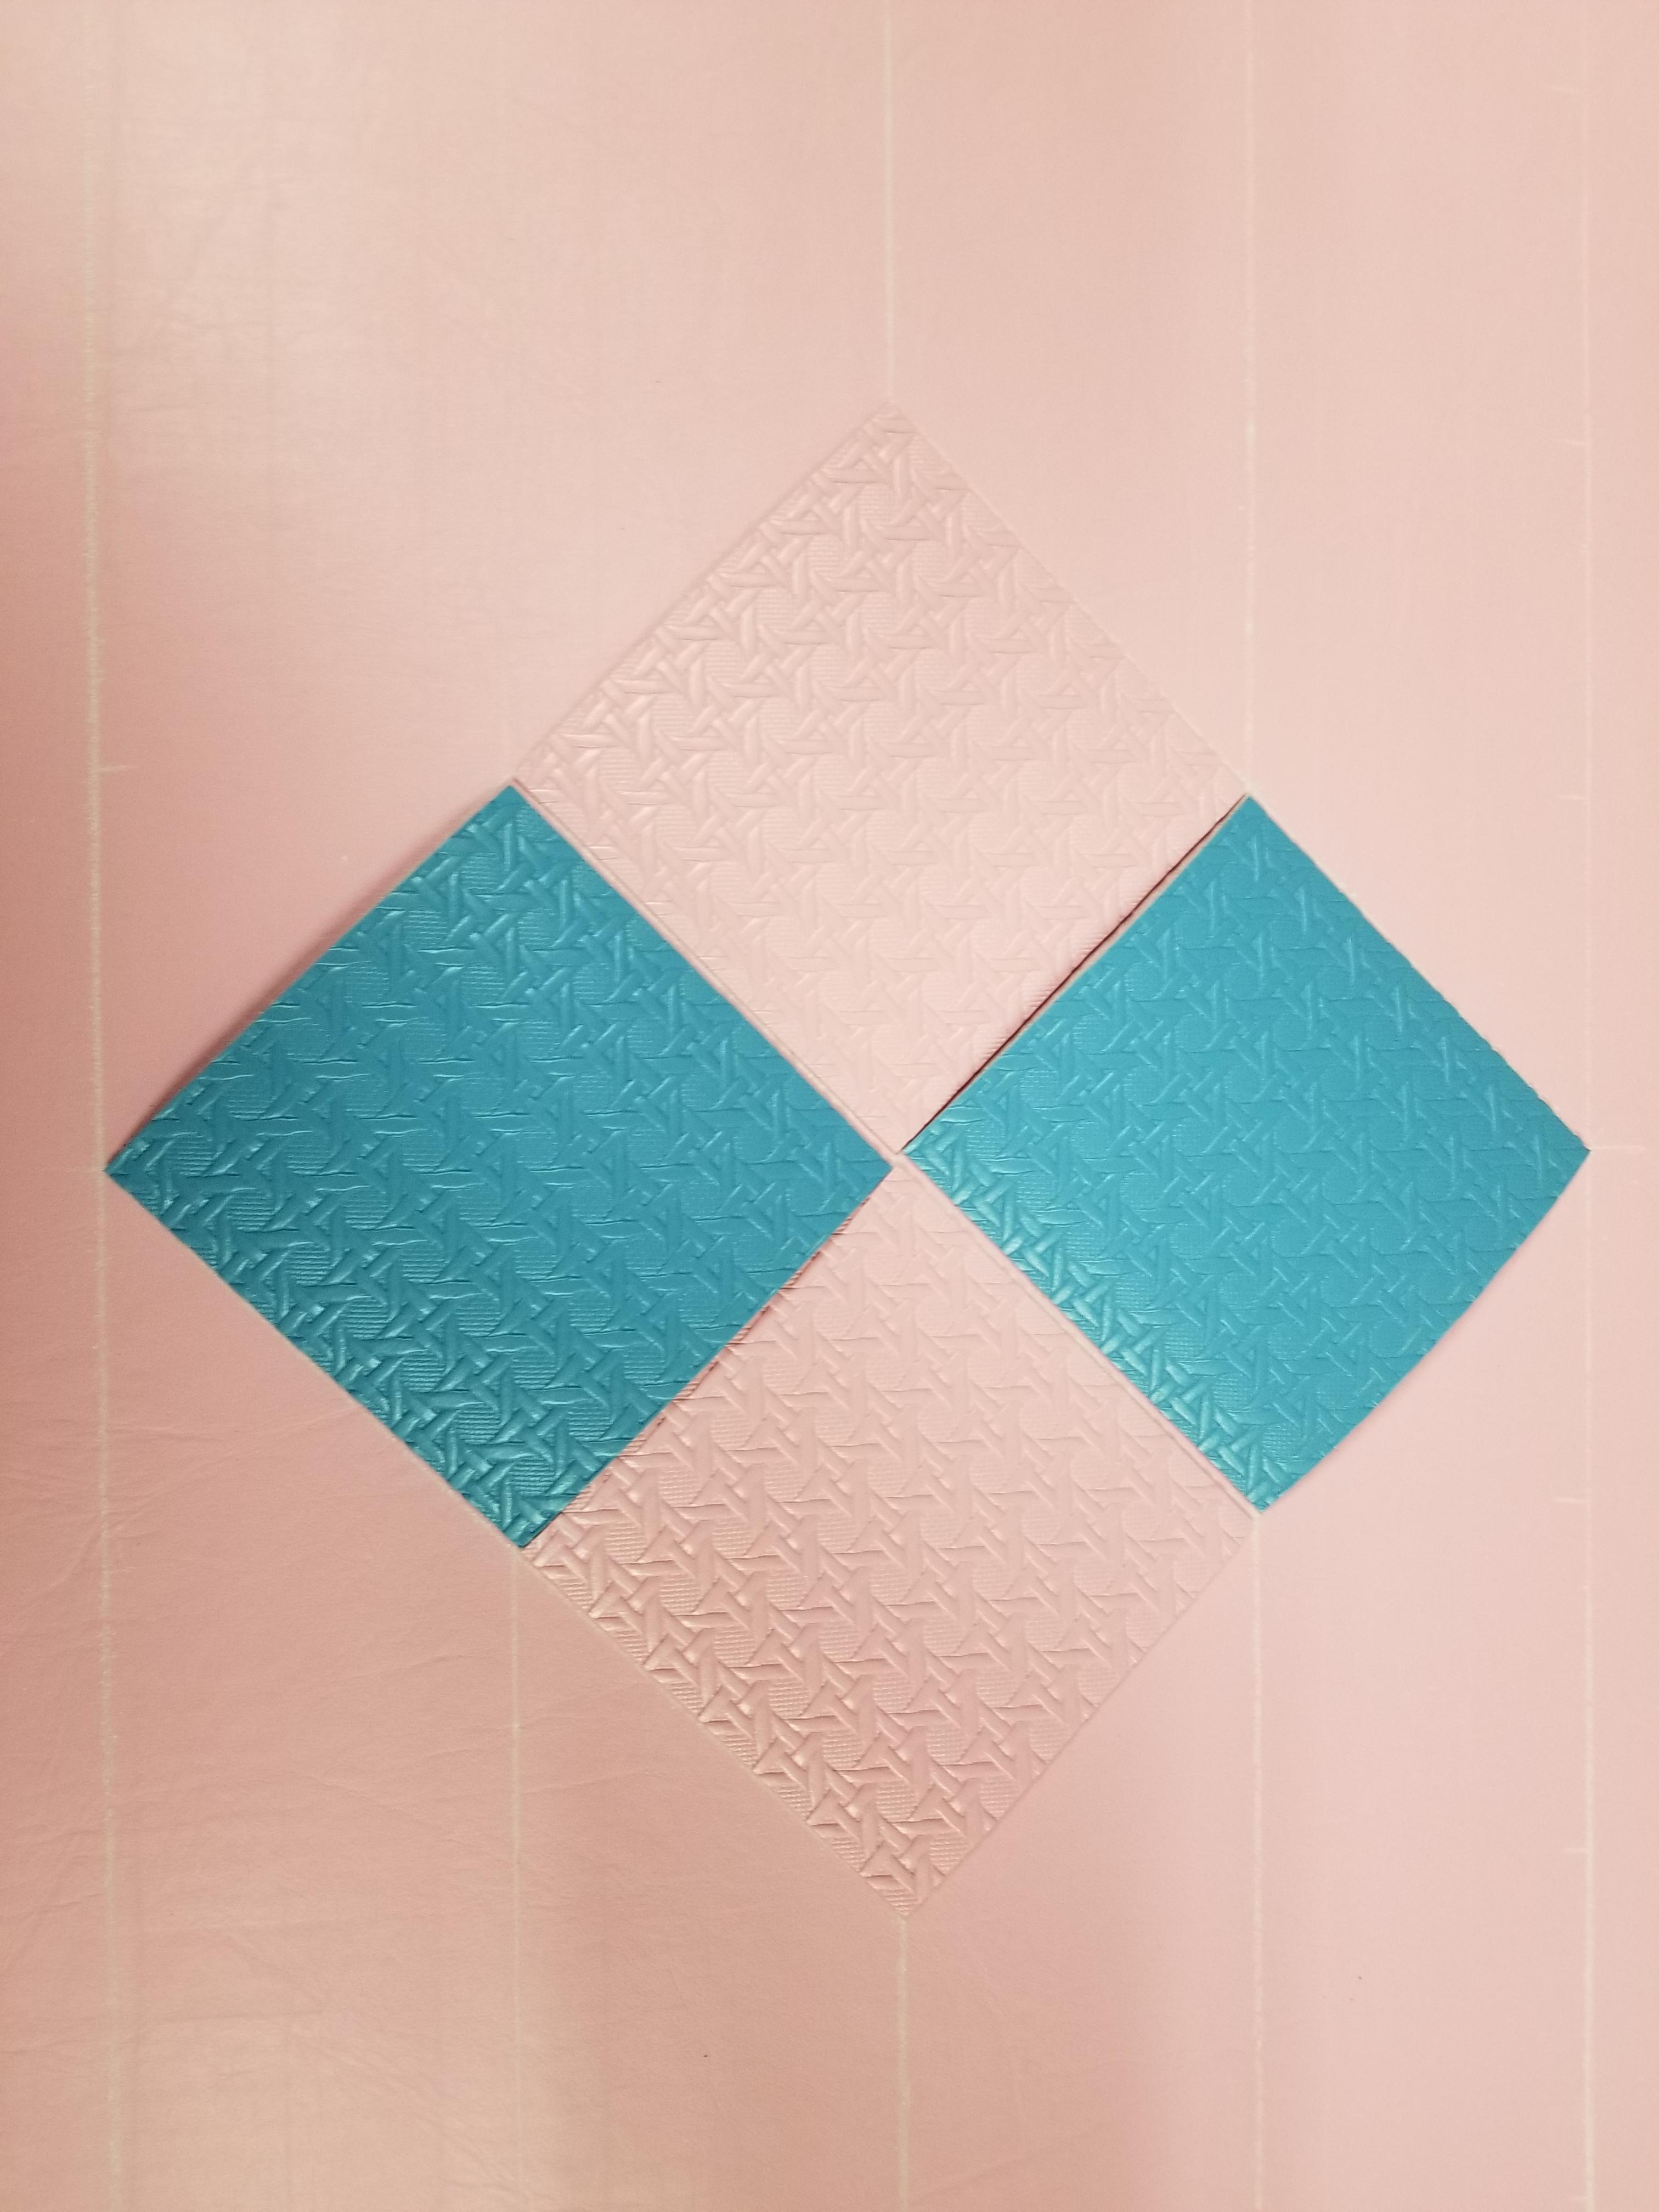
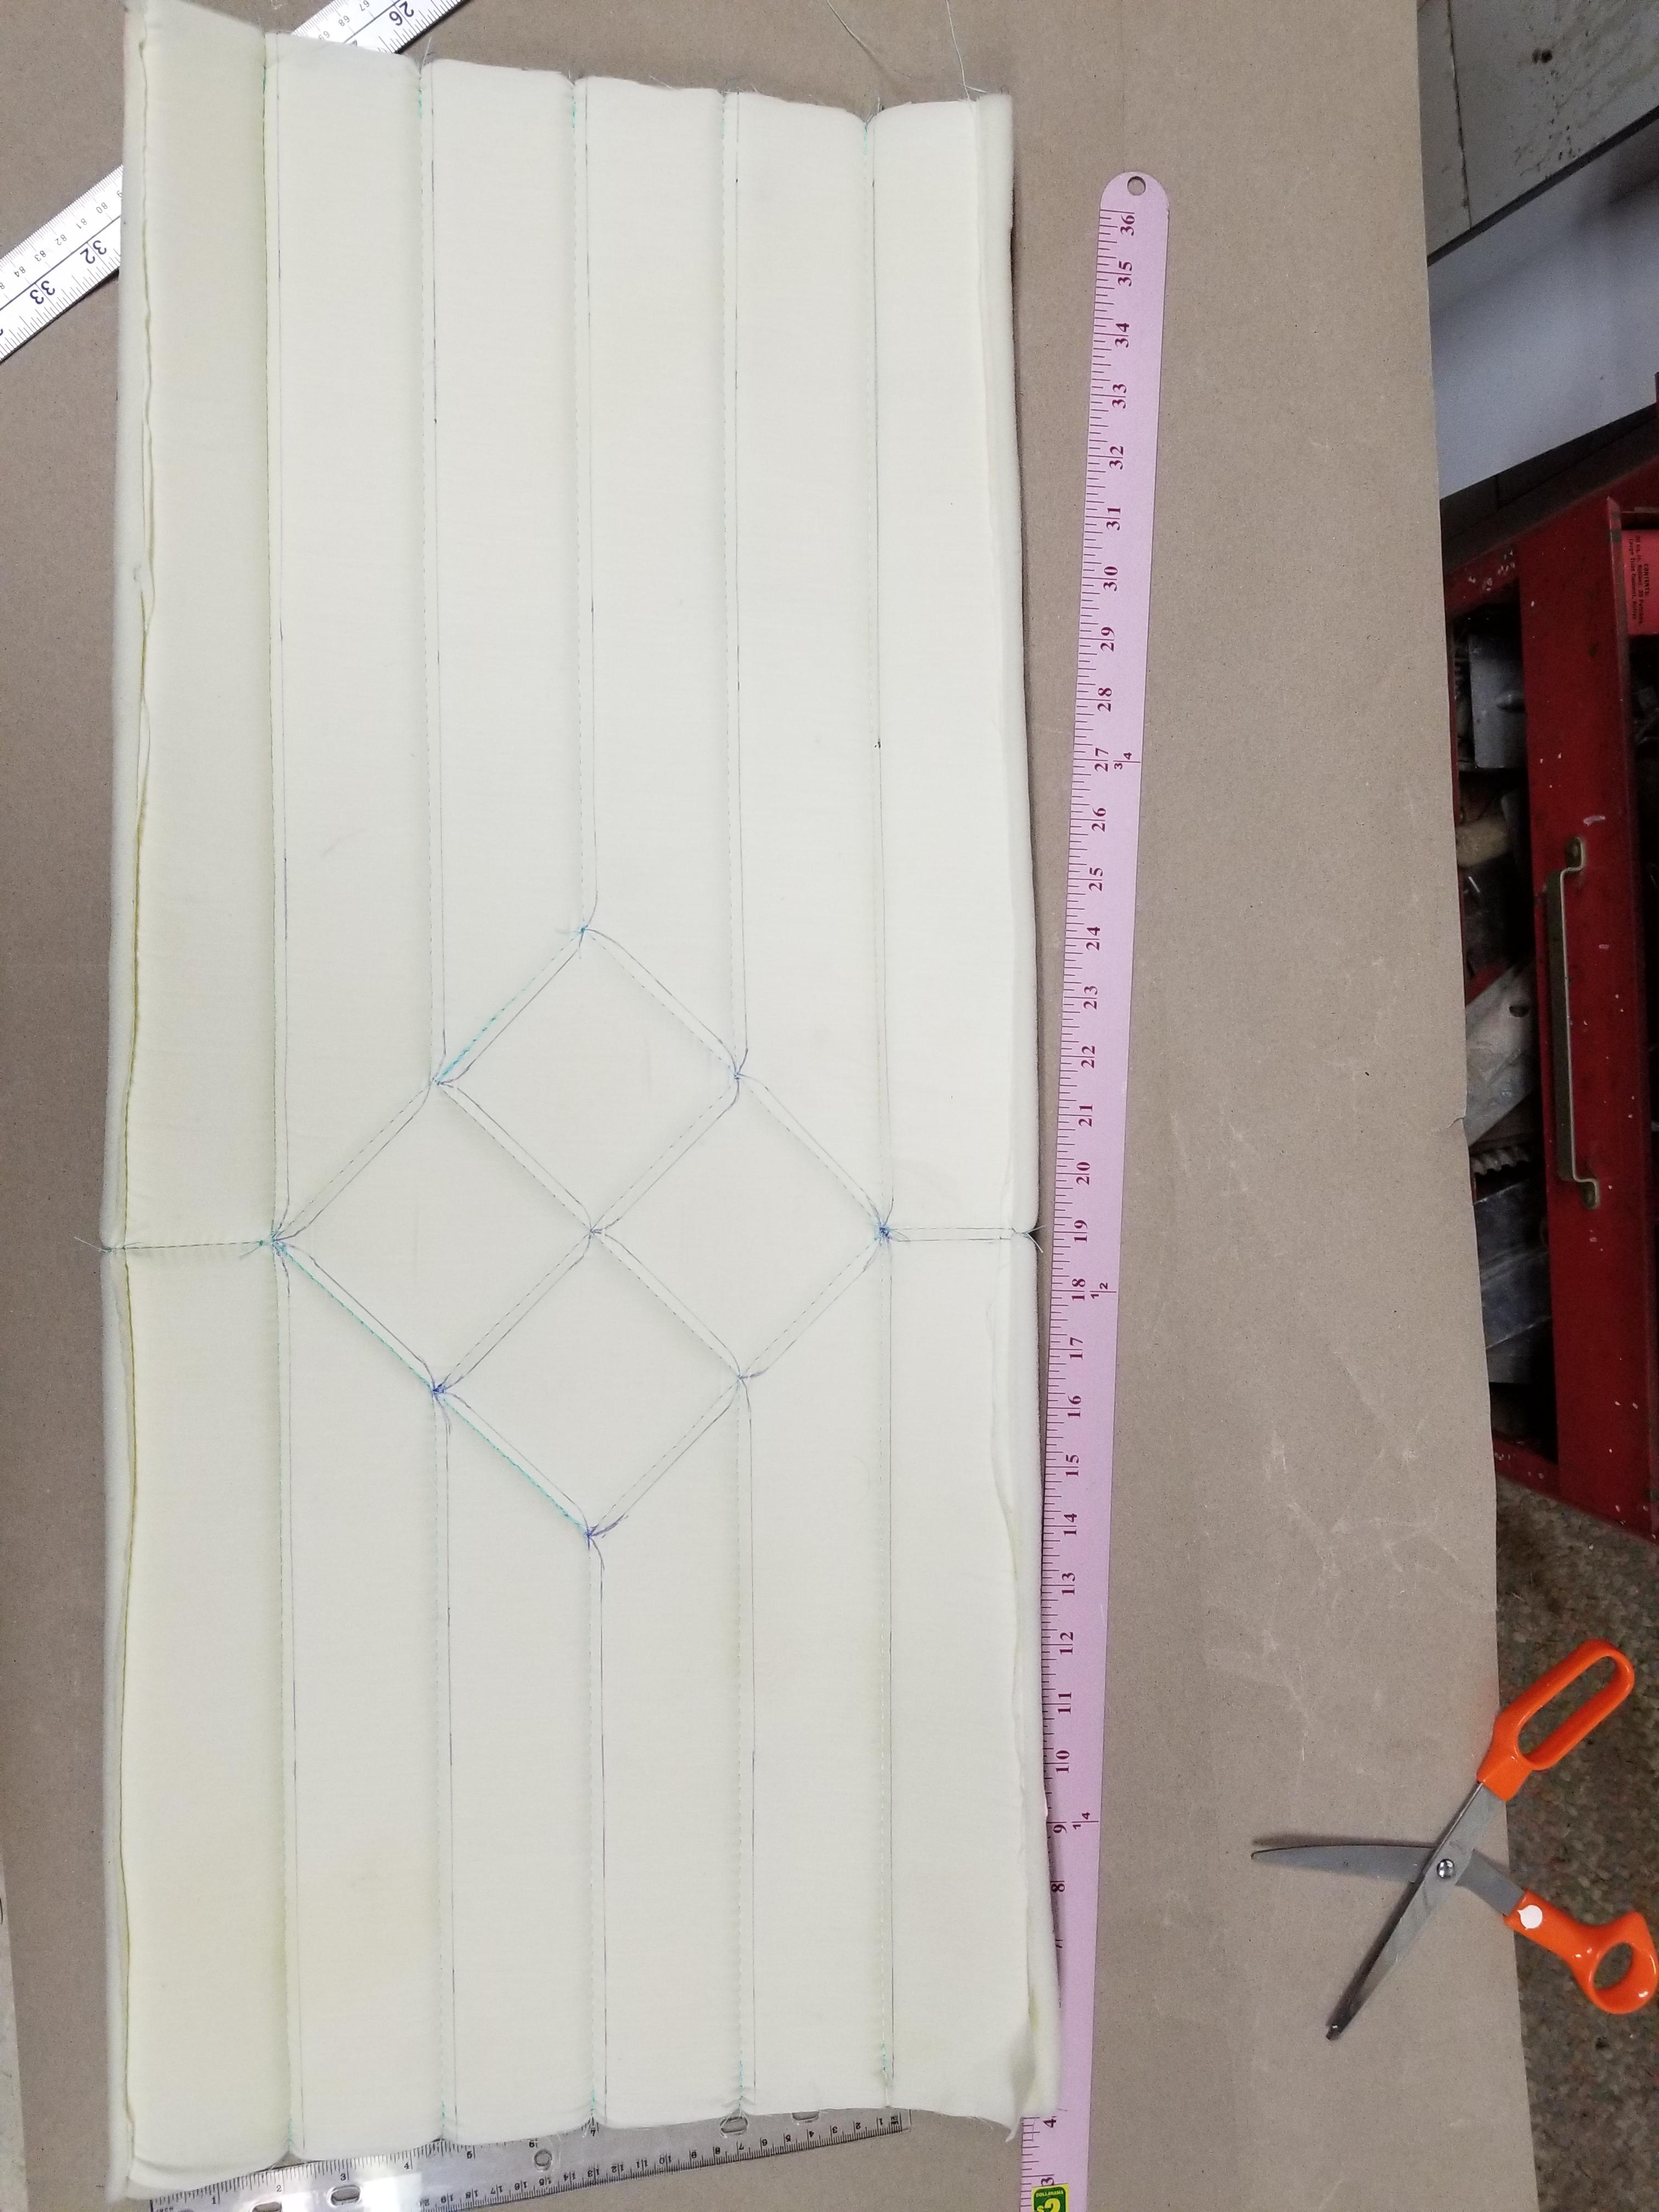
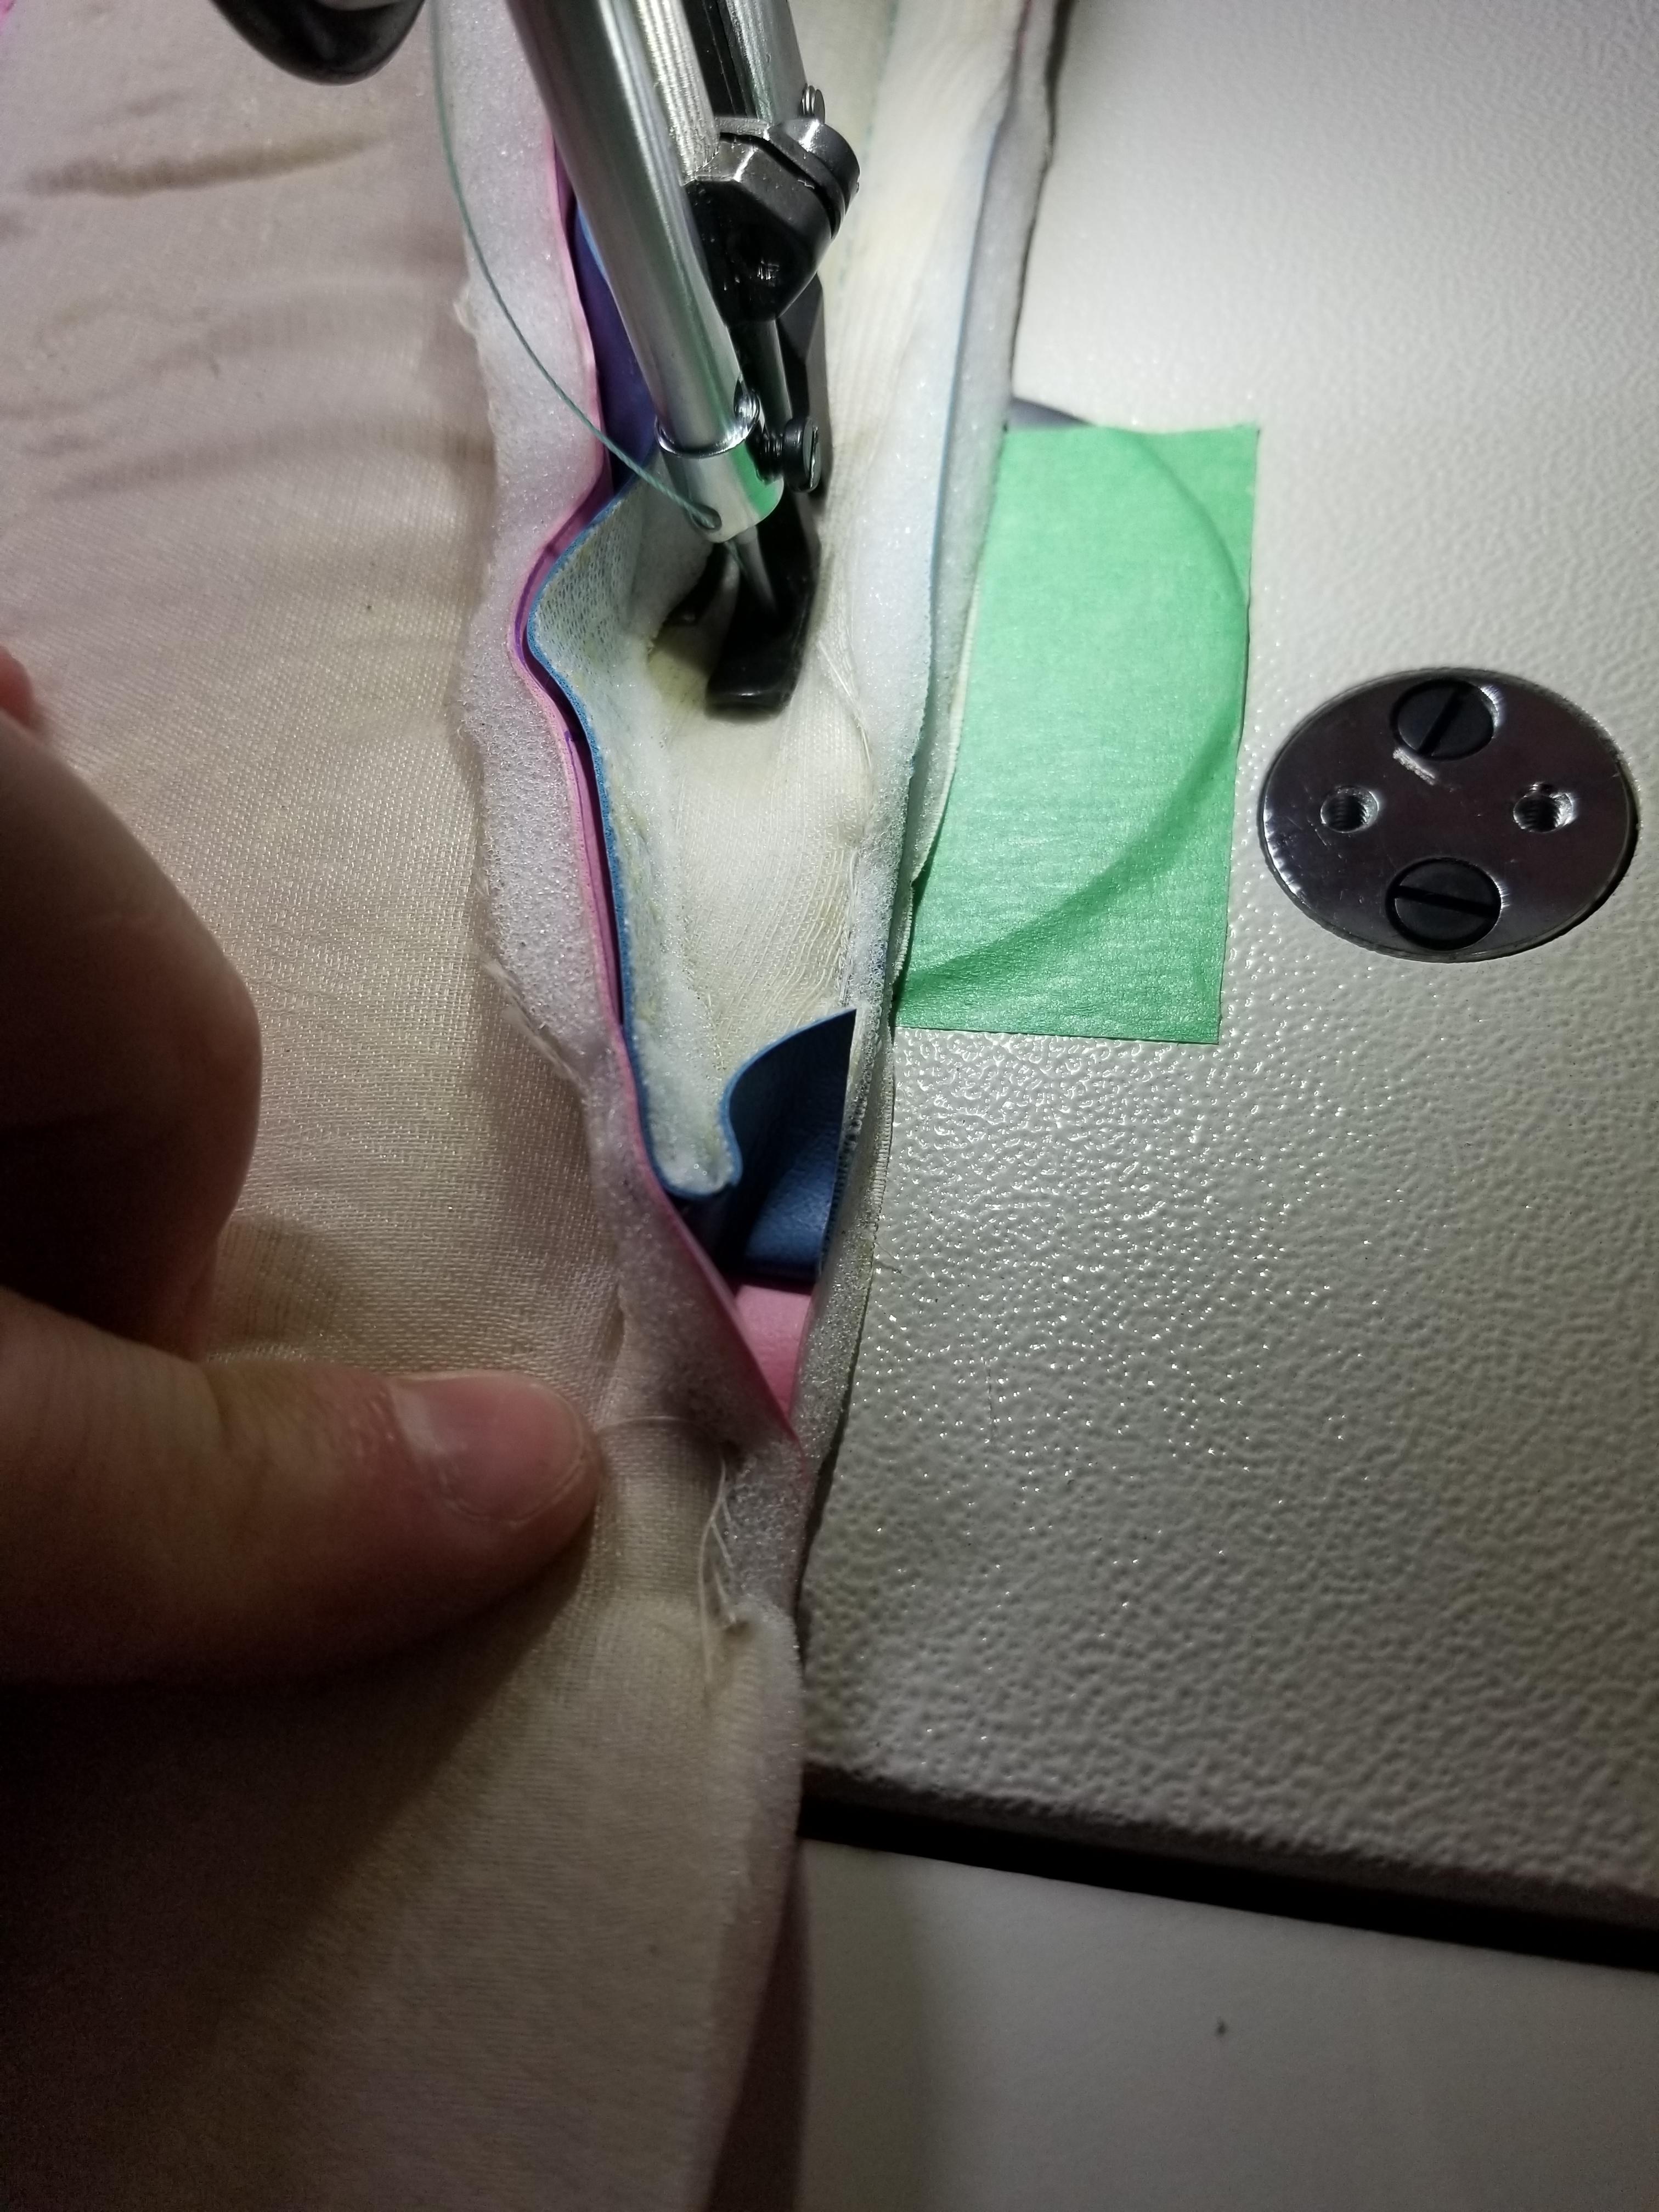
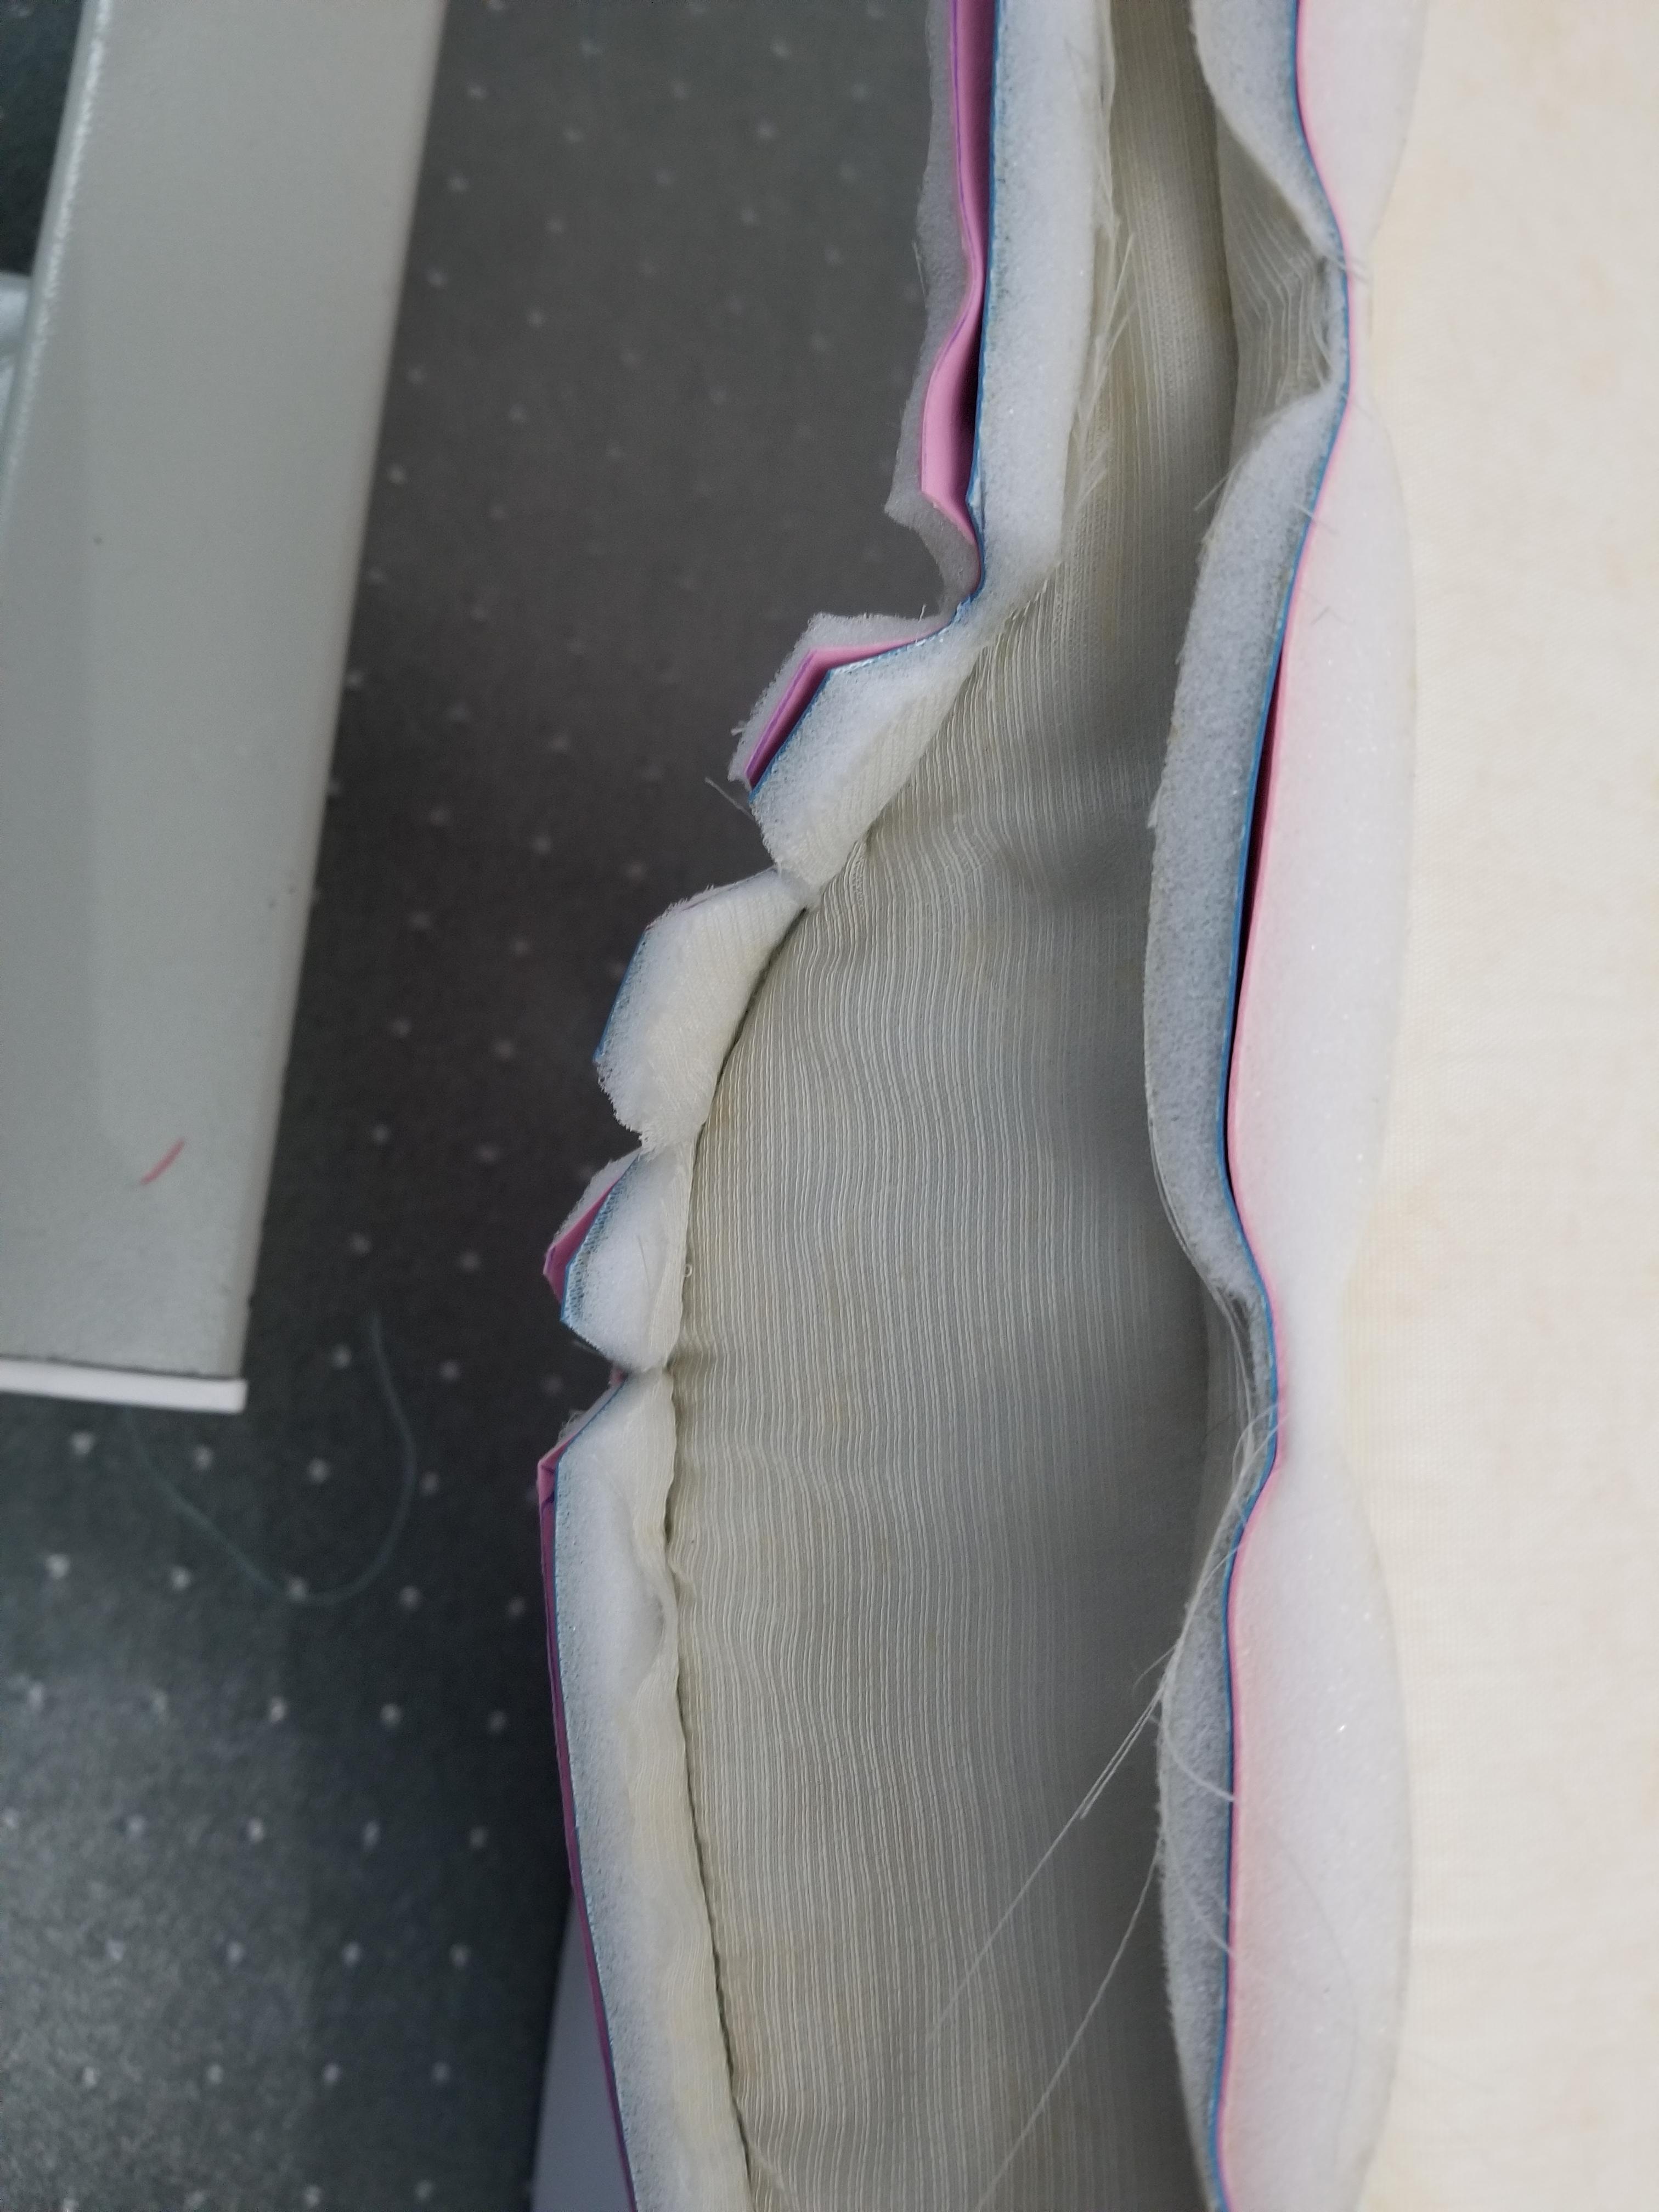
A blank slate. Vinyl on top glued to 1/2" foam then a bottom layer of fabric glued to the other side of the foam to make a vinyl/foam/fabric sandwich. Layout is done in chalk - it doesn't stain and is easily erasable. Just sharpen a stick of chalk on a piece of sandpaper to get a chisel edge to do fine lines.

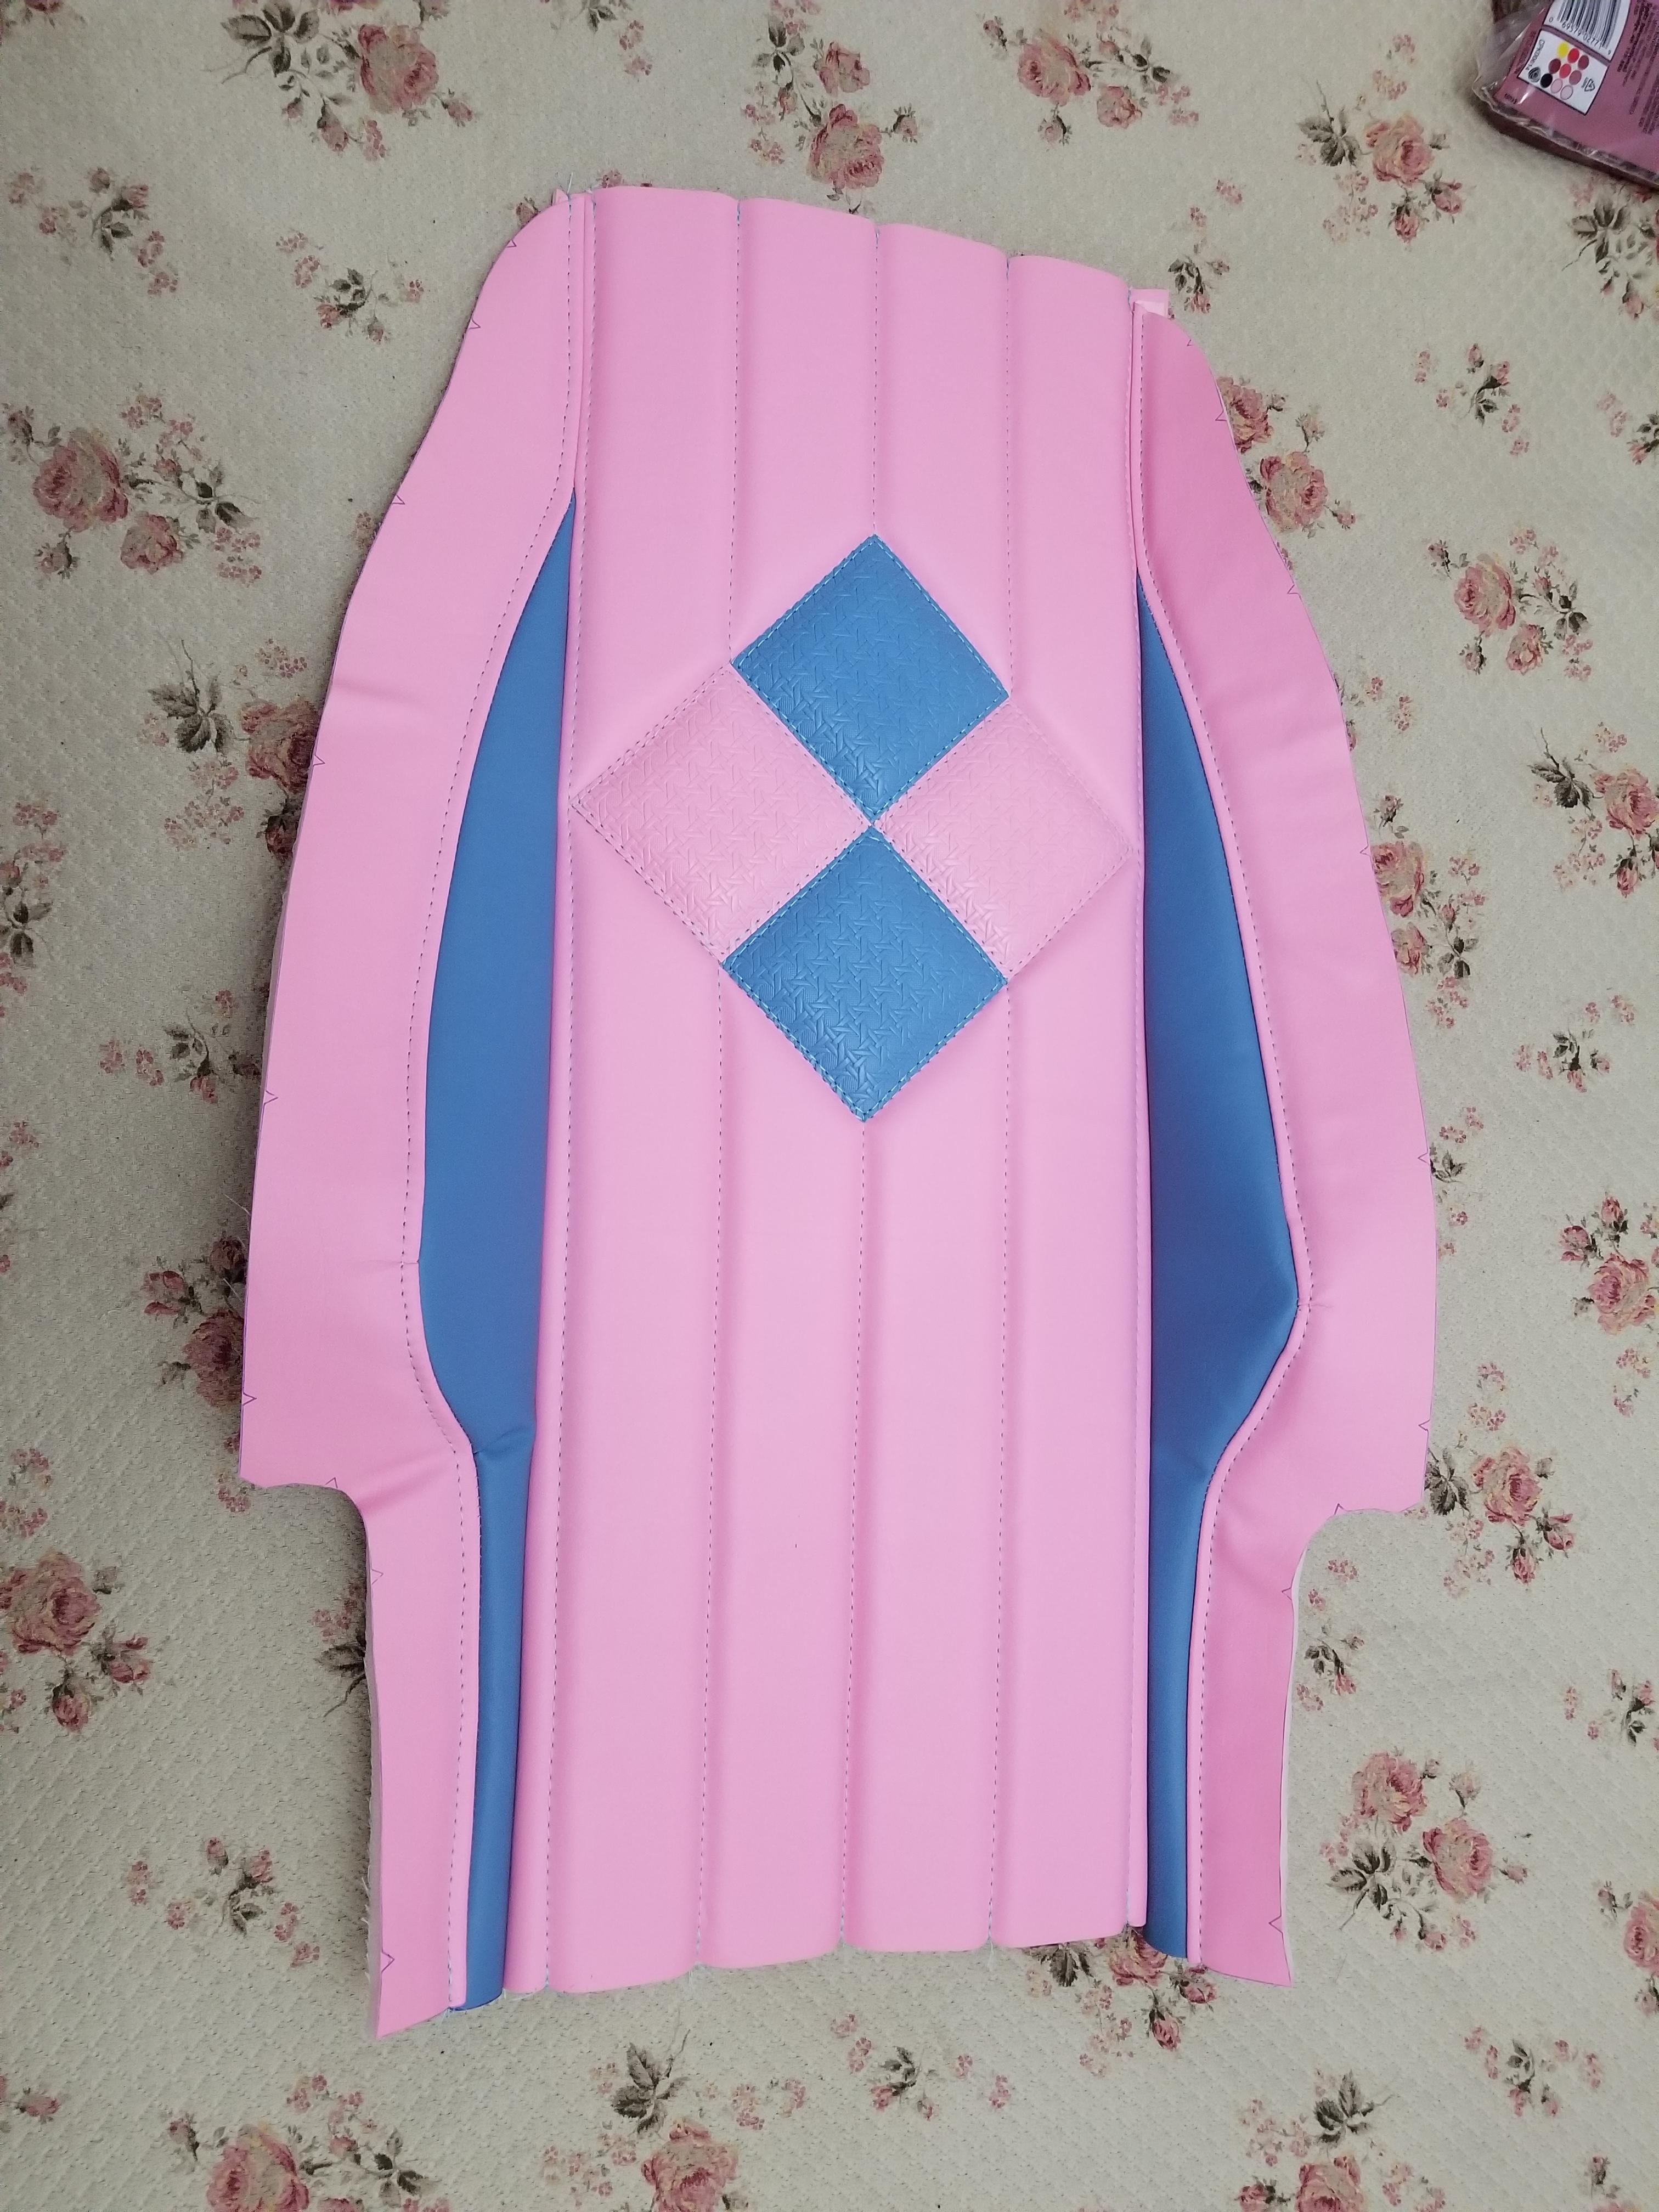
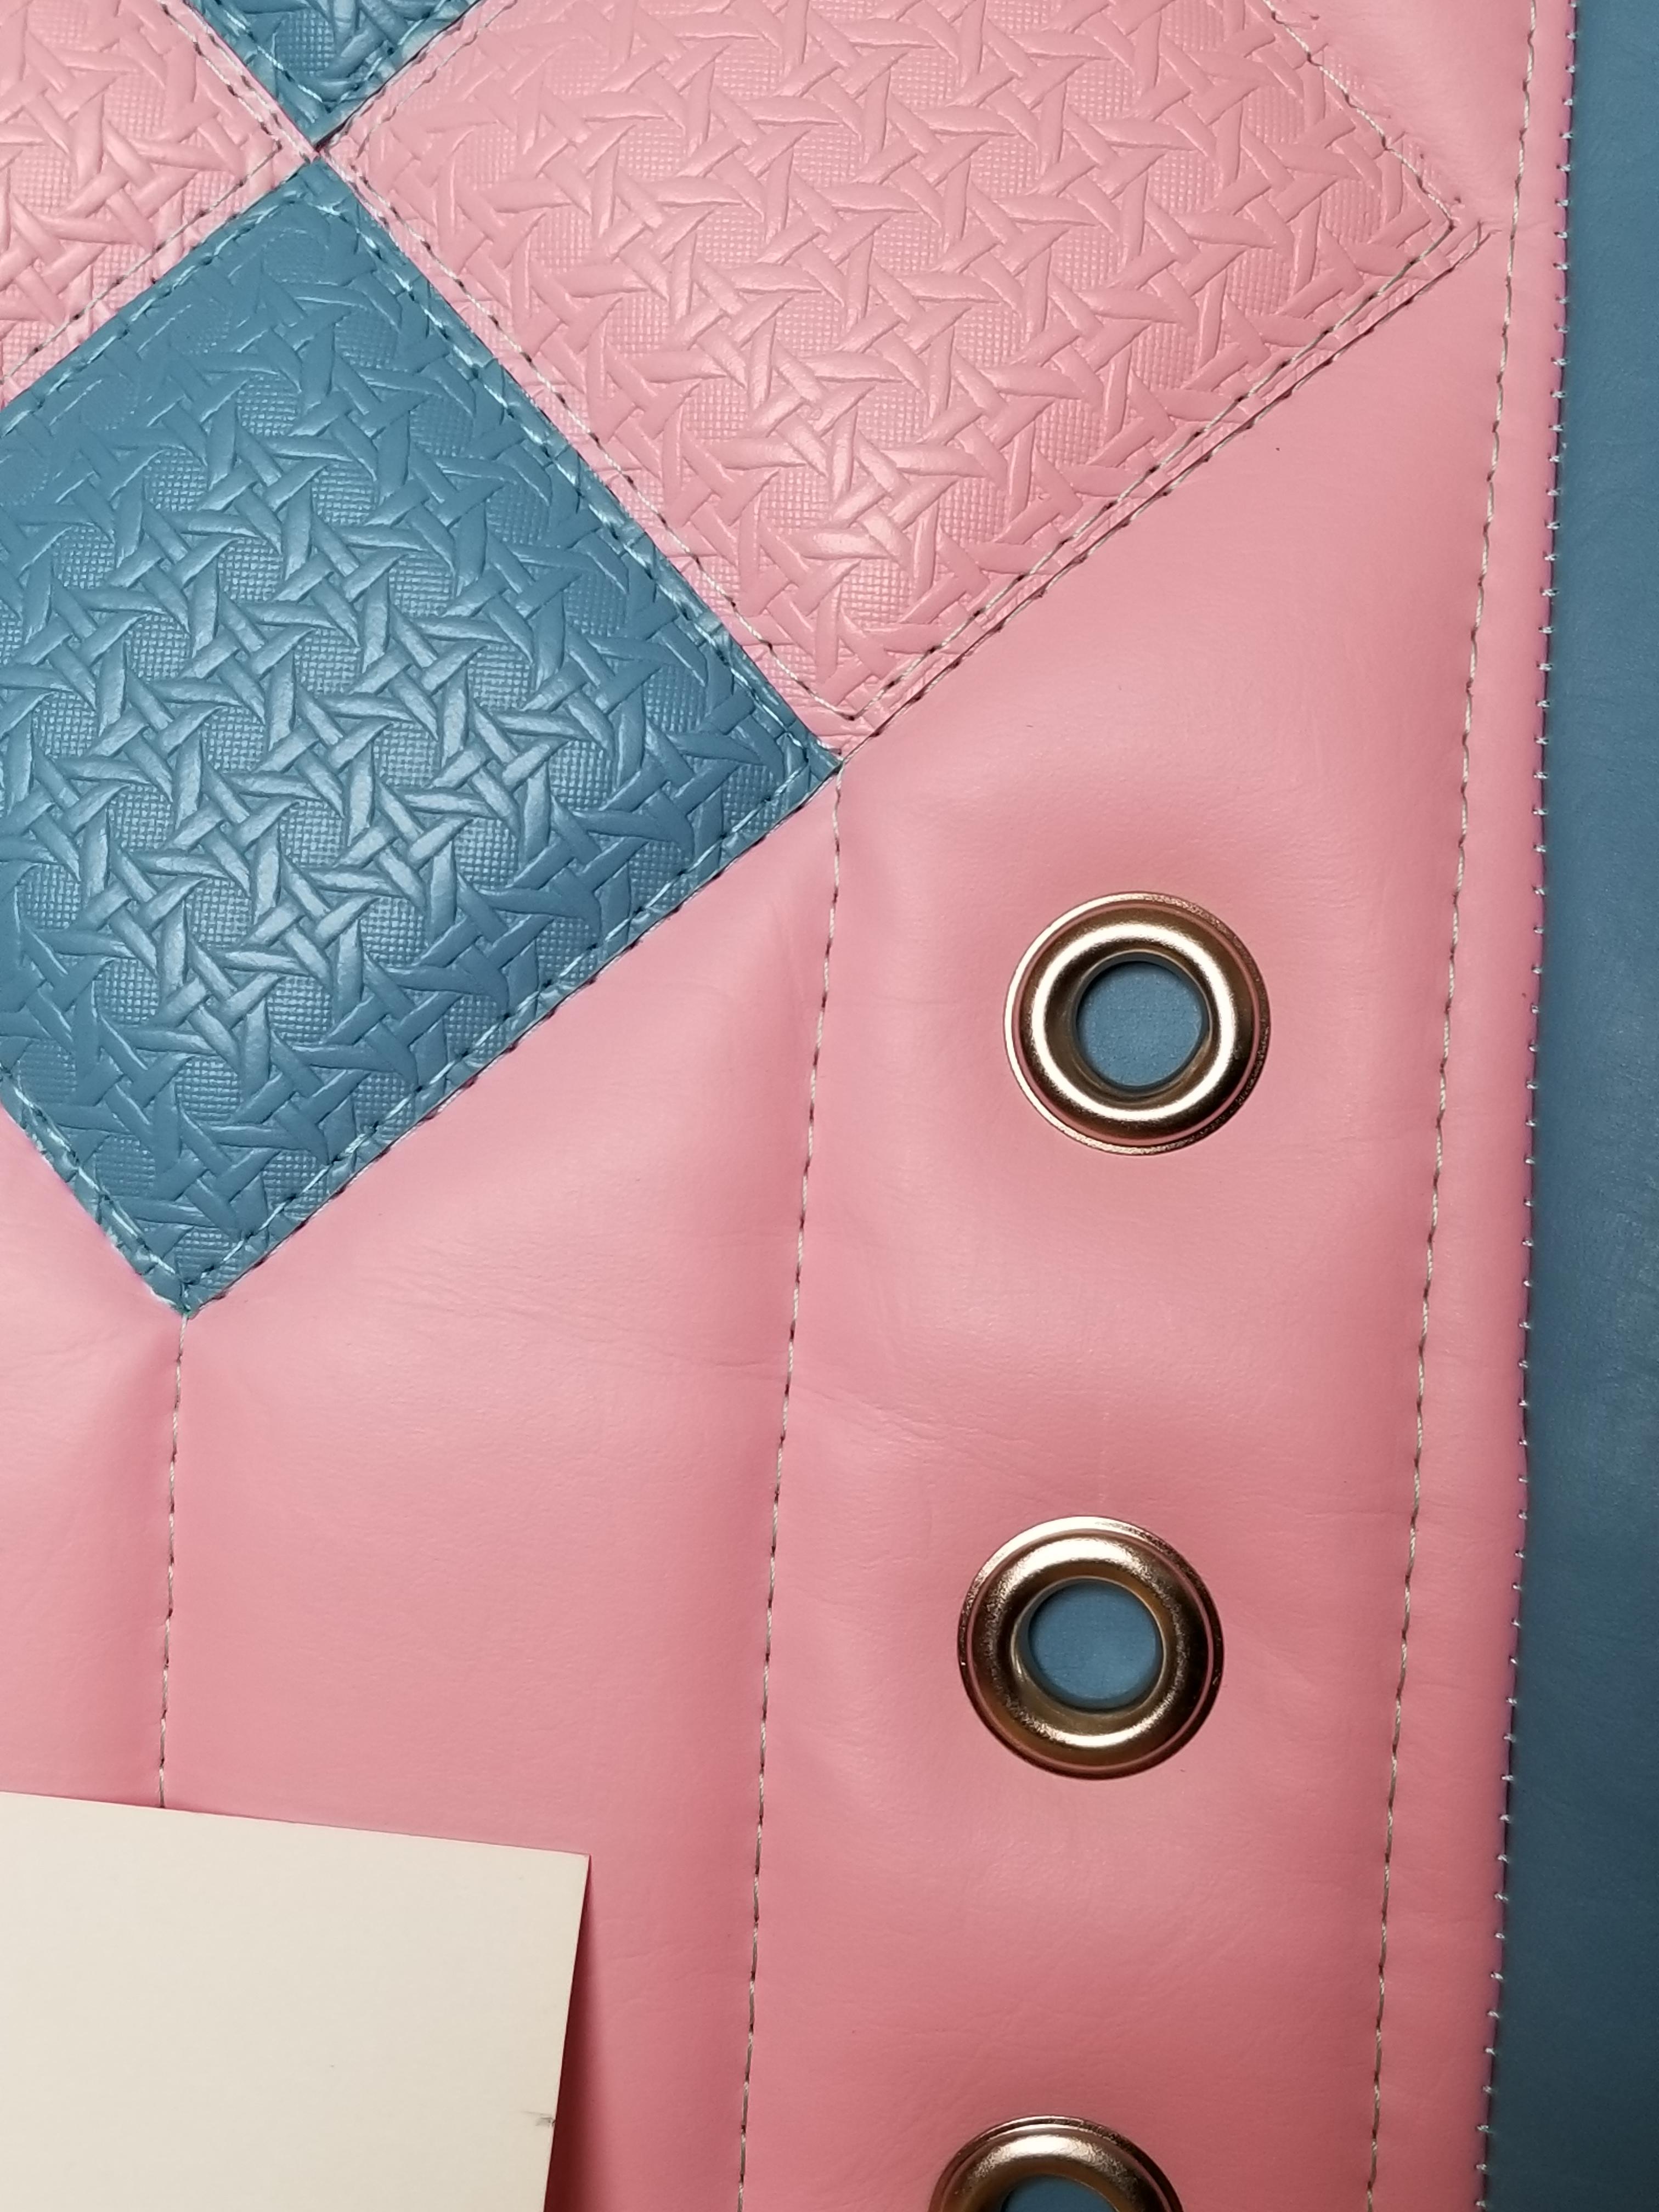
I haven't seen this anywhere but I thought I'd try it. Using a bamboo basket weave pattern embossed vinyl and glued diamonds onto the panel with contact cement. You need to be very precise with the cutting so a ruler and Olfa blade works very well.
Before gluing down textured vinyl on base
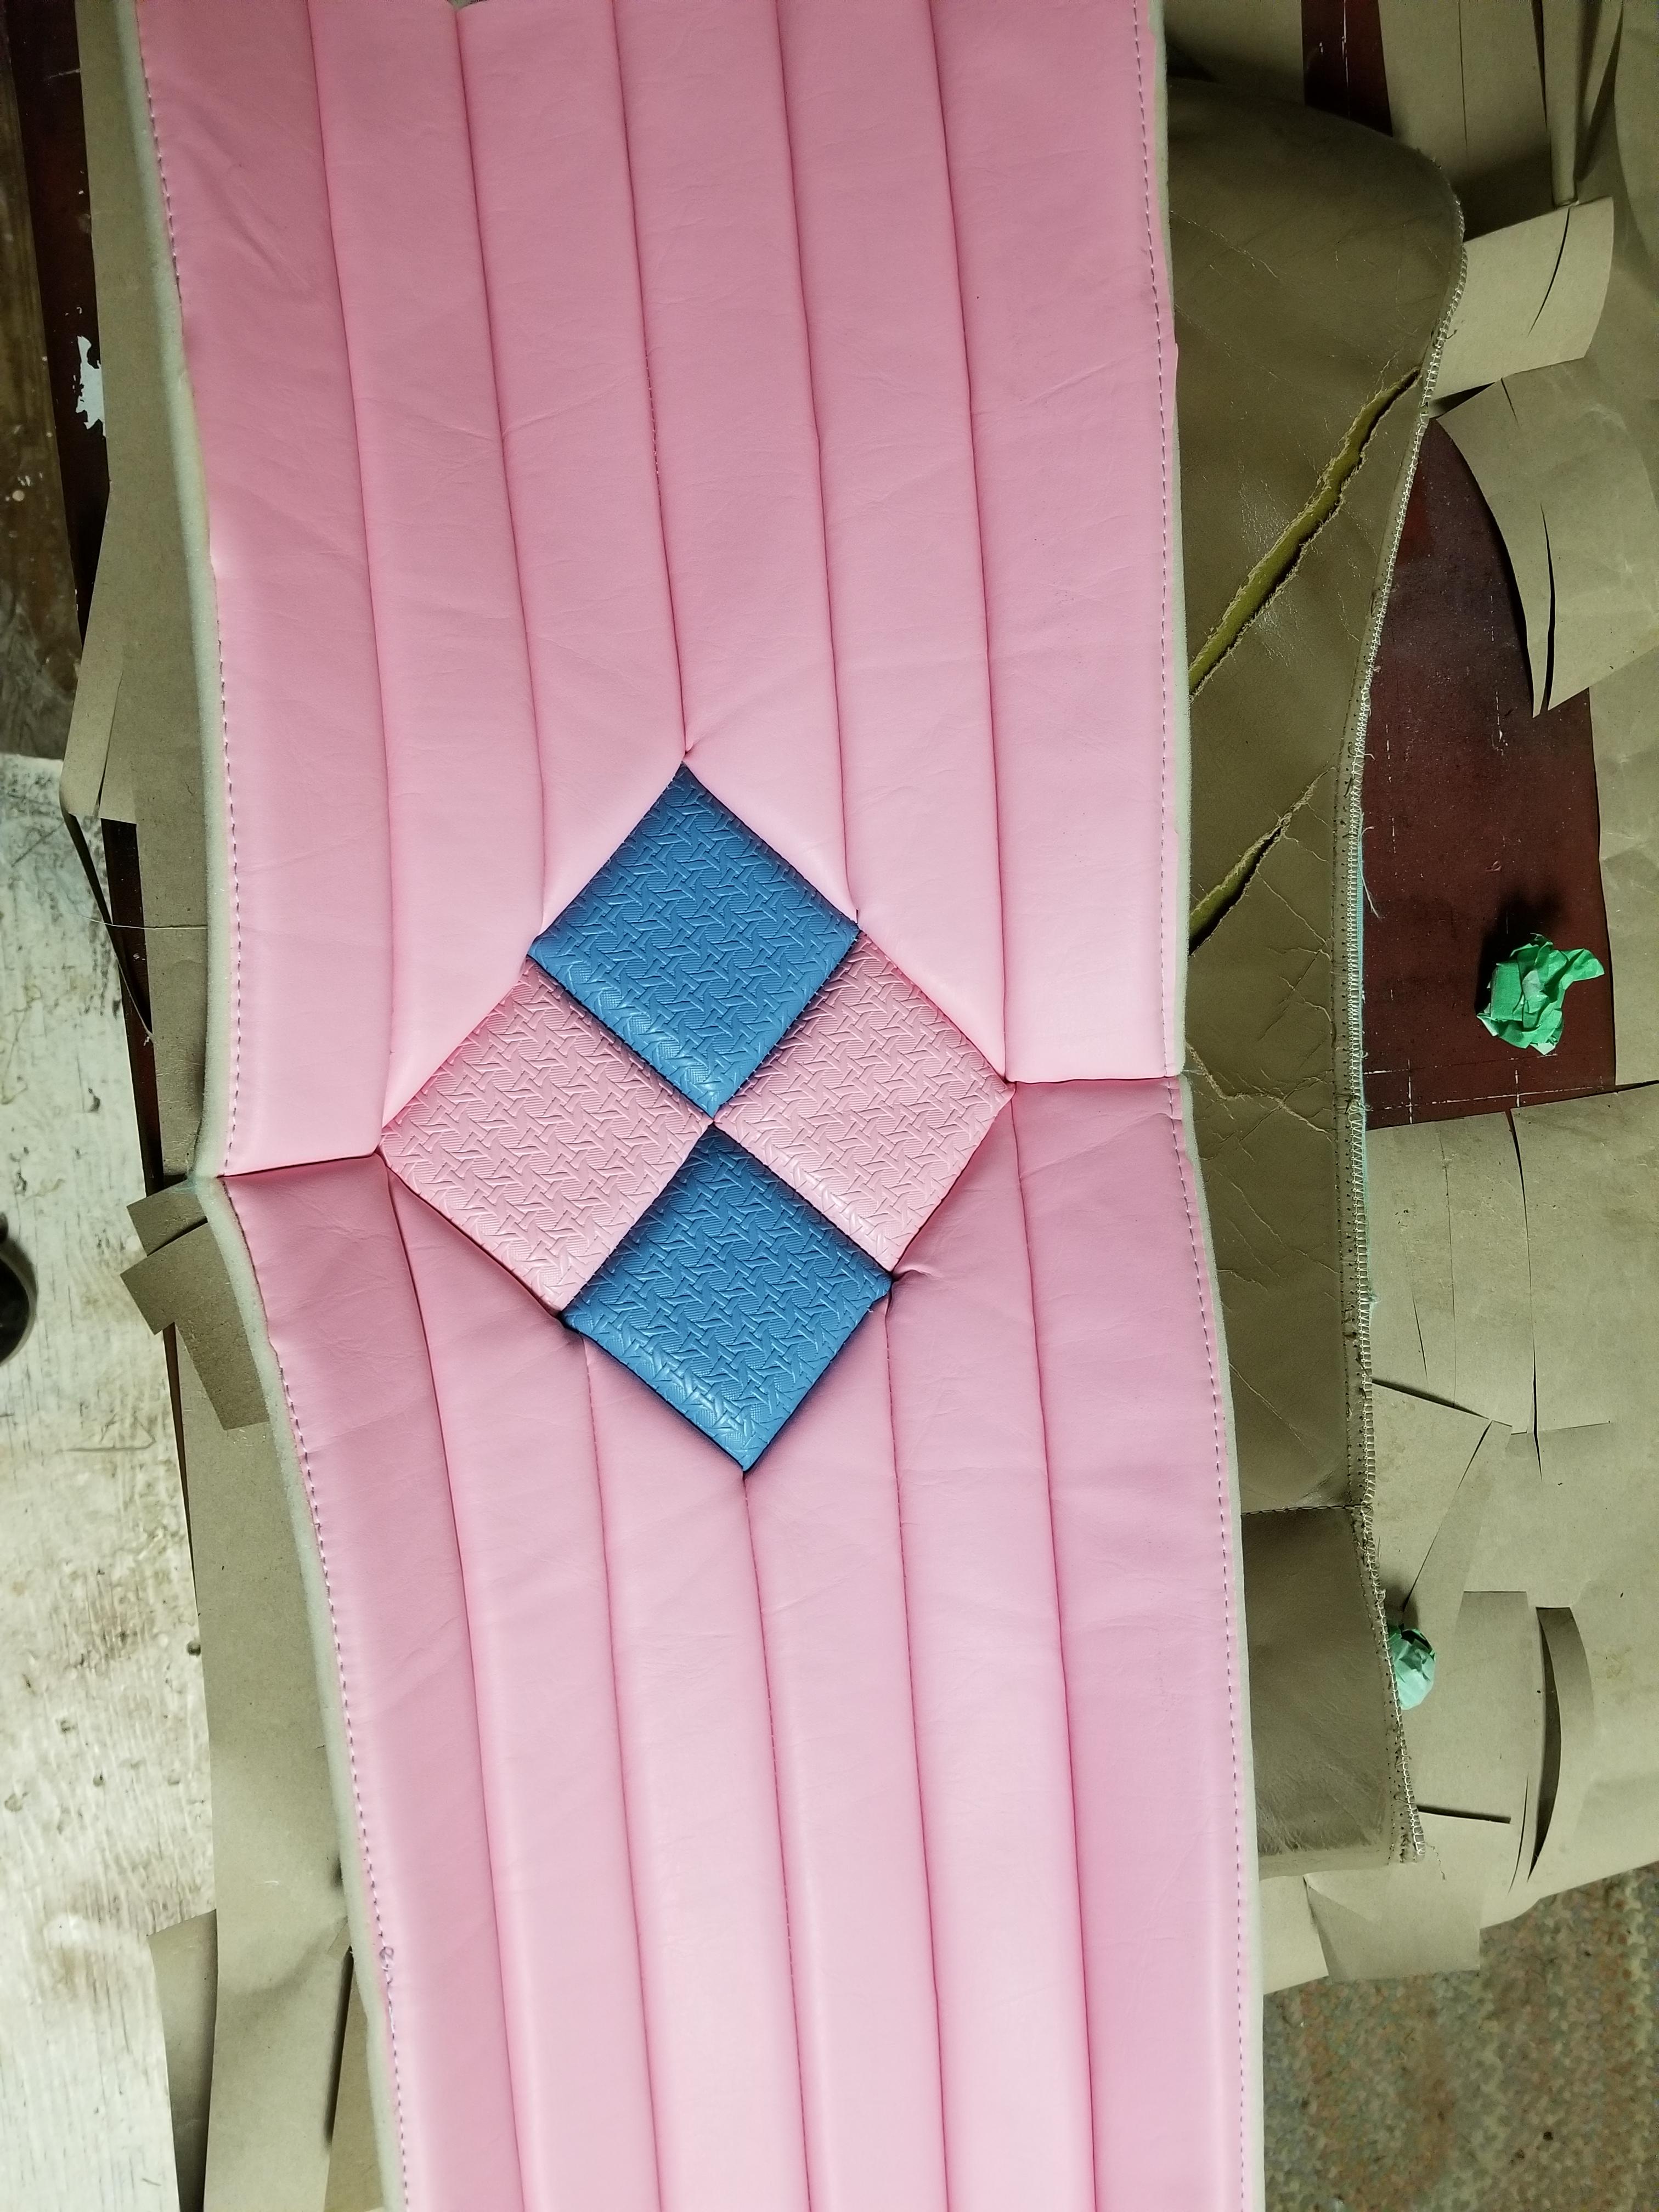
Panel sewn. You can see how the 1/2 foam sandwich makes nice pleats in the panel.
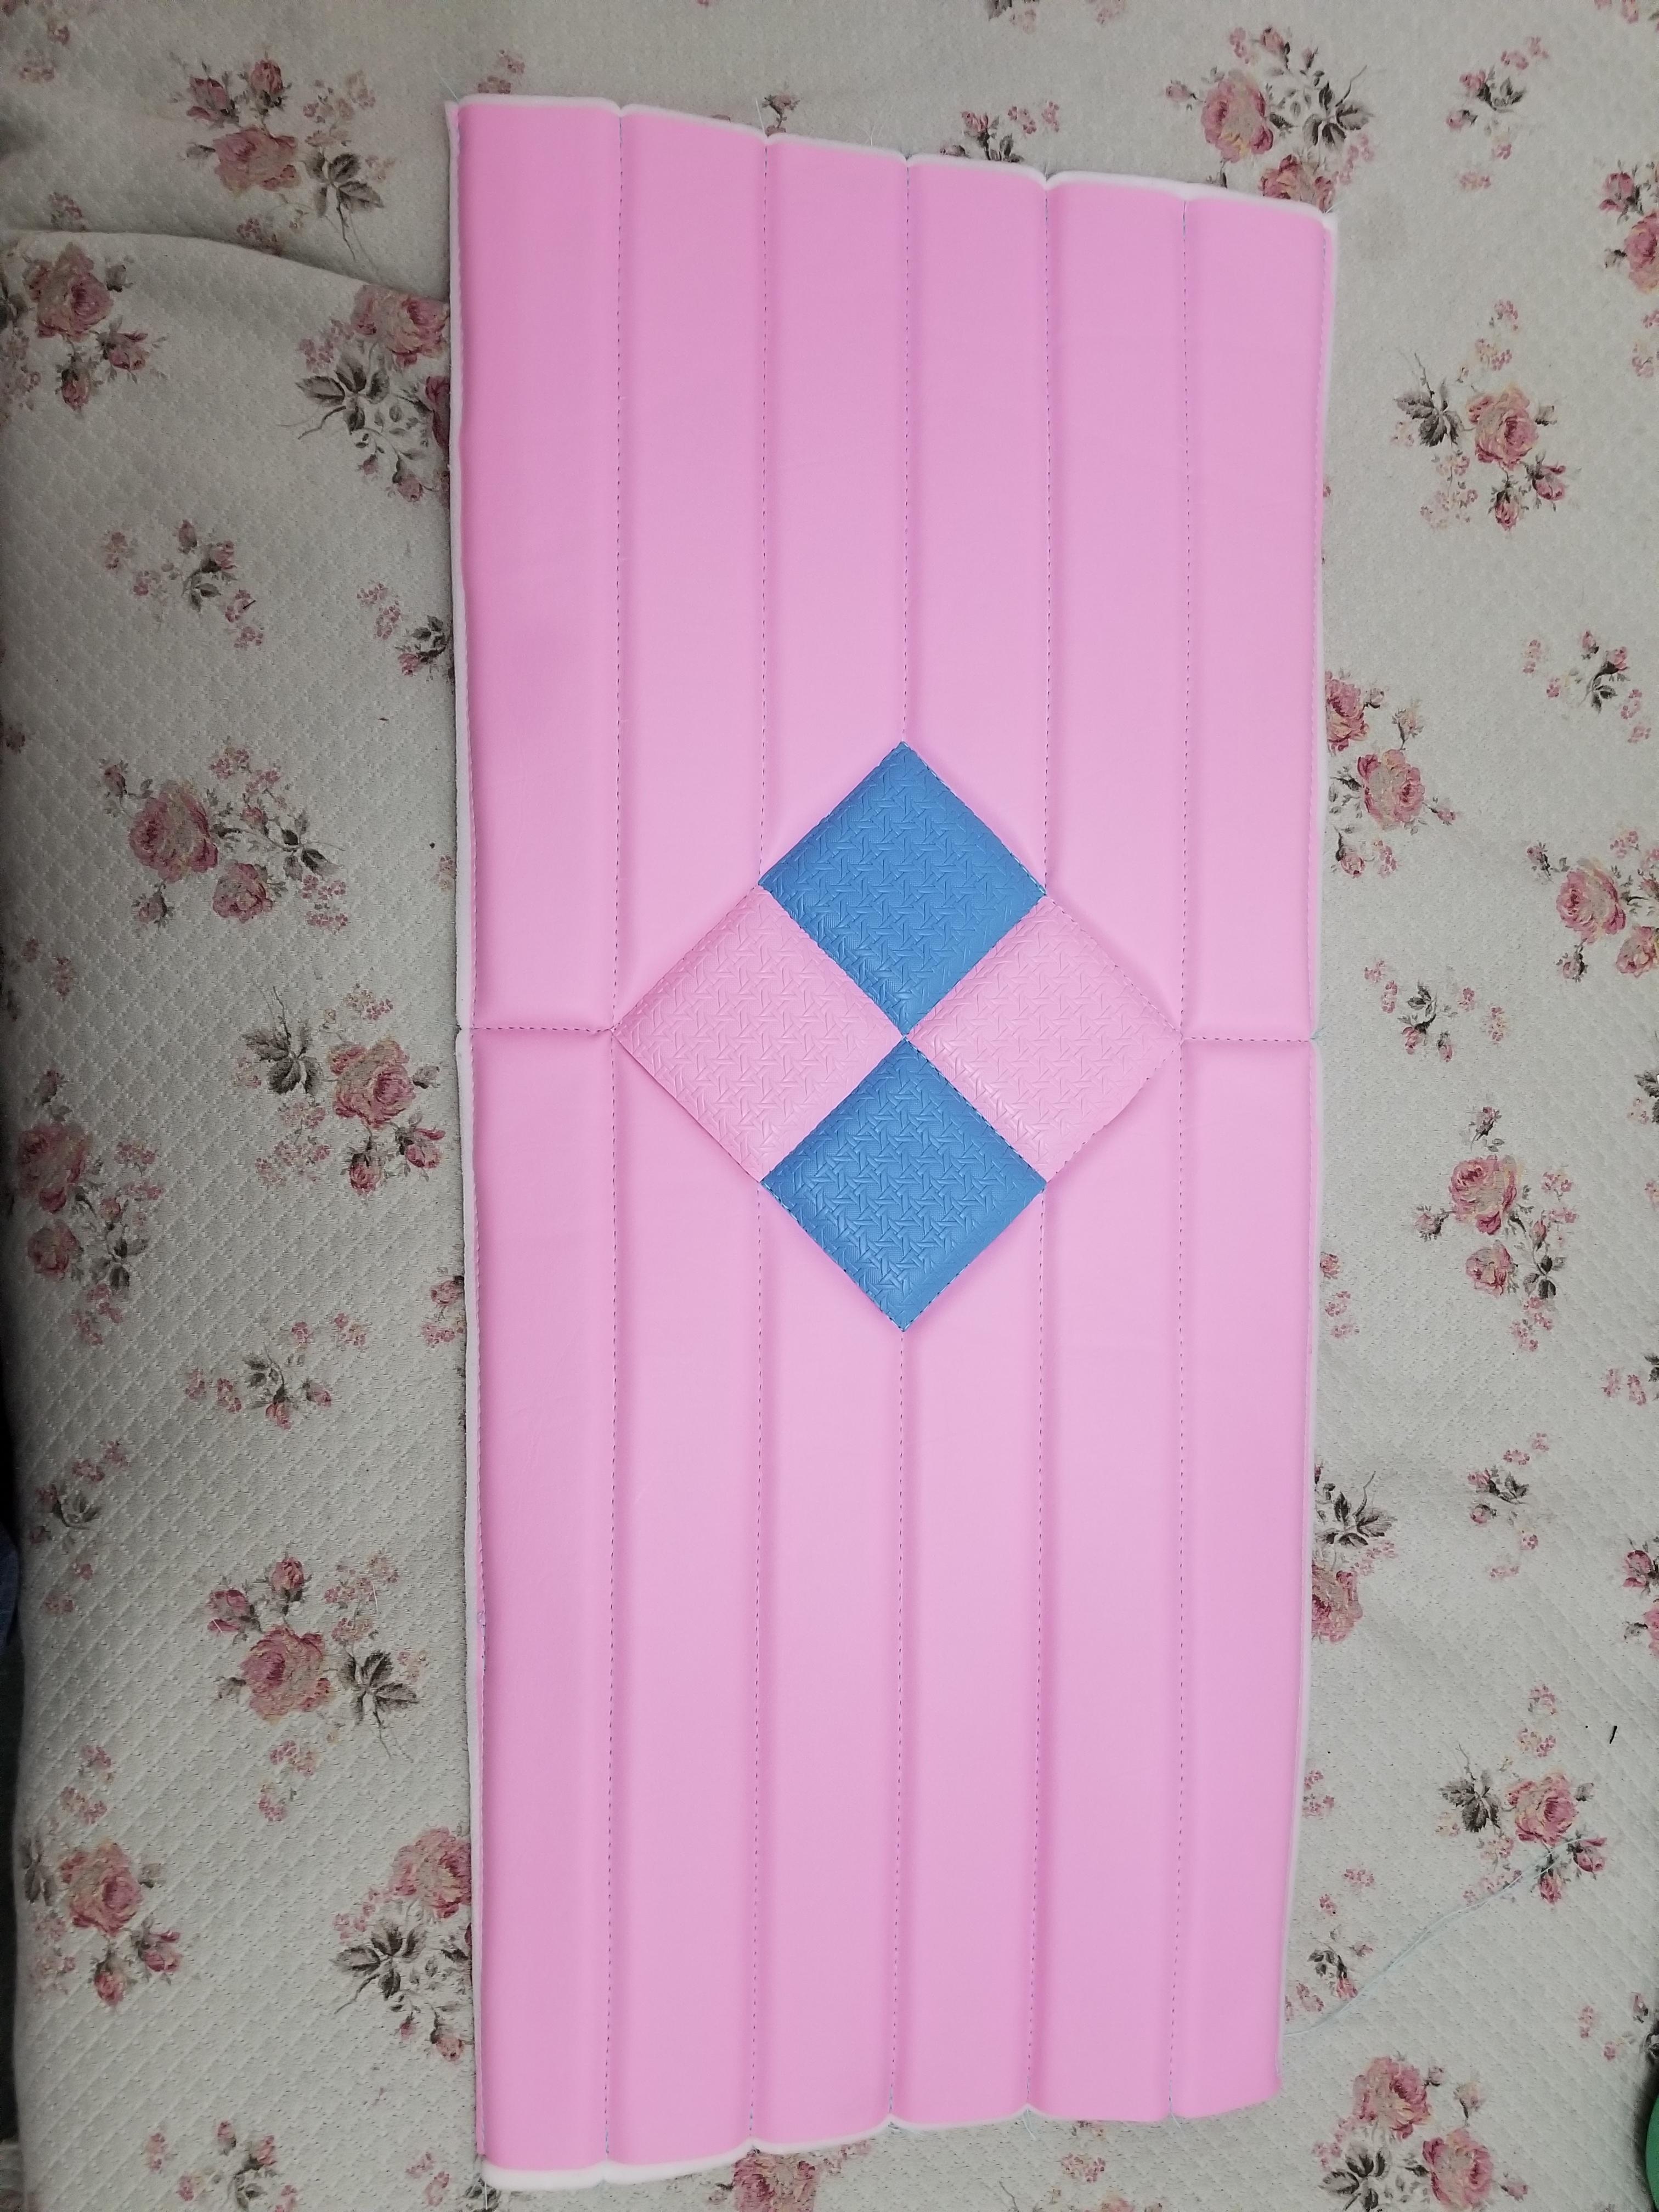
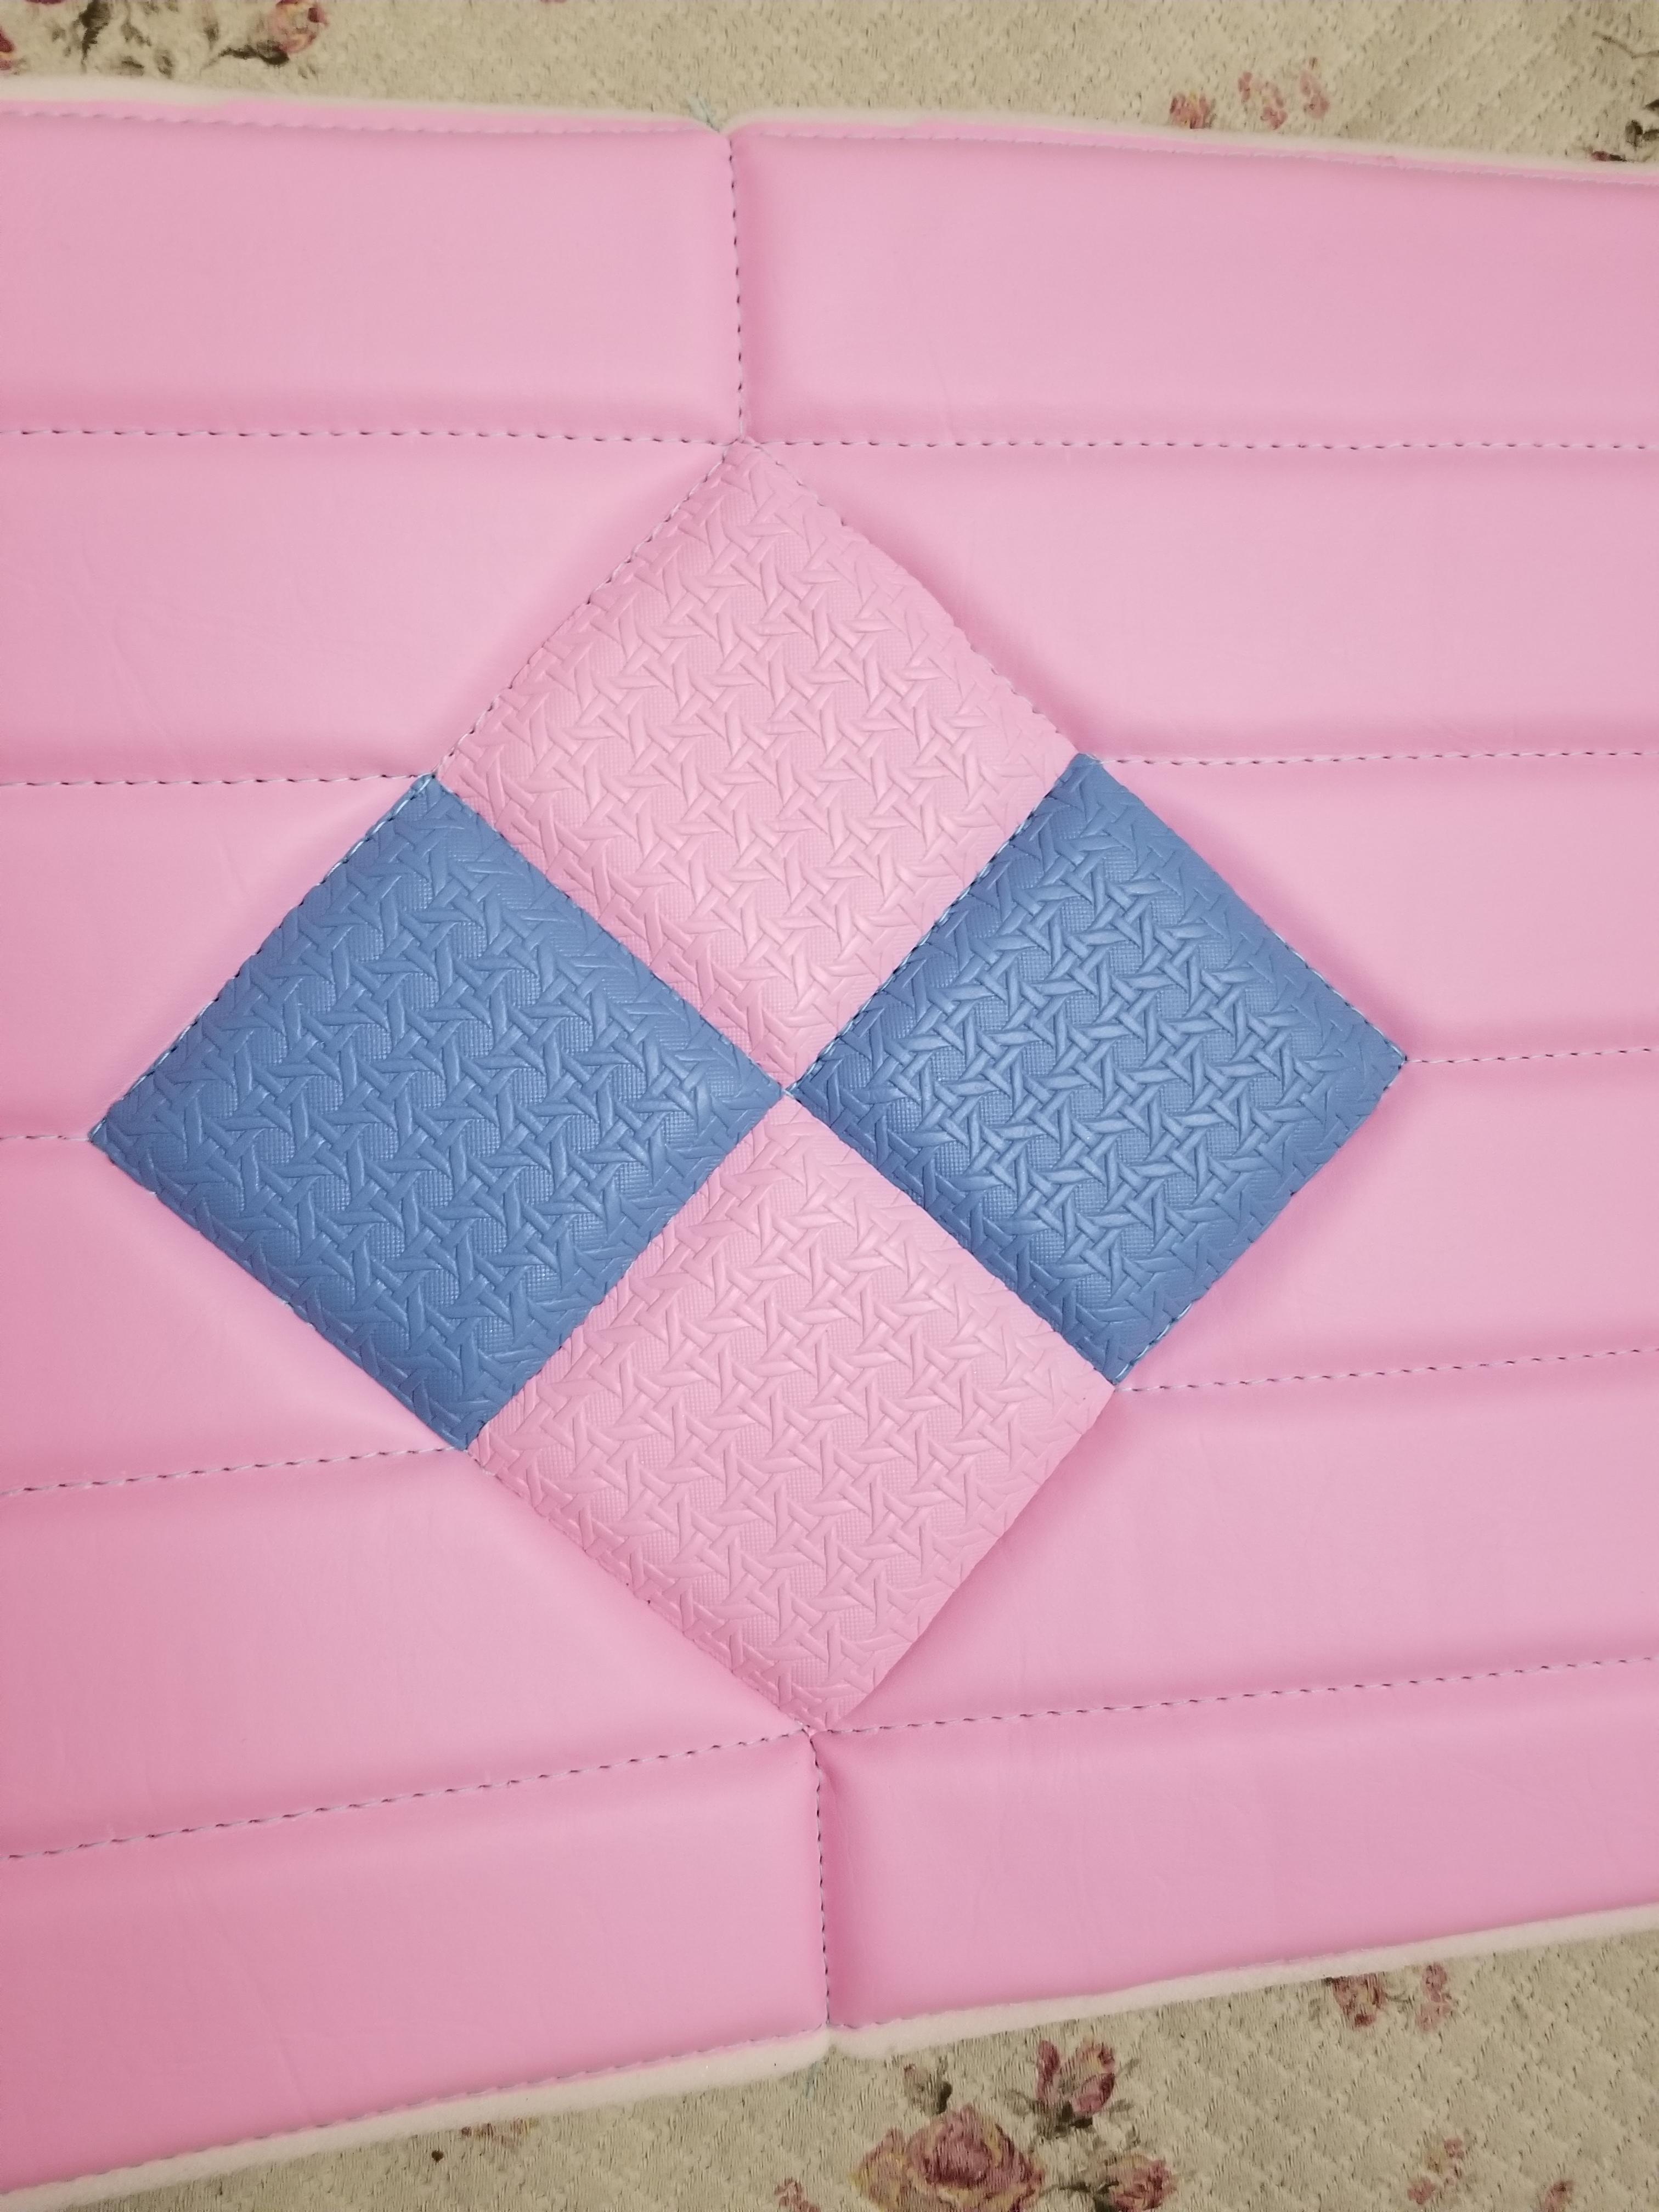
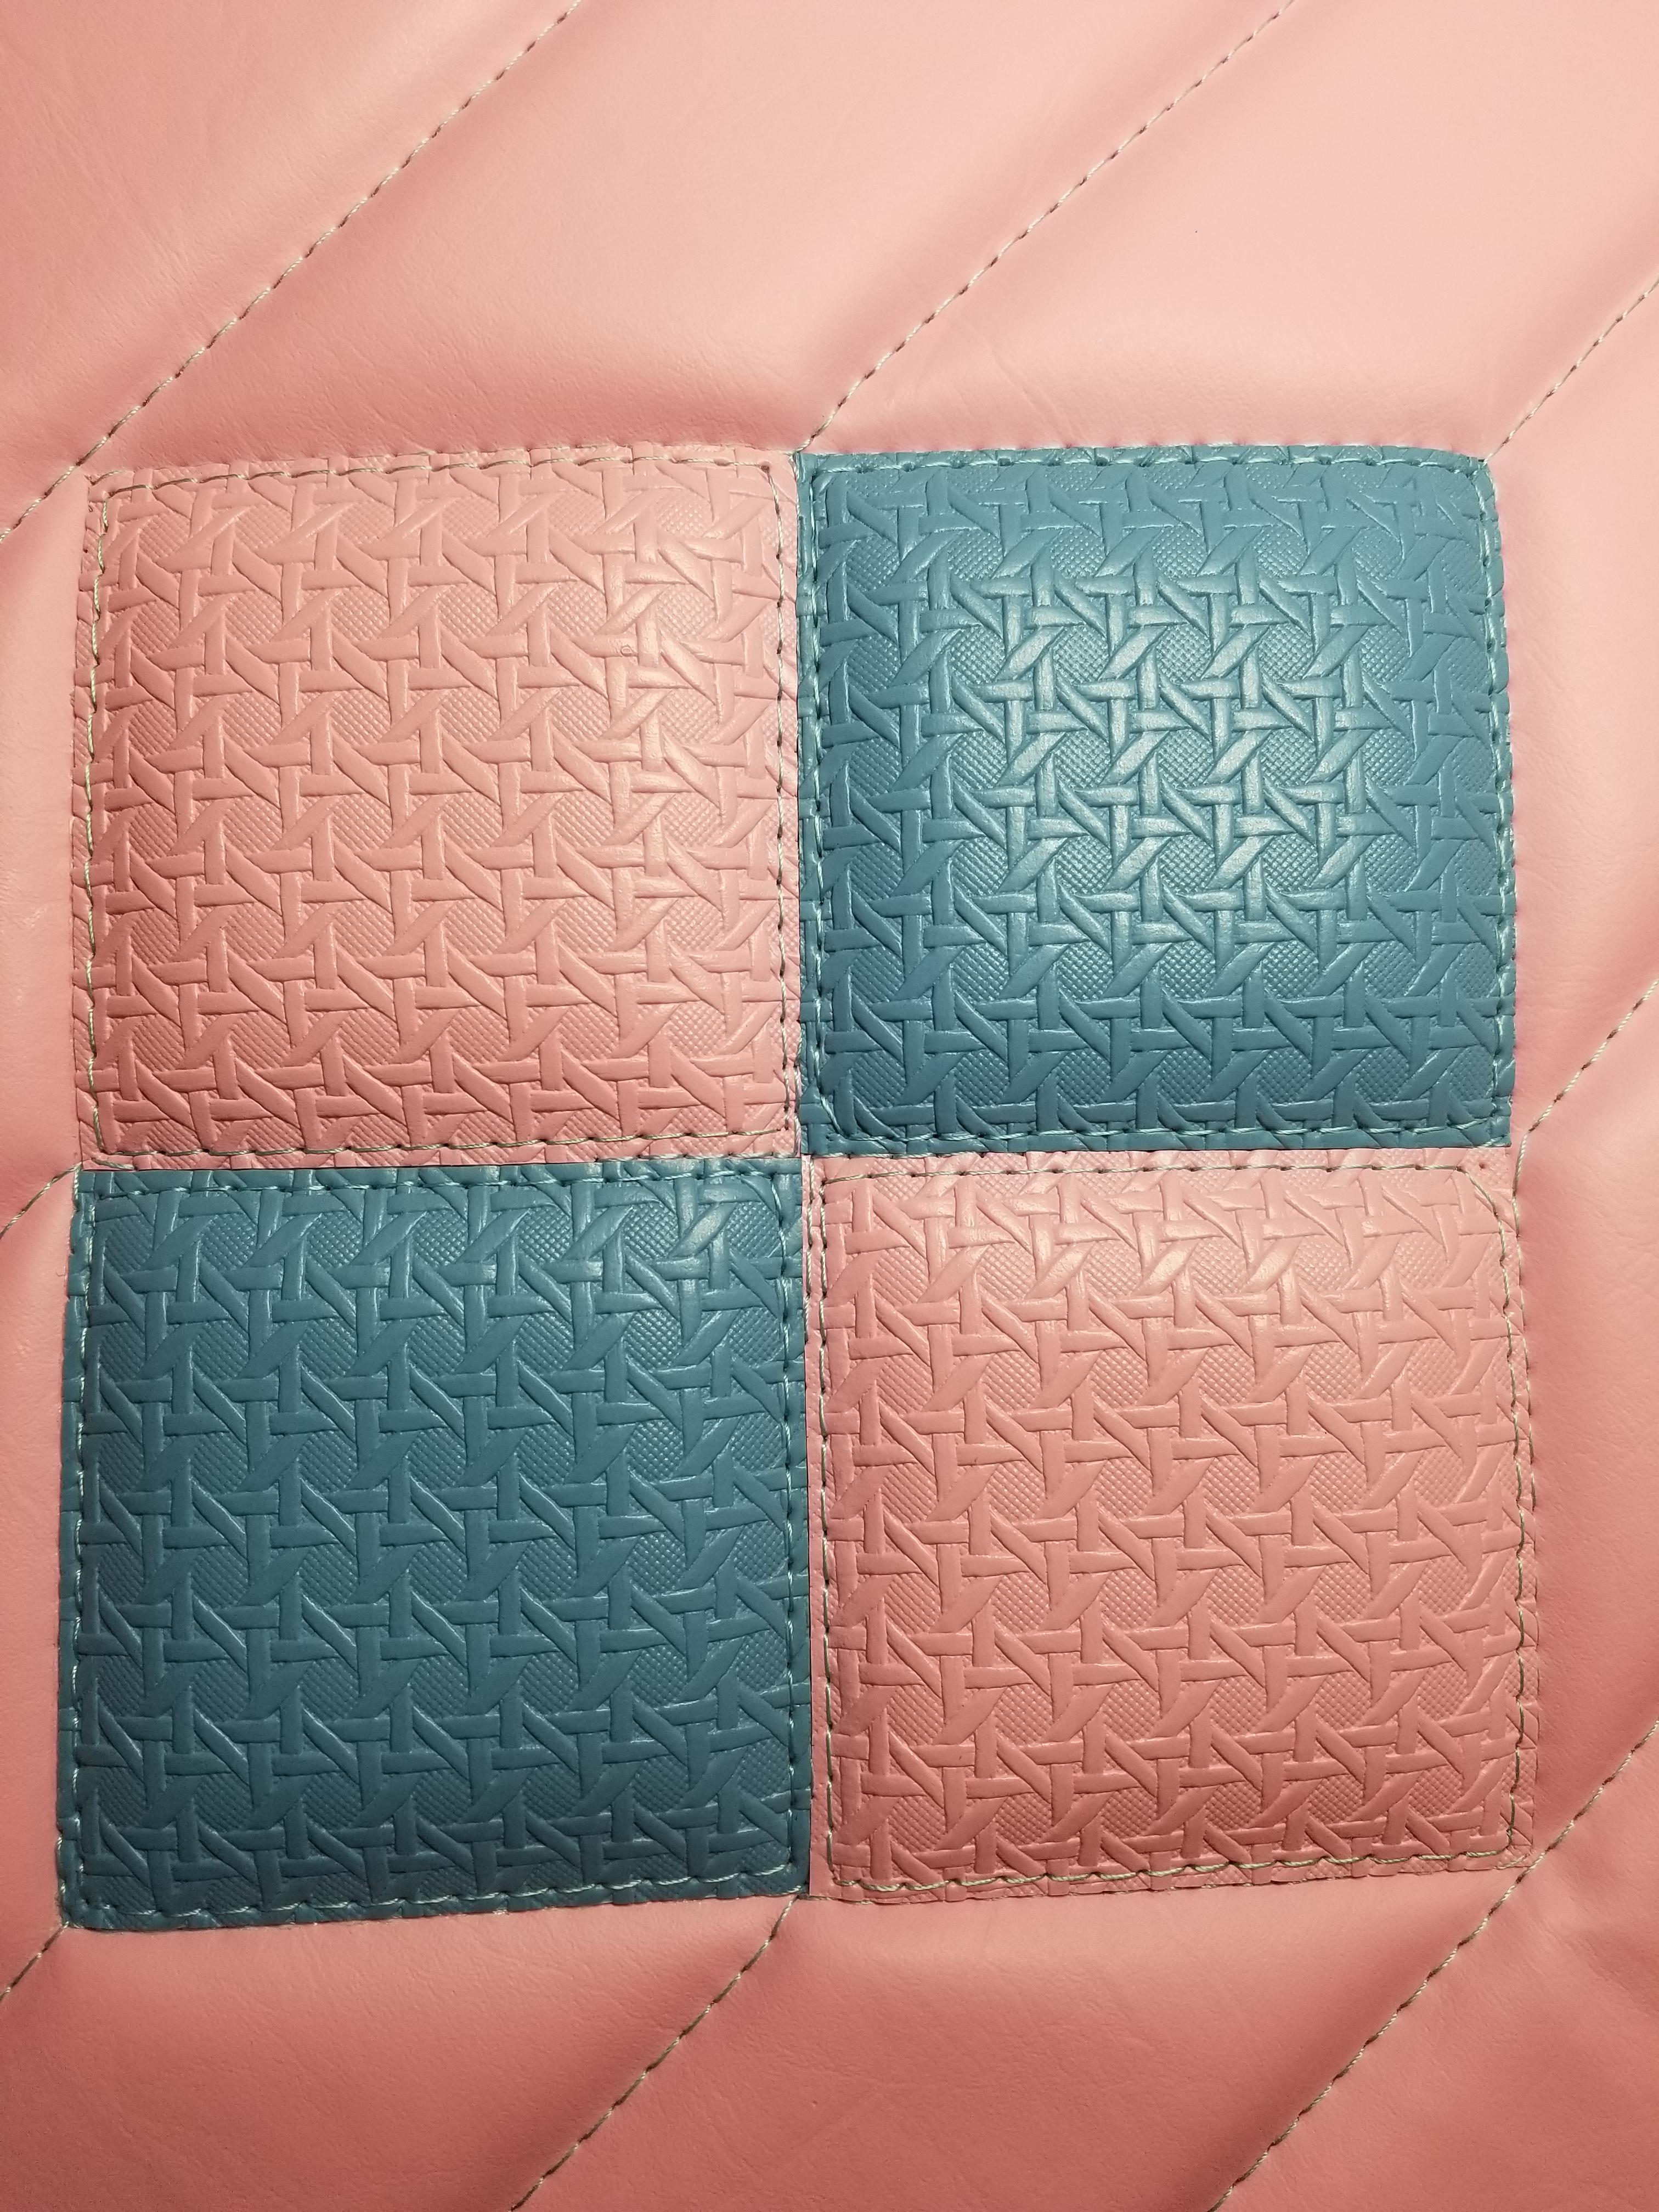
Close up of the diamonds
A blank slate. Vinyl on top glued to 1/2" foam then a bottom layer of fabric glued to the other side of the foam to make a vinyl/foam/fabric sandwich. Layout is done in chalk - it doesn't stain and is easily erasable. Just sharpen a stick of chalk on a piece of sandpaper to get a chisel edge to do fine lines.
I haven't seen this anywhere but I thought I'd try it. Using a bamboo basket weave pattern embossed vinyl and glued diamonds onto the panel with contact cement. You need to be very precise with the cutting so a ruler and Olfa blade works very well.
Before gluing down textured vinyl on base
Panel sewn. You can see how the 1/2 foam sandwich makes nice pleats in the panel.
Close up of the diamonds
01-05-2019, 02:22 AM
#4
Mr Z++ Wiki
Thread Starter
Join Date: Sep 2009
Location: Victoria, BC
Posts: 2,195
So I start watching some YouTube videos so I can try and figure out how to do this and of course I decide to go with a blind stitch because it looks cool. Problem is that it works for one row of diamonds but the material starts to bunch up if you add another set top and bottom.
Layout for blind stitch
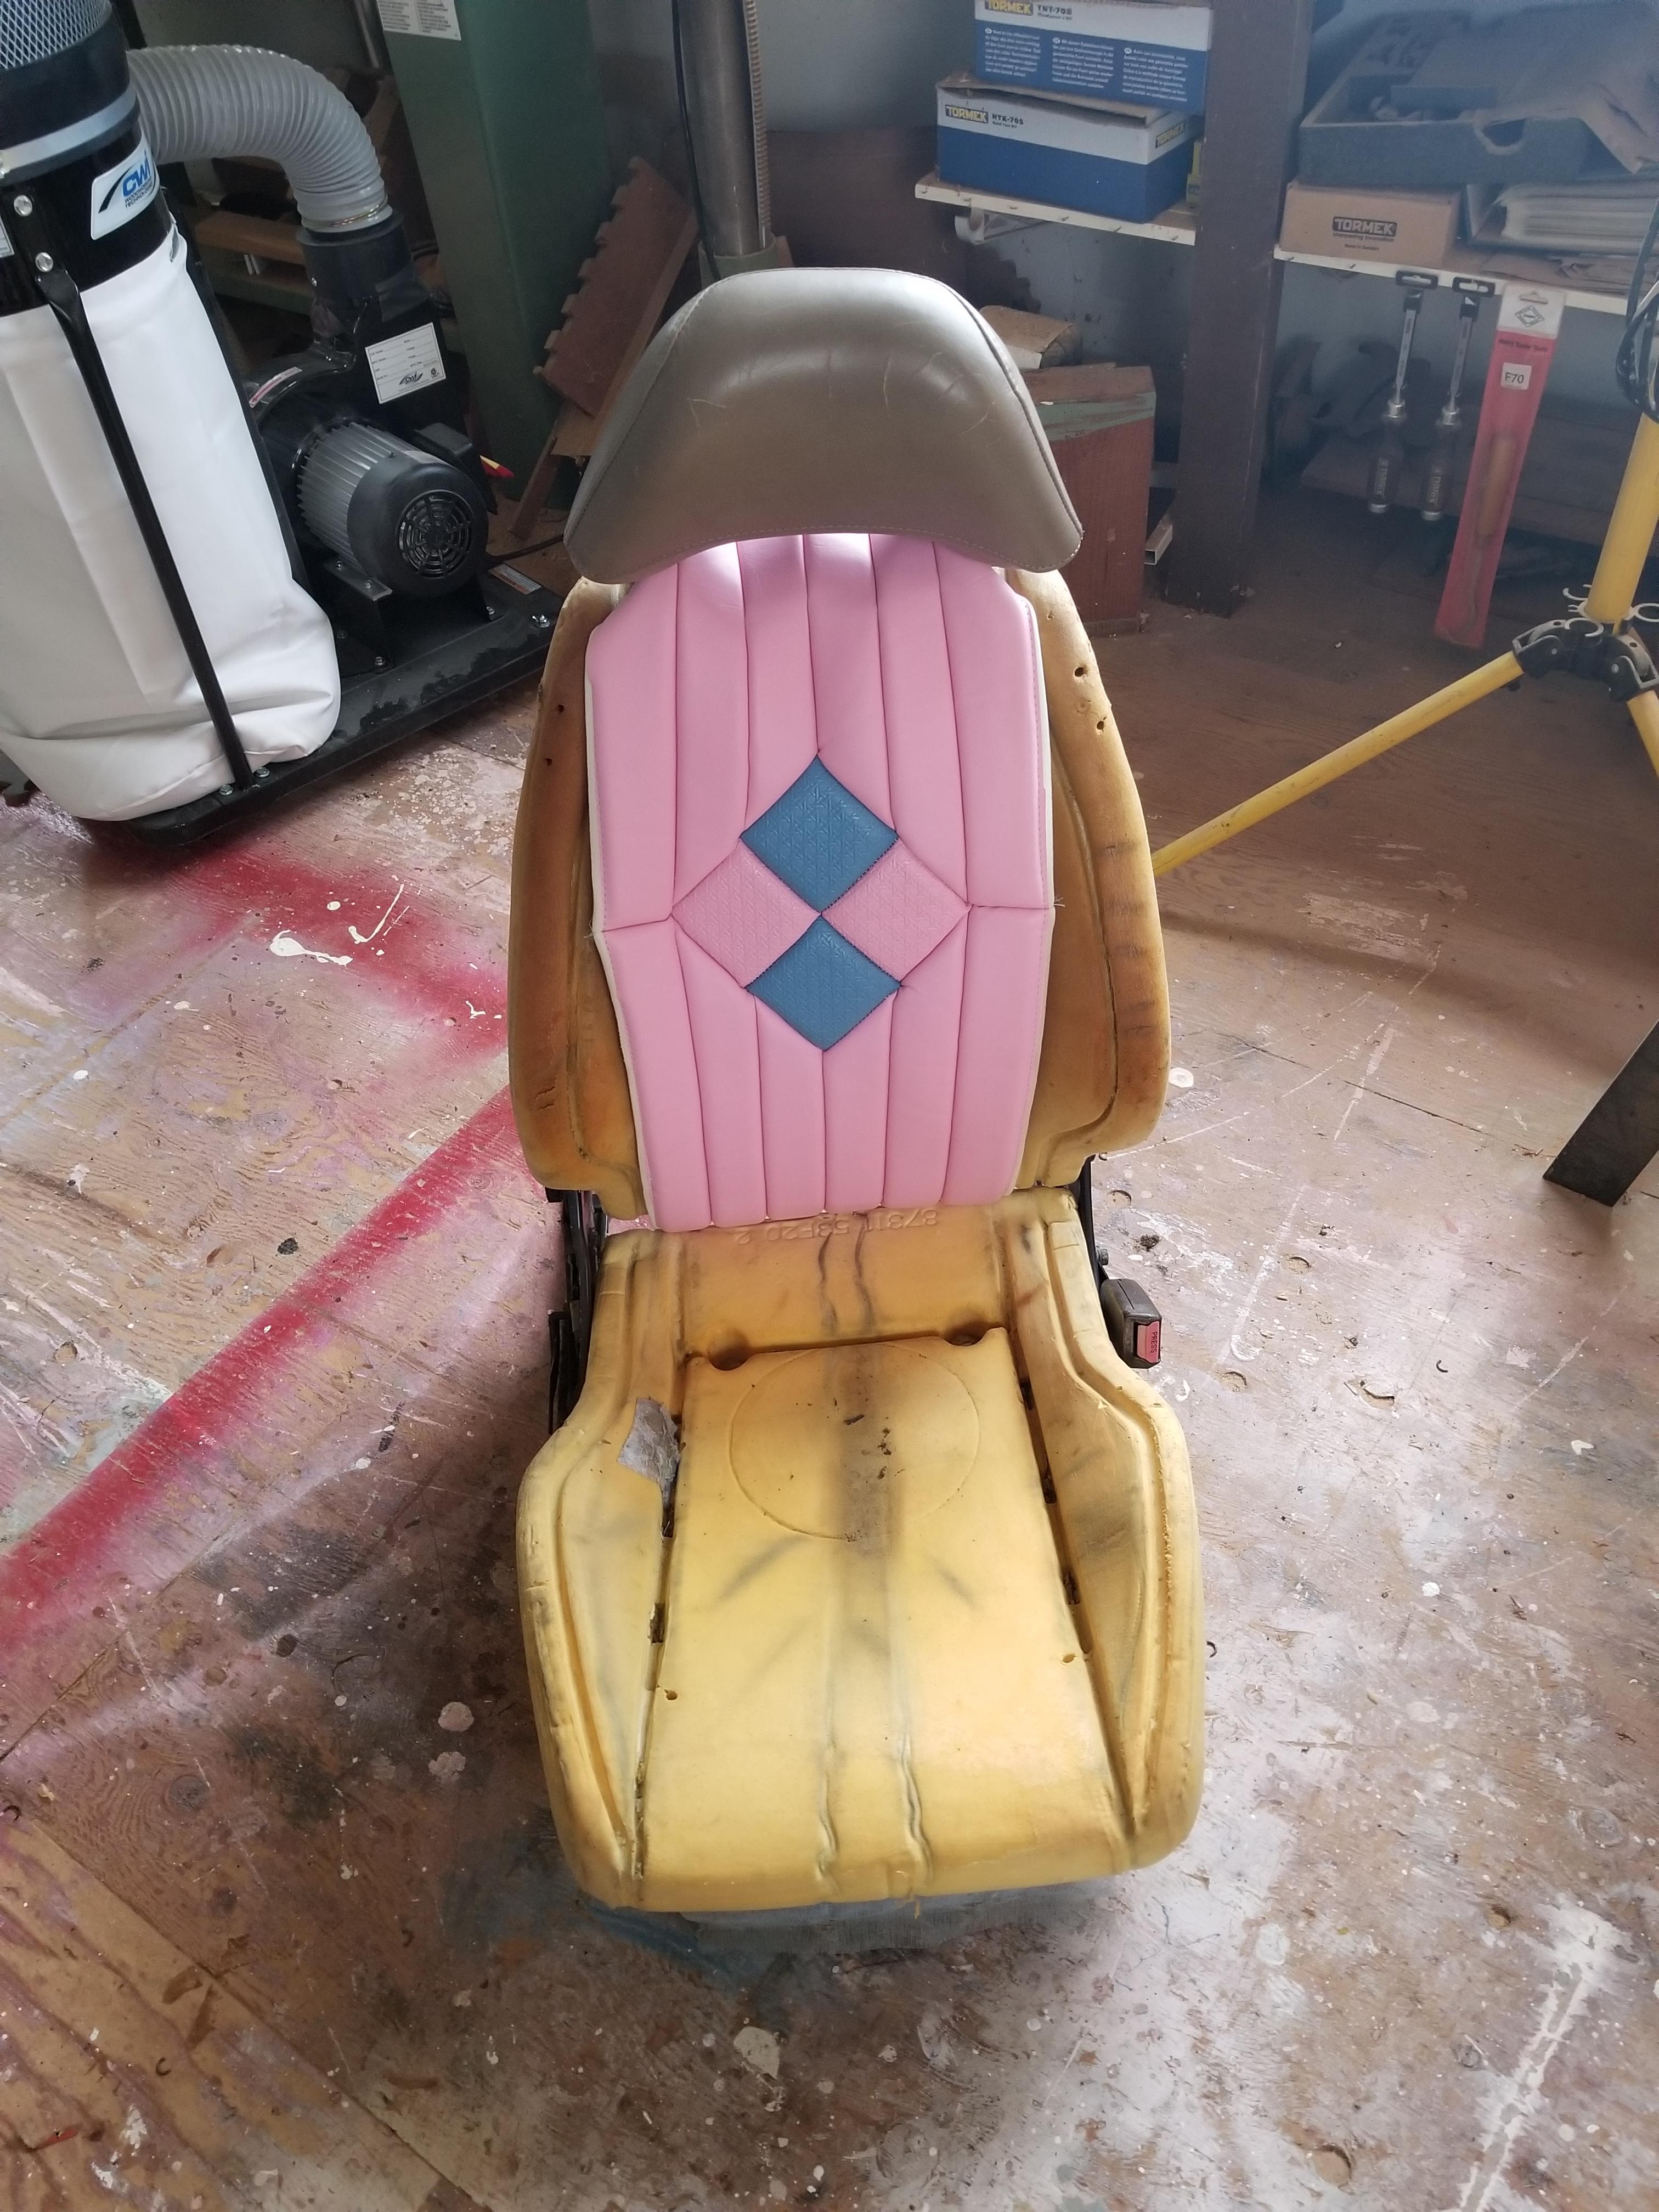
Too much puckering :/
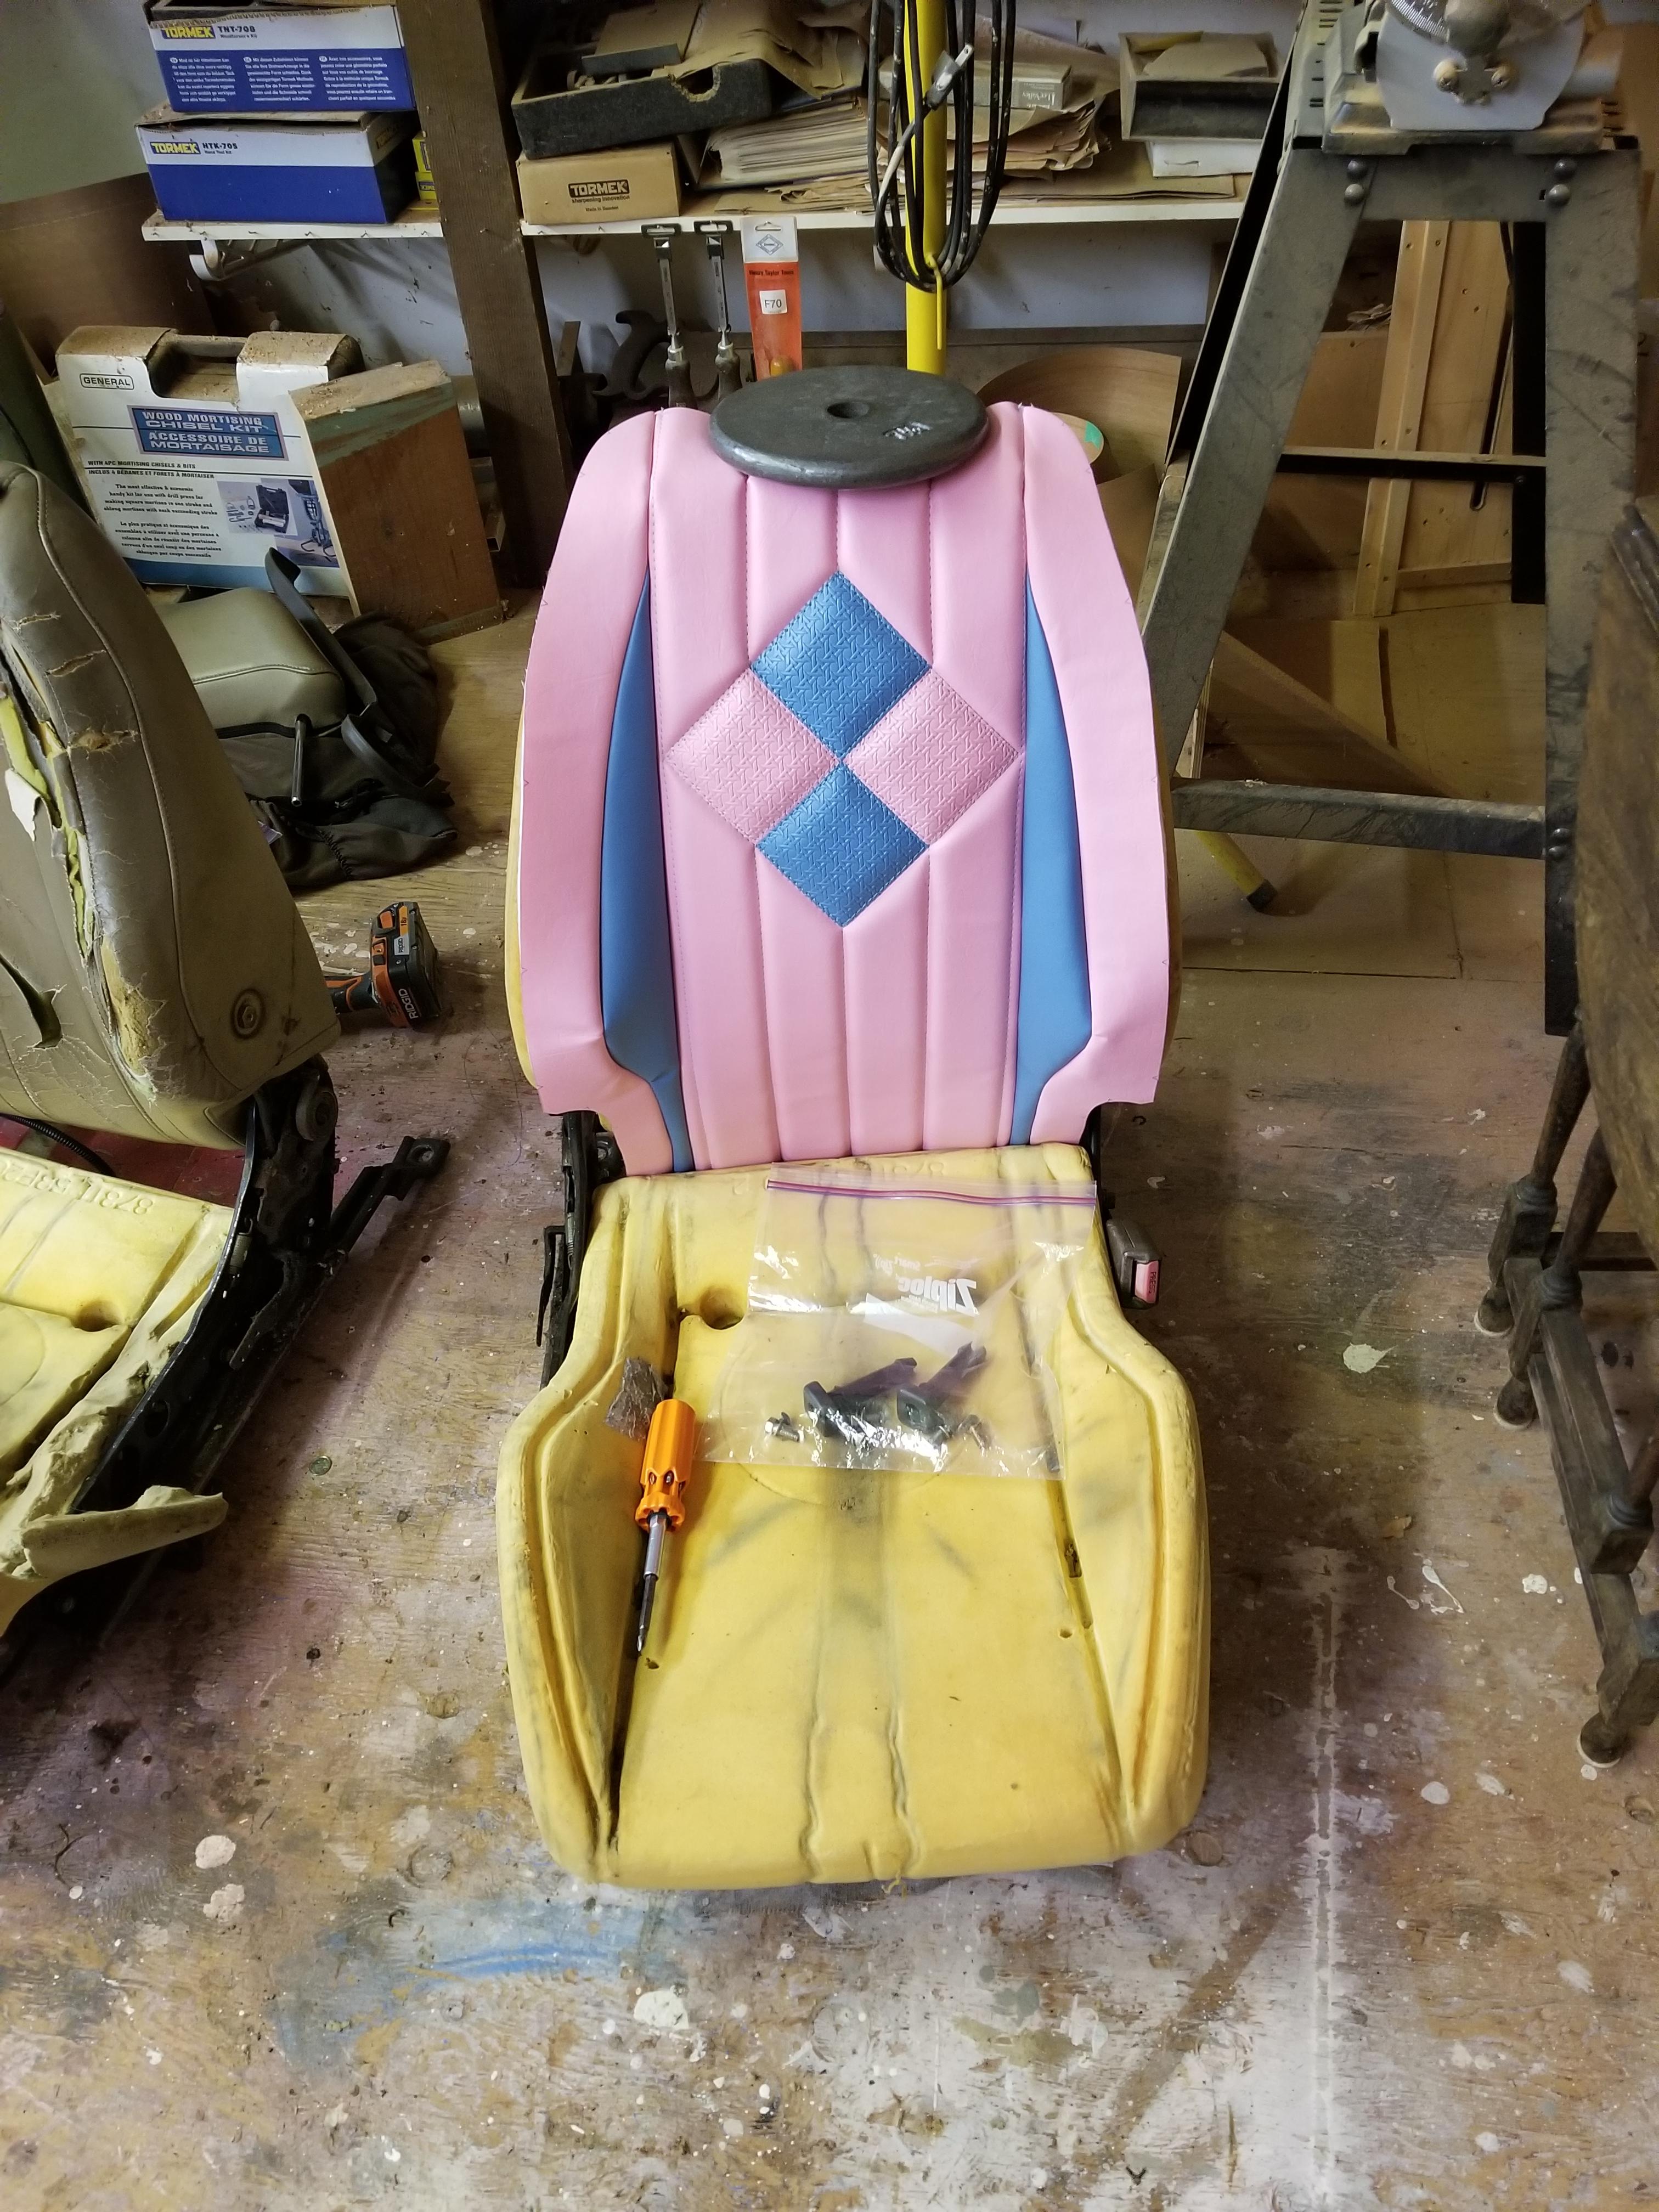
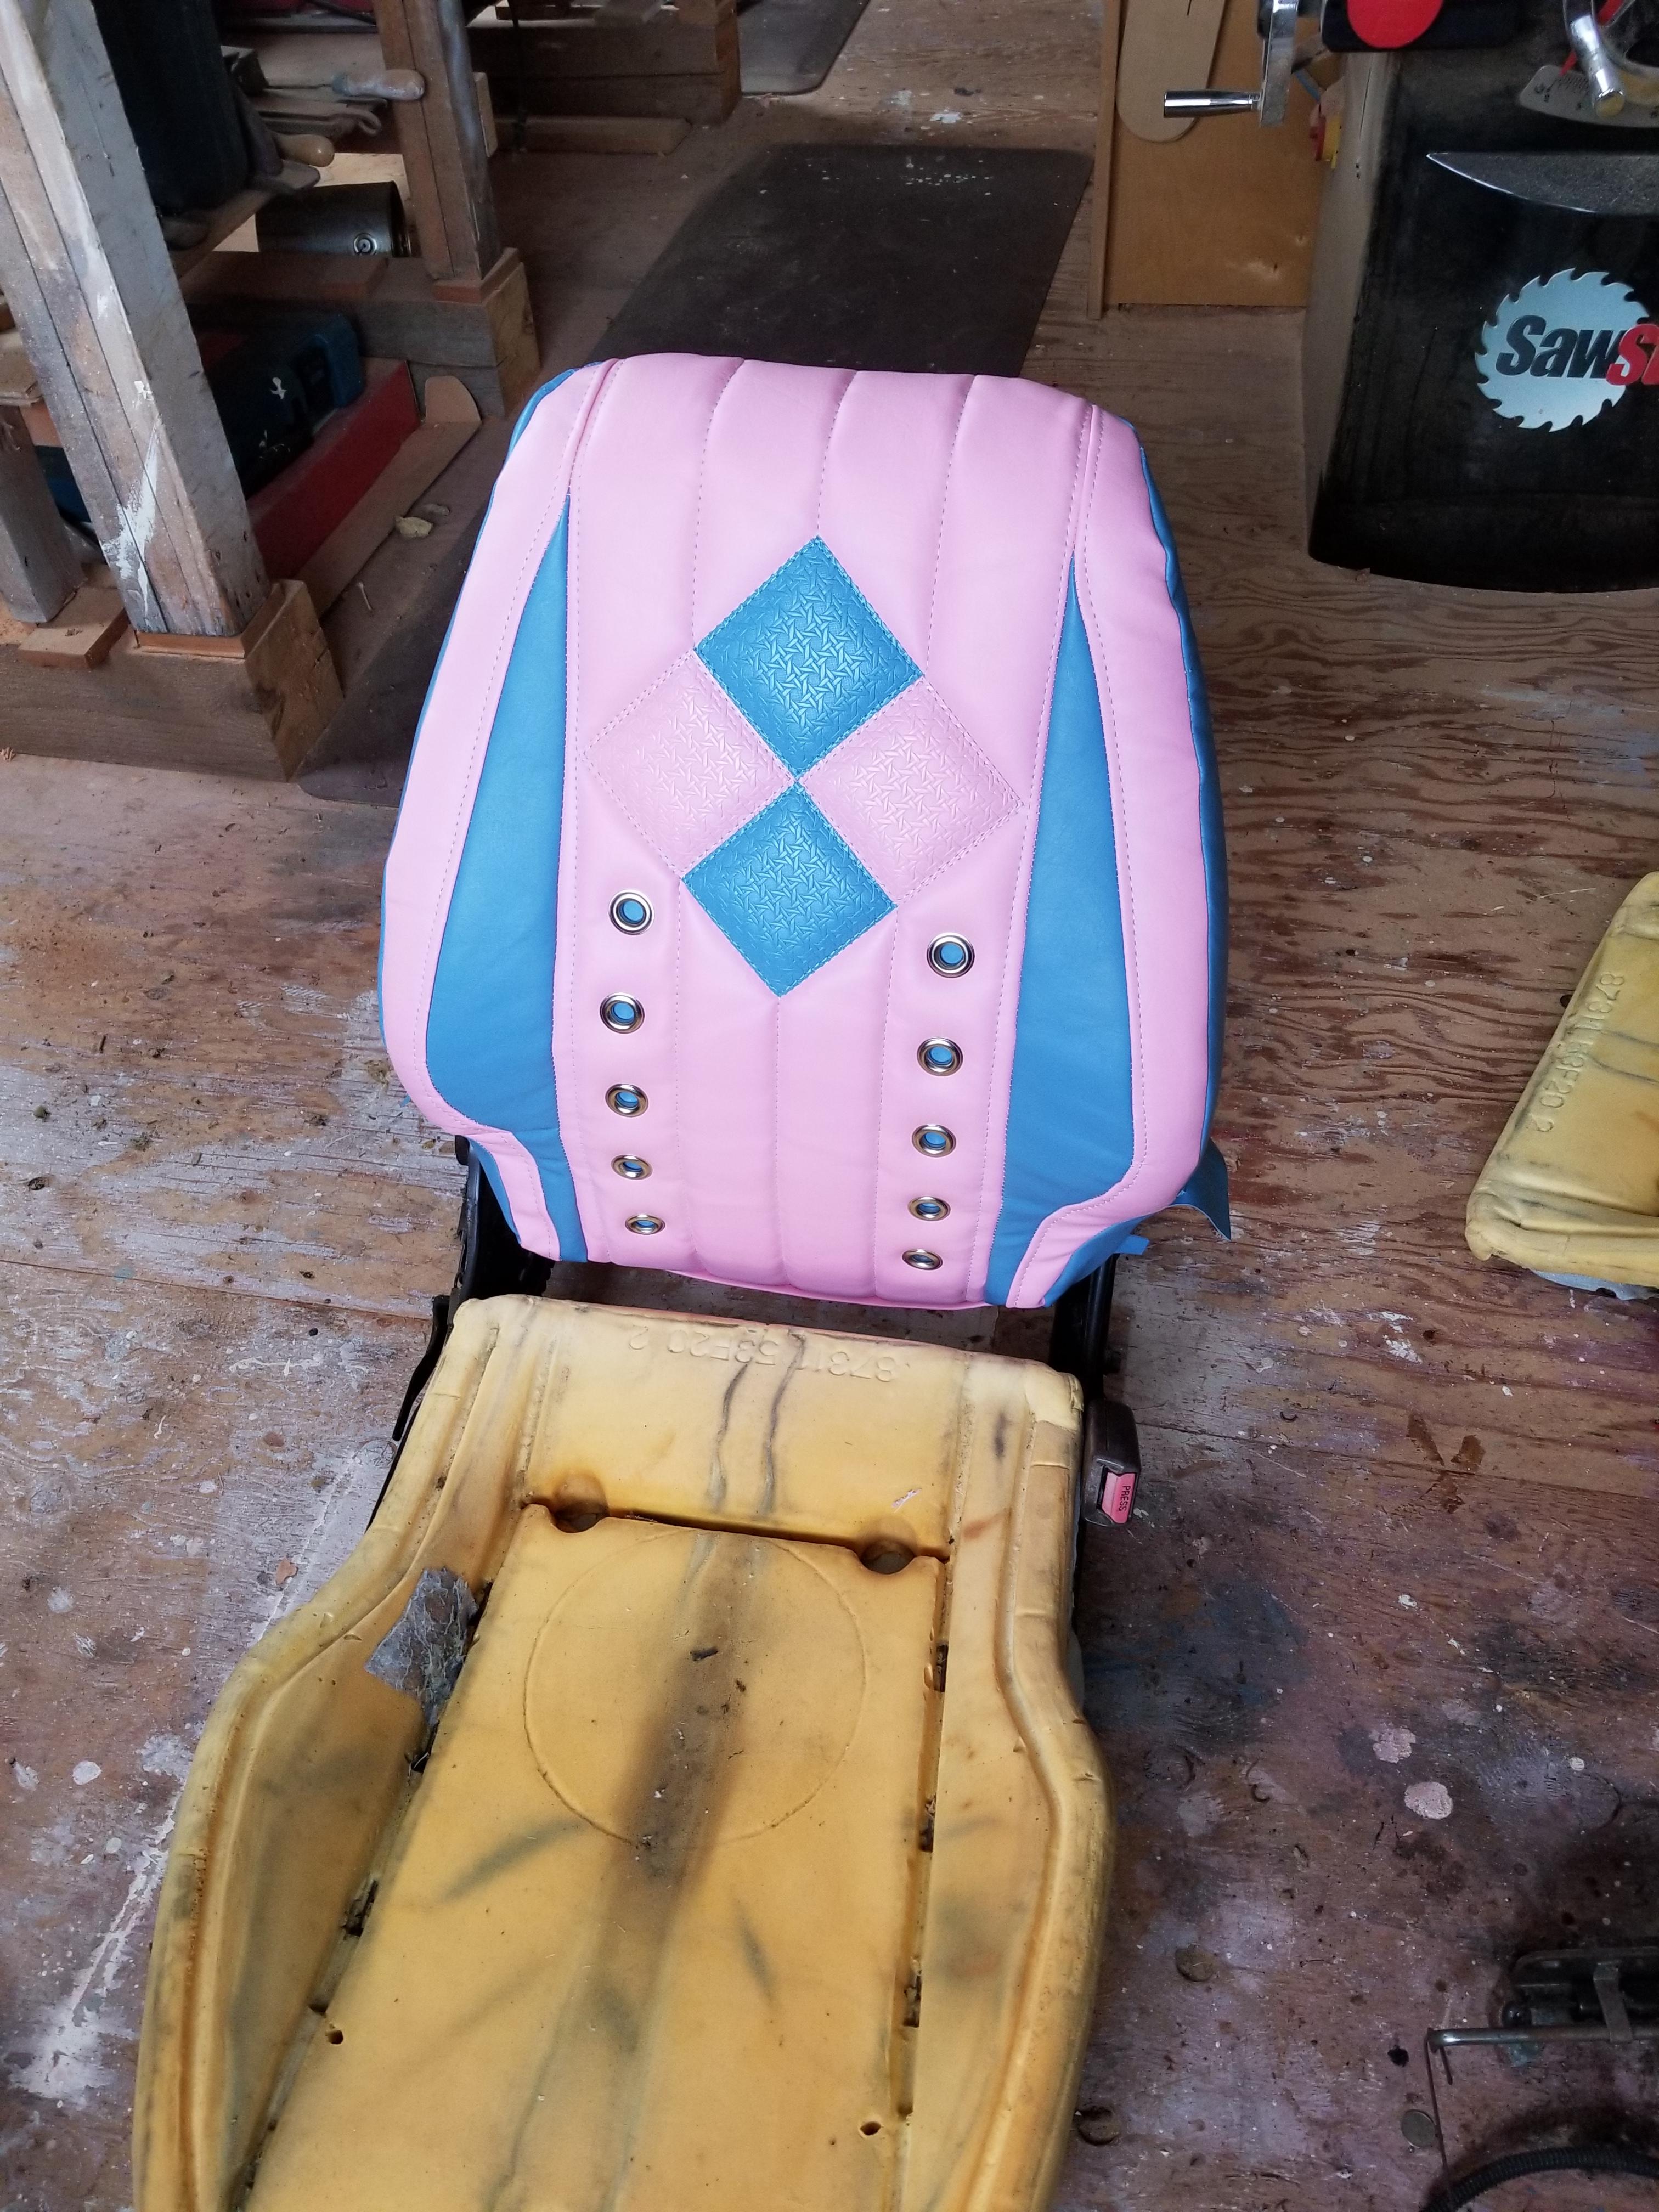
But a chance to see what the upper panel will look like on the seat
Do over on the panel. Colour is just washed out with the camera and lighting. There is a problem with the stitch on the bottom RHS diamond which I have since fixed. Added a second row of top stitching.
Layout for blind stitch
Too much puckering :/
But a chance to see what the upper panel will look like on the seat
Do over on the panel. Colour is just washed out with the camera and lighting. There is a problem with the stitch on the bottom RHS diamond which I have since fixed. Added a second row of top stitching.
01-05-2019, 02:23 AM
#5
Mr Z++ Wiki
Thread Starter
Join Date: Sep 2009
Location: Victoria, BC
Posts: 2,195
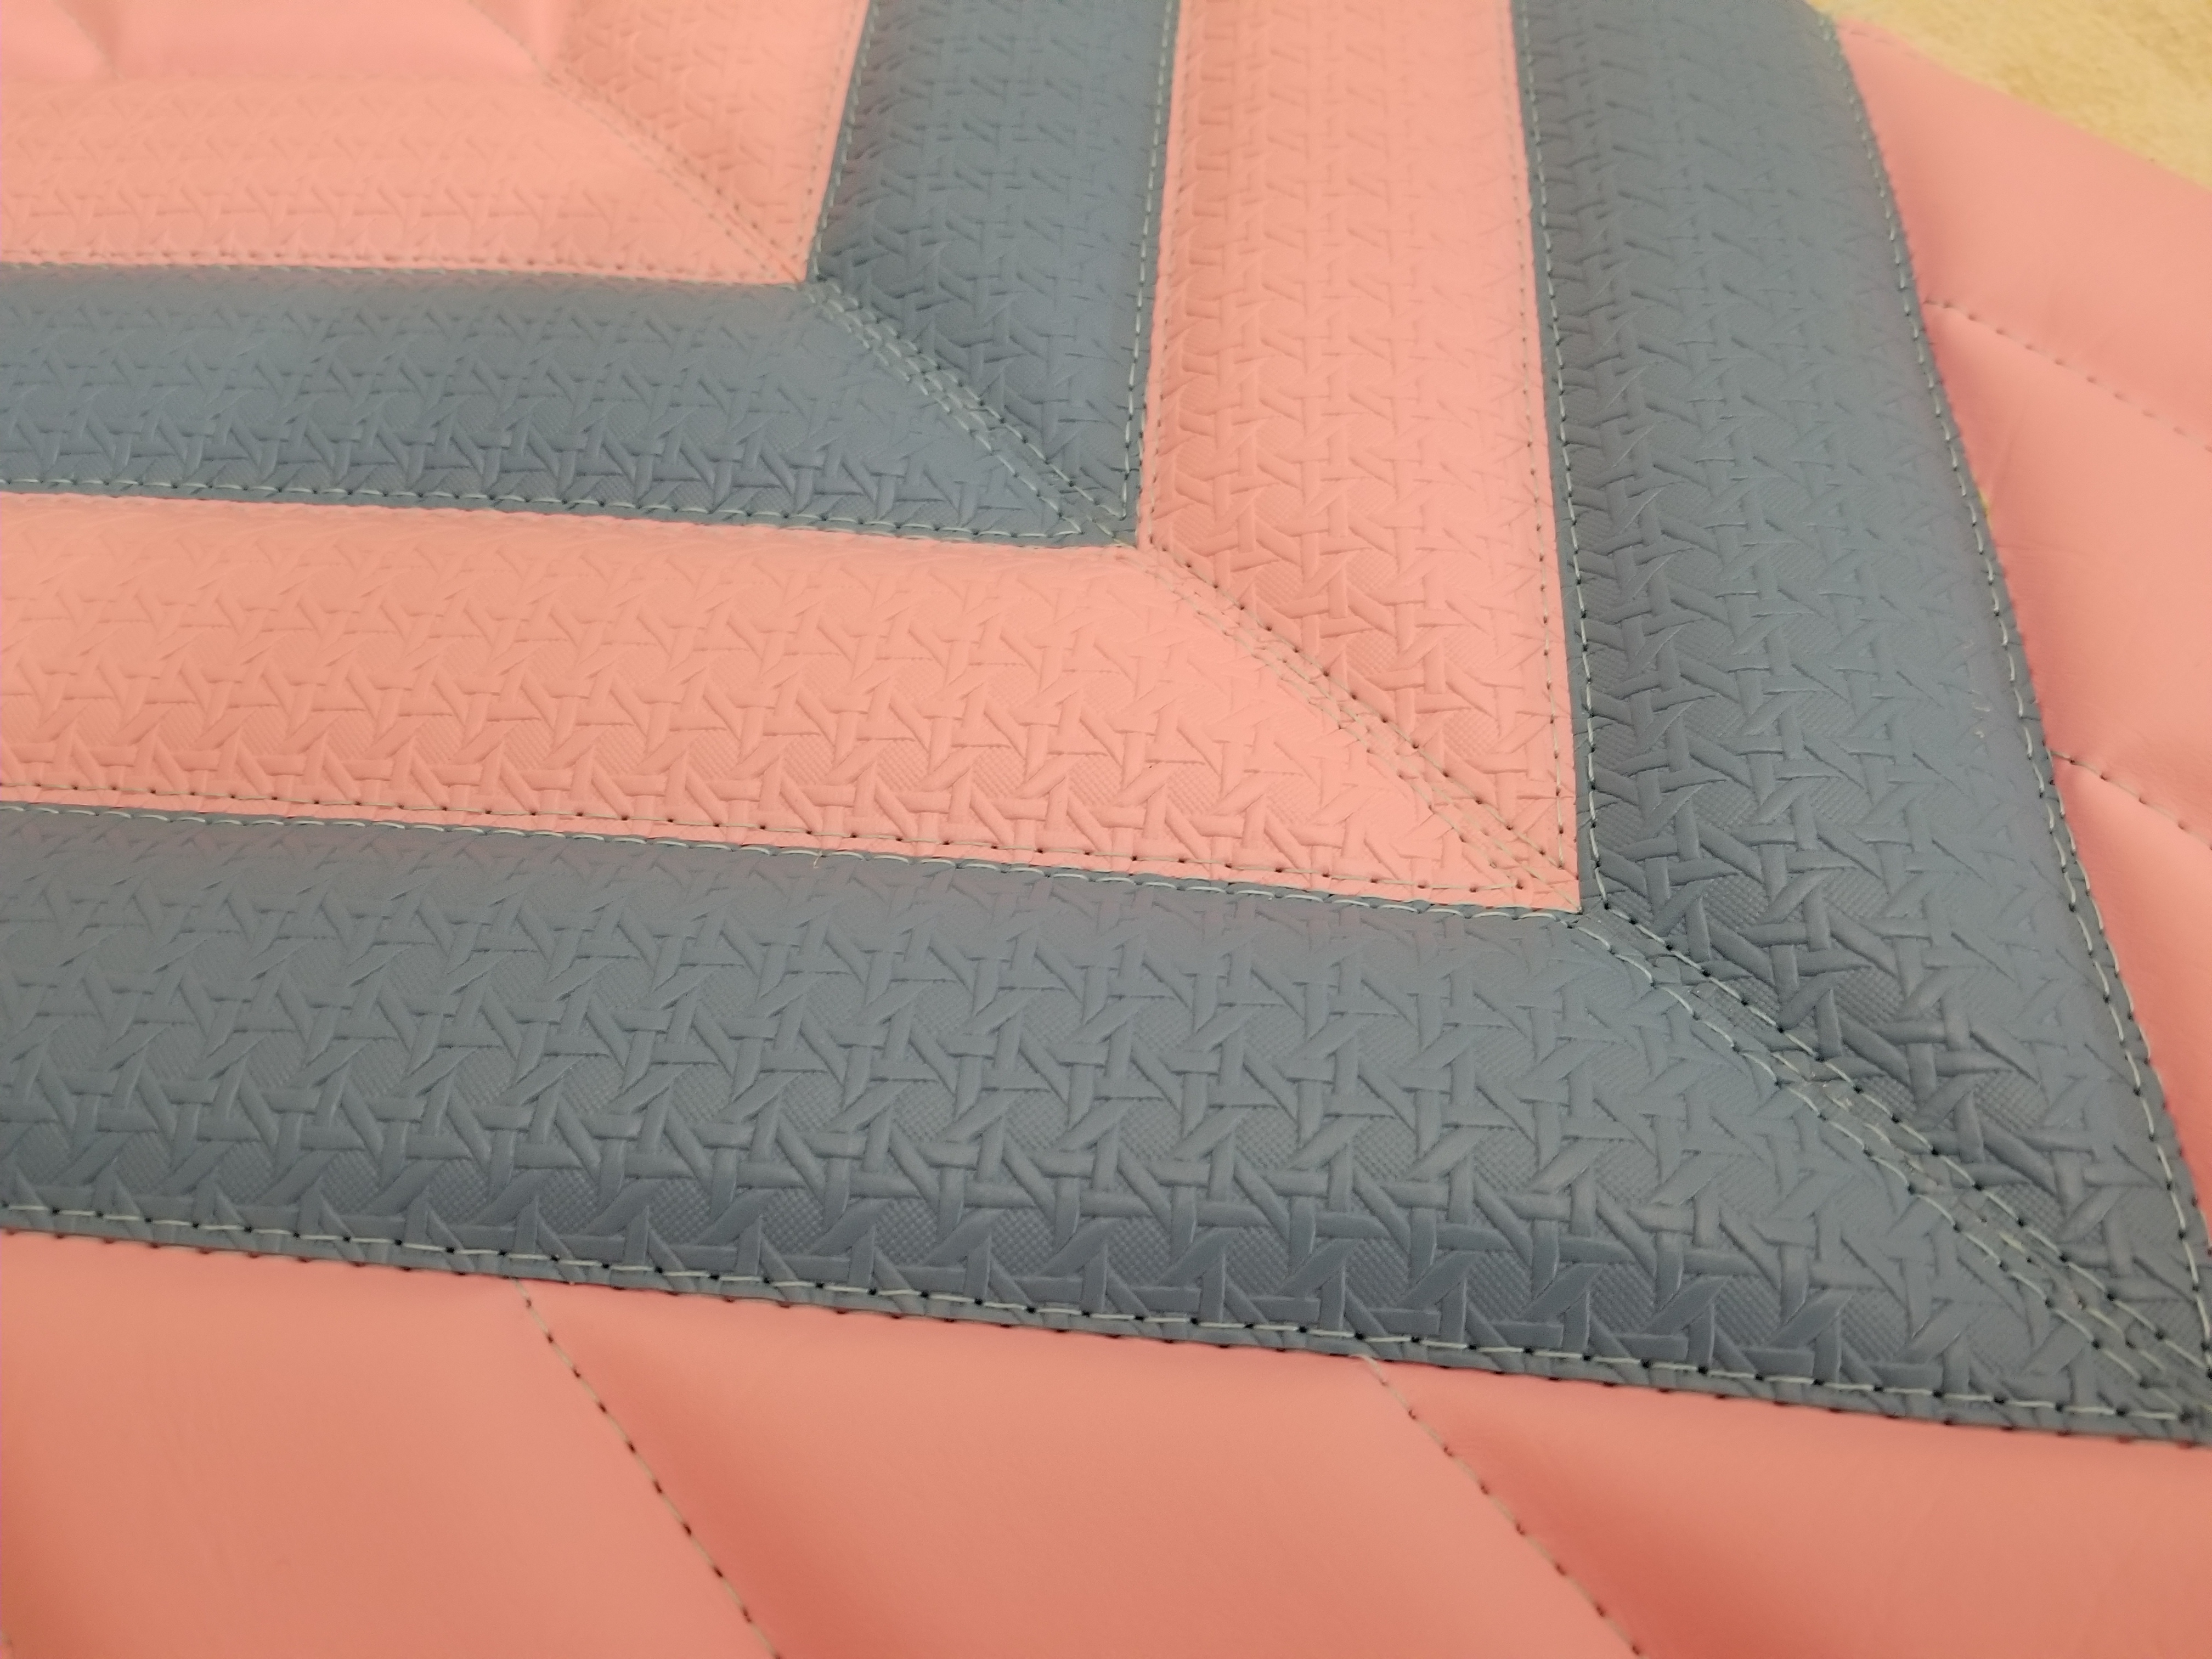
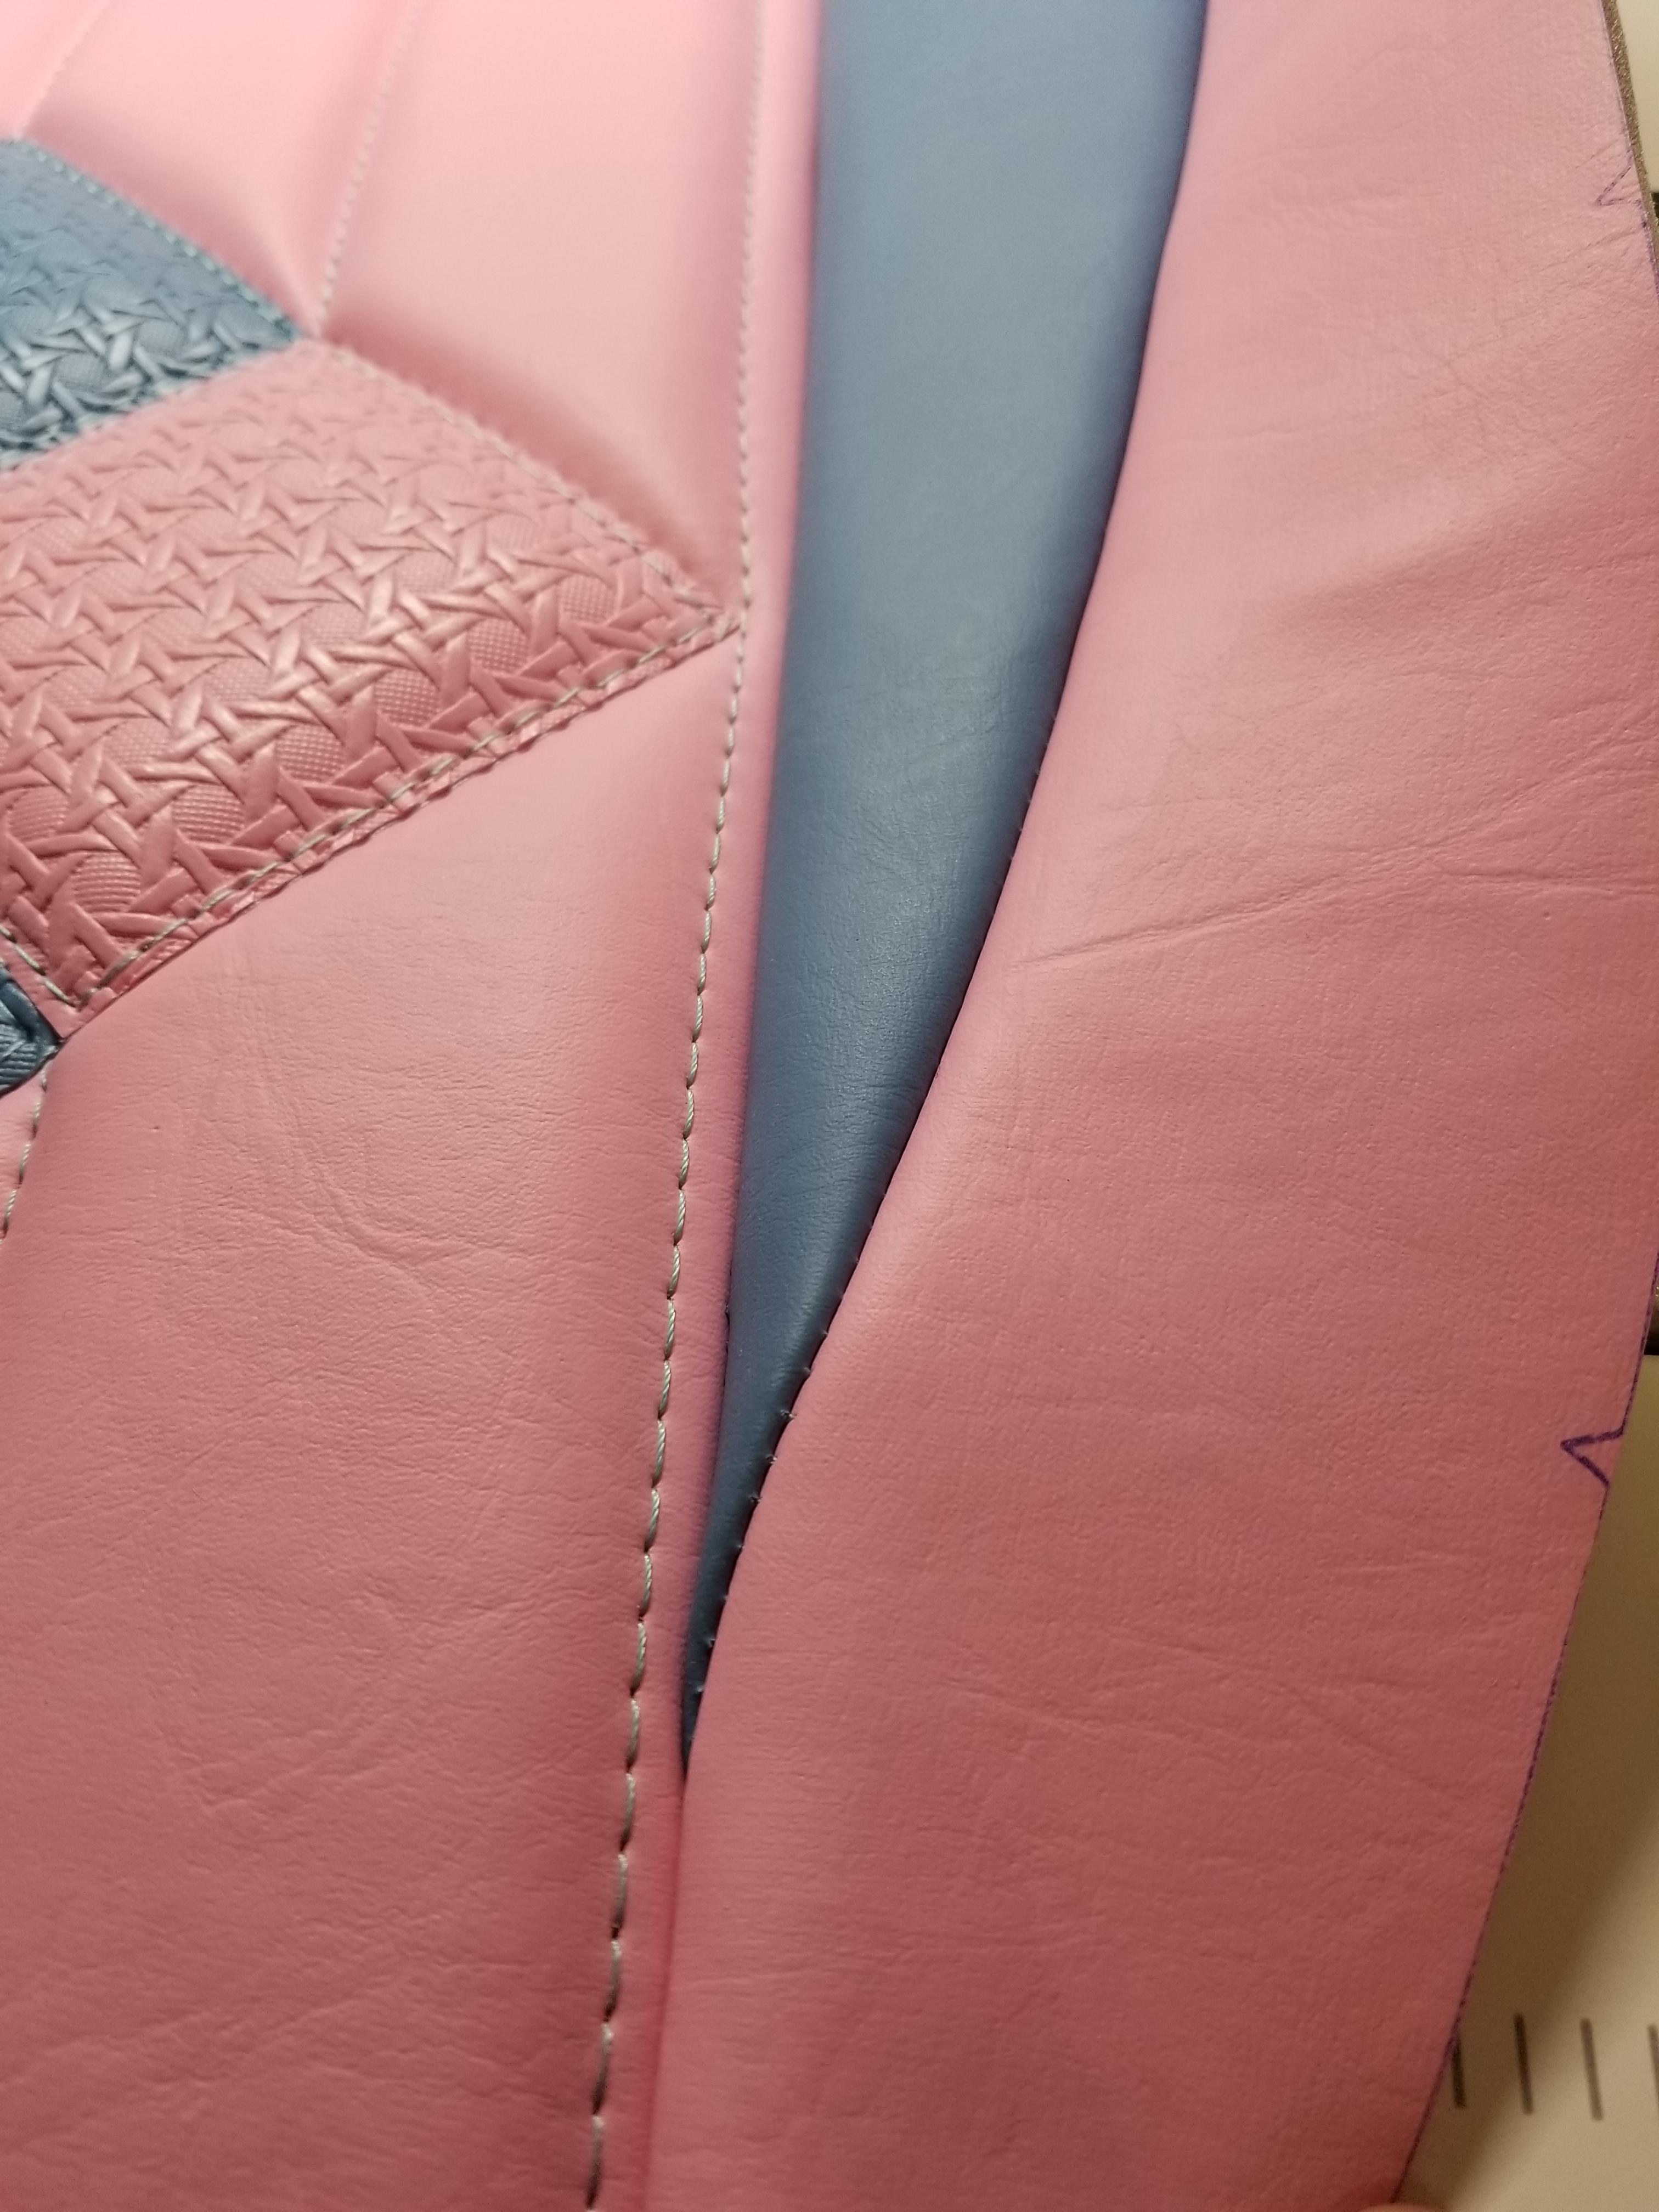
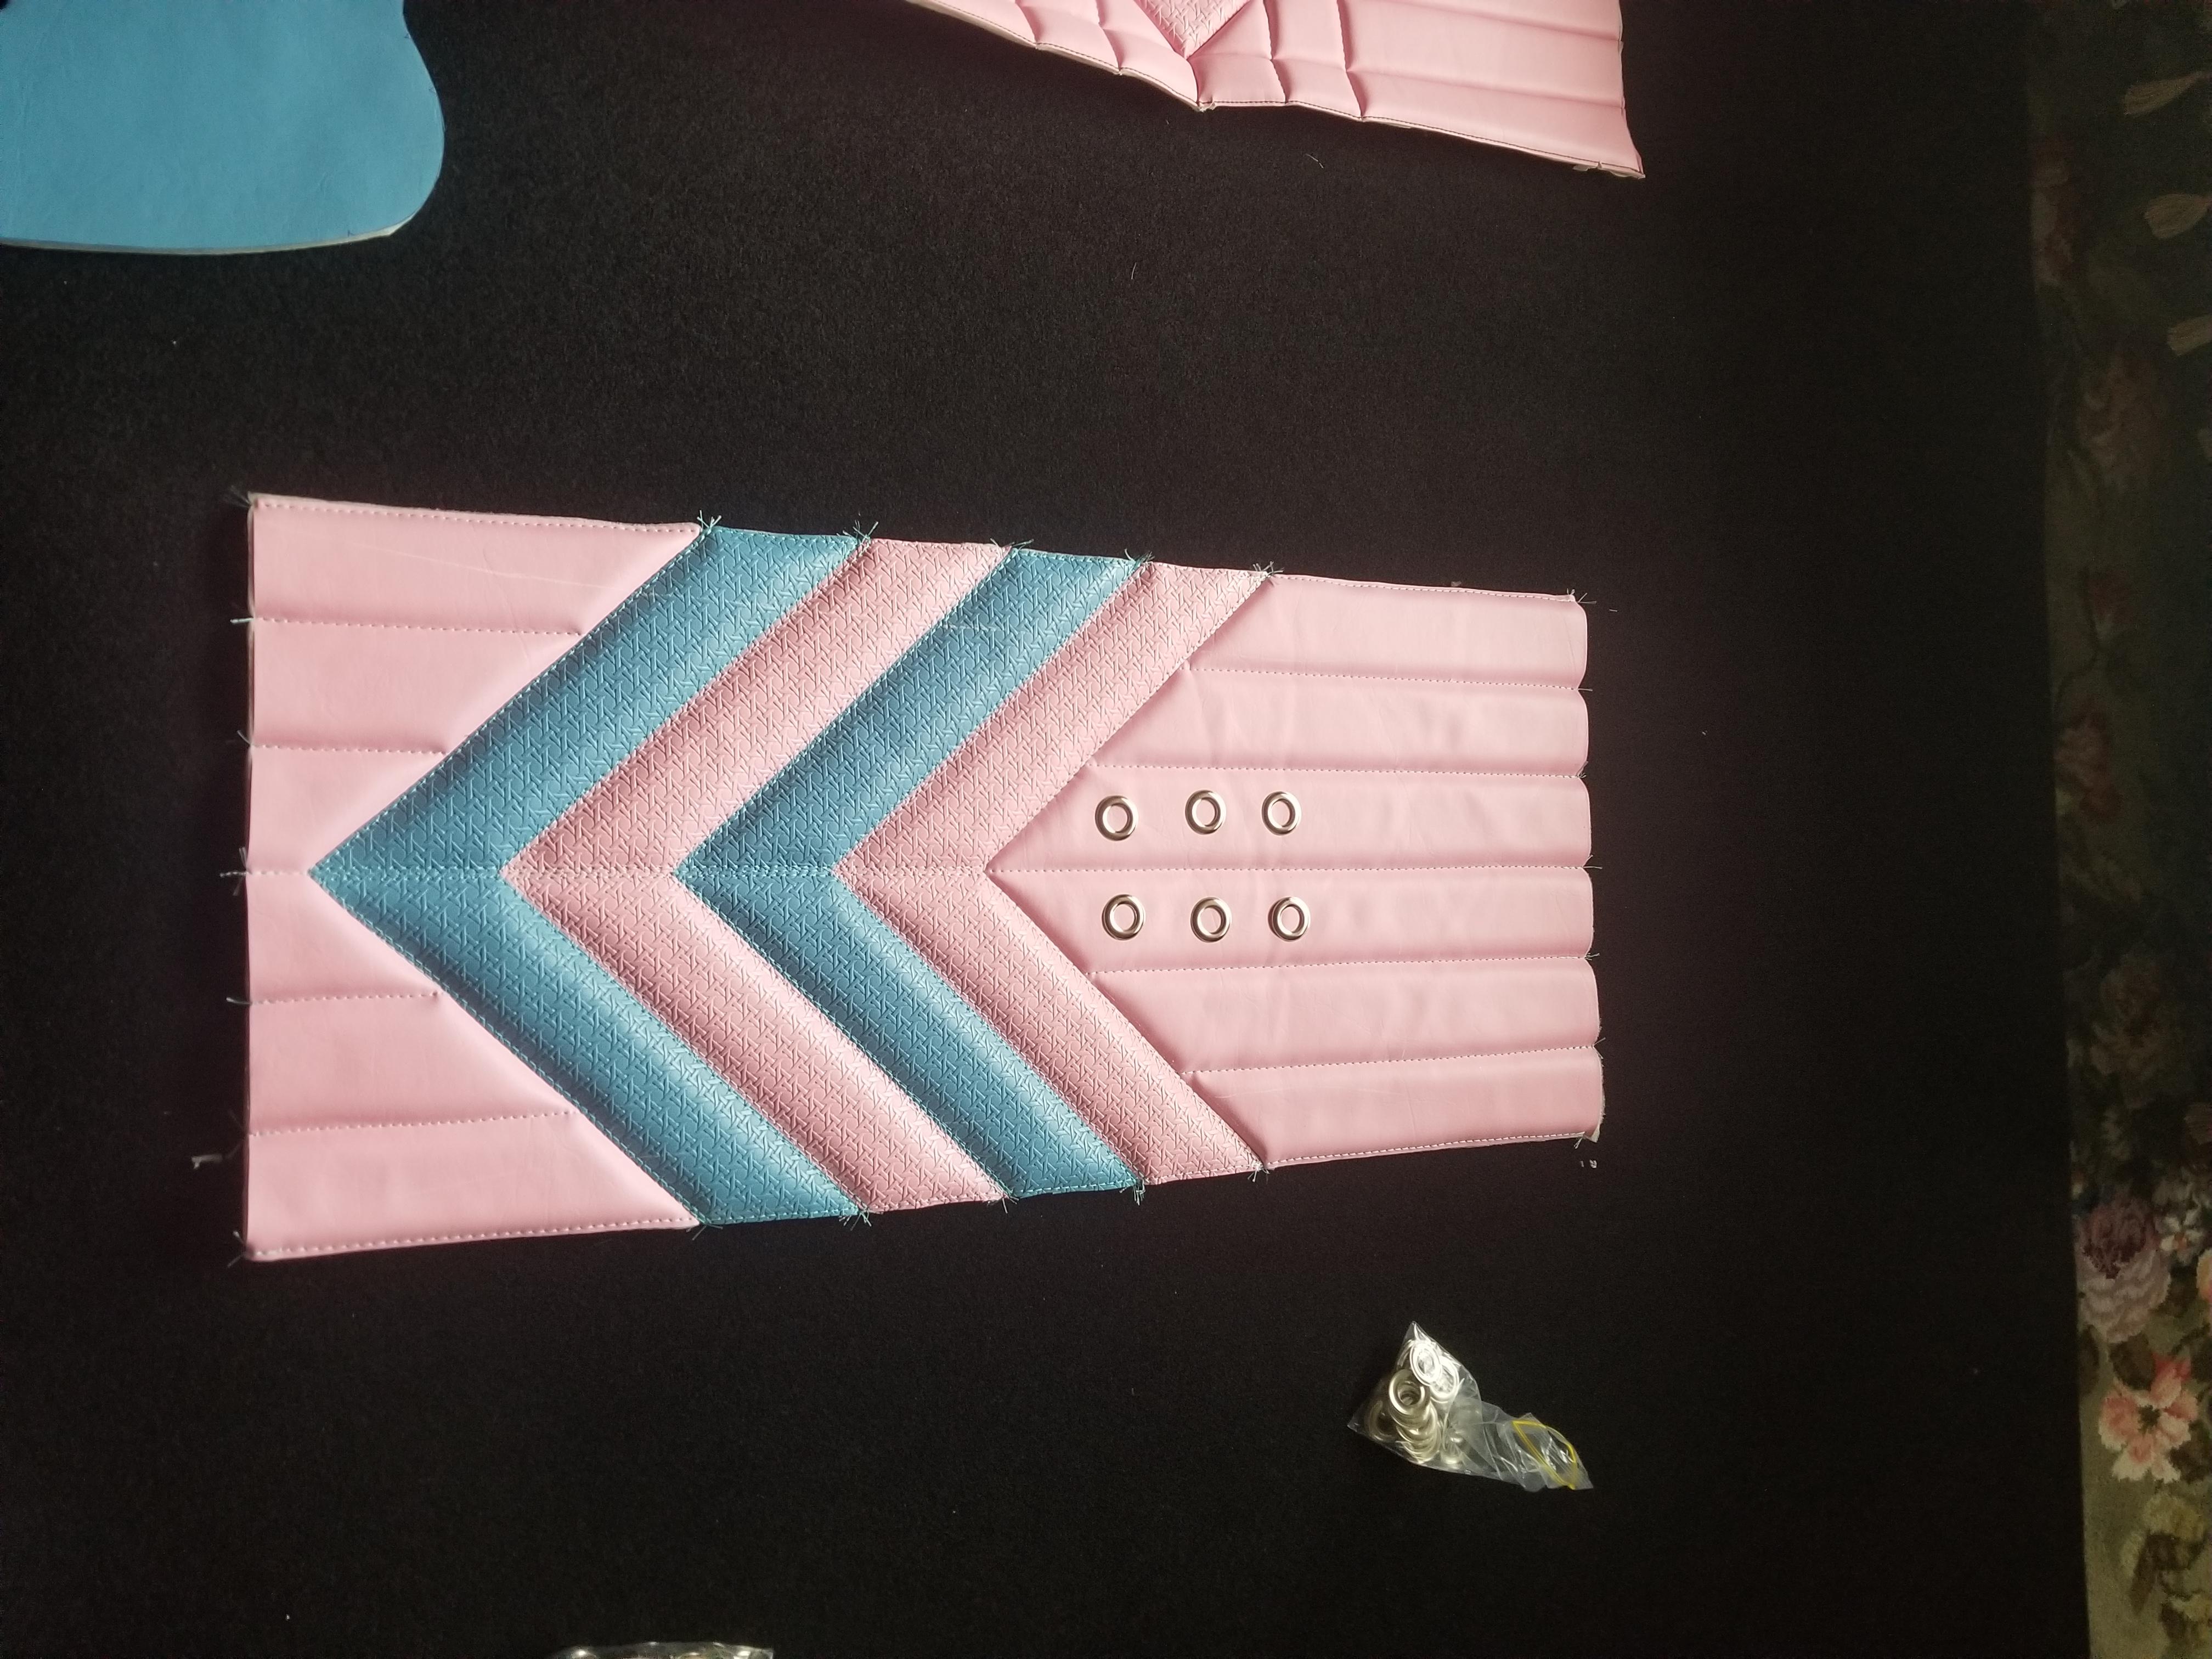
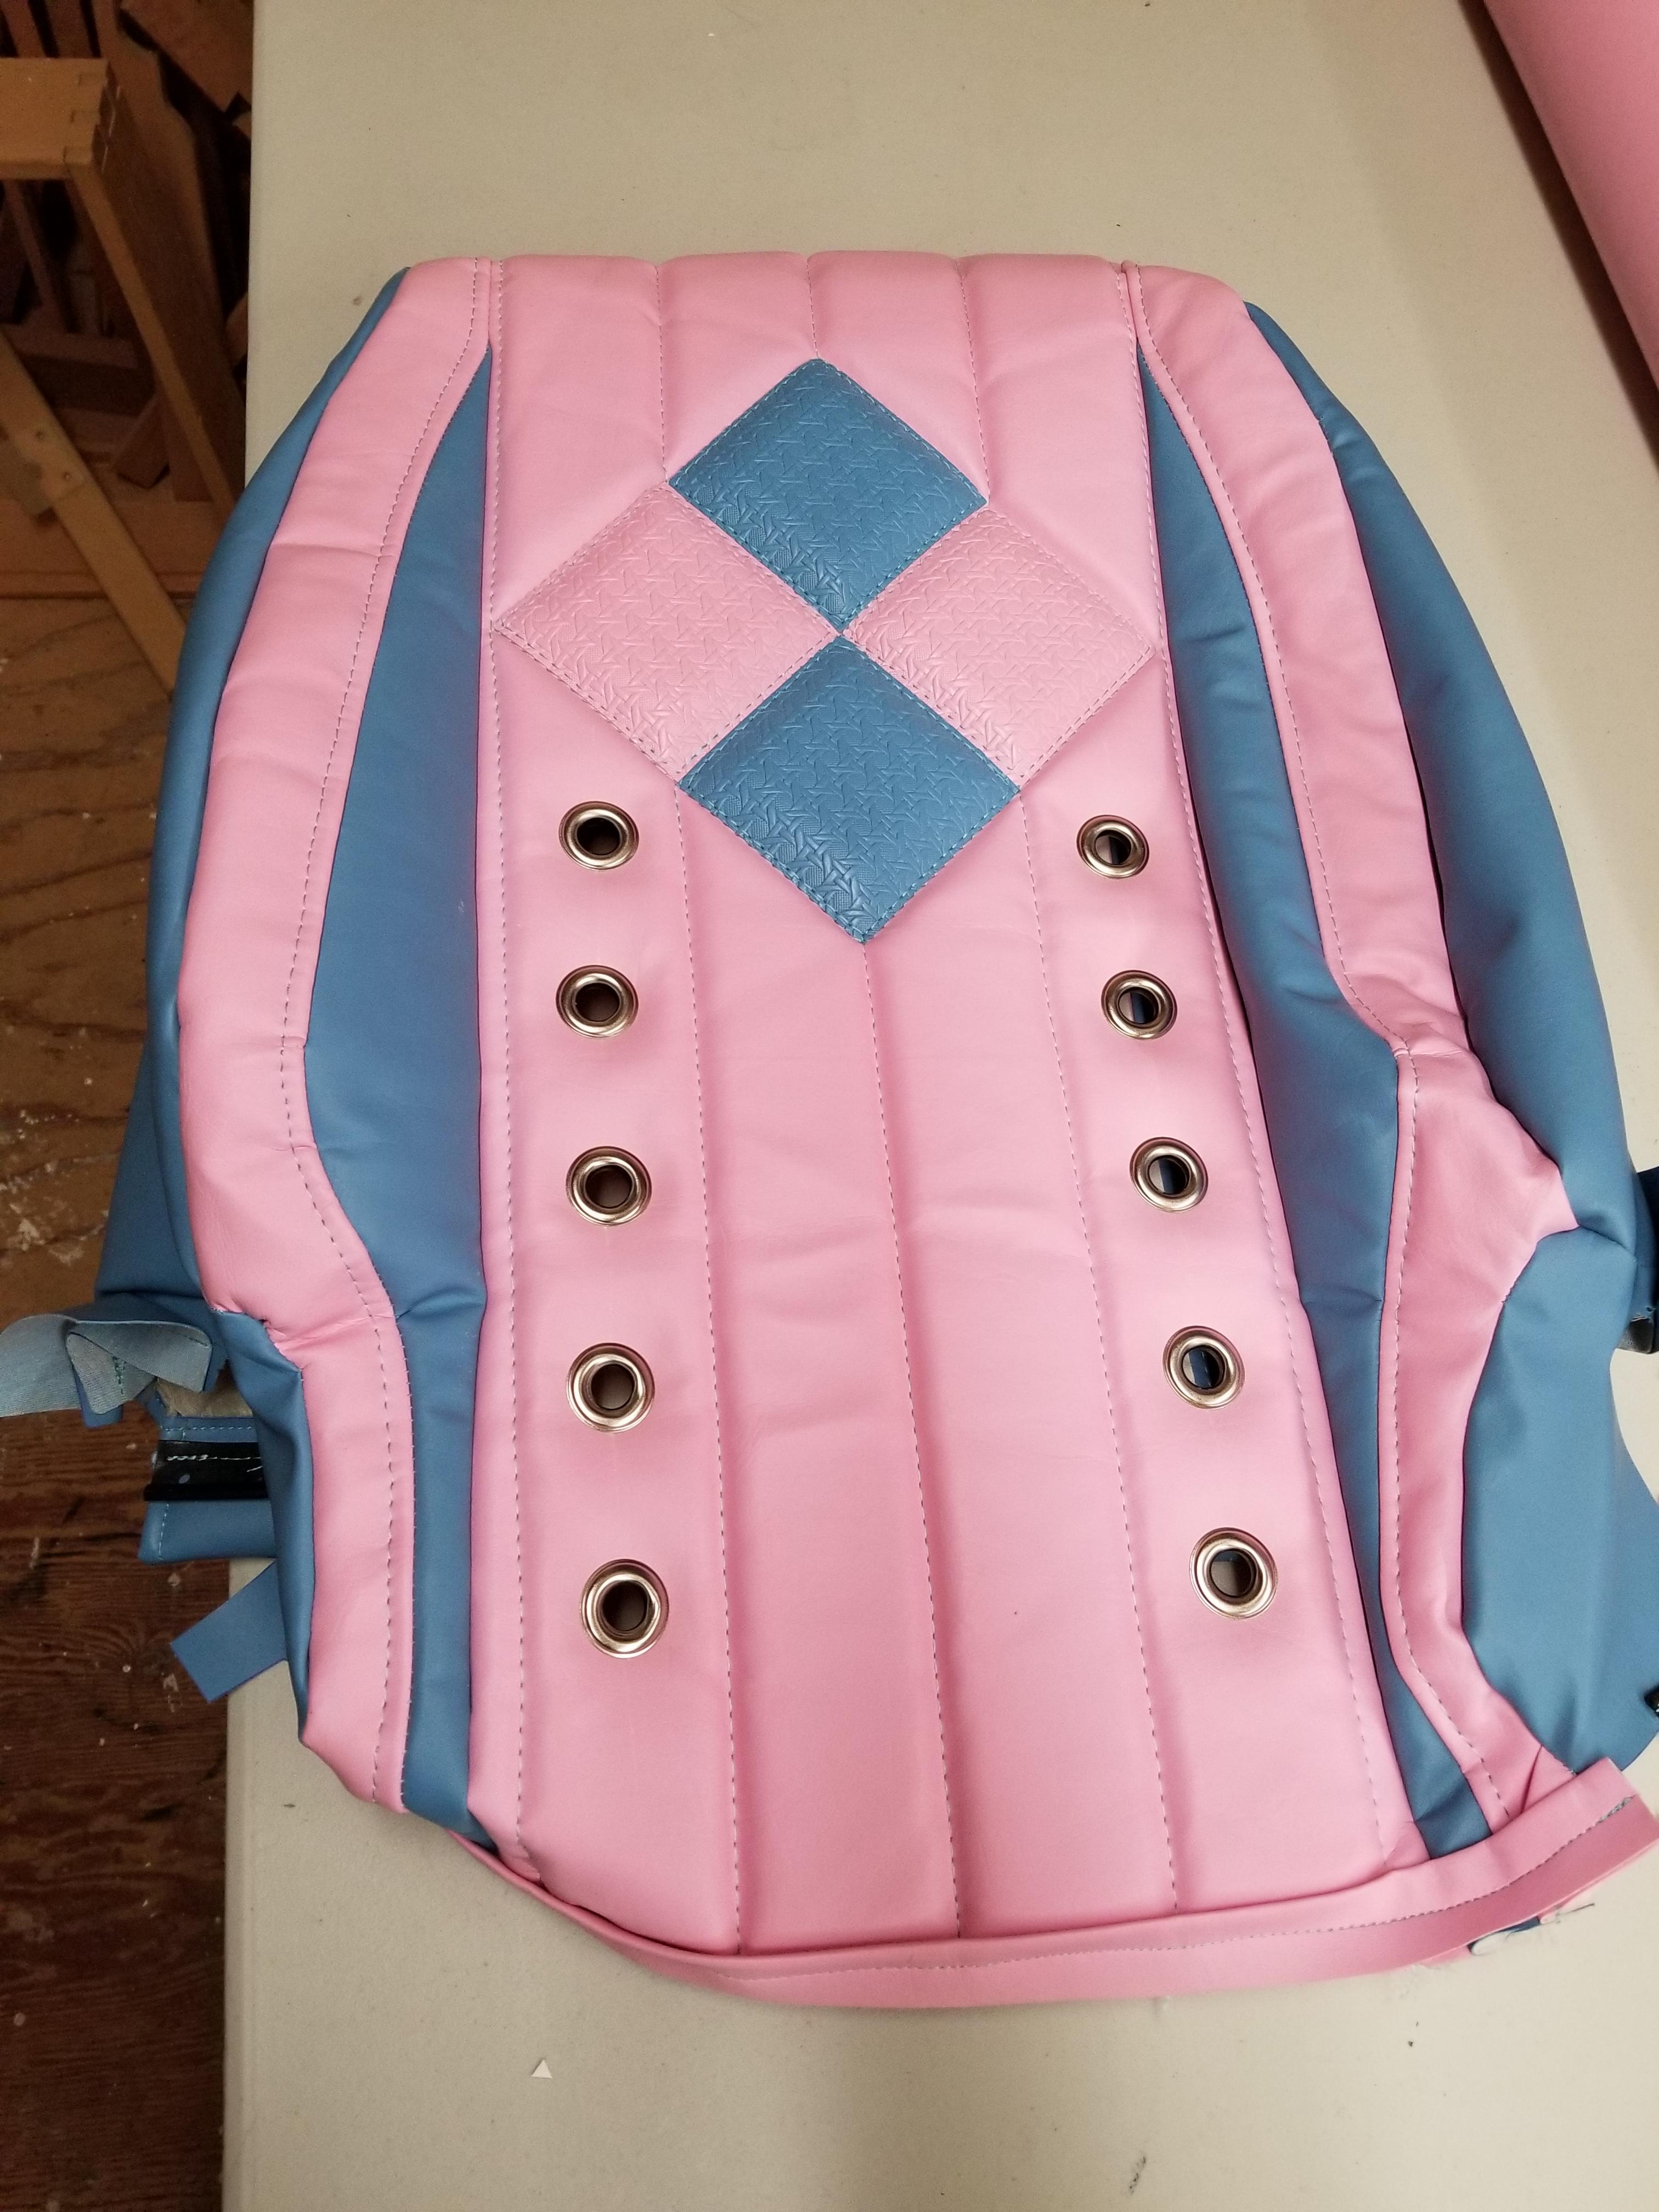
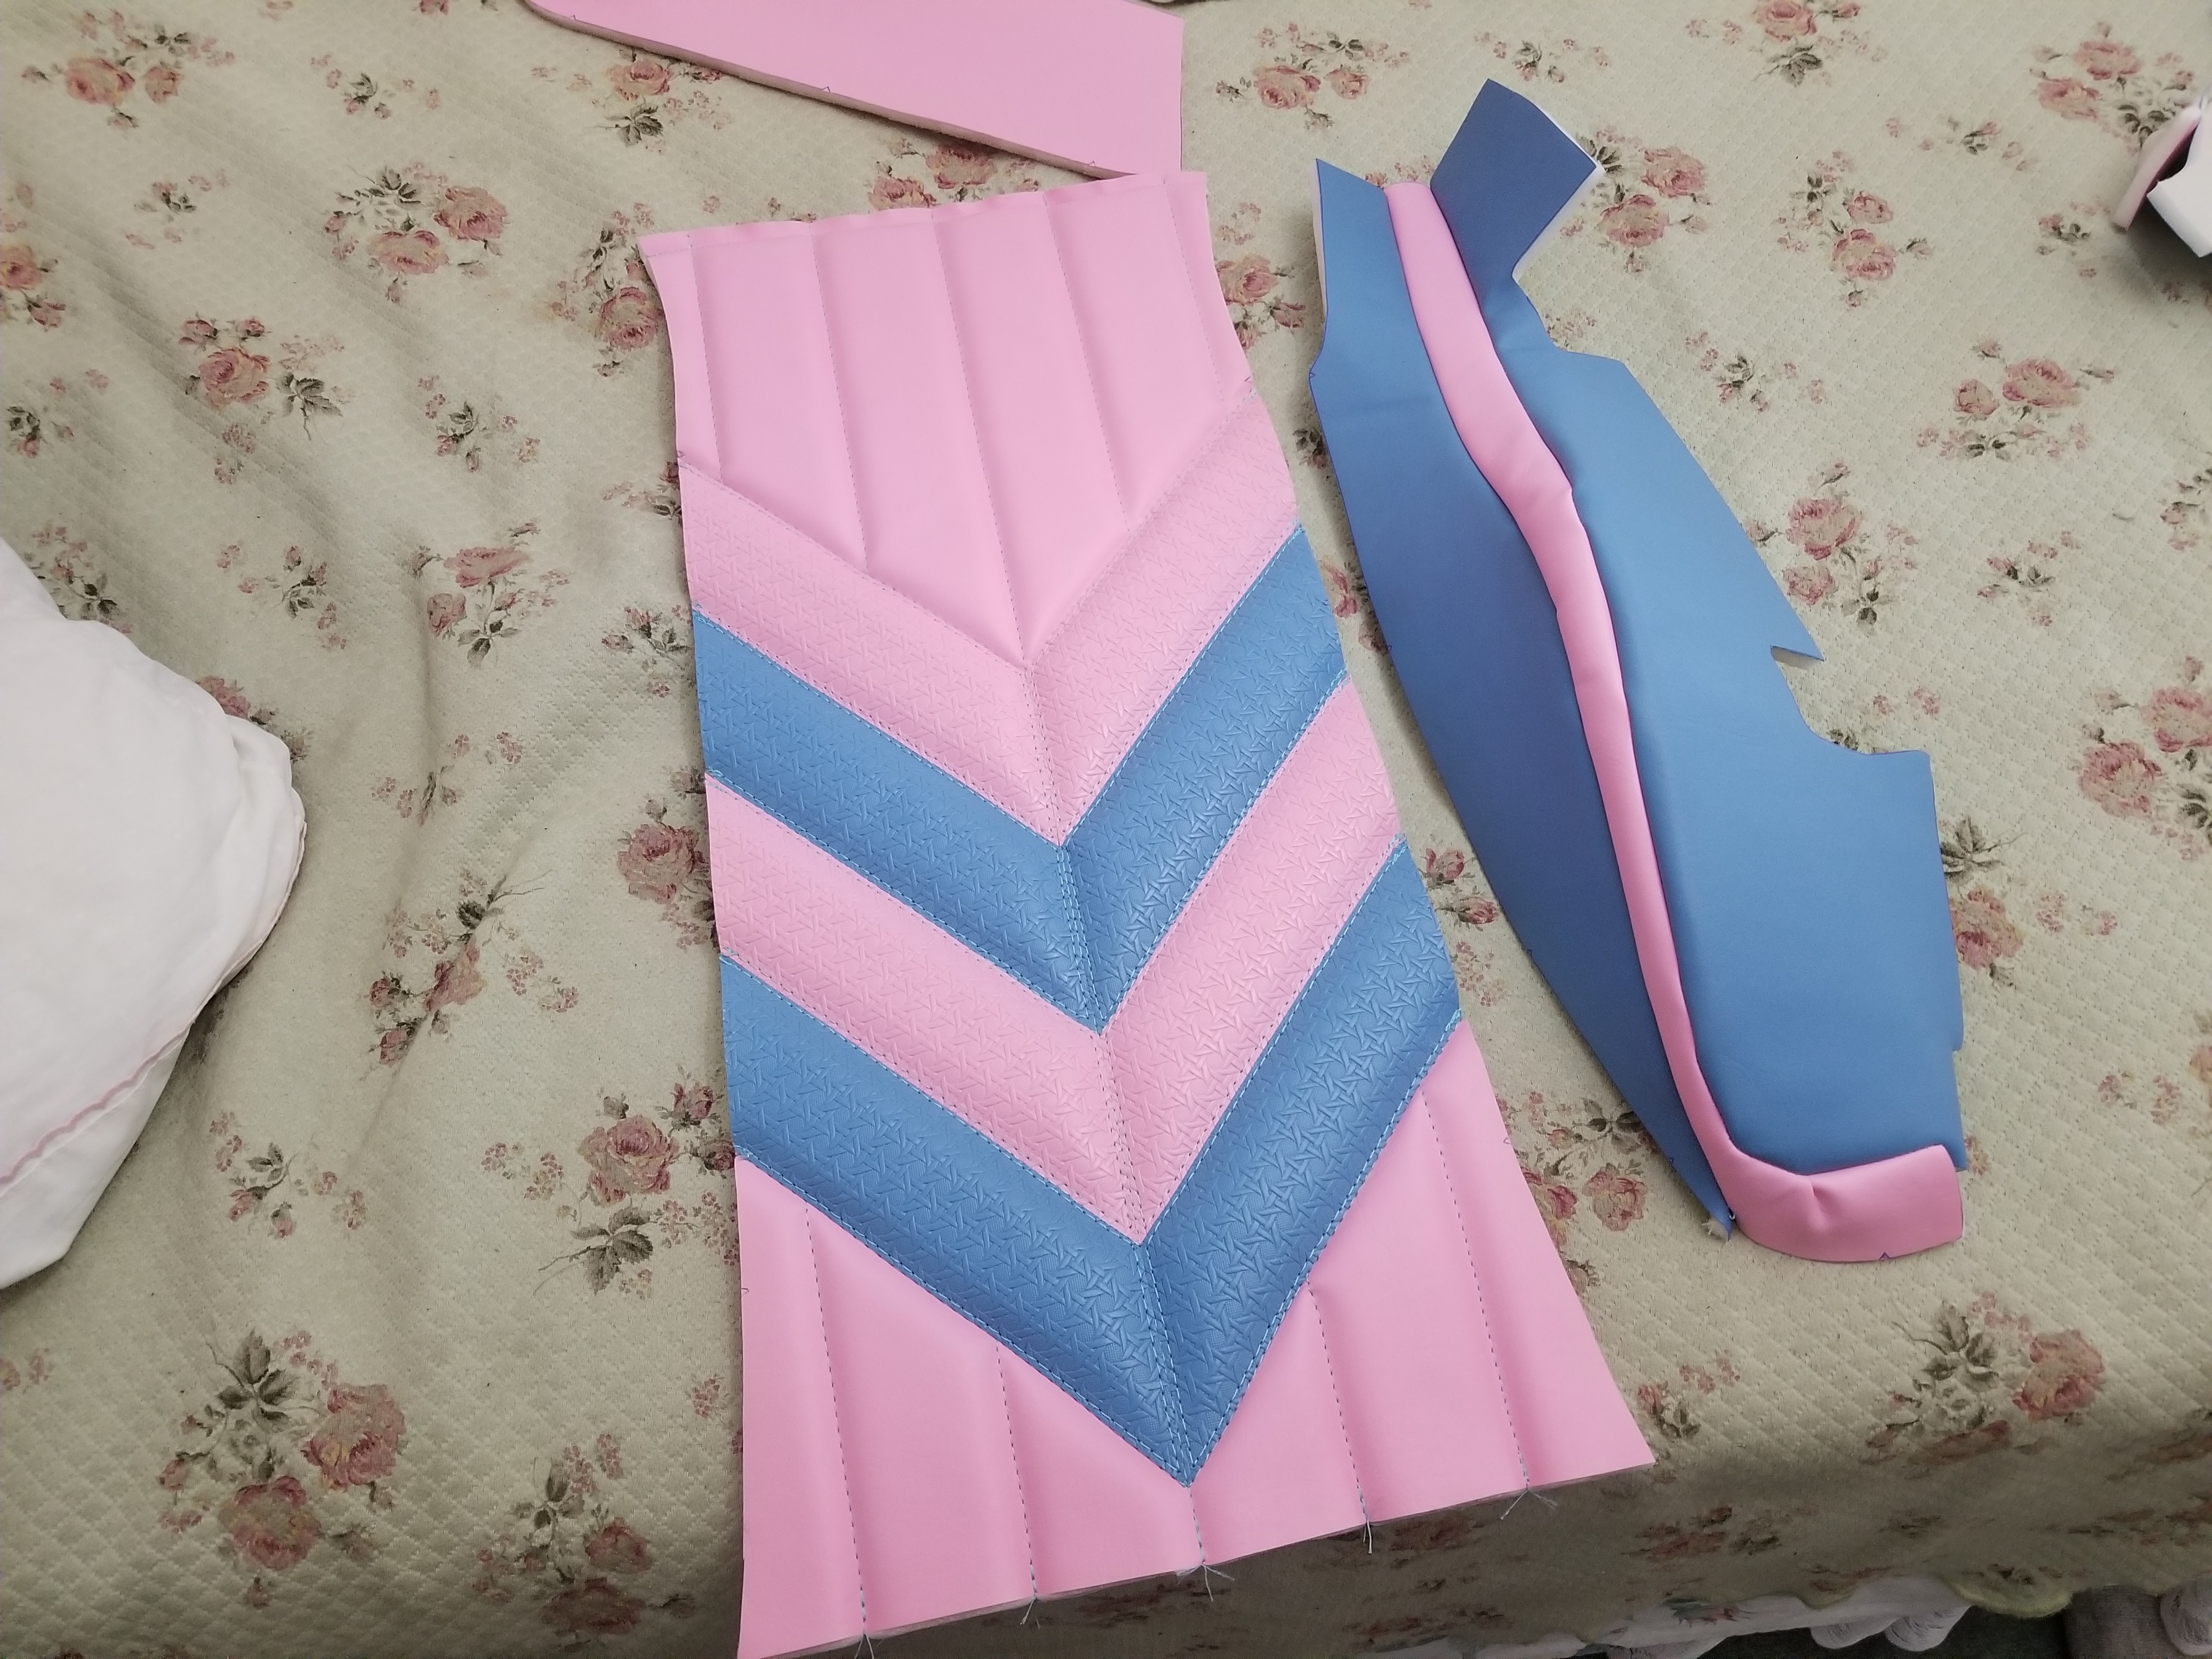
Now that I've got the main panel for the back of the seat done I'm going to do the seat. These are the two main panels and the majority of the work. My daughter and I decided on textured stripes to match the diamonds on the seat back. The angles are the same as the diamonds and the pleats will match up to the seat back.
Test layout
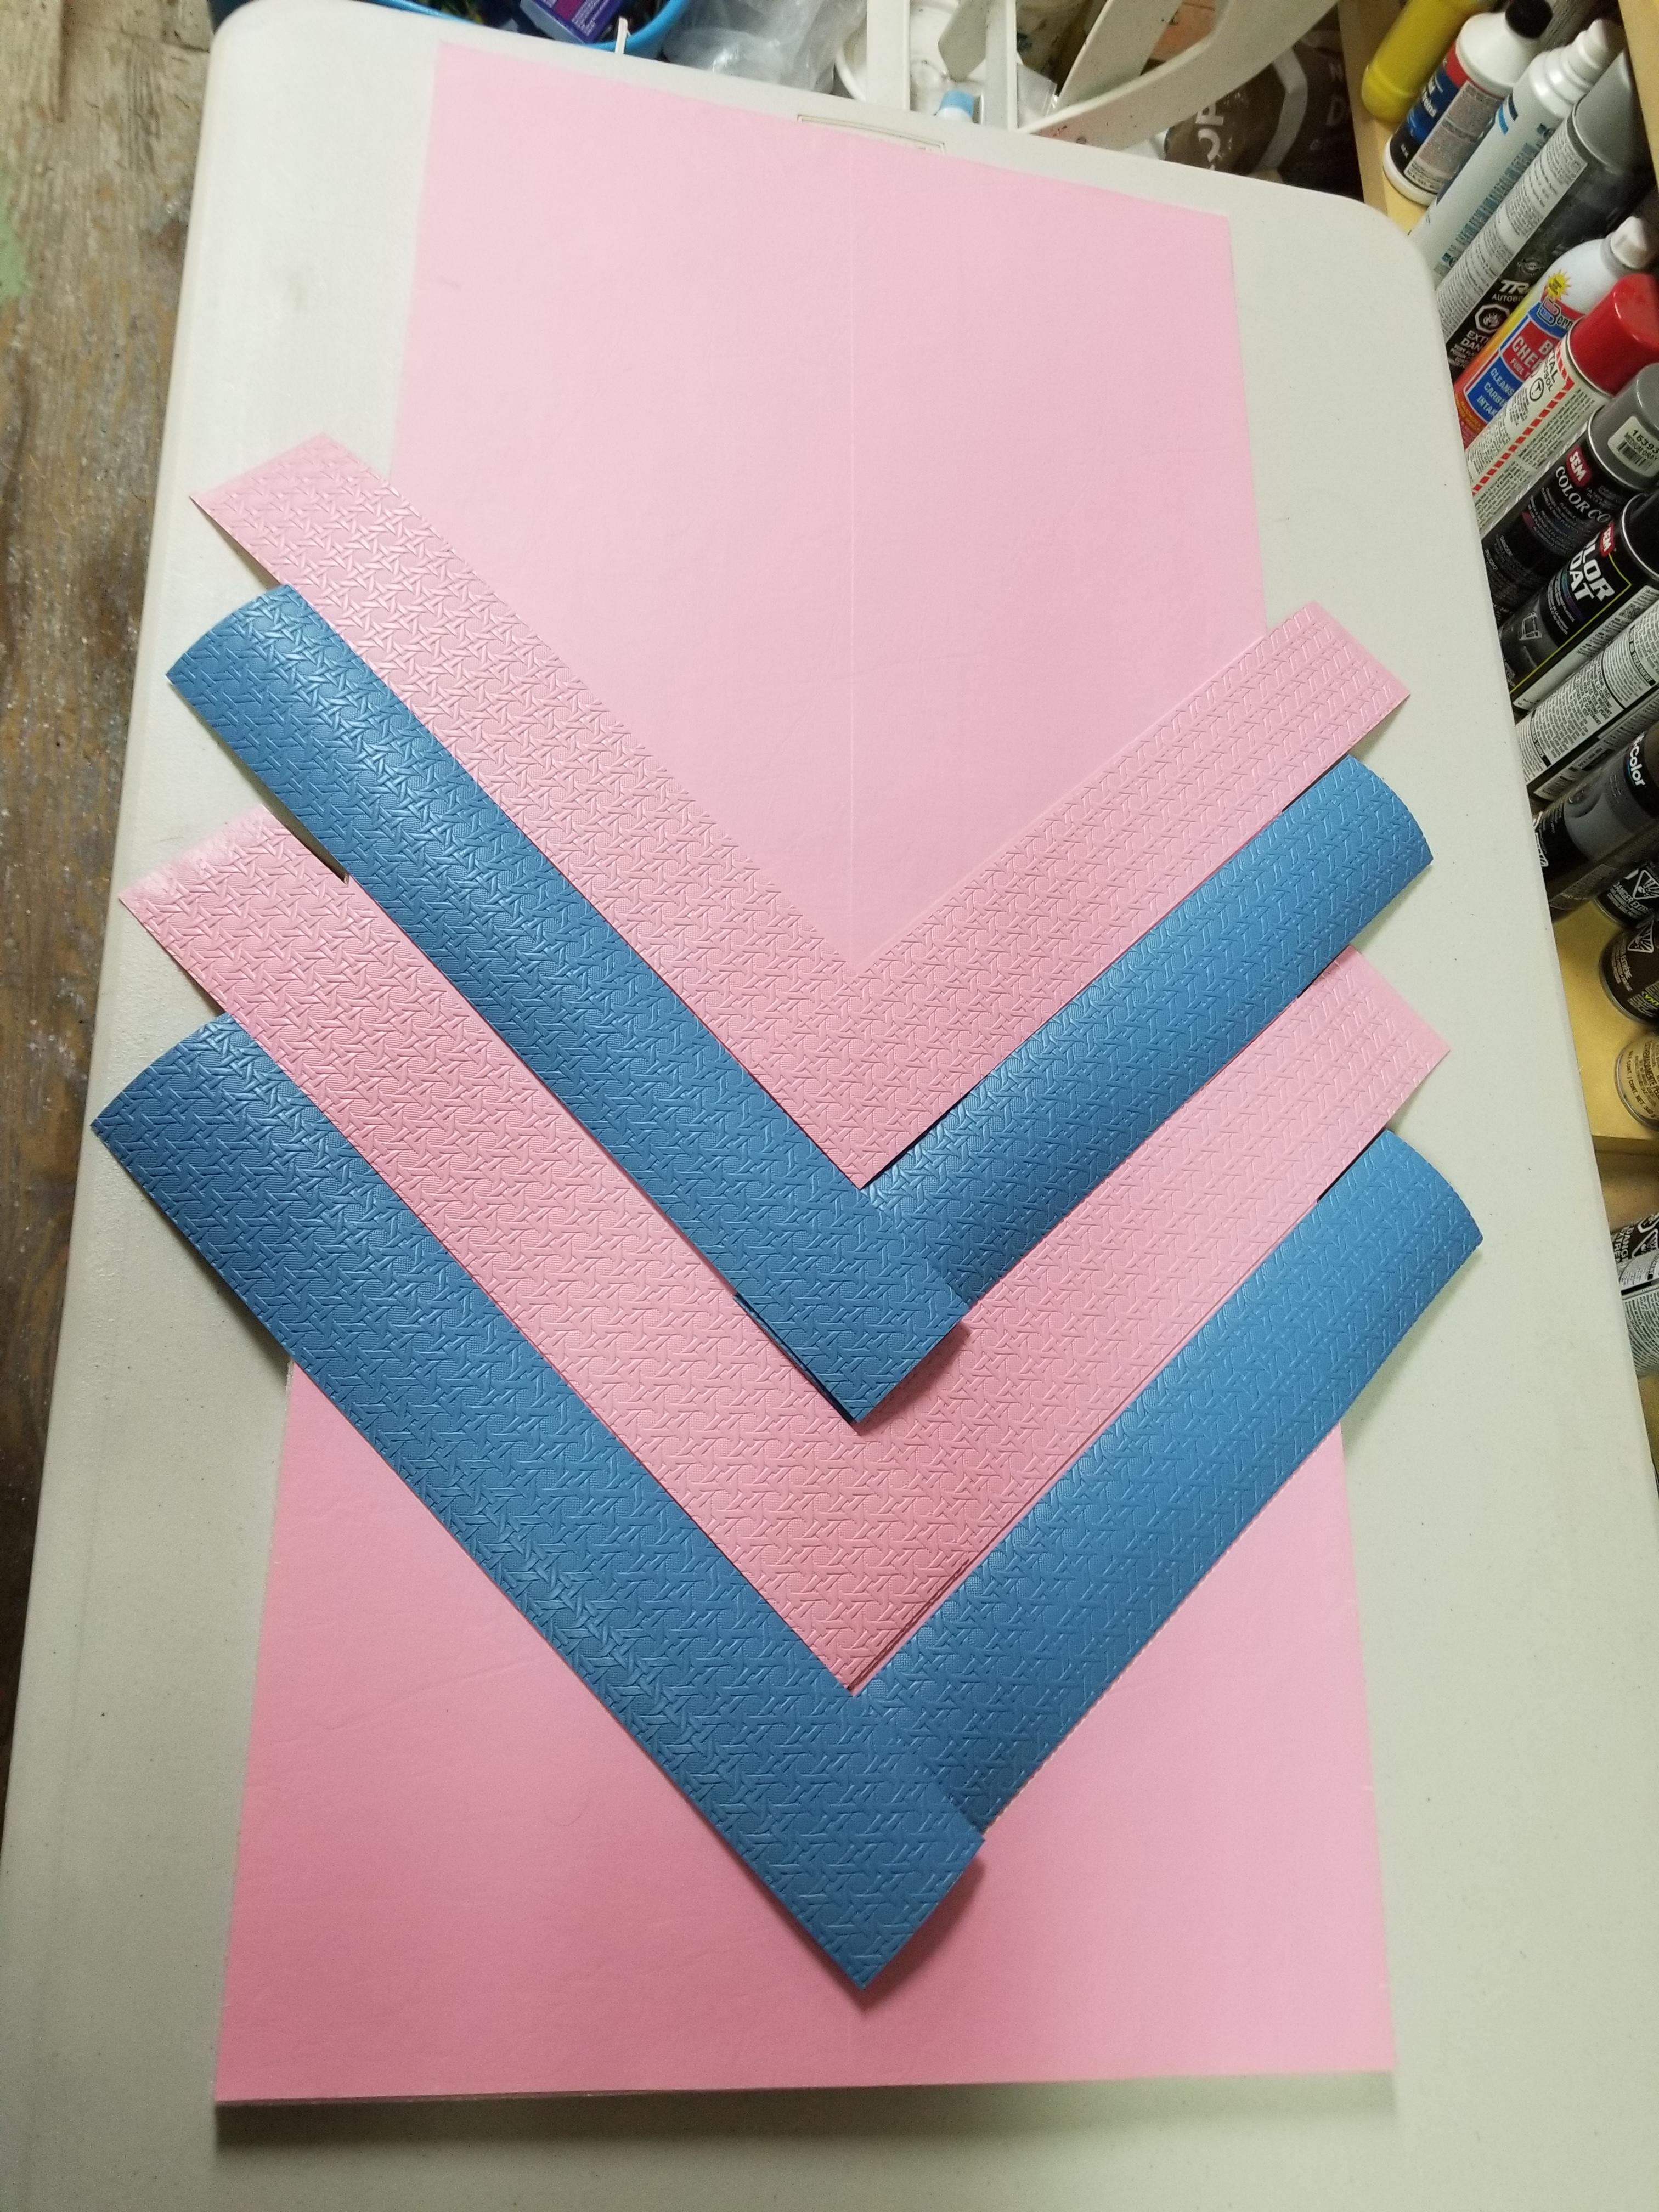
Precision fitment is critical here. Not sure if this is the way to do it but it looks sharp in the end.
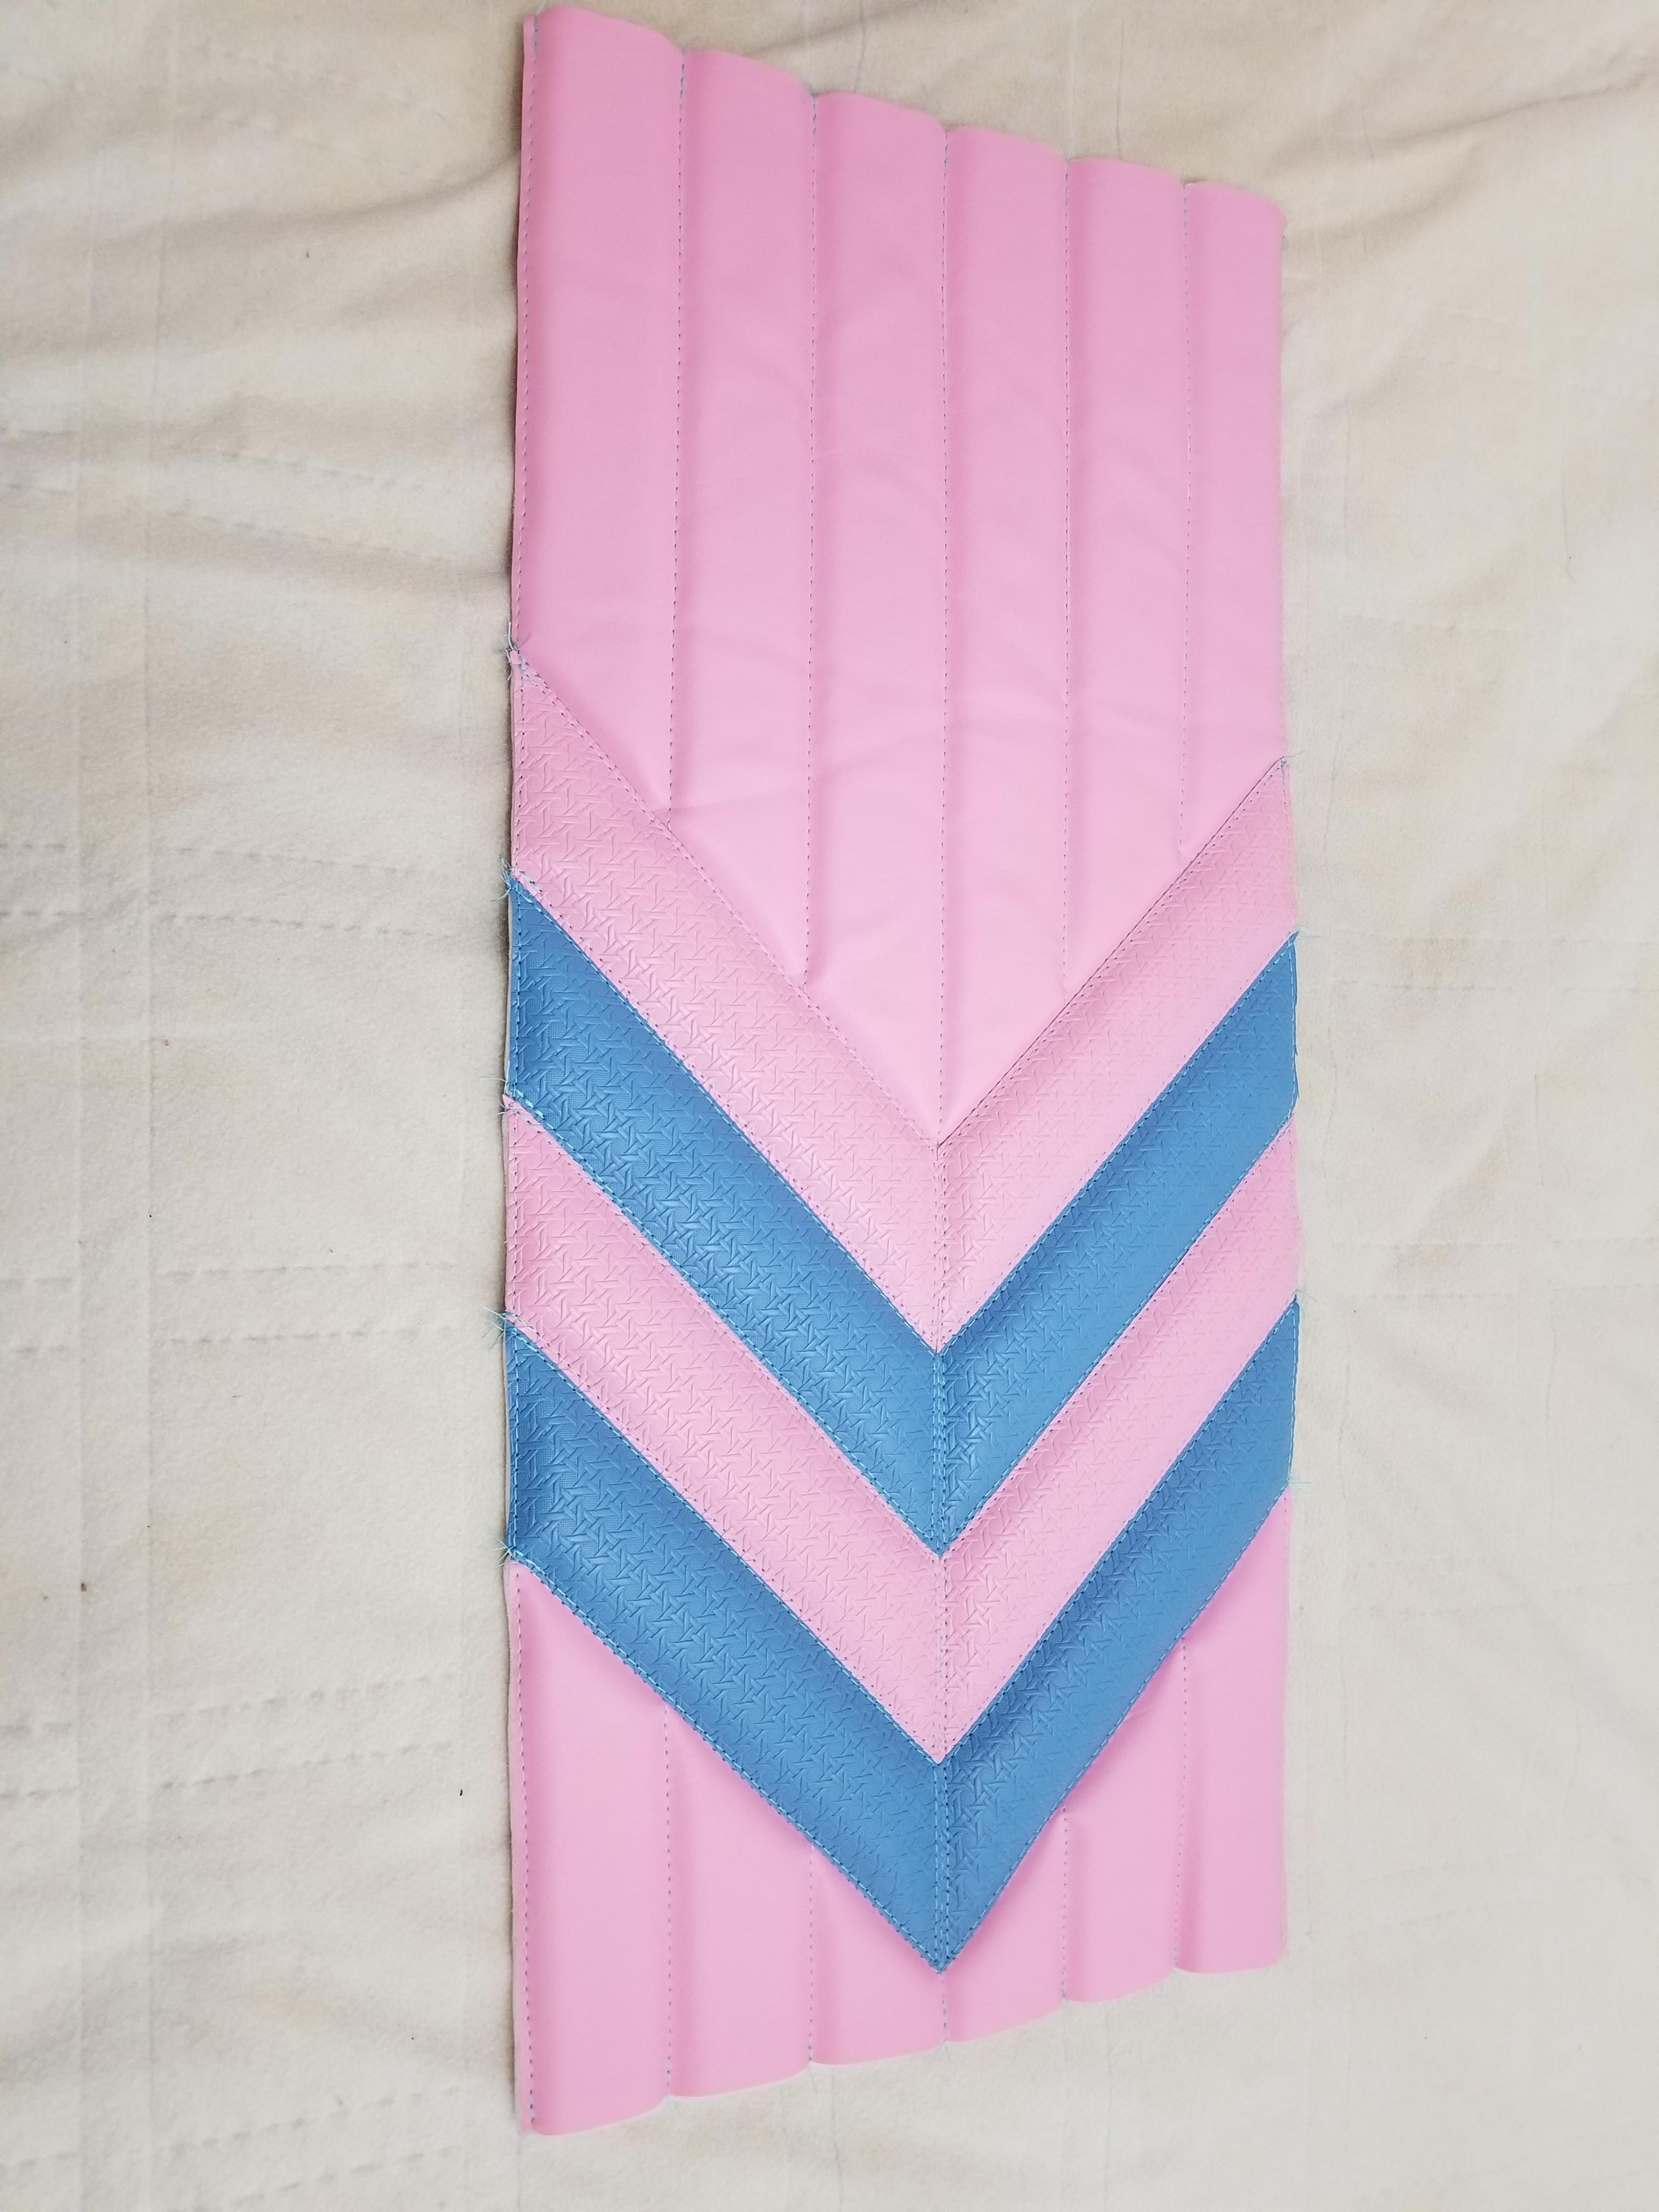
Kind of wrinkly from manhandling around the sewing machine.
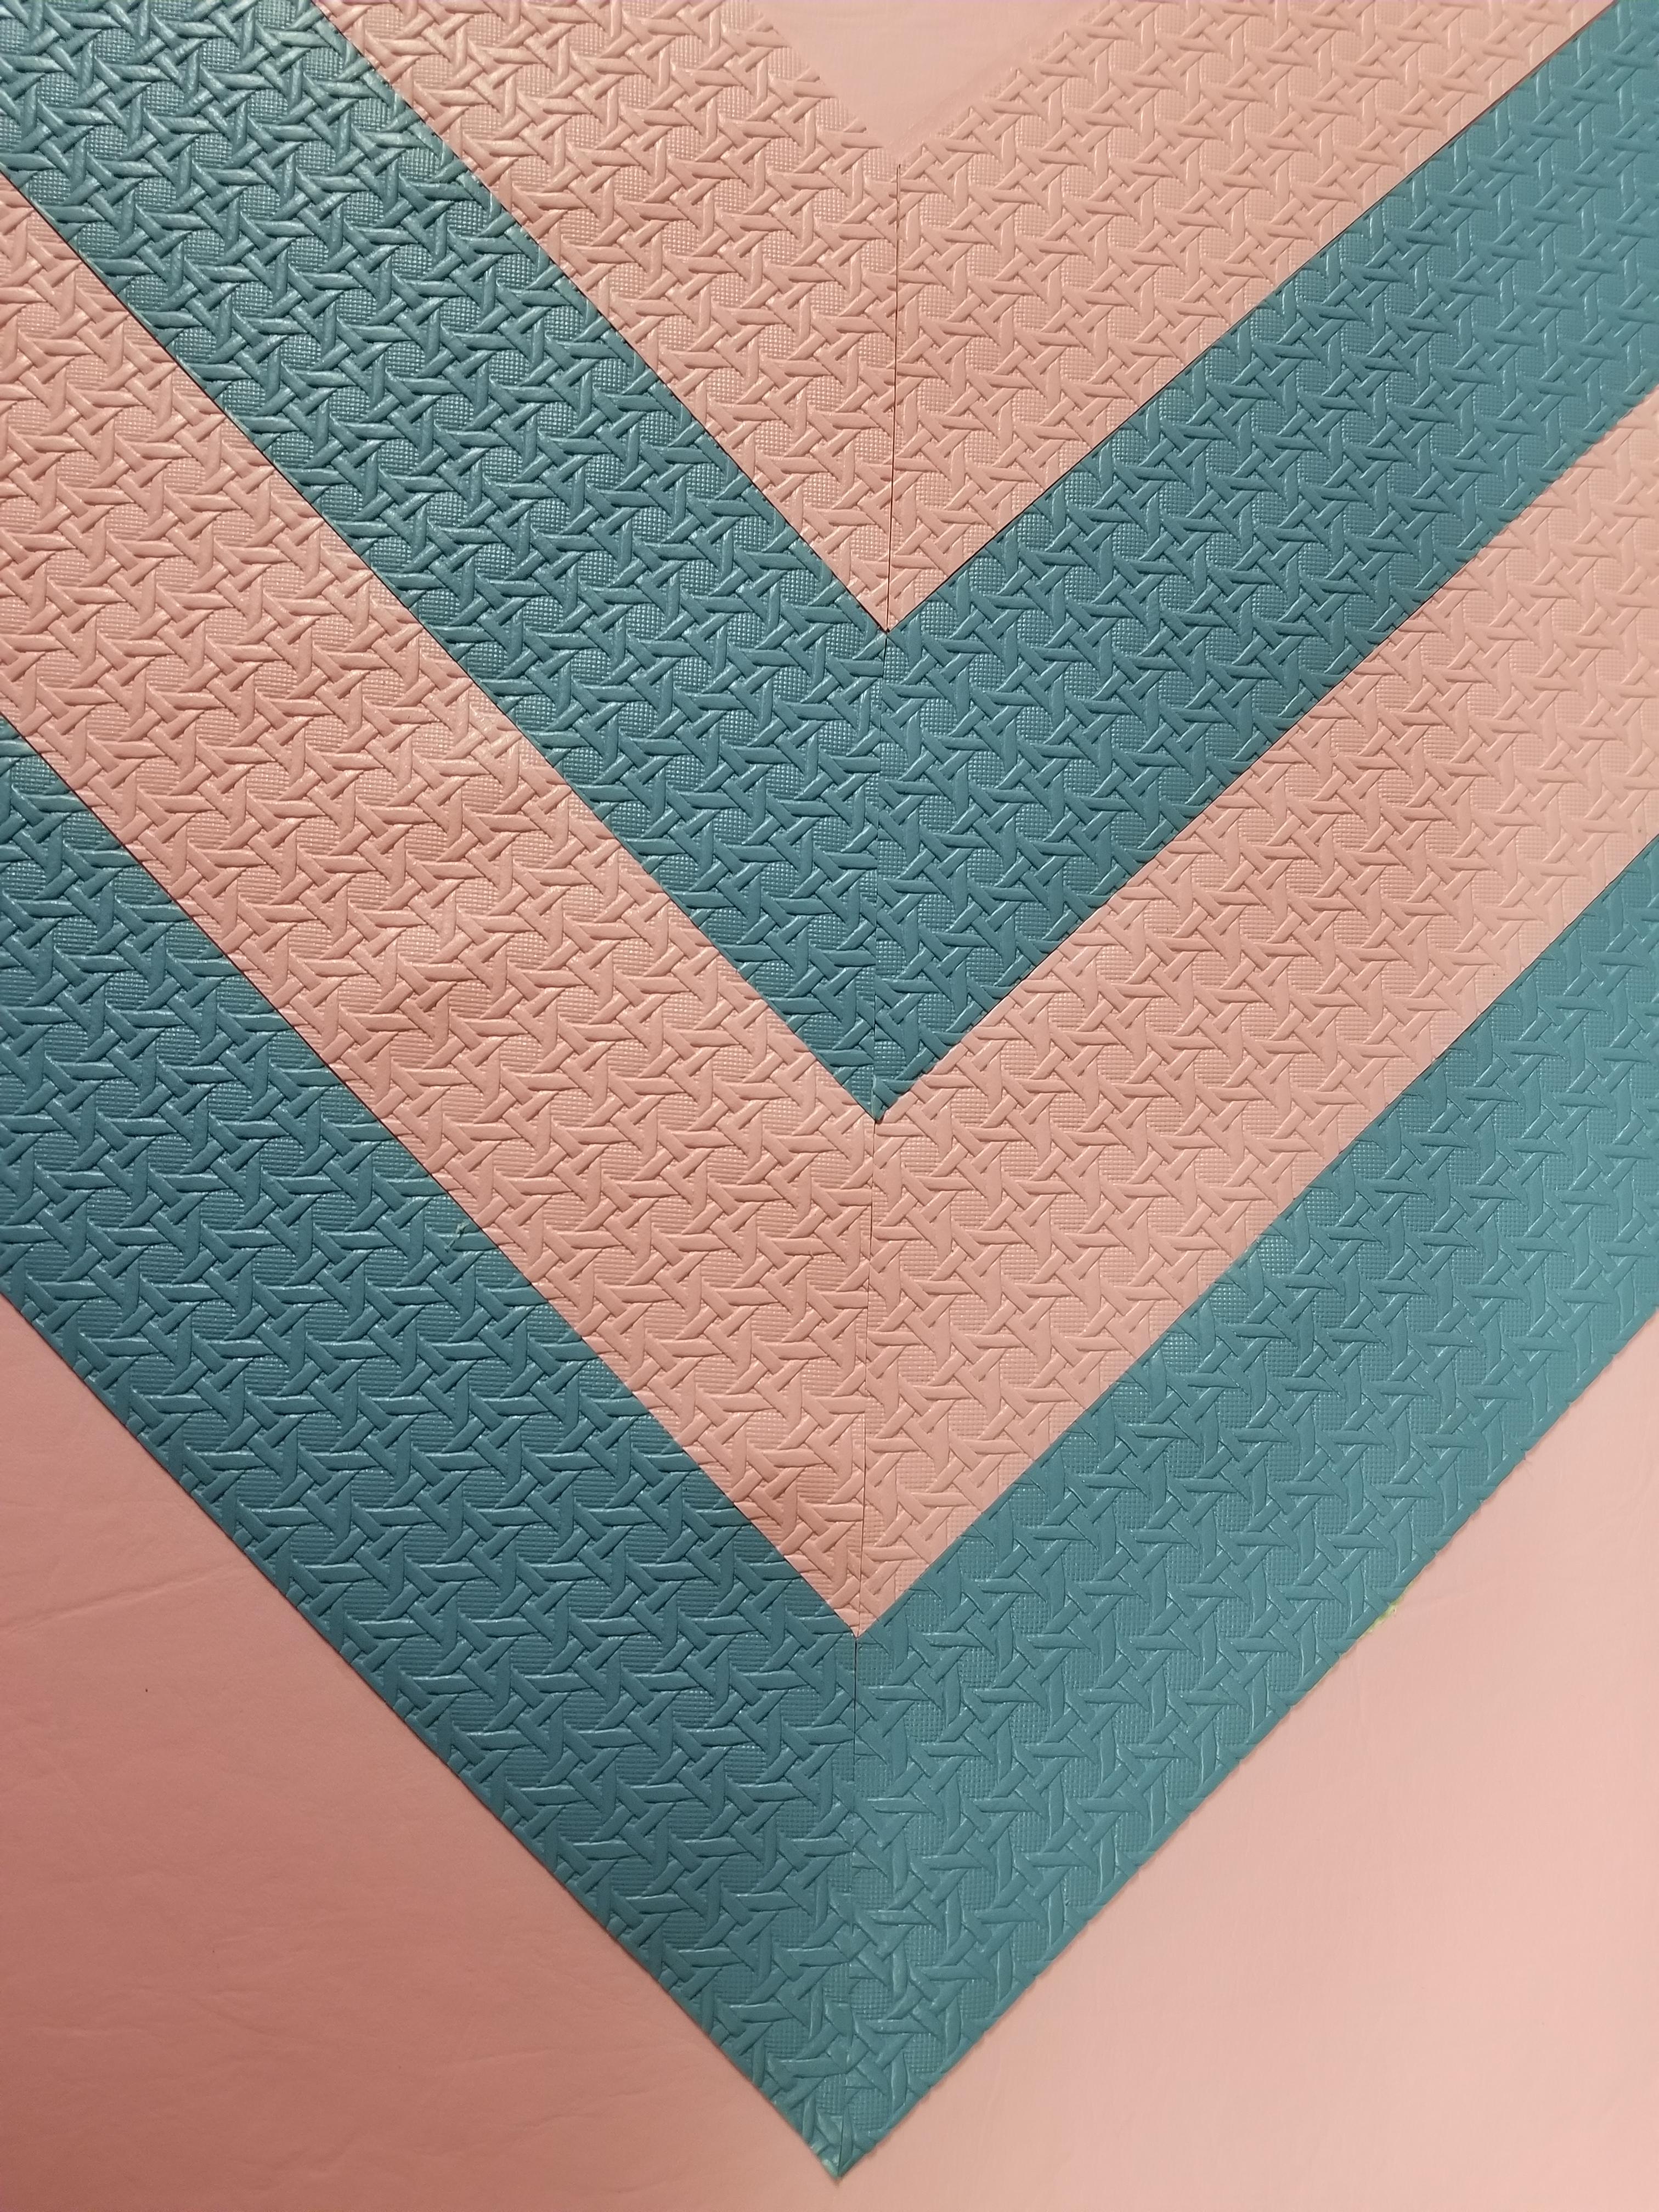
Some close ups to see the stitch work.
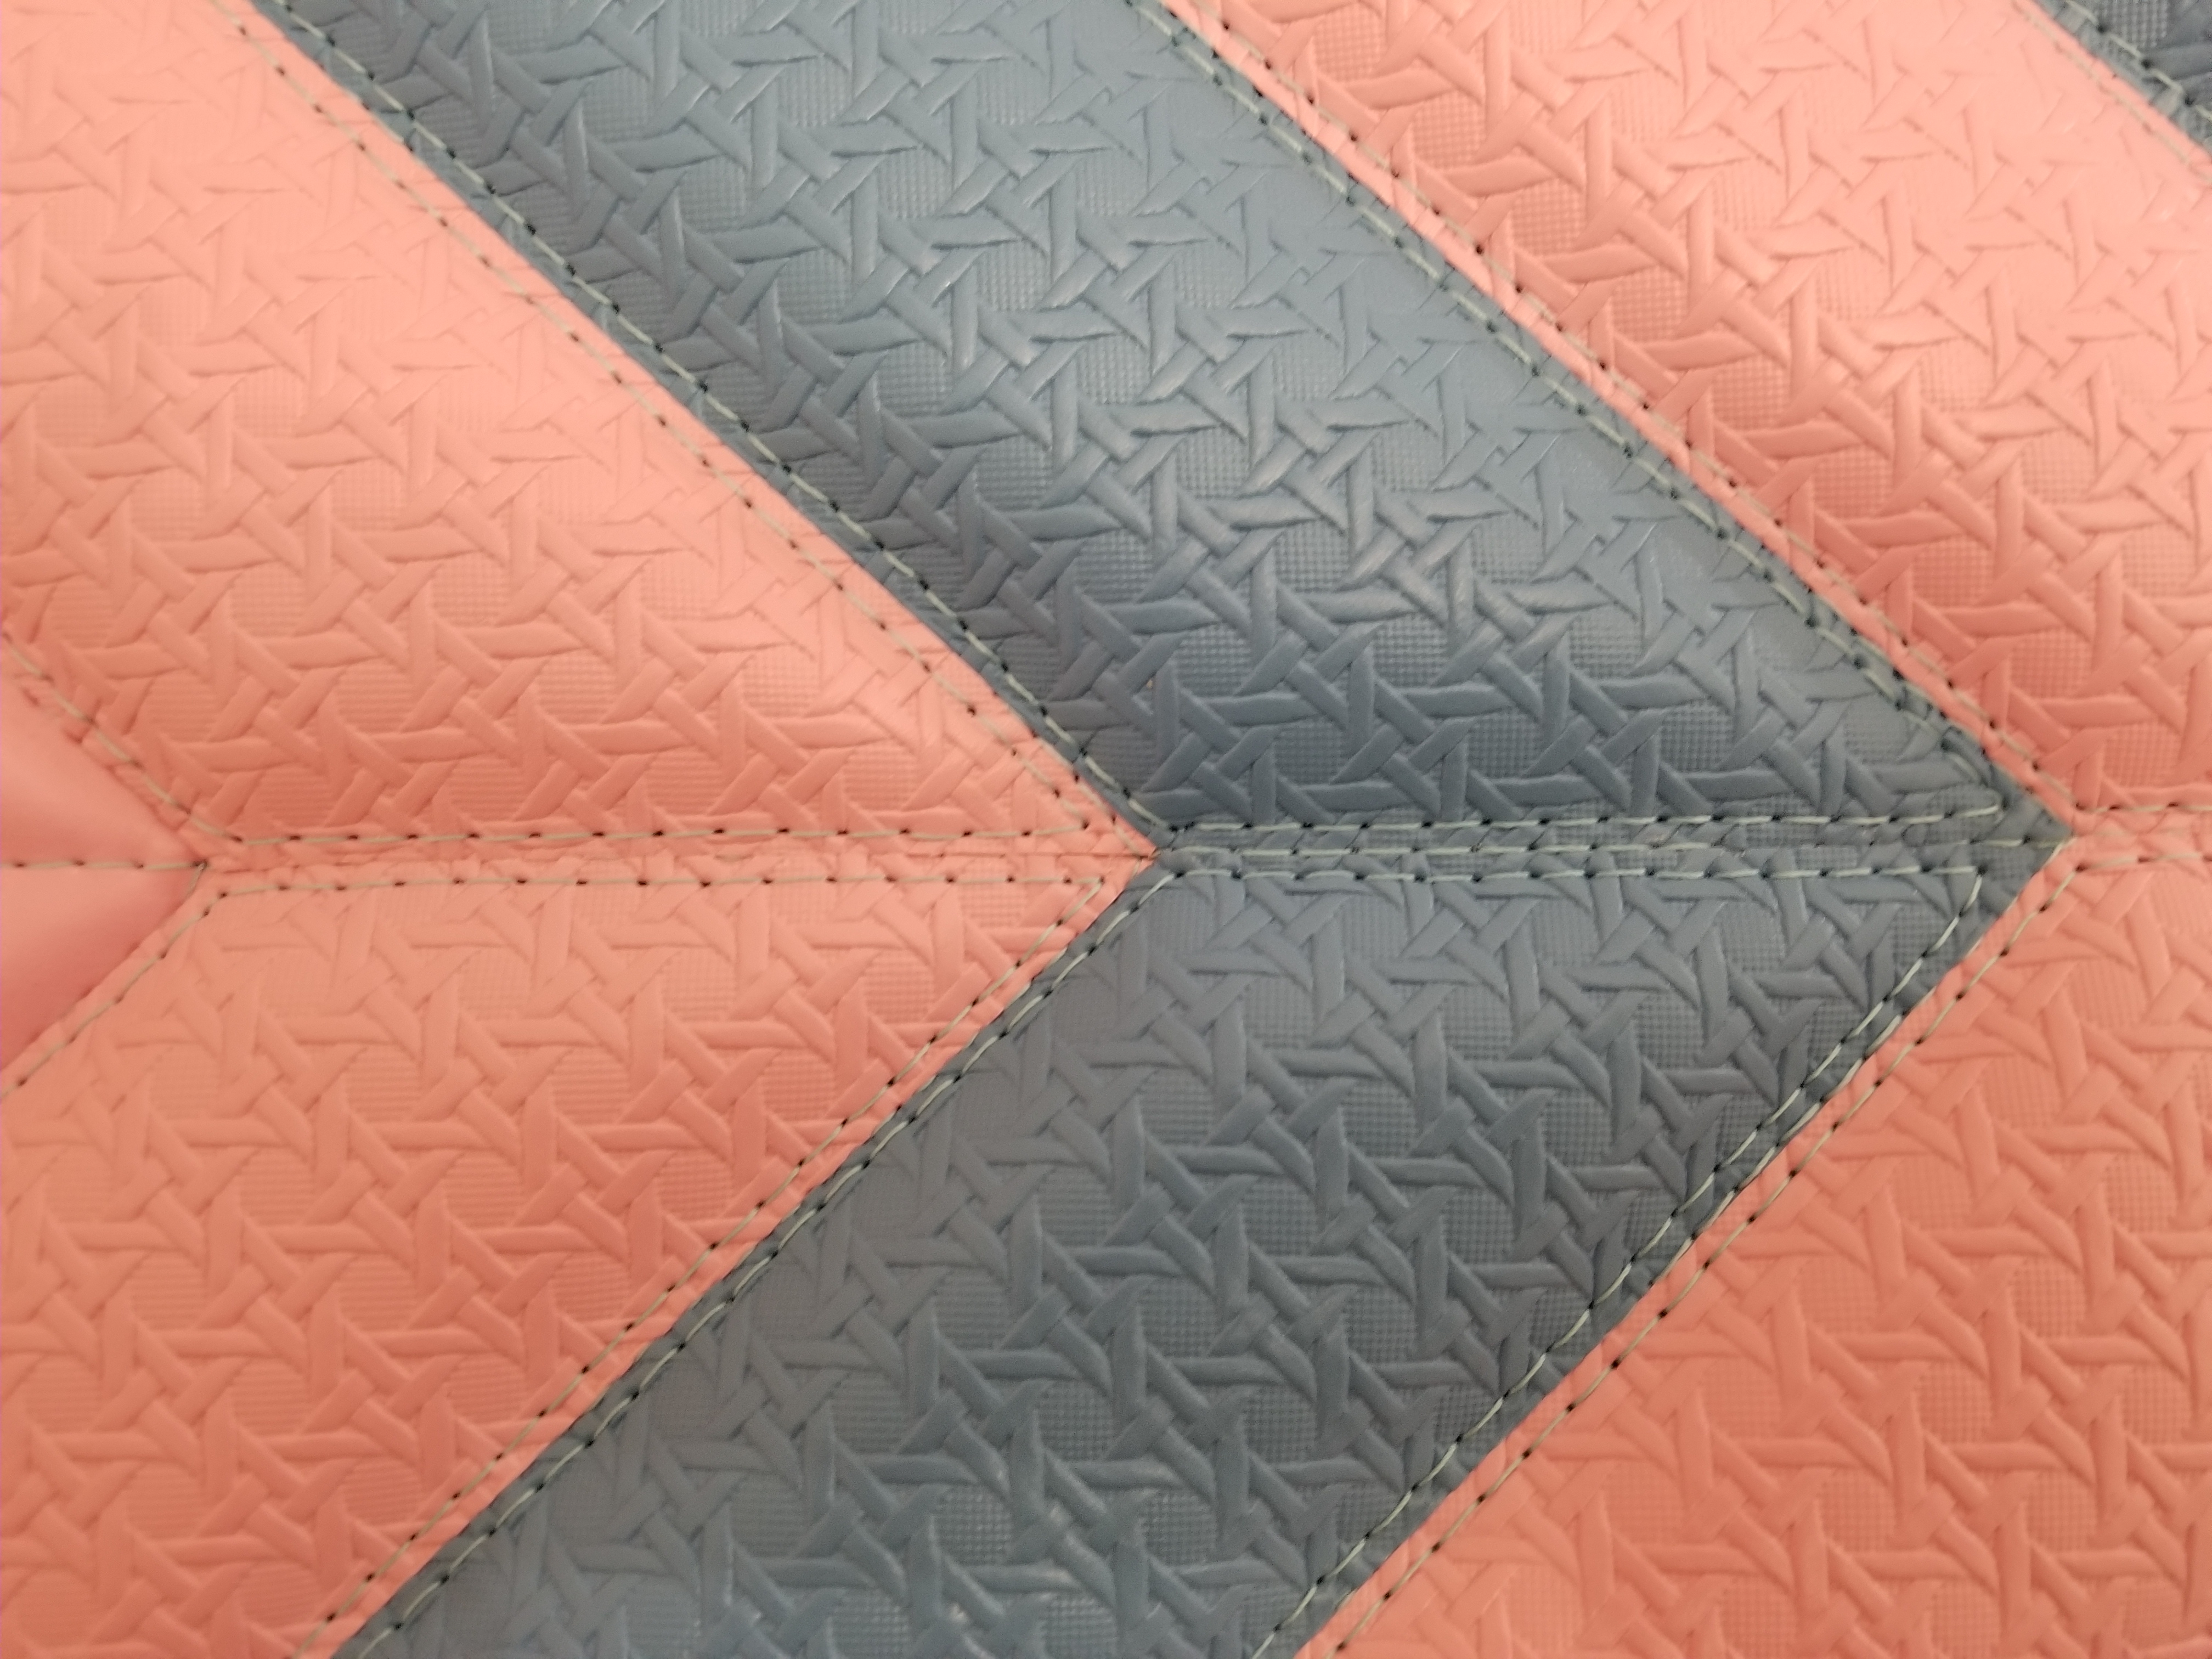
Colour is washed out but more detailed shots.
Rough idea of the main panels.

Test layout
Precision fitment is critical here. Not sure if this is the way to do it but it looks sharp in the end.
Kind of wrinkly from manhandling around the sewing machine.
Some close ups to see the stitch work.
Colour is washed out but more detailed shots.
Rough idea of the main panels.
 01-10-2019, 11:46 PM
#7
Mr Z++ Wiki
Thread Starter
Join Date: Sep 2009
Location: Victoria, BC
Posts: 2,195
Test layout for grommets.
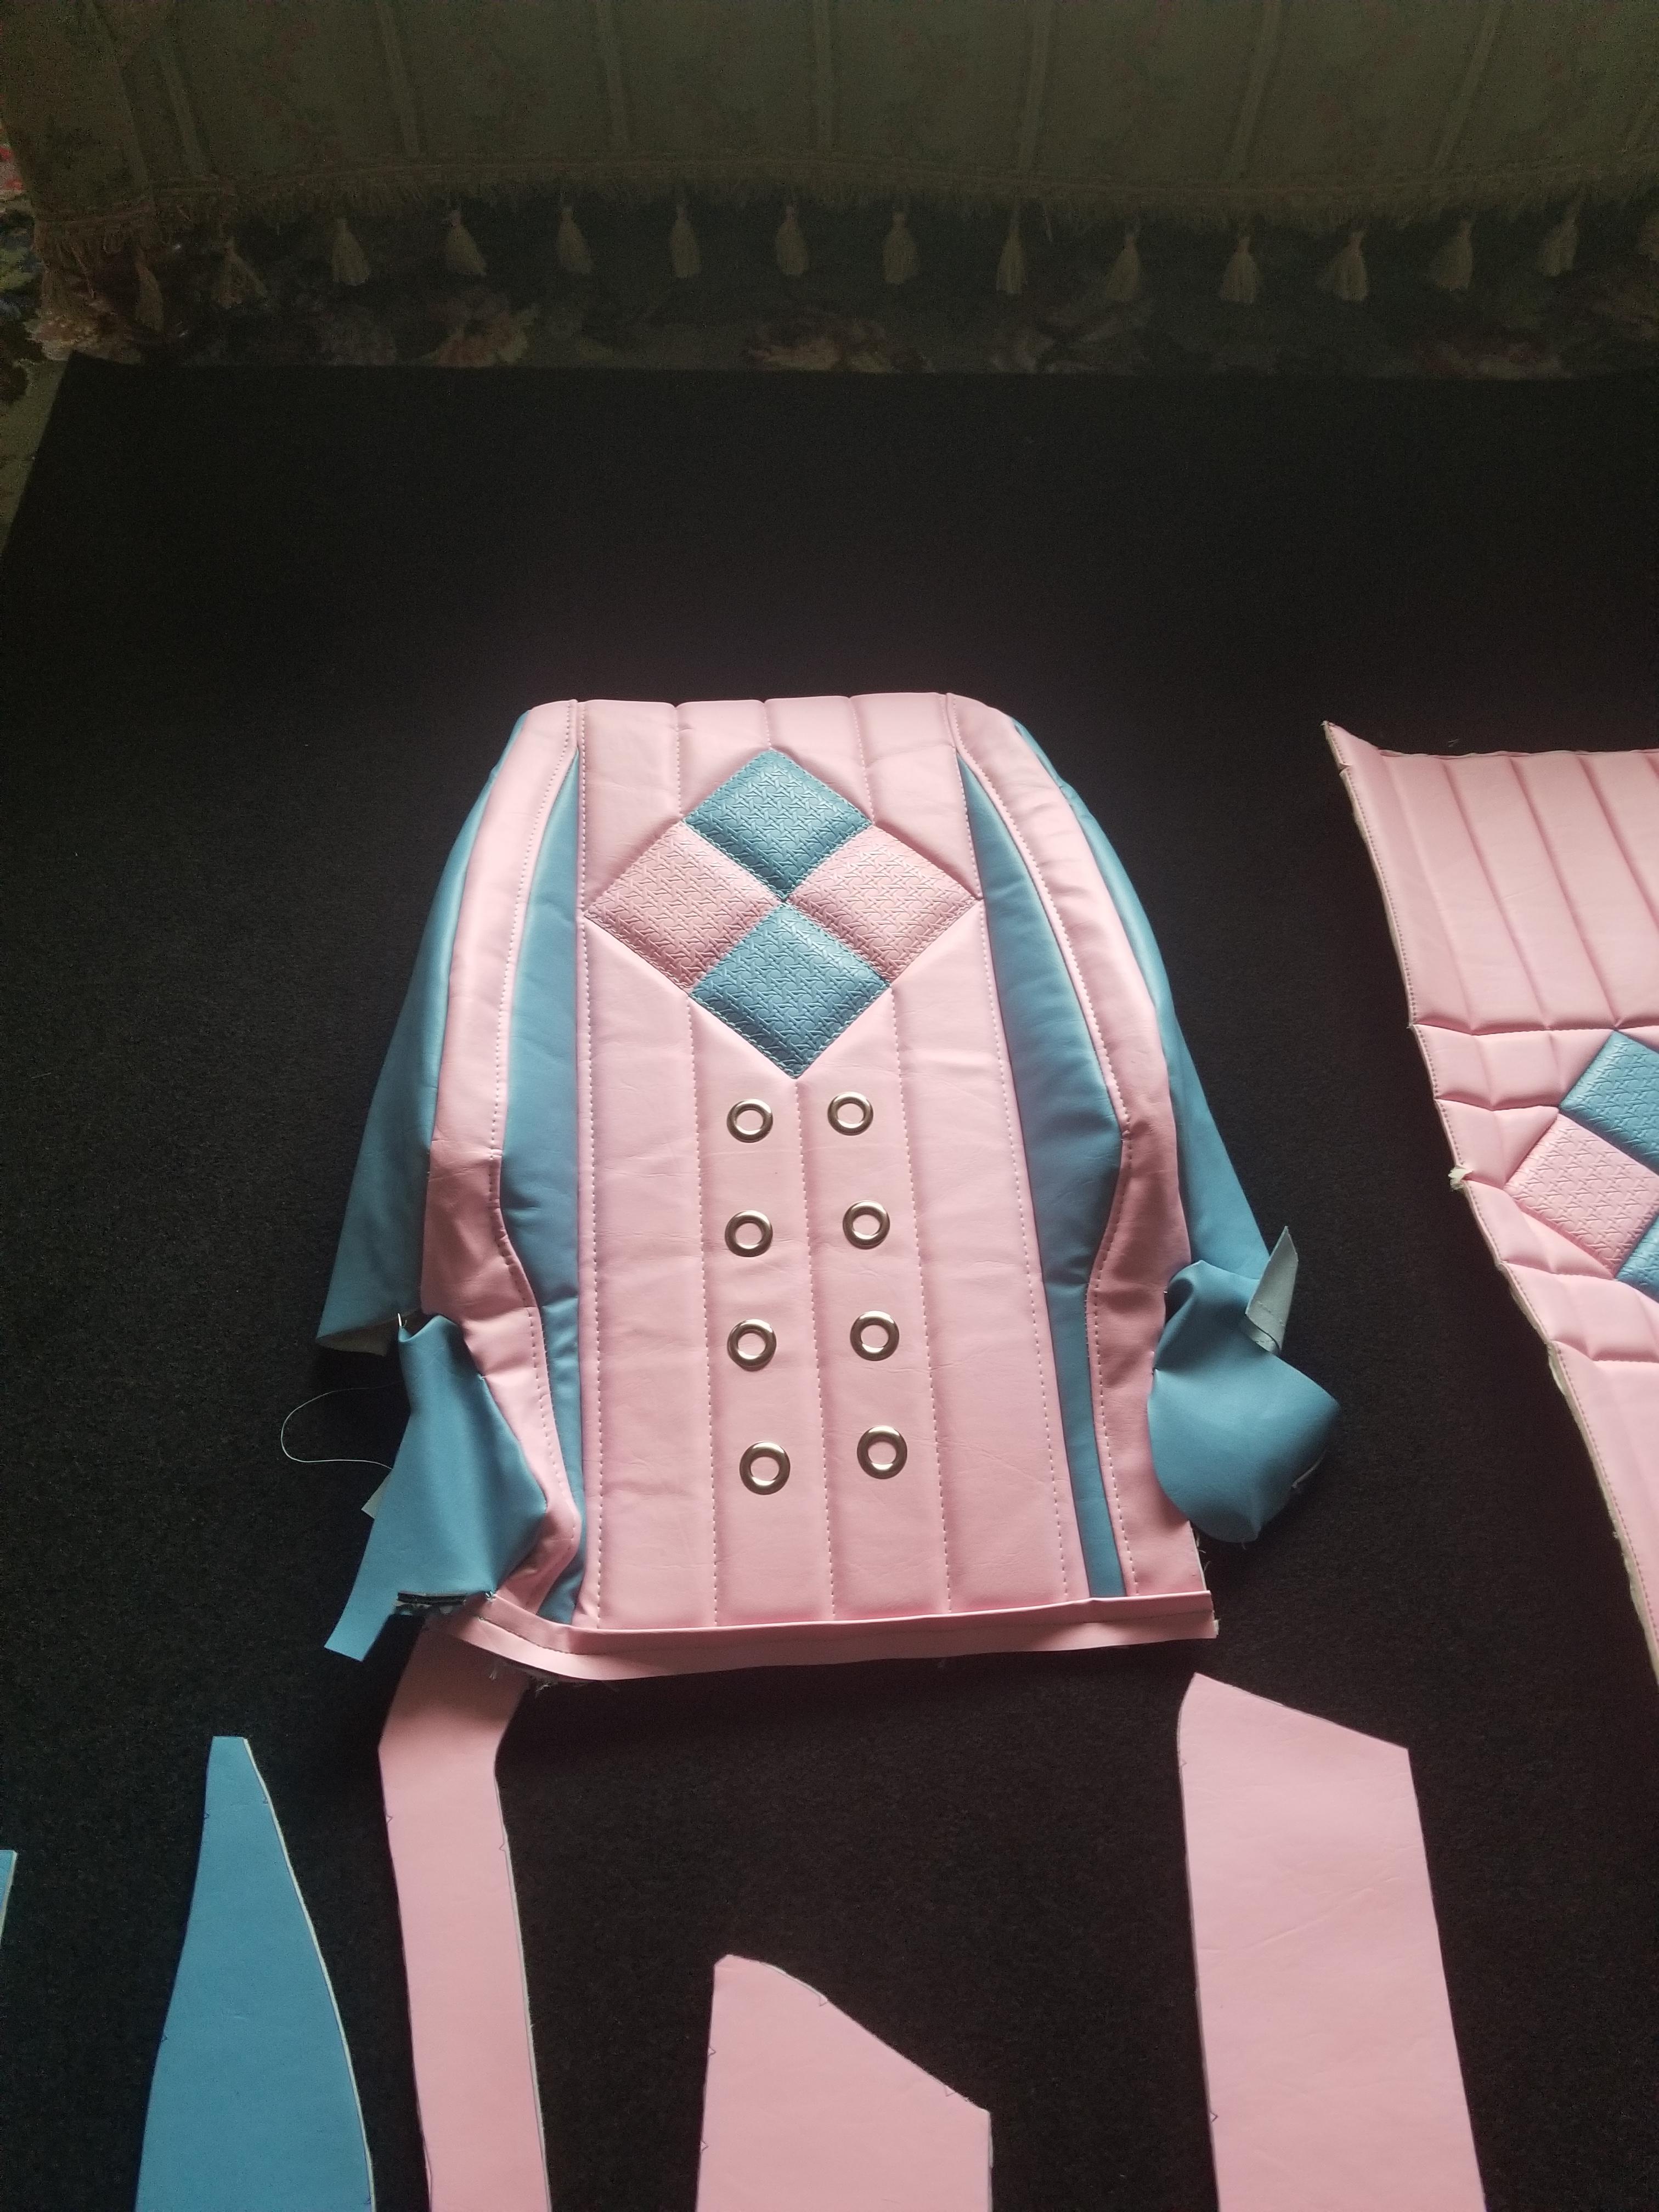
Installed
Test fit - hog rings not installed yet
Grommets with inserts
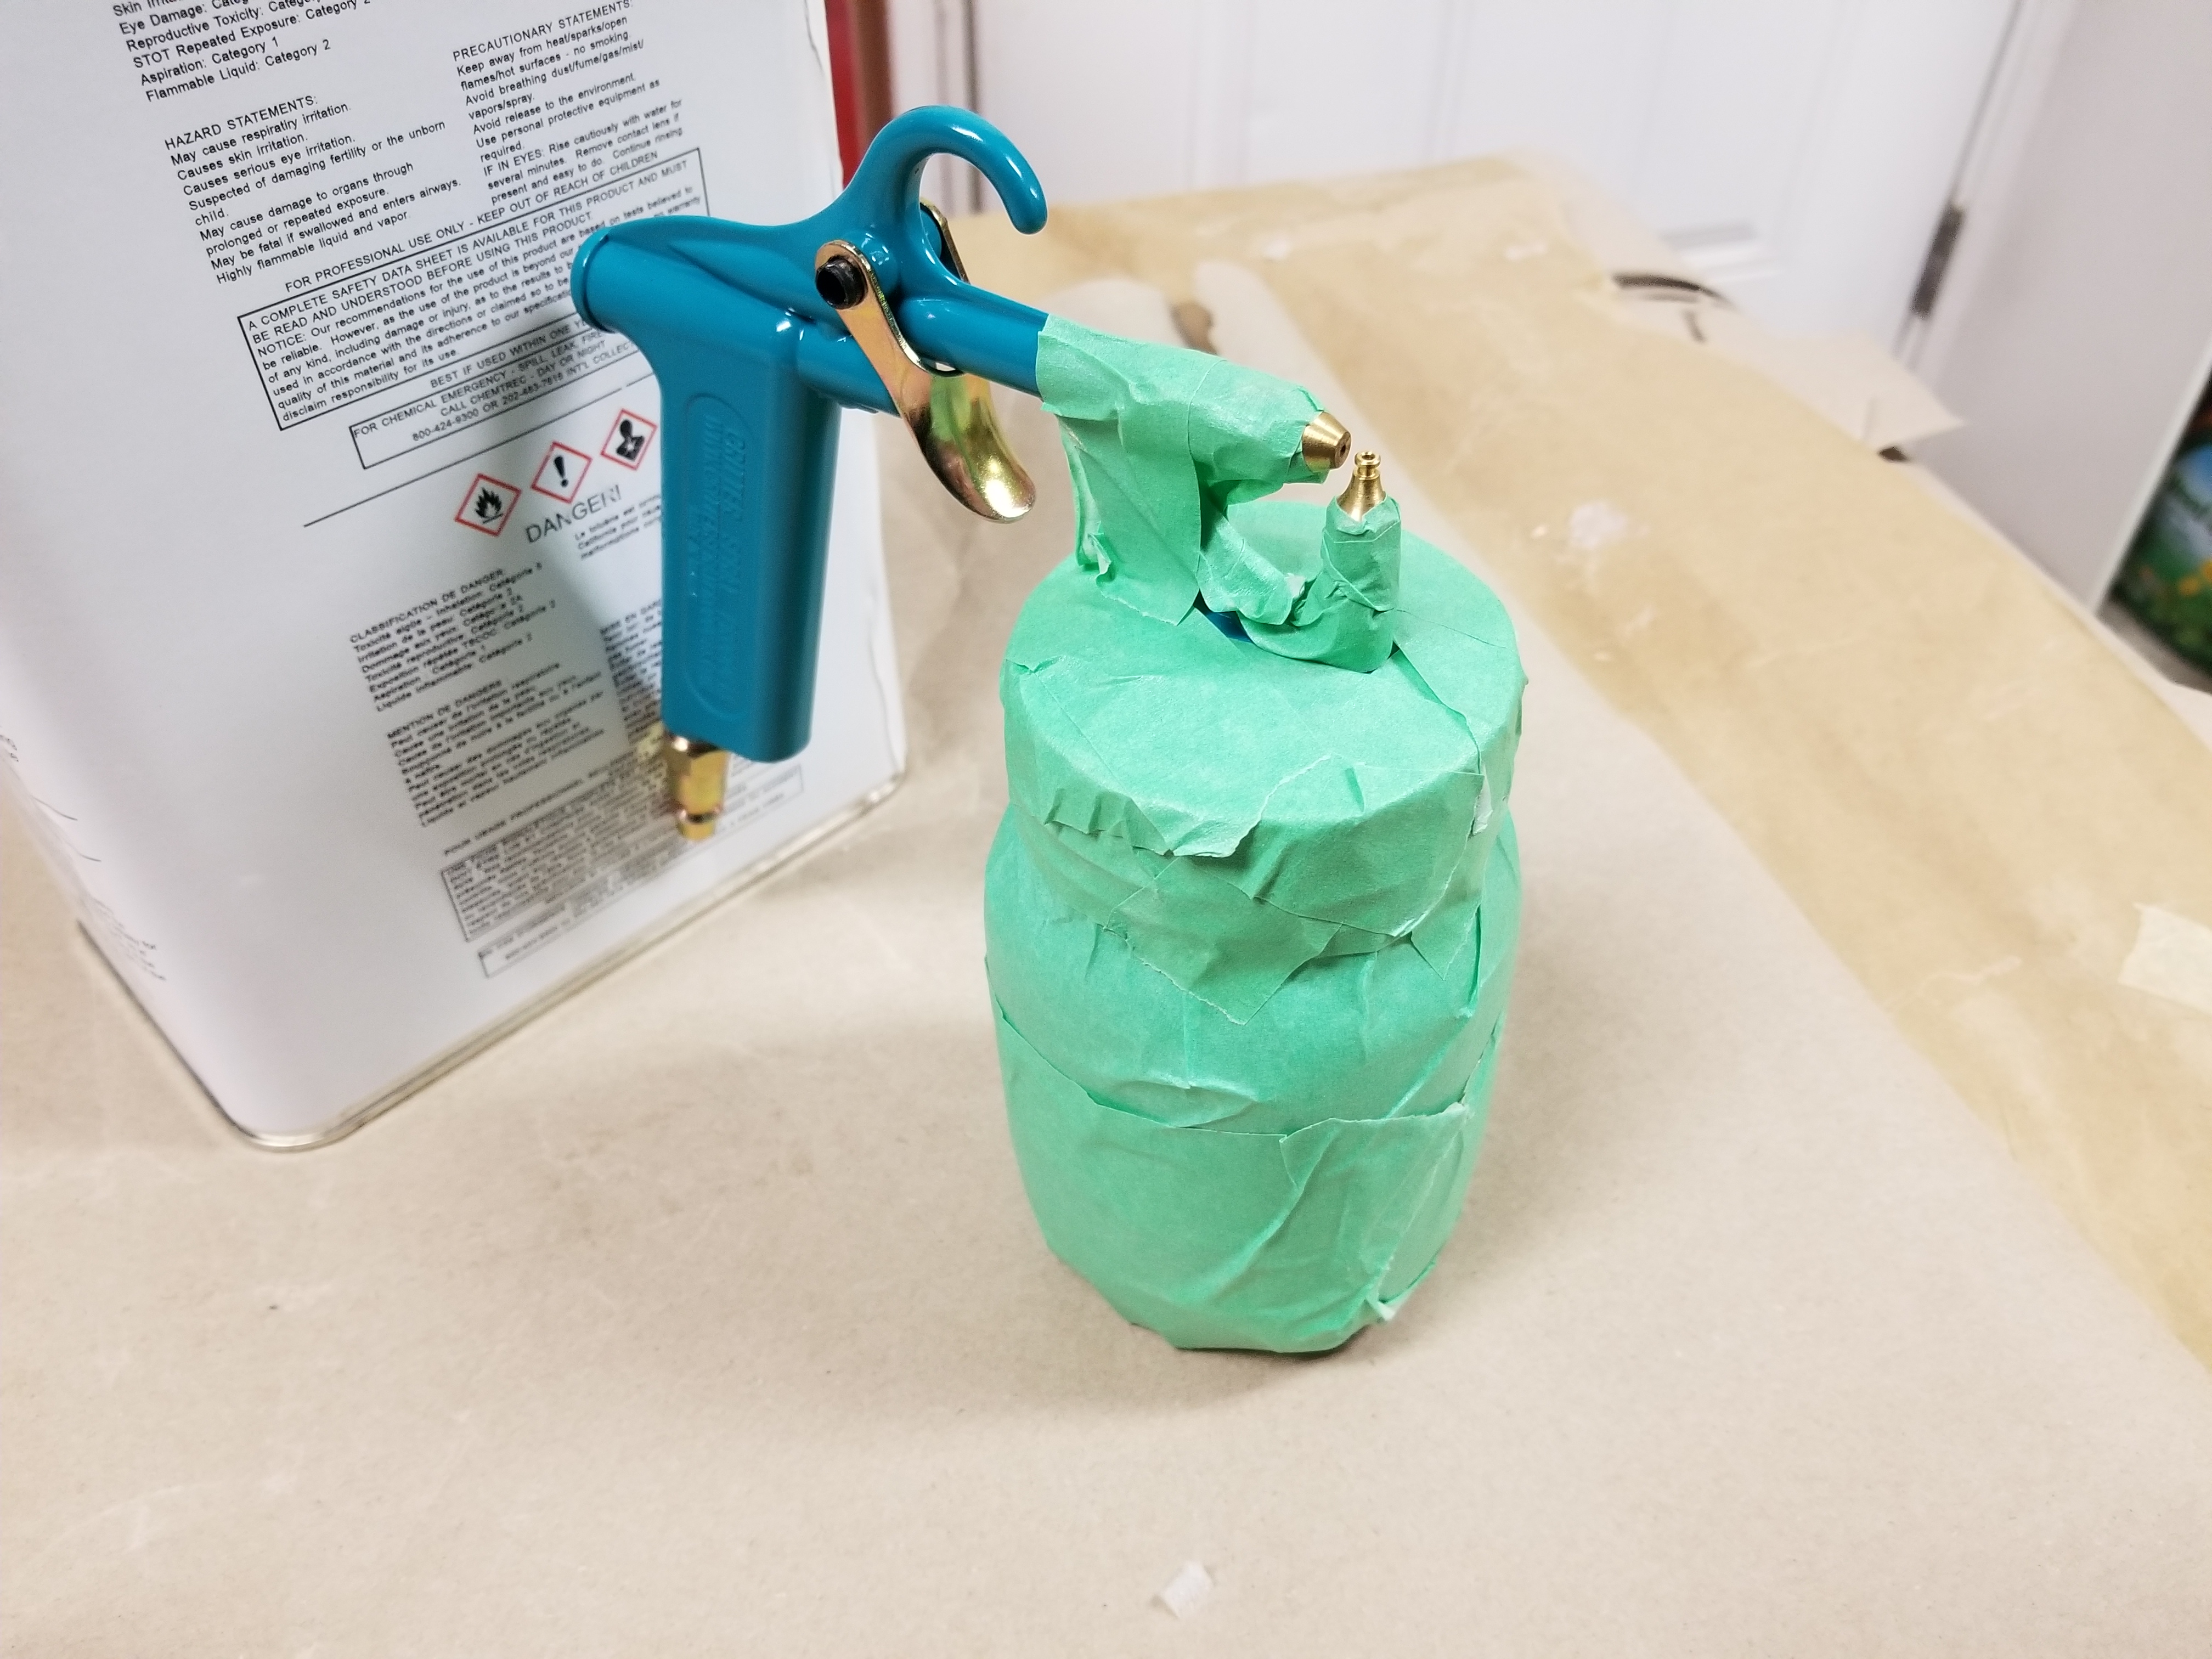
Cleaning the glue gun can be a pain. Work smarter - not harder!
Seat bottom panels starting to go together
Installed
Test fit - hog rings not installed yet
Grommets with inserts
Cleaning the glue gun can be a pain. Work smarter - not harder!
Seat bottom panels starting to go together


Thread
Thread Starter
Forum
Replies
Last Post
datsunbat
240Z, 260Z, 280Z Appearance Exterior, Interior
43
12-23-2019 12:13 PM
Bookmarks


