Datsun 240Z - 1971 Blue Metallic 903 - Resto
 08-01-2017, 05:20 PM
#1
Registered User
Thread Starter

Join Date: Jul 2017
Posts: 42
Datsun 240Z - 1971 Blue Metallic 903 - Resto
Hi,
"Here I go again" like the Whitesnake song says...but this time with a 71 240Z.
Some of you remember me for the LB110 restoration in Mr.Vitorino shop here in Portugal, well, he had a dicease and return to work a month ago the reason for this restoration project is starting now.
I will put some pictures and insert some comments.
The Z, it's a beautiful lady but the previous owner ruined it if we talk about what's original according the year and what's not. This will be a difficult task but I'm prepared for the challenge. My Z is a 71 and it's like a 73...
Yesterday I left the Z with Mr.vitorino and next week the resto will begin.
We've inspected the car and found the usual rust on the model, it's not bad and has excellent mechanic, good for me...Let's see how far I can go returning this Z.
Hope you enjoy the topic.
Now the first pictures...
Regards,
M�rio

Z in Mr.Vitorino shop, last photo before the work...


The last run...


We were making some marks in the panel that should be covered. Perhaps relays and some stuff...lot's of holes...
[img(1000px,749px)]https://s3.postimg.org/vi8fyrd9f/IMG_20170731_154521.jpg[/img]
Mr.Vitorino leading the operation...

The rubbers are completely wasted, I will put new ones. The scutcheons will return to it and the same will happen to the center bumper.
All the 73 details will disappear...


The spolier and rear is in the wrong colour, I guess it's charcoal...

Some rust, not really important...

On this side of the car I was expecting more rust..,but seems fine for now!!!

I will change the colour to the original one too, charcoal, the same as the rear and rear spoiler
Soon I'll have more pictures...
"Here I go again" like the Whitesnake song says...but this time with a 71 240Z.
Some of you remember me for the LB110 restoration in Mr.Vitorino shop here in Portugal, well, he had a dicease and return to work a month ago the reason for this restoration project is starting now.
I will put some pictures and insert some comments.
The Z, it's a beautiful lady but the previous owner ruined it if we talk about what's original according the year and what's not. This will be a difficult task but I'm prepared for the challenge. My Z is a 71 and it's like a 73...
Yesterday I left the Z with Mr.vitorino and next week the resto will begin.
We've inspected the car and found the usual rust on the model, it's not bad and has excellent mechanic, good for me...Let's see how far I can go returning this Z.
Hope you enjoy the topic.
Now the first pictures...
Regards,
M�rio
Z in Mr.Vitorino shop, last photo before the work...
The last run...
We were making some marks in the panel that should be covered. Perhaps relays and some stuff...lot's of holes...
[img(1000px,749px)]https://s3.postimg.org/vi8fyrd9f/IMG_20170731_154521.jpg[/img]
Mr.Vitorino leading the operation...
The rubbers are completely wasted, I will put new ones. The scutcheons will return to it and the same will happen to the center bumper.
All the 73 details will disappear...
The spolier and rear is in the wrong colour, I guess it's charcoal...
Some rust, not really important...
On this side of the car I was expecting more rust..,but seems fine for now!!!
I will change the colour to the original one too, charcoal, the same as the rear and rear spoiler
Soon I'll have more pictures...
 08-24-2017, 07:39 AM
#2
Registered User
Thread Starter
Join Date: Jul 2017
Posts: 42
Hi everybody!
I’ve got some news and that’s why I’m here again.
Last Tuesday I went to Mr.vitorino shop and started do dismantle the Z…honestly I thought it was a dificult task, but it wasn’t…well, only in some little details.
The ca ris in excellent shape as photos will show…I guess this car was restored or deep painted some years ago.
Next week We’ll have at least one door rebuilt, below the doors and inside need some intervention.
Here are some photos…
Rear window acquisition…the car has the horizontal defrost lines and aren’t the correct…I found one vertical and job done…a few years ago I bought one in the USA and came broken…never bought or find anoter one..they are getting rare this days!!!


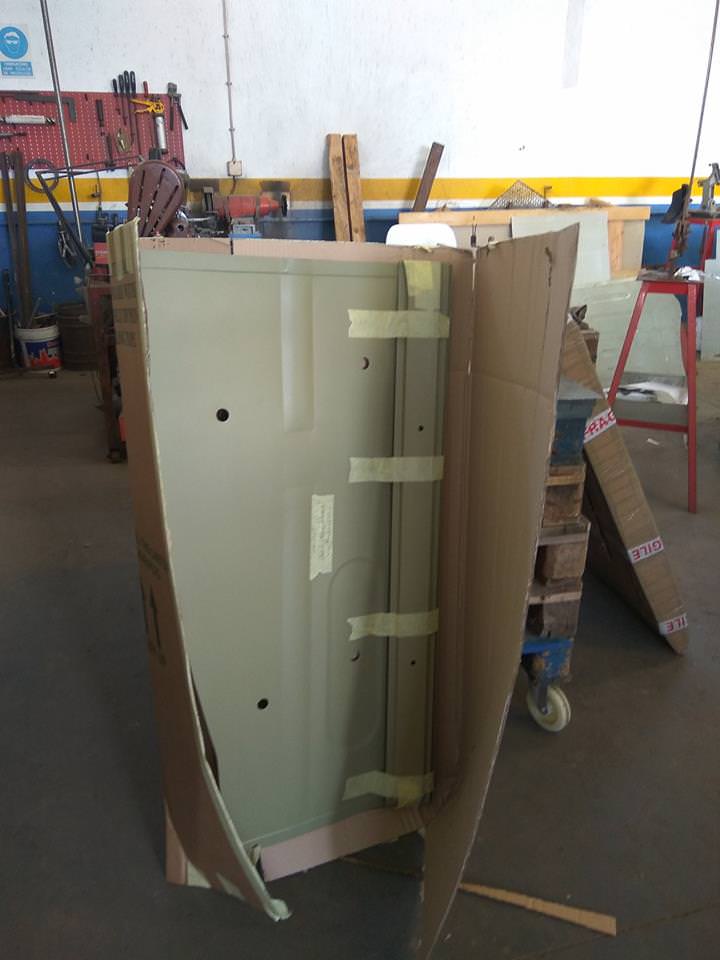
The beggining…

Door parts ready for the treatment…Nickel plating

Rear floor…not bad!!! I got scared, but fortunately the brown zone is glue…no rust…

Door ready for Mr.Vitorino!

Original floor carpet…but has to be removed!!!

Rear luggage accomodation in excelente shape


I’ve got some news and that’s why I’m here again.
Last Tuesday I went to Mr.vitorino shop and started do dismantle the Z…honestly I thought it was a dificult task, but it wasn’t…well, only in some little details.
The ca ris in excellent shape as photos will show…I guess this car was restored or deep painted some years ago.
Next week We’ll have at least one door rebuilt, below the doors and inside need some intervention.
Here are some photos…
Rear window acquisition…the car has the horizontal defrost lines and aren’t the correct…I found one vertical and job done…a few years ago I bought one in the USA and came broken…never bought or find anoter one..they are getting rare this days!!!
The beggining…
Door parts ready for the treatment…Nickel plating
Rear floor…not bad!!! I got scared, but fortunately the brown zone is glue…no rust…
Door ready for Mr.Vitorino!
Original floor carpet…but has to be removed!!!
Rear luggage accomodation in excelente shape
08-24-2017, 07:39 AM
#3
Registered User
Thread Starter
Join Date: Jul 2017
Posts: 42
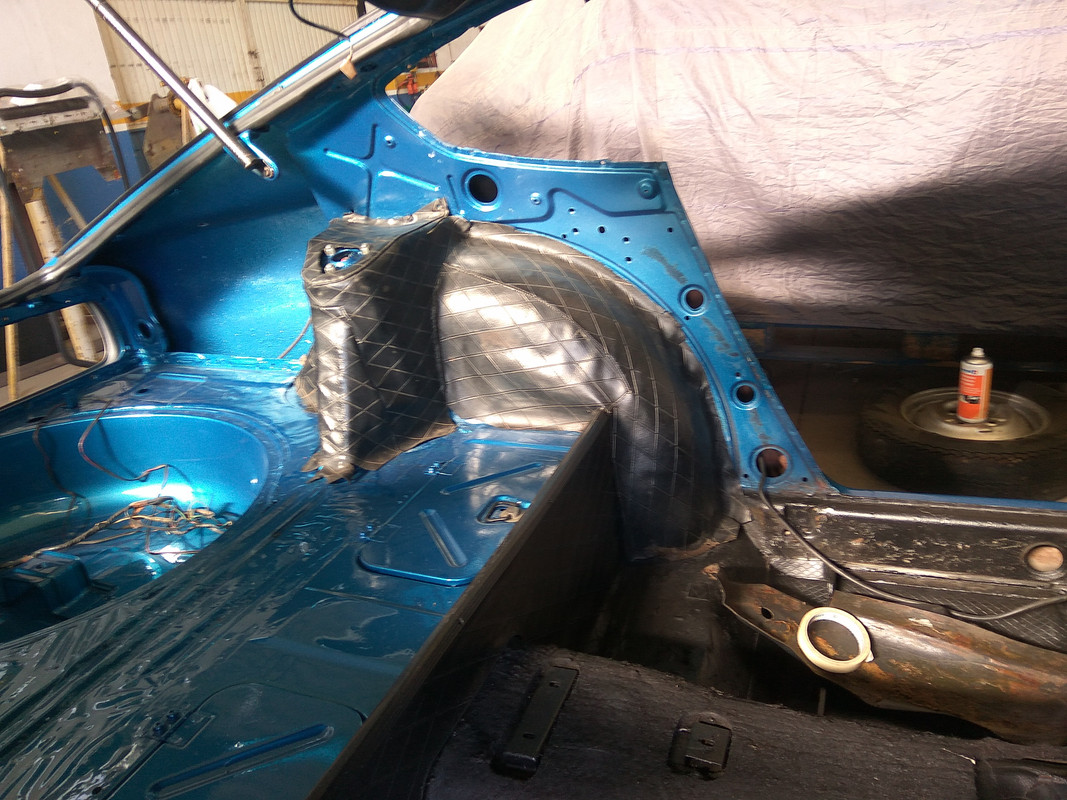
And now the surprise…the original blue…It can only be seen on some detailed parts..this is one!

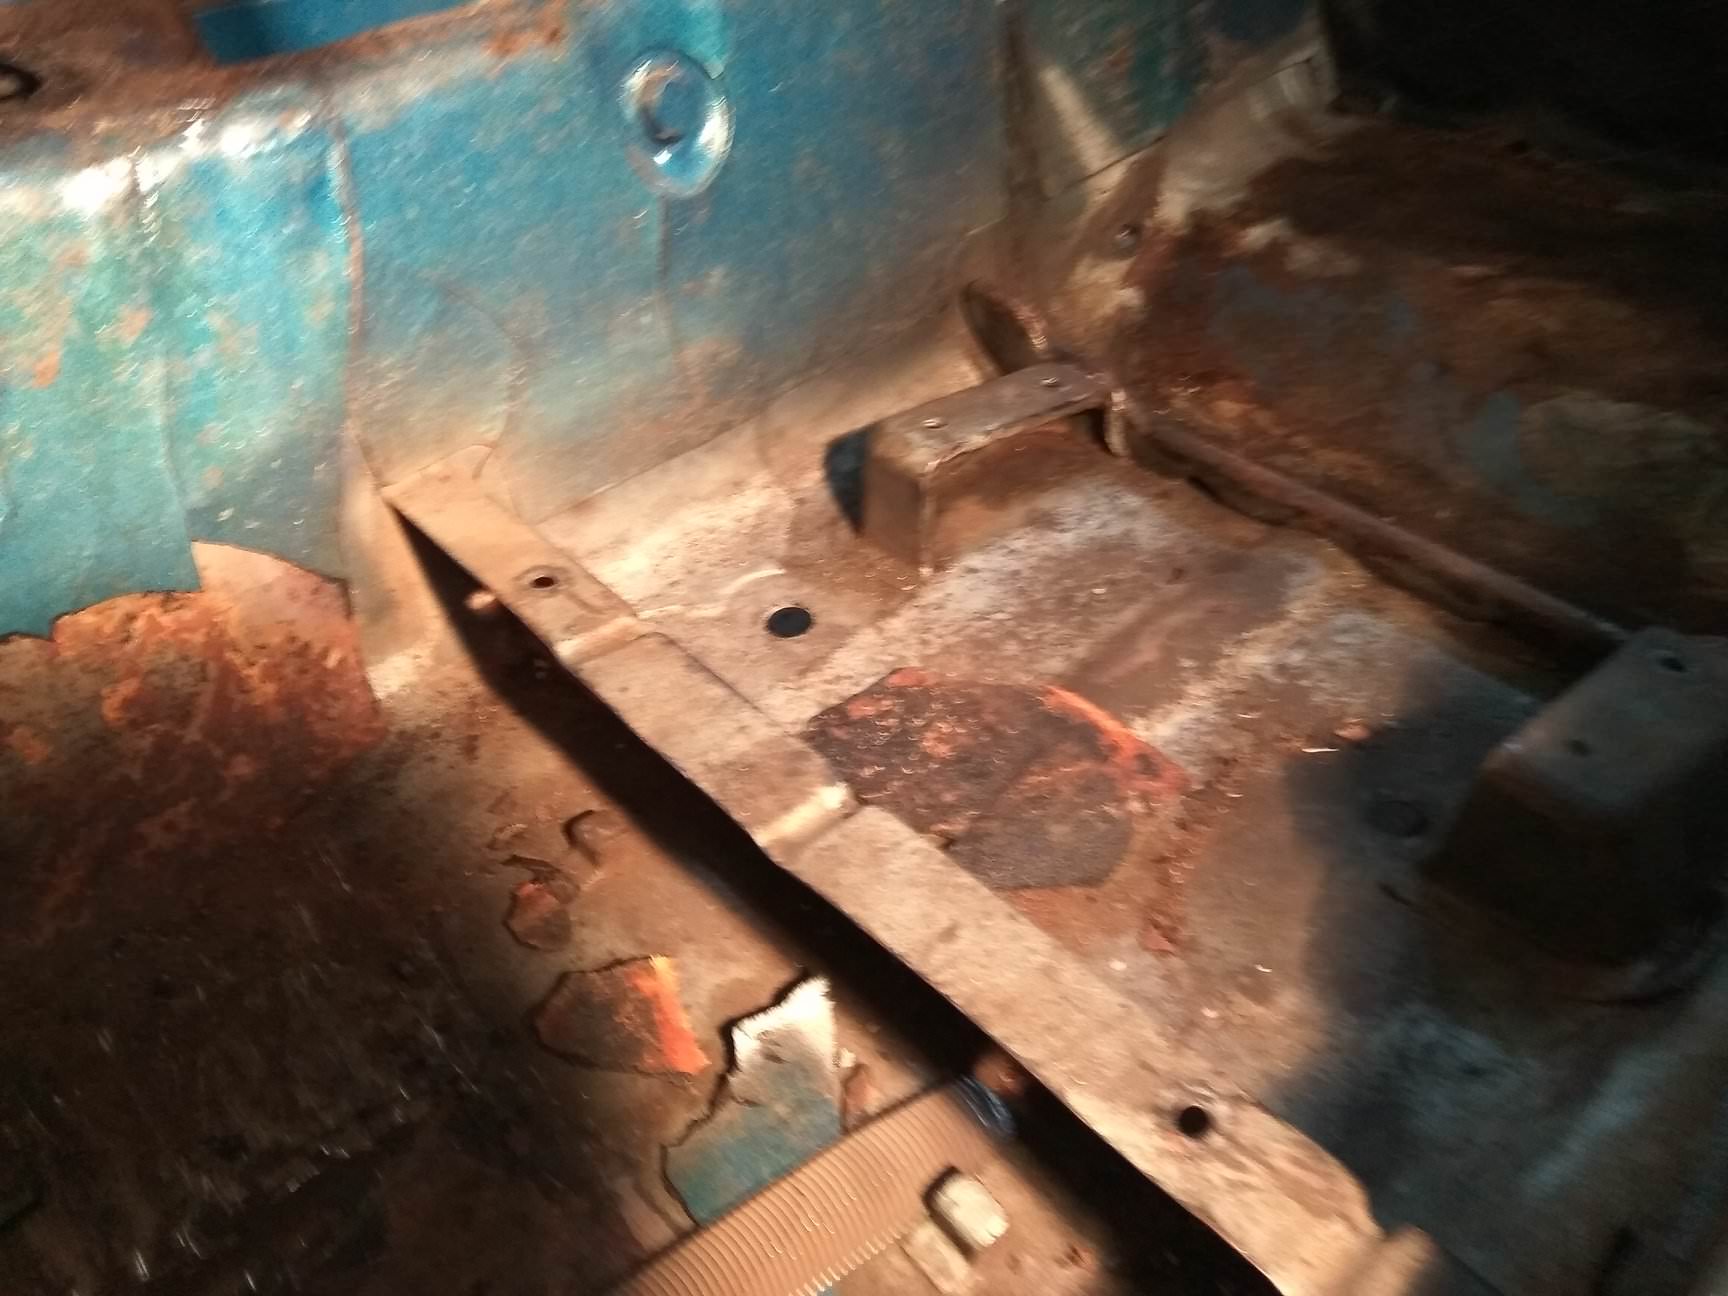
Replacemente tyre floor…not bad…no rust…


The seats will be r�done, but I will only take care of the parts that are completely off…

No plastic cover…but I have 2 here…offered by a mate!!!

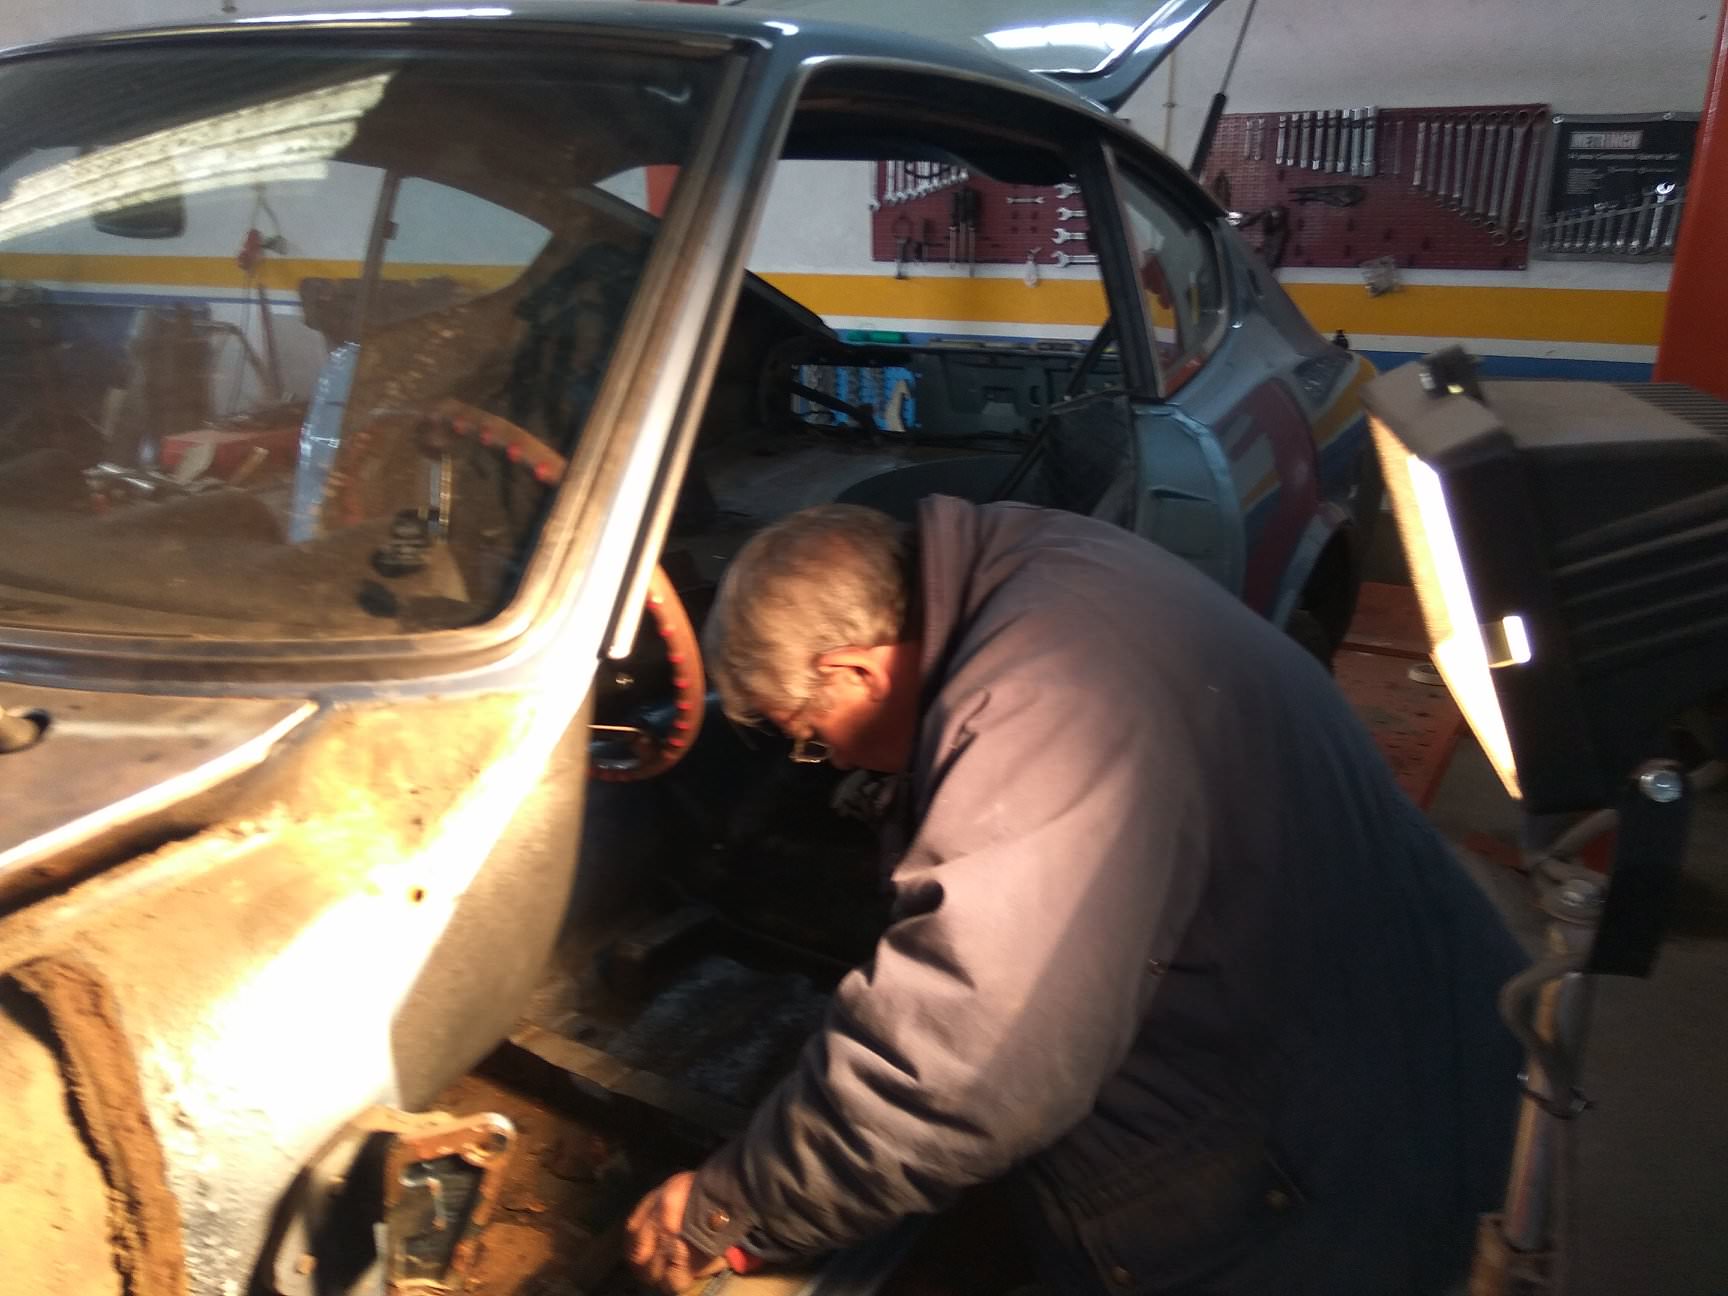
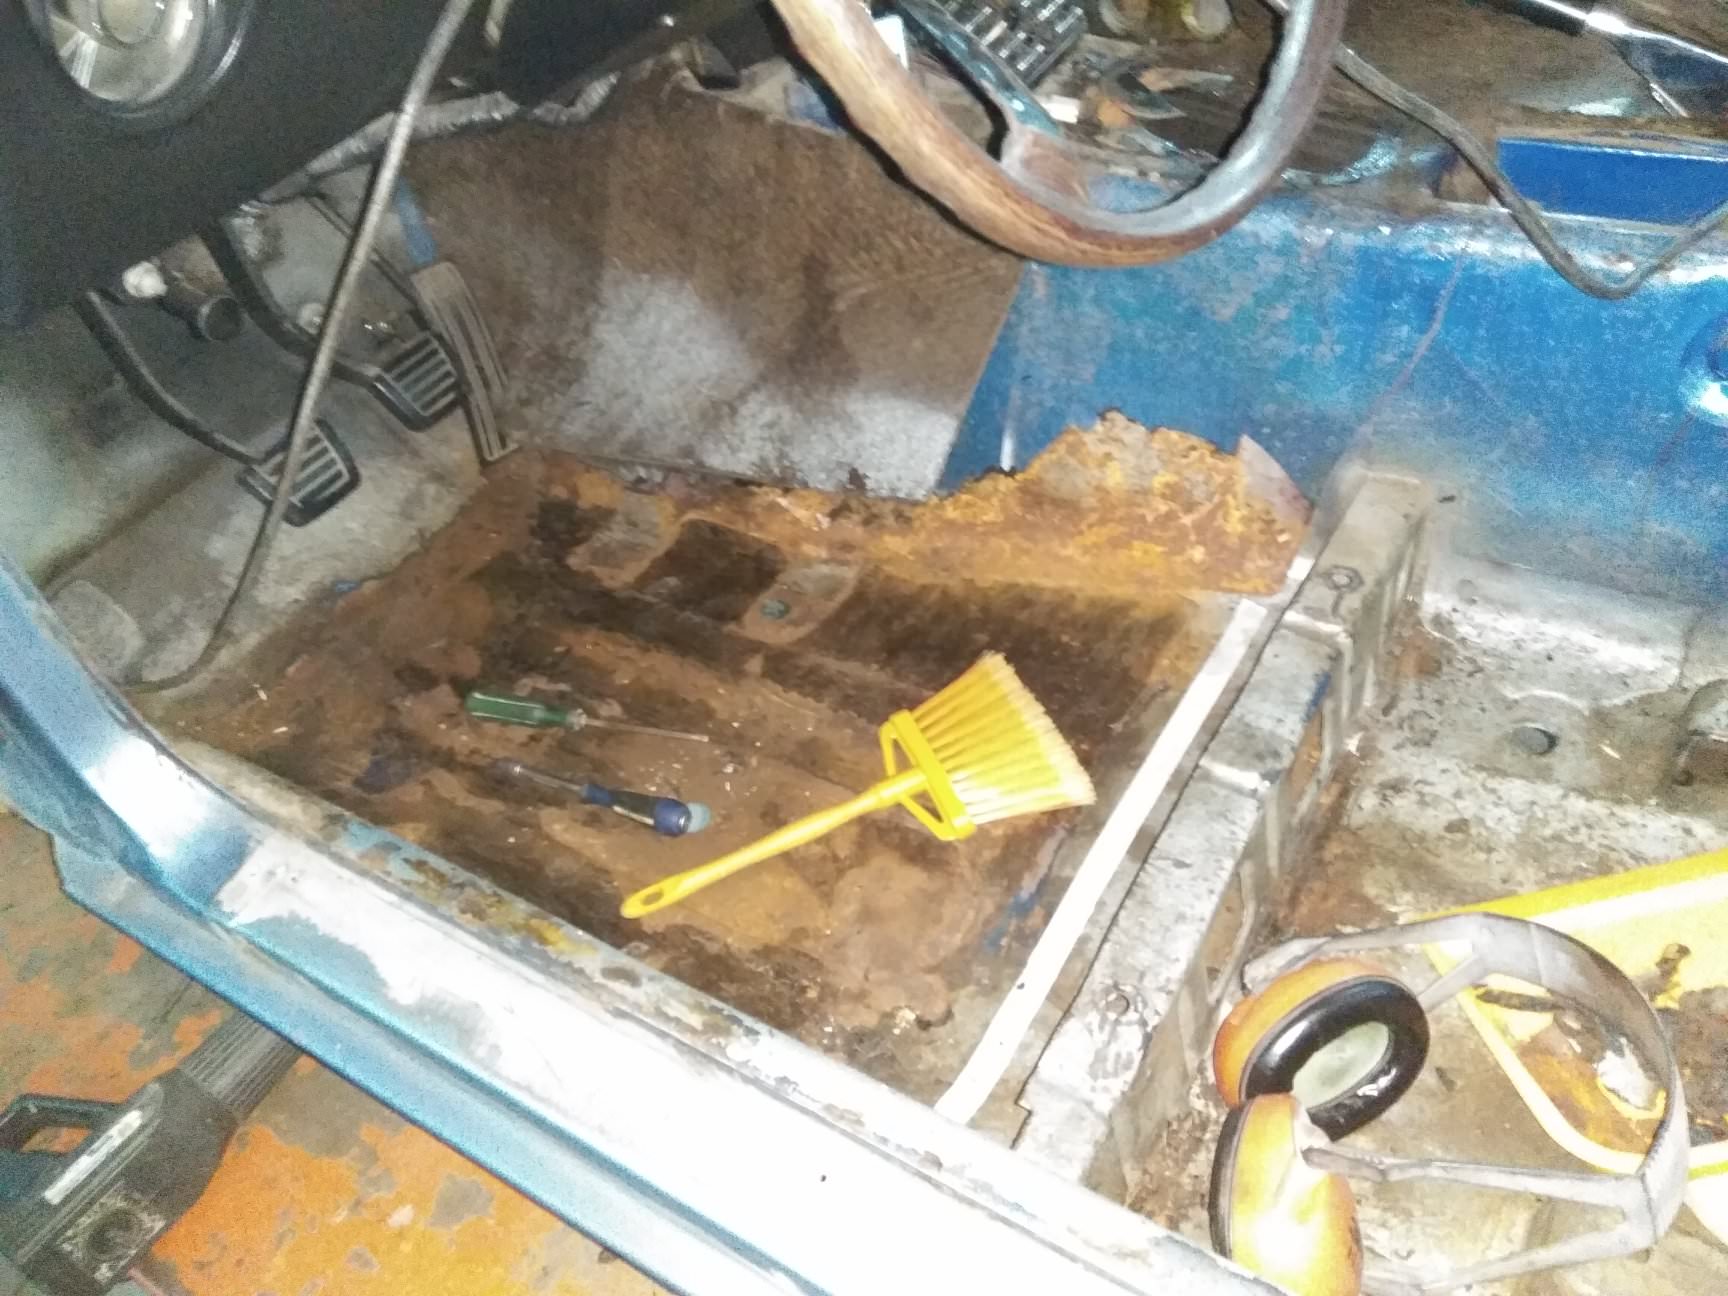
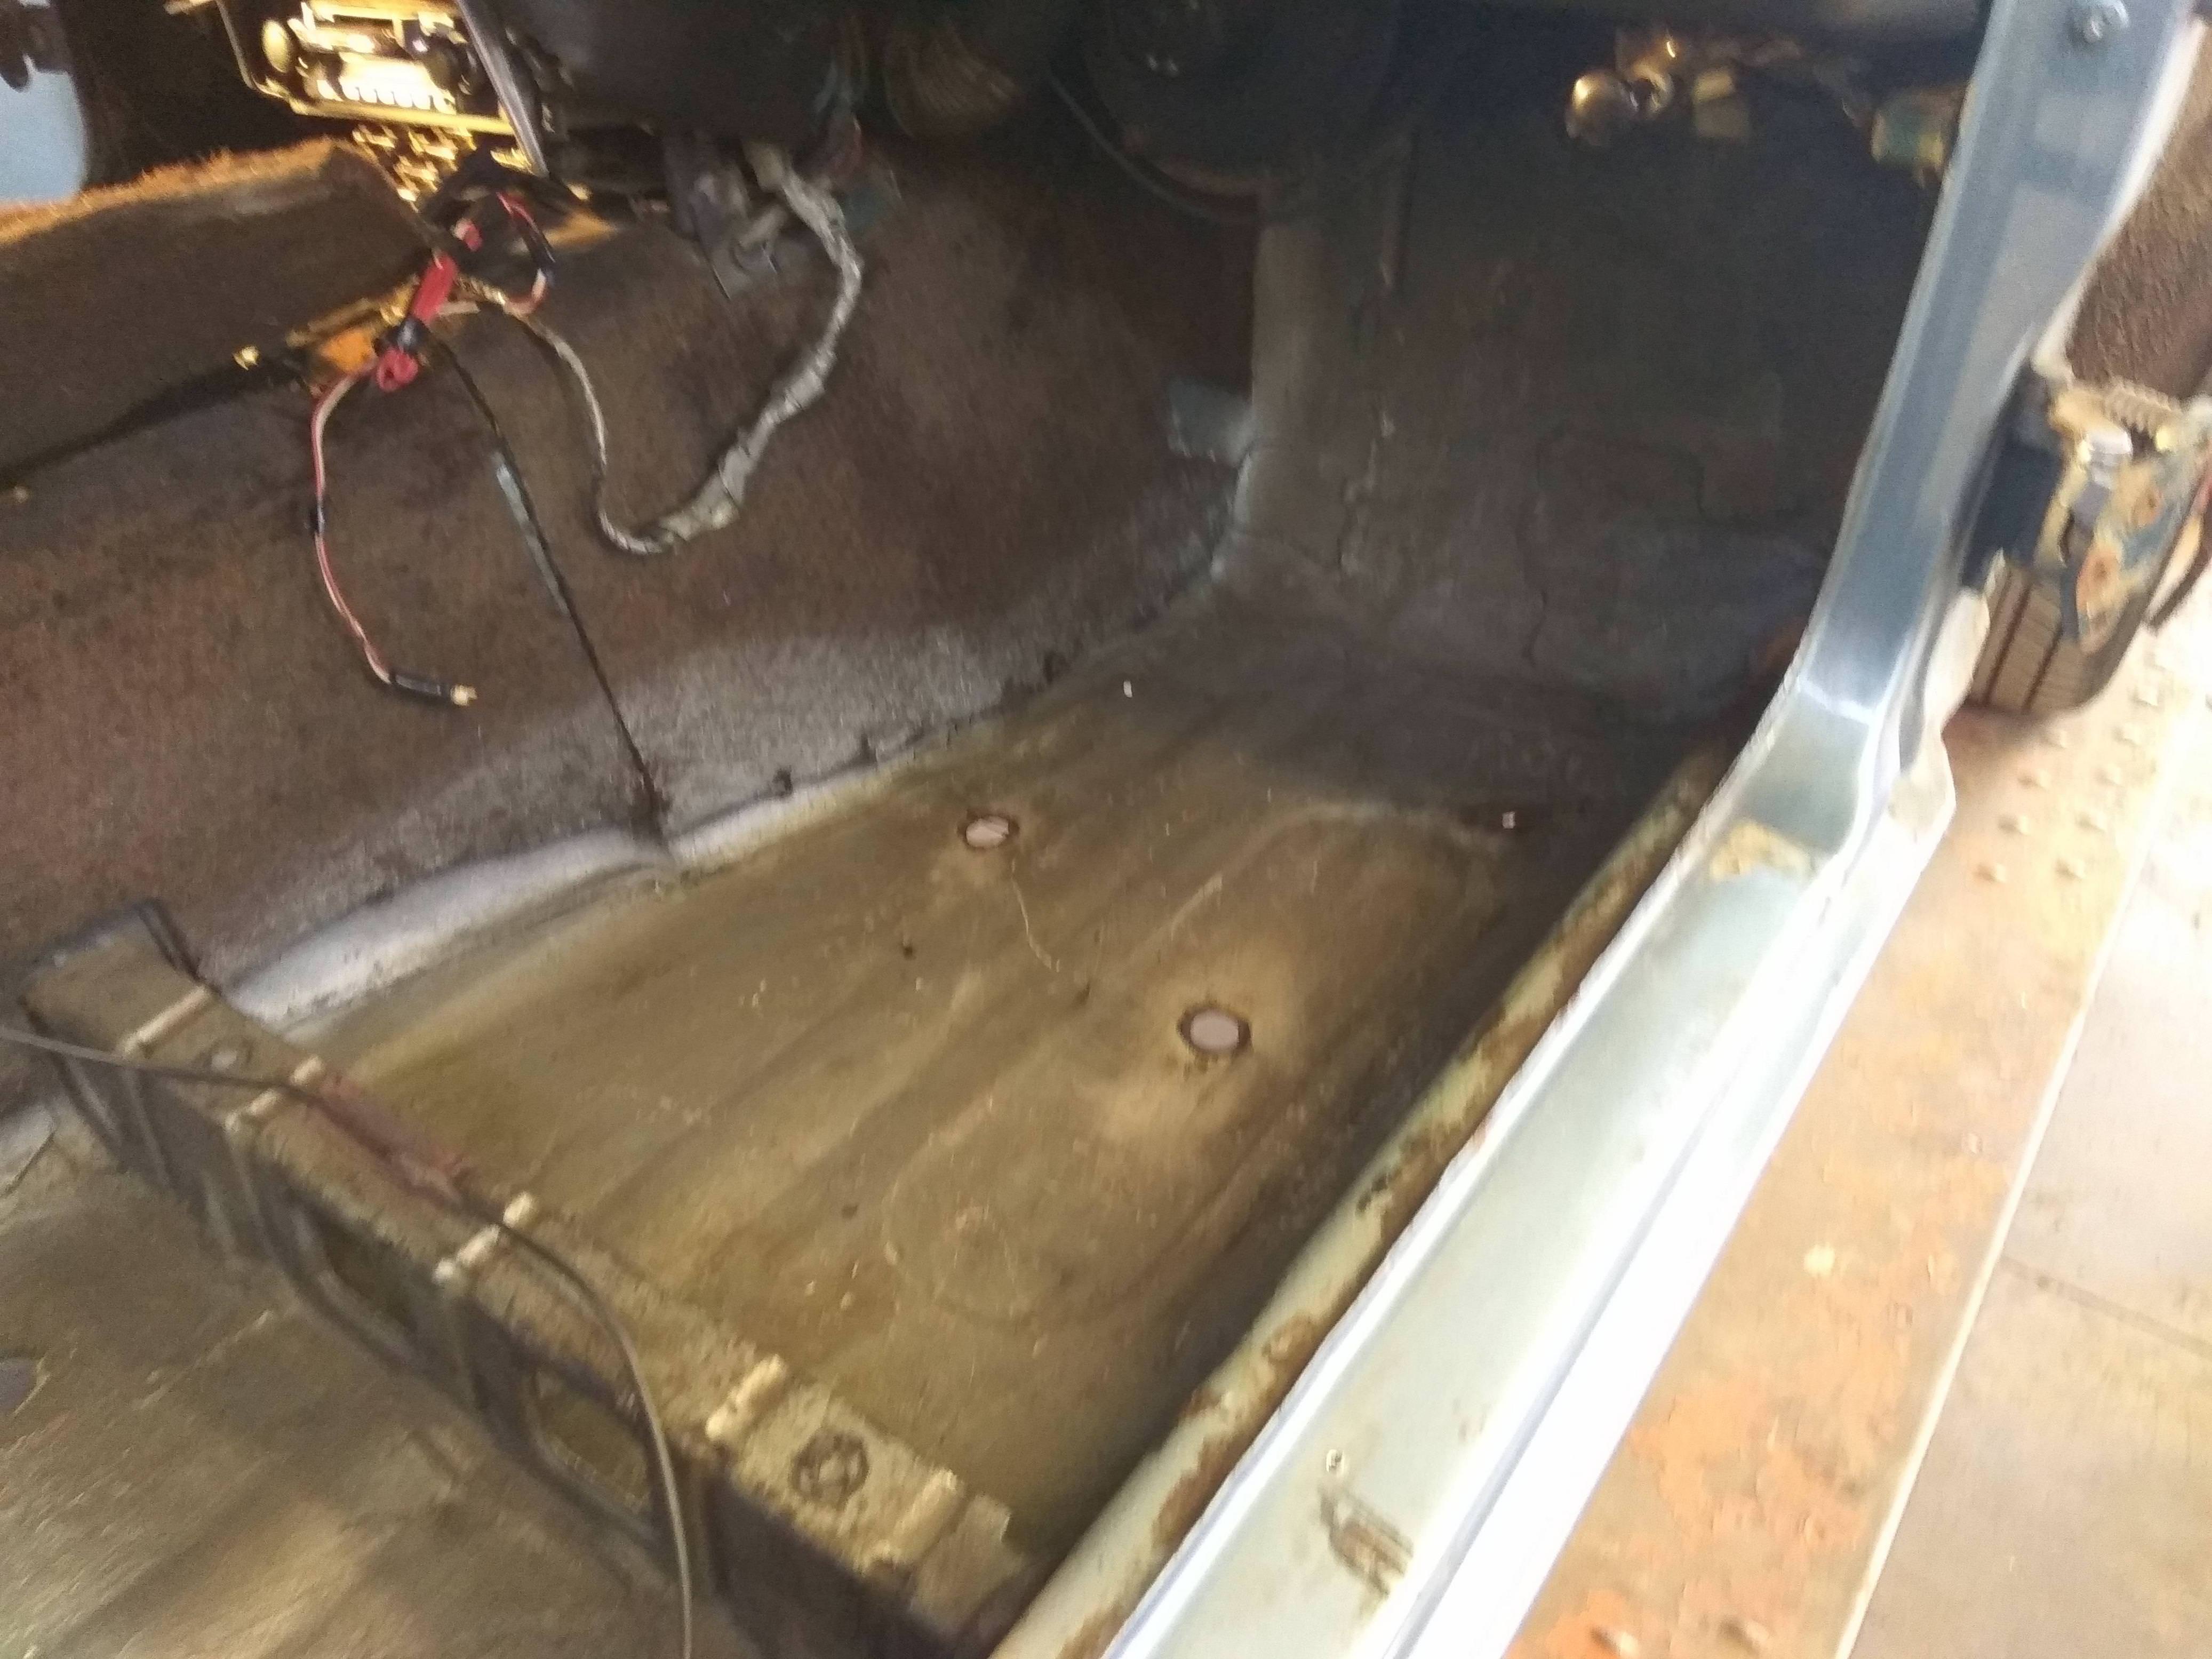
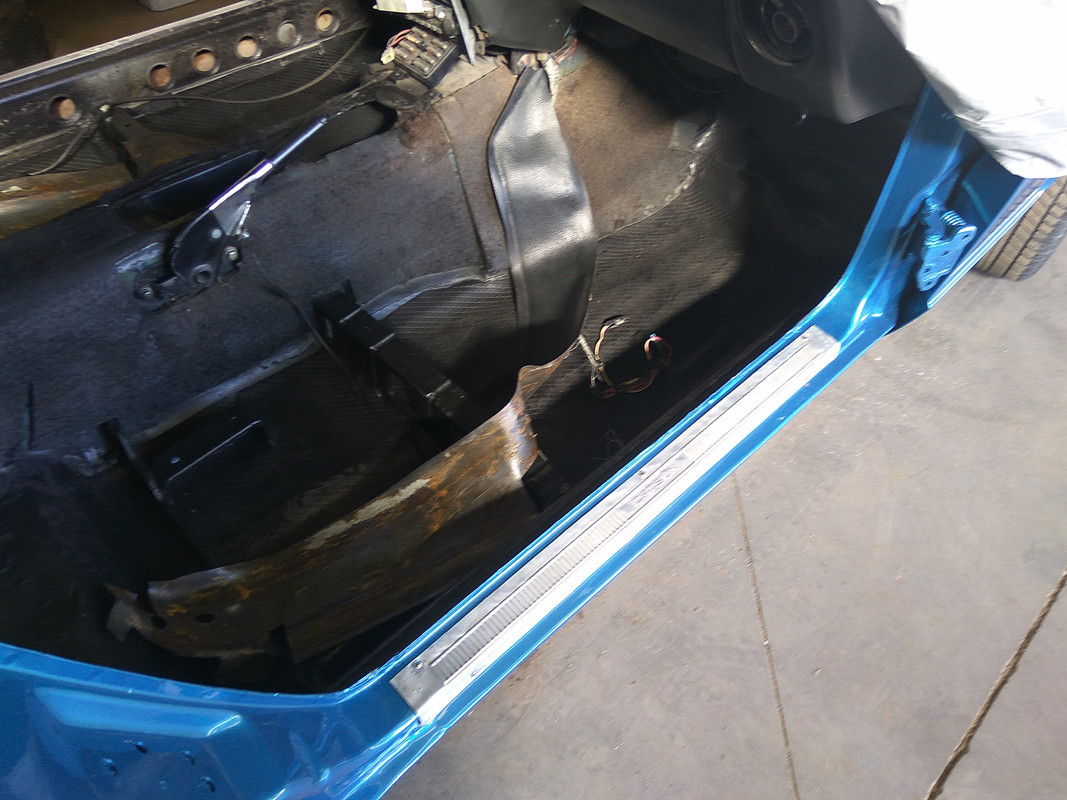
Passenger side floor…the usual…46 years and some bad treatment…the reason…the jack tool…but Mr.vitorino said that’s a part to be redone…


Drivers side floor…the usual again…but this one has no concerns…ist’s 75% good…a little intevention. By the end we will apply some Soundproofing board to avoid rust and noise.


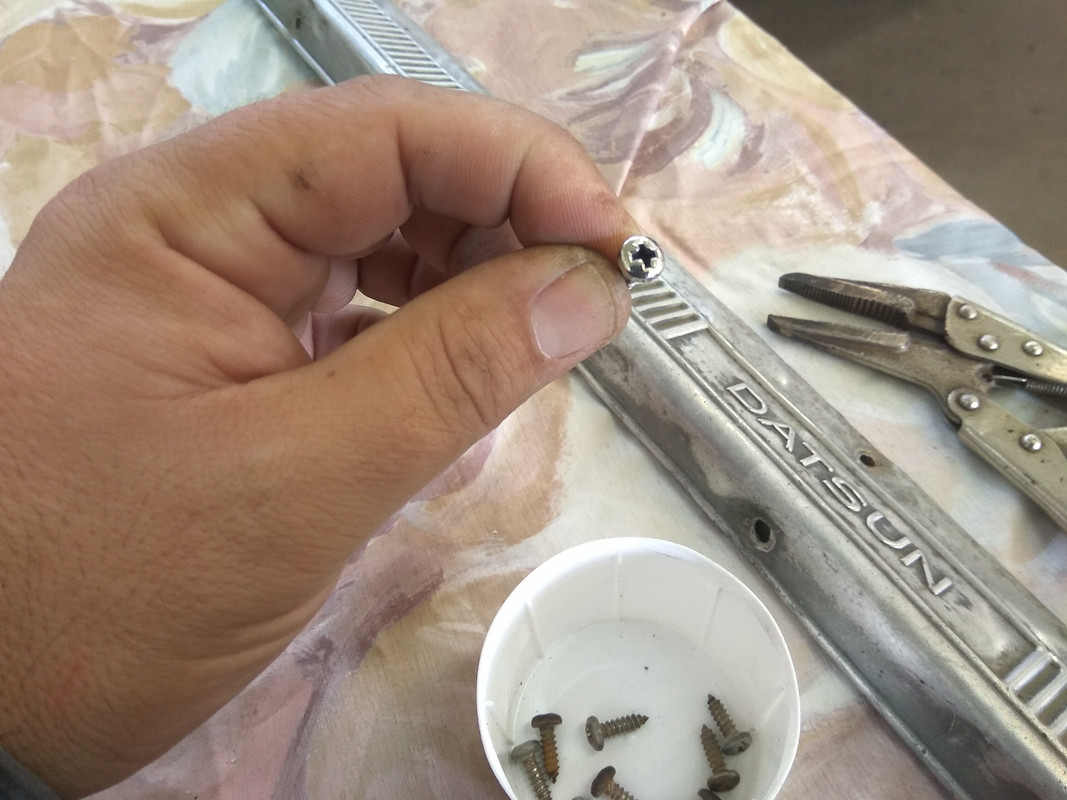
My helper keeping all the bolts in place!

Under the plate no surprises!!!!


Datsun logo temporarily off…

In my opinion this s the exact moment to restore the car…it has some details that need intervention, and now that he has no rust holes and unrestorable parts the process will be much easier.
Hope you like it…next week some more news!!!
Regards
M�rio
Replacemente tyre floor…not bad…no rust…
The seats will be r�done, but I will only take care of the parts that are completely off…
No plastic cover…but I have 2 here…offered by a mate!!!
Passenger side floor…the usual…46 years and some bad treatment…the reason…the jack tool…but Mr.vitorino said that’s a part to be redone…
Drivers side floor…the usual again…but this one has no concerns…ist’s 75% good…a little intevention. By the end we will apply some Soundproofing board to avoid rust and noise.
My helper keeping all the bolts in place!
Under the plate no surprises!!!!
Datsun logo temporarily off…
In my opinion this s the exact moment to restore the car…it has some details that need intervention, and now that he has no rust holes and unrestorable parts the process will be much easier.
Hope you like it…next week some more news!!!
Regards
M�rio
10-01-2017, 09:18 AM
#4
Registered User
Thread Starter
Join Date: Jul 2017
Posts: 42
Hi again.
On the last two weeks Mr.Vitorino worked on other projects and on the last days he worked in the Z.
He started with the doors, and at first they seem in pretty nice shape...but then he found some clues on bad reparations years ago. With this he decided to separate the door panel from the structure and he was right, they need some intervetion. Tons of rust and event the protetion layer was completely cracked.
This week I hope he finishes at least one door, because on Thursday I'm going to the shop.
Meanwhile, the electric system was rebuilt and is now tunned for 1971, I'm talking about the rear plate lights.
Let's see the pictures,,,and like I said...this was the correct moment for this Z...


The interior as Mr. Vitorino suspected...passenger door.


Drivers door with the same aspect...


On the last two weeks Mr.Vitorino worked on other projects and on the last days he worked in the Z.
He started with the doors, and at first they seem in pretty nice shape...but then he found some clues on bad reparations years ago. With this he decided to separate the door panel from the structure and he was right, they need some intervetion. Tons of rust and event the protetion layer was completely cracked.
This week I hope he finishes at least one door, because on Thursday I'm going to the shop.
Meanwhile, the electric system was rebuilt and is now tunned for 1971, I'm talking about the rear plate lights.
Let's see the pictures,,,and like I said...this was the correct moment for this Z...
The interior as Mr. Vitorino suspected...passenger door.
Drivers door with the same aspect...
10-01-2017, 09:19 AM
#5
Registered User
Thread Starter
Join Date: Jul 2017
Posts: 42
And based in this suspections we have decided to make a full reparation of the doors. Next photos are from the passenger door. Door panel and interior panel removed.
I believe these were the worst parts of this car, and I'm aware of the rust on the front and rear arches and I think I'll be lucky.


Hope you are enjoying this resto...next week some more news!
Regards
M�rio
I believe these were the worst parts of this car, and I'm aware of the rust on the front and rear arches and I think I'll be lucky.
Hope you are enjoying this resto...next week some more news!
Regards
M�rio
10-16-2017, 02:21 PM
#6
Registered User
Thread Starter
Join Date: Jul 2017
Posts: 42
Hi again!
Here I am with some fresh news and photos.
The metal work is on a great speed and this week the doors were finished.
This week I think the rear and cowl grill will be finished too.
The doors gave us some trouble and we had to send them to sandblast to clean the metal, not the panel, but the interior. By the end a new panel was used. The drivers door was in bad shape, worst than the passenger side.
On Saturday we remove the symbols, rear spoiler and rear lights. Only the bumper remain.
I hope the rear and front are better than the doors…
Let’s see the photos!
Doors and interior separated…


Doors ready. The green painting is a spray to protect the metal for the rust.


Here I am with some fresh news and photos.
The metal work is on a great speed and this week the doors were finished.
This week I think the rear and cowl grill will be finished too.
The doors gave us some trouble and we had to send them to sandblast to clean the metal, not the panel, but the interior. By the end a new panel was used. The drivers door was in bad shape, worst than the passenger side.
On Saturday we remove the symbols, rear spoiler and rear lights. Only the bumper remain.
I hope the rear and front are better than the doors…
Let’s see the photos!
Doors and interior separated…
Doors ready. The green painting is a spray to protect the metal for the rust.
10-16-2017, 02:21 PM
#7
Registered User
Thread Starter
Join Date: Jul 2017
Posts: 42
Mr.Vitorino looking for some rust…ahahahah

This was a corner of one door…tons of rust…


Under the cowl grill the scenery is good. I was a little bit worried about it…true..but Mr.Vitorino said that’s ok…the surprise is next…


Under the grill…


This was a corner of one door…tons of rust…
Under the cowl grill the scenery is good. I was a little bit worried about it…true..but Mr.Vitorino said that’s ok…the surprise is next…
Under the grill…
10-16-2017, 02:22 PM
#8
Registered User
Thread Starter
Join Date: Jul 2017
Posts: 42
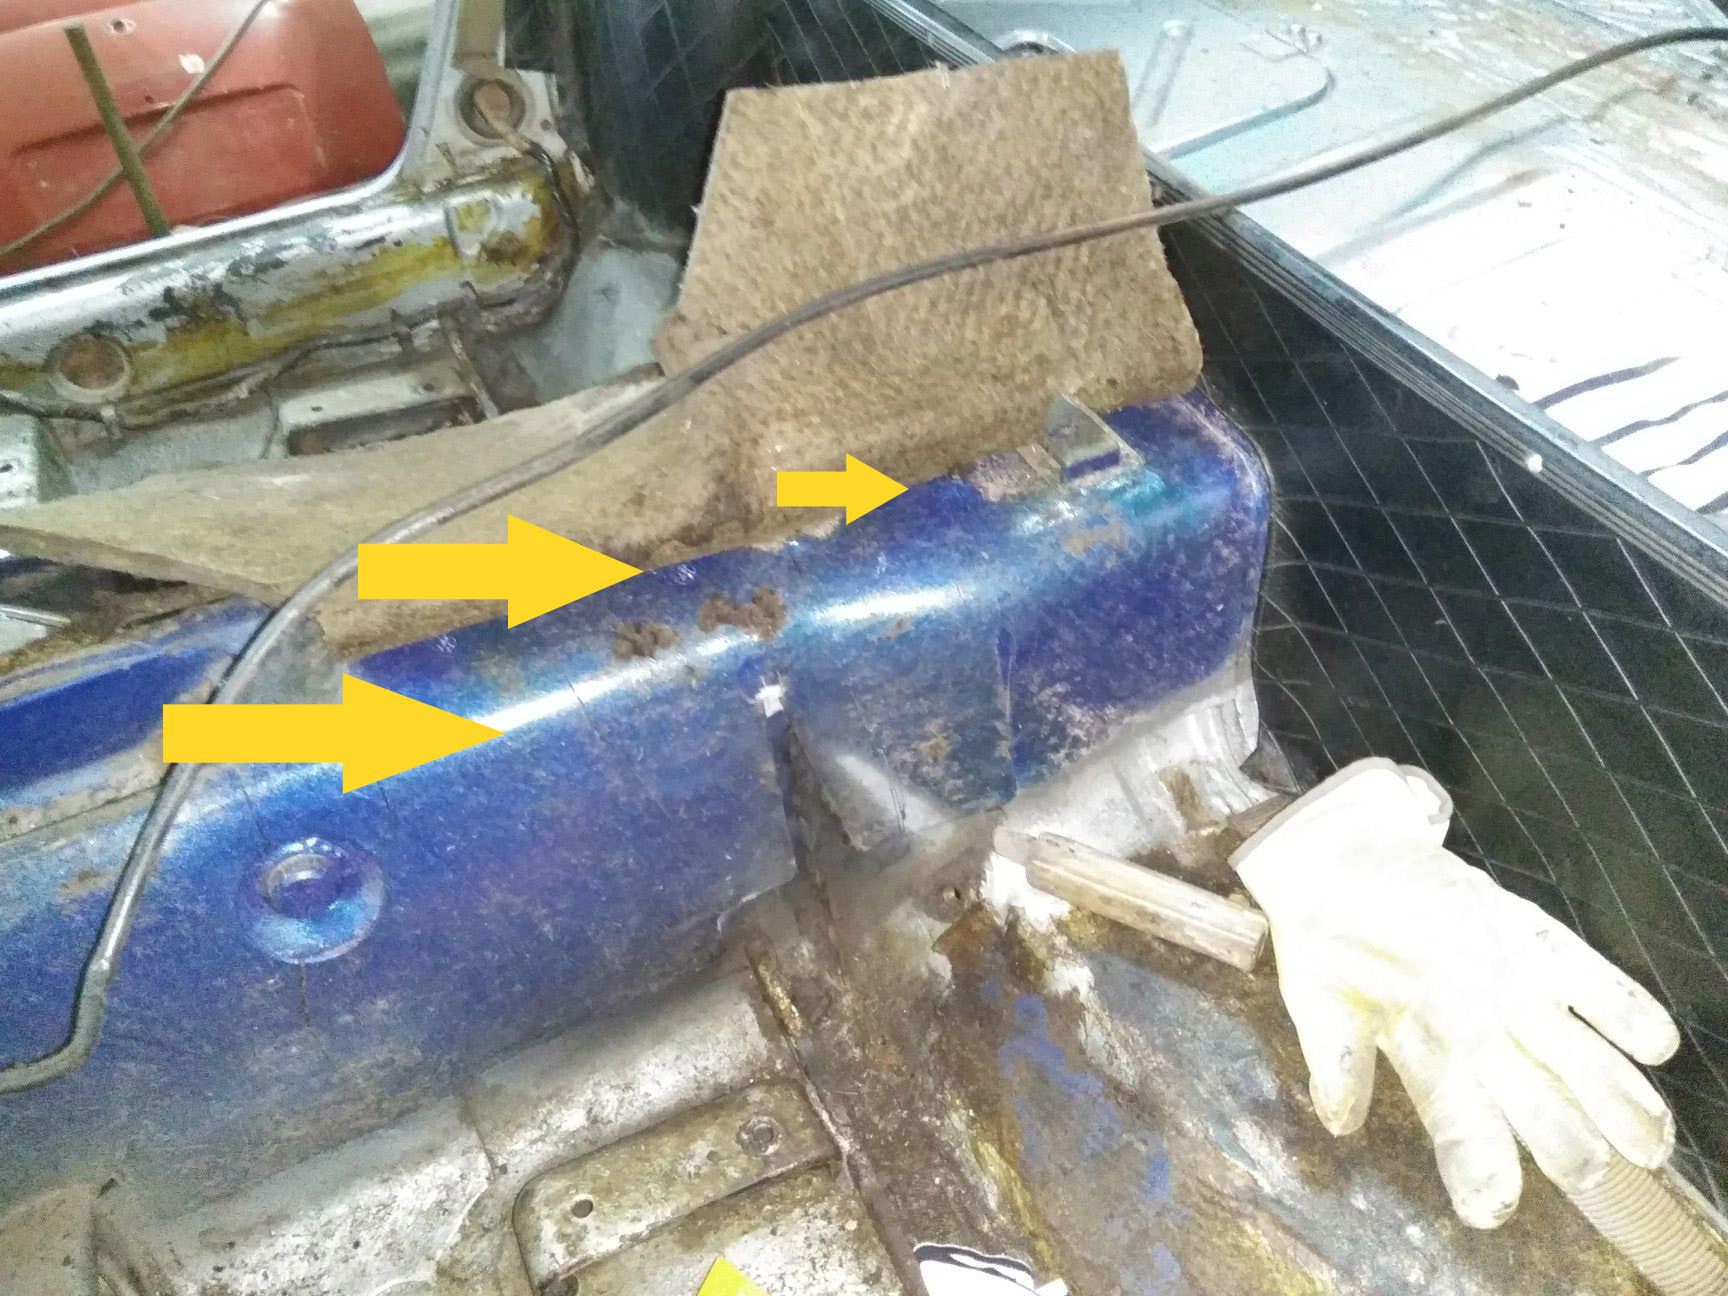
The grill had to high pointson both sides, like a screw, but…it wasn’t what we thought…
Somebody before had covered the rust on the panel with iron mass and hammered the rust point down. With time the mass began to crack…and the result was this…


Mr.Vitorino immediatly started to work and found tons of rust!


All this marerial, like a spounge, hide the rust!

Hi again!
Here I am with some fresh news and photos.
The metal work is on a great speed and this week the doors were finished.
This week I think the rear and cowl grill will be finished too.
The doors gave us some trouble and we had to send them to sandblast to clean the metal, not the panel, but the interior. By the end a new panel was used. The drivers door was in bad shape, worst than the passenger side.
On Saturday we remove the symbols, rear spoiler and rear lights. Only the bumper remain.
I hope the rear and front are better than the doors…
Let’s see the photos!
Doors and interior separated…
Doors ready. The green painting is a spray to protect the metal for the rust.
Somebody before had covered the rust on the panel with iron mass and hammered the rust point down. With time the mass began to crack…and the result was this…
Mr.Vitorino immediatly started to work and found tons of rust!
All this marerial, like a spounge, hide the rust!
Hi again!
Here I am with some fresh news and photos.
The metal work is on a great speed and this week the doors were finished.
This week I think the rear and cowl grill will be finished too.
The doors gave us some trouble and we had to send them to sandblast to clean the metal, not the panel, but the interior. By the end a new panel was used. The drivers door was in bad shape, worst than the passenger side.
On Saturday we remove the symbols, rear spoiler and rear lights. Only the bumper remain.
I hope the rear and front are better than the doors…
Let’s see the photos!
Doors and interior separated…
Doors ready. The green painting is a spray to protect the metal for the rust.
10-16-2017, 02:25 PM
#9
Registered User
Thread Starter
Join Date: Jul 2017
Posts: 42
The grill had to high pointson both sides, like a screw, but…it wasn’t what we thought…
Somebody before had covered the rust on the panel with iron mass and hammered the rust point down. With time the mass began to crack…and the result was this…
Mr.Vitorino immediatly started to work and found tons of rust!
All this marerial, like a spounge, hide the rust!

Again the original blue!


The spoiler removed and a cracked srew…


The bumper is not for my serie, I’ll remove it…only the enter is needed!

I’ll use charcoal colour to paint the structures…

Somebody before had covered the rust on the panel with iron mass and hammered the rust point down. With time the mass began to crack…and the result was this…
Mr.Vitorino immediatly started to work and found tons of rust!
All this marerial, like a spounge, hide the rust!
Again the original blue!
The spoiler removed and a cracked srew…
The bumper is not for my serie, I’ll remove it…only the enter is needed!
I’ll use charcoal colour to paint the structures…
10-16-2017, 02:26 PM
#10
Registered User
Thread Starter
Join Date: Jul 2017
Posts: 42
Again the original blue and the rear door in excellent shape!!! No intervention needed!


My homework is now recover the symbols and clean some parts.


Mr. Vitorino trying to get the rear lights…not an easy task!

Hope you enjoyed the photos.
Next weekend I’ll try to get some more!
Regards
M�rio
My homework is now recover the symbols and clean some parts.
Mr. Vitorino trying to get the rear lights…not an easy task!
Hope you enjoyed the photos.
Next weekend I’ll try to get some more!
Regards
M�rio
11-03-2017, 12:26 PM
#11
Registered User
Thread Starter
Join Date: Jul 2017
Posts: 42
Hi folks,
I’ve got some more news!
Yesterday I’ve been in Mr.Vitorino garage, and I found my Z with another 2 parts finished. The cowl rill and the rear.
This means that soon he will be repairing the floors and front, I believe in one month for the metal work and then painting.
Soon I’ll take out the engine and gear-box to make the treatment and finish the metal work.
I’ve already started to separate some parts for the chrome and some to recover at home.
The cowl grill had to be redone in the extremities but now the part is new. And the rear was our big problem!!! The rear lights have never been removed and all the bolts were in bad shape, some we had to waste because were corroded.
Let’s see the photos for you to see all the advances!
This was redone because of the rust on the rear. The worst part was above the lights.


This part was severe…but now r�done!


The cowl grill is redone now…


And again the original blue in two separated parts of the car.


My Homework…

Hope you have enjoyed the photos and the work until now!
Next week more news!
Regards
M�rio
I’ve got some more news!
Yesterday I’ve been in Mr.Vitorino garage, and I found my Z with another 2 parts finished. The cowl rill and the rear.
This means that soon he will be repairing the floors and front, I believe in one month for the metal work and then painting.
Soon I’ll take out the engine and gear-box to make the treatment and finish the metal work.
I’ve already started to separate some parts for the chrome and some to recover at home.
The cowl grill had to be redone in the extremities but now the part is new. And the rear was our big problem!!! The rear lights have never been removed and all the bolts were in bad shape, some we had to waste because were corroded.
Let’s see the photos for you to see all the advances!
This was redone because of the rust on the rear. The worst part was above the lights.
This part was severe…but now r�done!
The cowl grill is redone now…
And again the original blue in two separated parts of the car.
My Homework…
Hope you have enjoyed the photos and the work until now!
Next week more news!
Regards
M�rio
 01-27-2018, 06:00 PM
#13
Registered User
Thread Starter
Join Date: Jul 2017
Posts: 42
Hi everybody,
After one month break, the works have returned.
Today we have been dismantling the sidewings, grill, lights, bumpers and soo n. All went well, but srews are evil…I hate them a lot…some broke and were in hard position to took.
Until now I was on the Z book searching just for the srews. I want them new!!!1
I thought the Z was na easy car do disassemble, but it isn’t!!! Too many tricks.
This week the works go to the sides of the car as you’ll see on the pictures!
Hope you still like them!
A ViZit…eheheh

Hood, bumper and grill…no difficulties…

The grill


Then surprises…
The original paint showed up again…

The super horns…I don’t even know what model they belog…not Datsun for shure!

And it looked like this…
Side wings and lights..major problems with the screws…horrible!!! All went rust and some broke!!!
The surprise…


After one month break, the works have returned.
Today we have been dismantling the sidewings, grill, lights, bumpers and soo n. All went well, but srews are evil…I hate them a lot…some broke and were in hard position to took.
Until now I was on the Z book searching just for the srews. I want them new!!!1
I thought the Z was na easy car do disassemble, but it isn’t!!! Too many tricks.
This week the works go to the sides of the car as you’ll see on the pictures!
Hope you still like them!
A ViZit…eheheh
Hood, bumper and grill…no difficulties…
The grill
Then surprises…
The original paint showed up again…
The super horns…I don’t even know what model they belog…not Datsun for shure!
And it looked like this…
Side wings and lights..major problems with the screws…horrible!!! All went rust and some broke!!!
The surprise…
01-27-2018, 06:00 PM
#14
Registered User
Thread Starter
Join Date: Jul 2017
Posts: 42
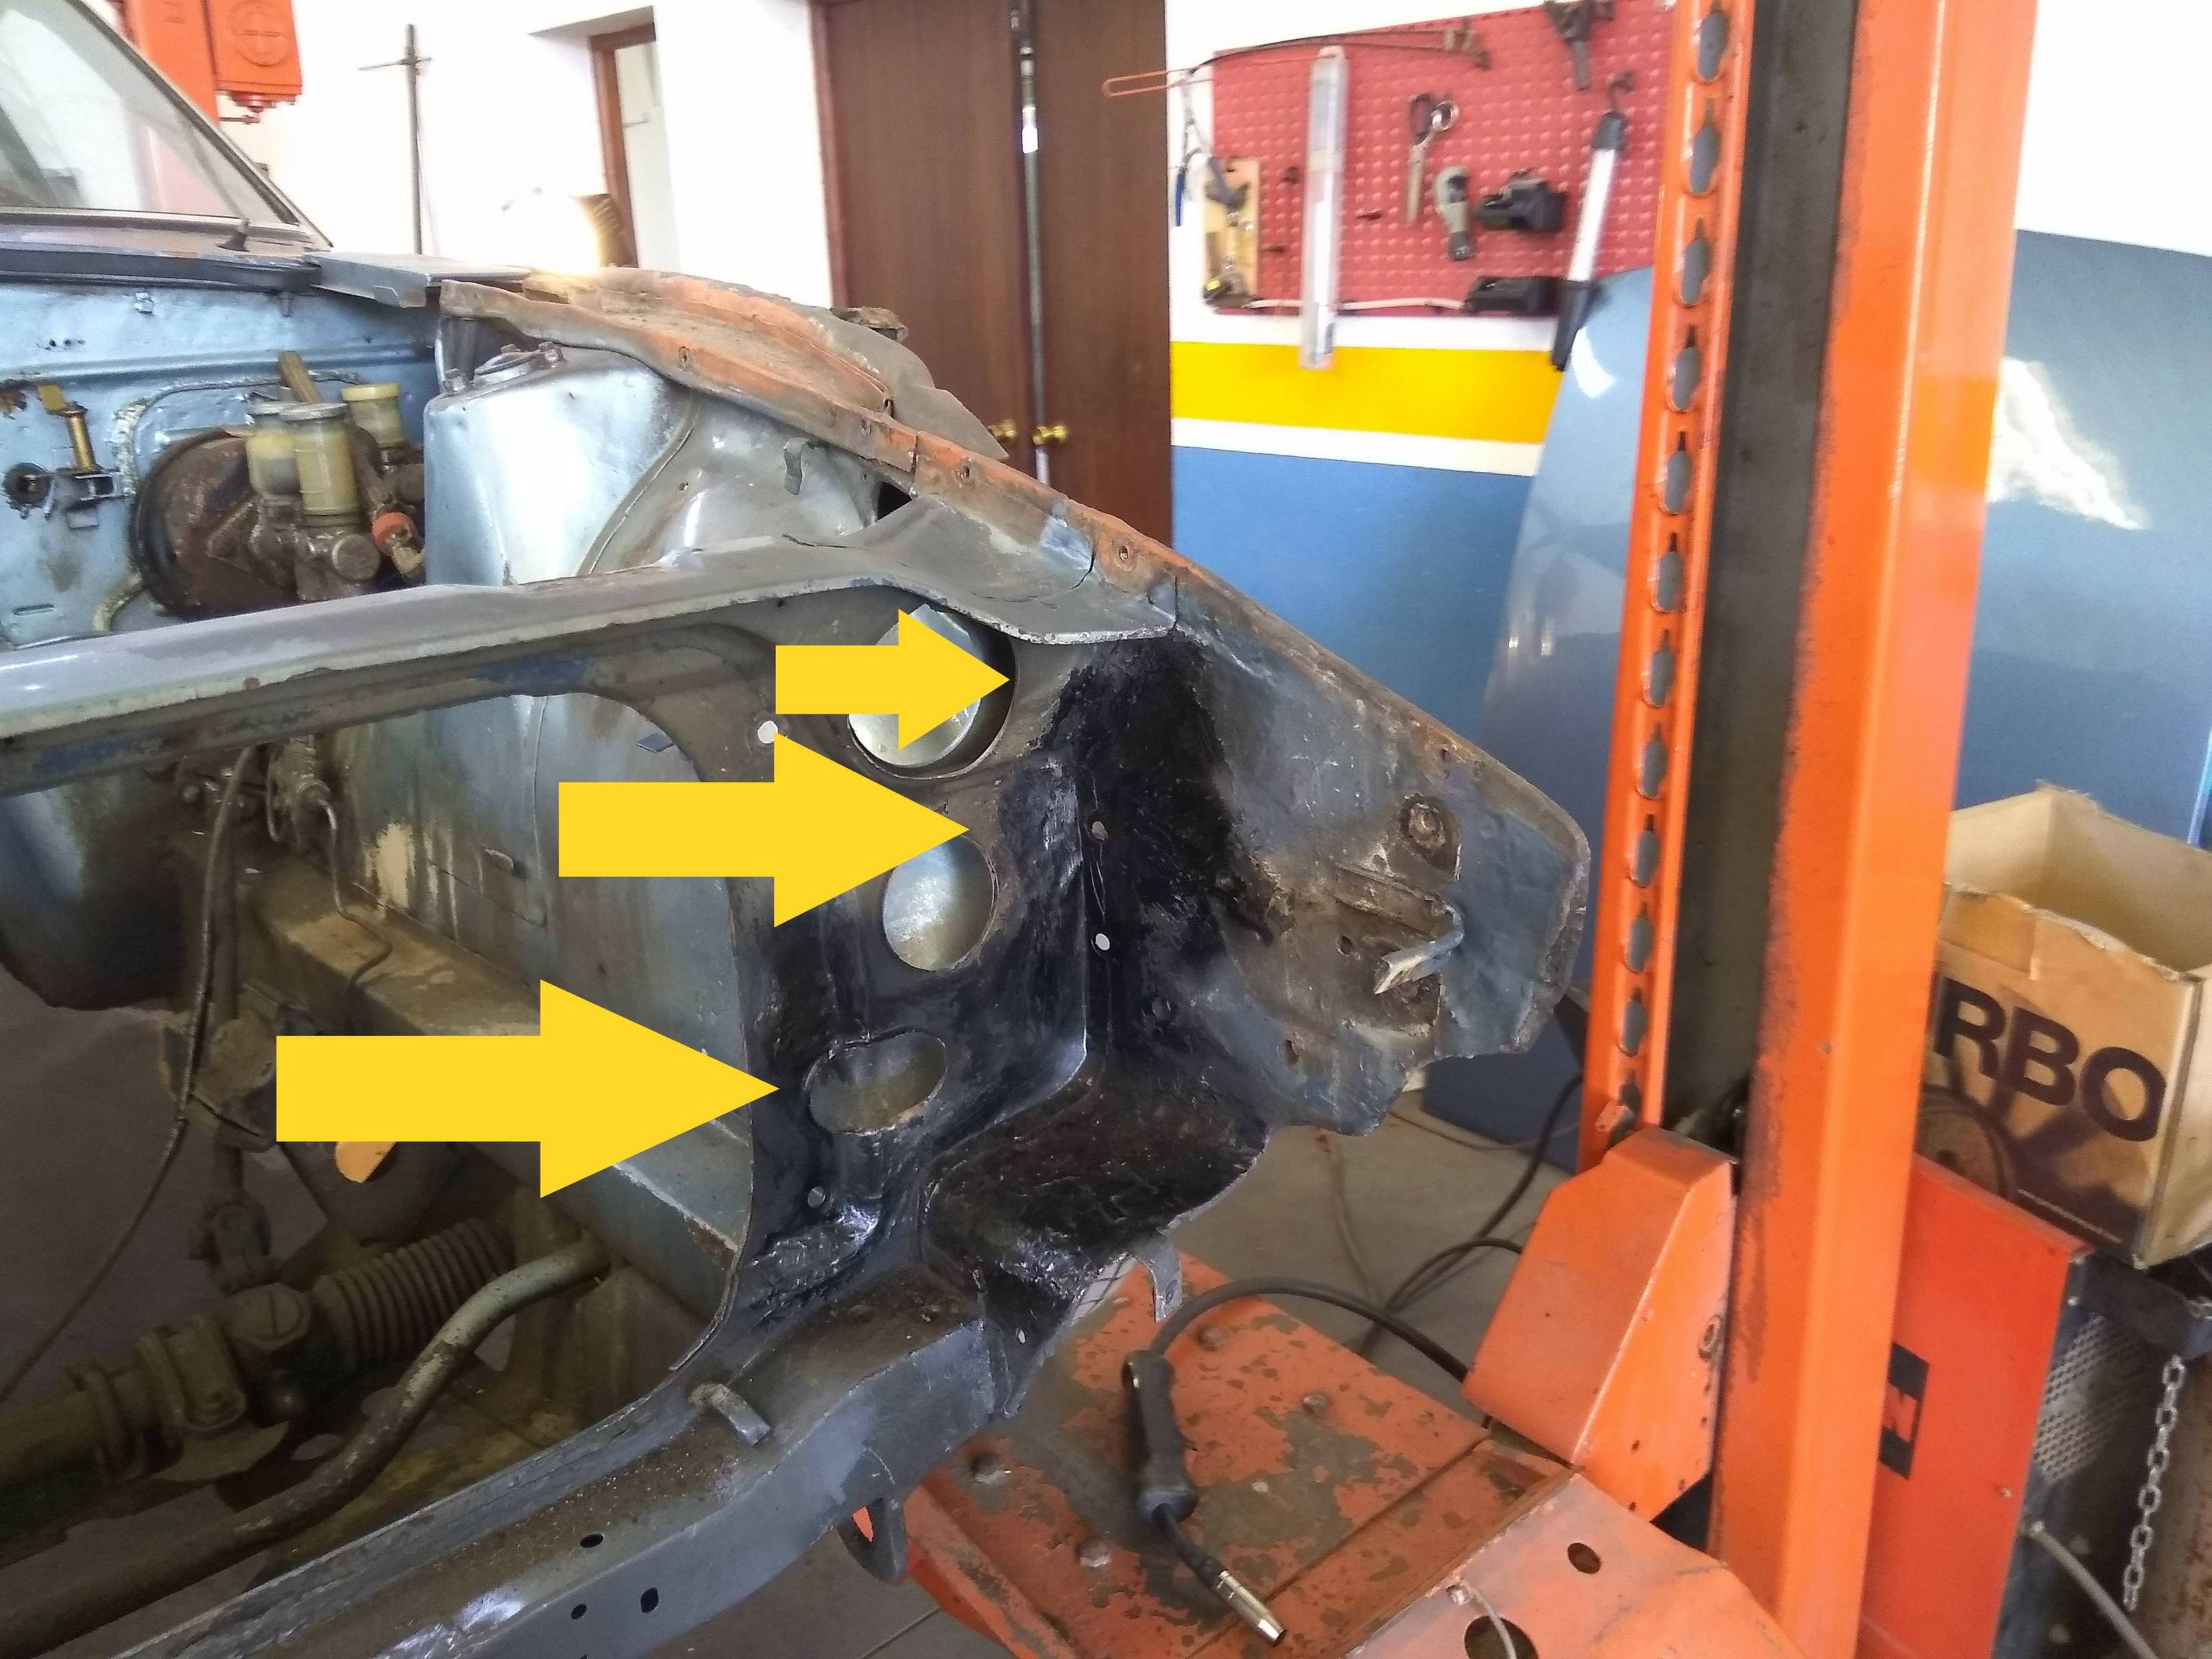
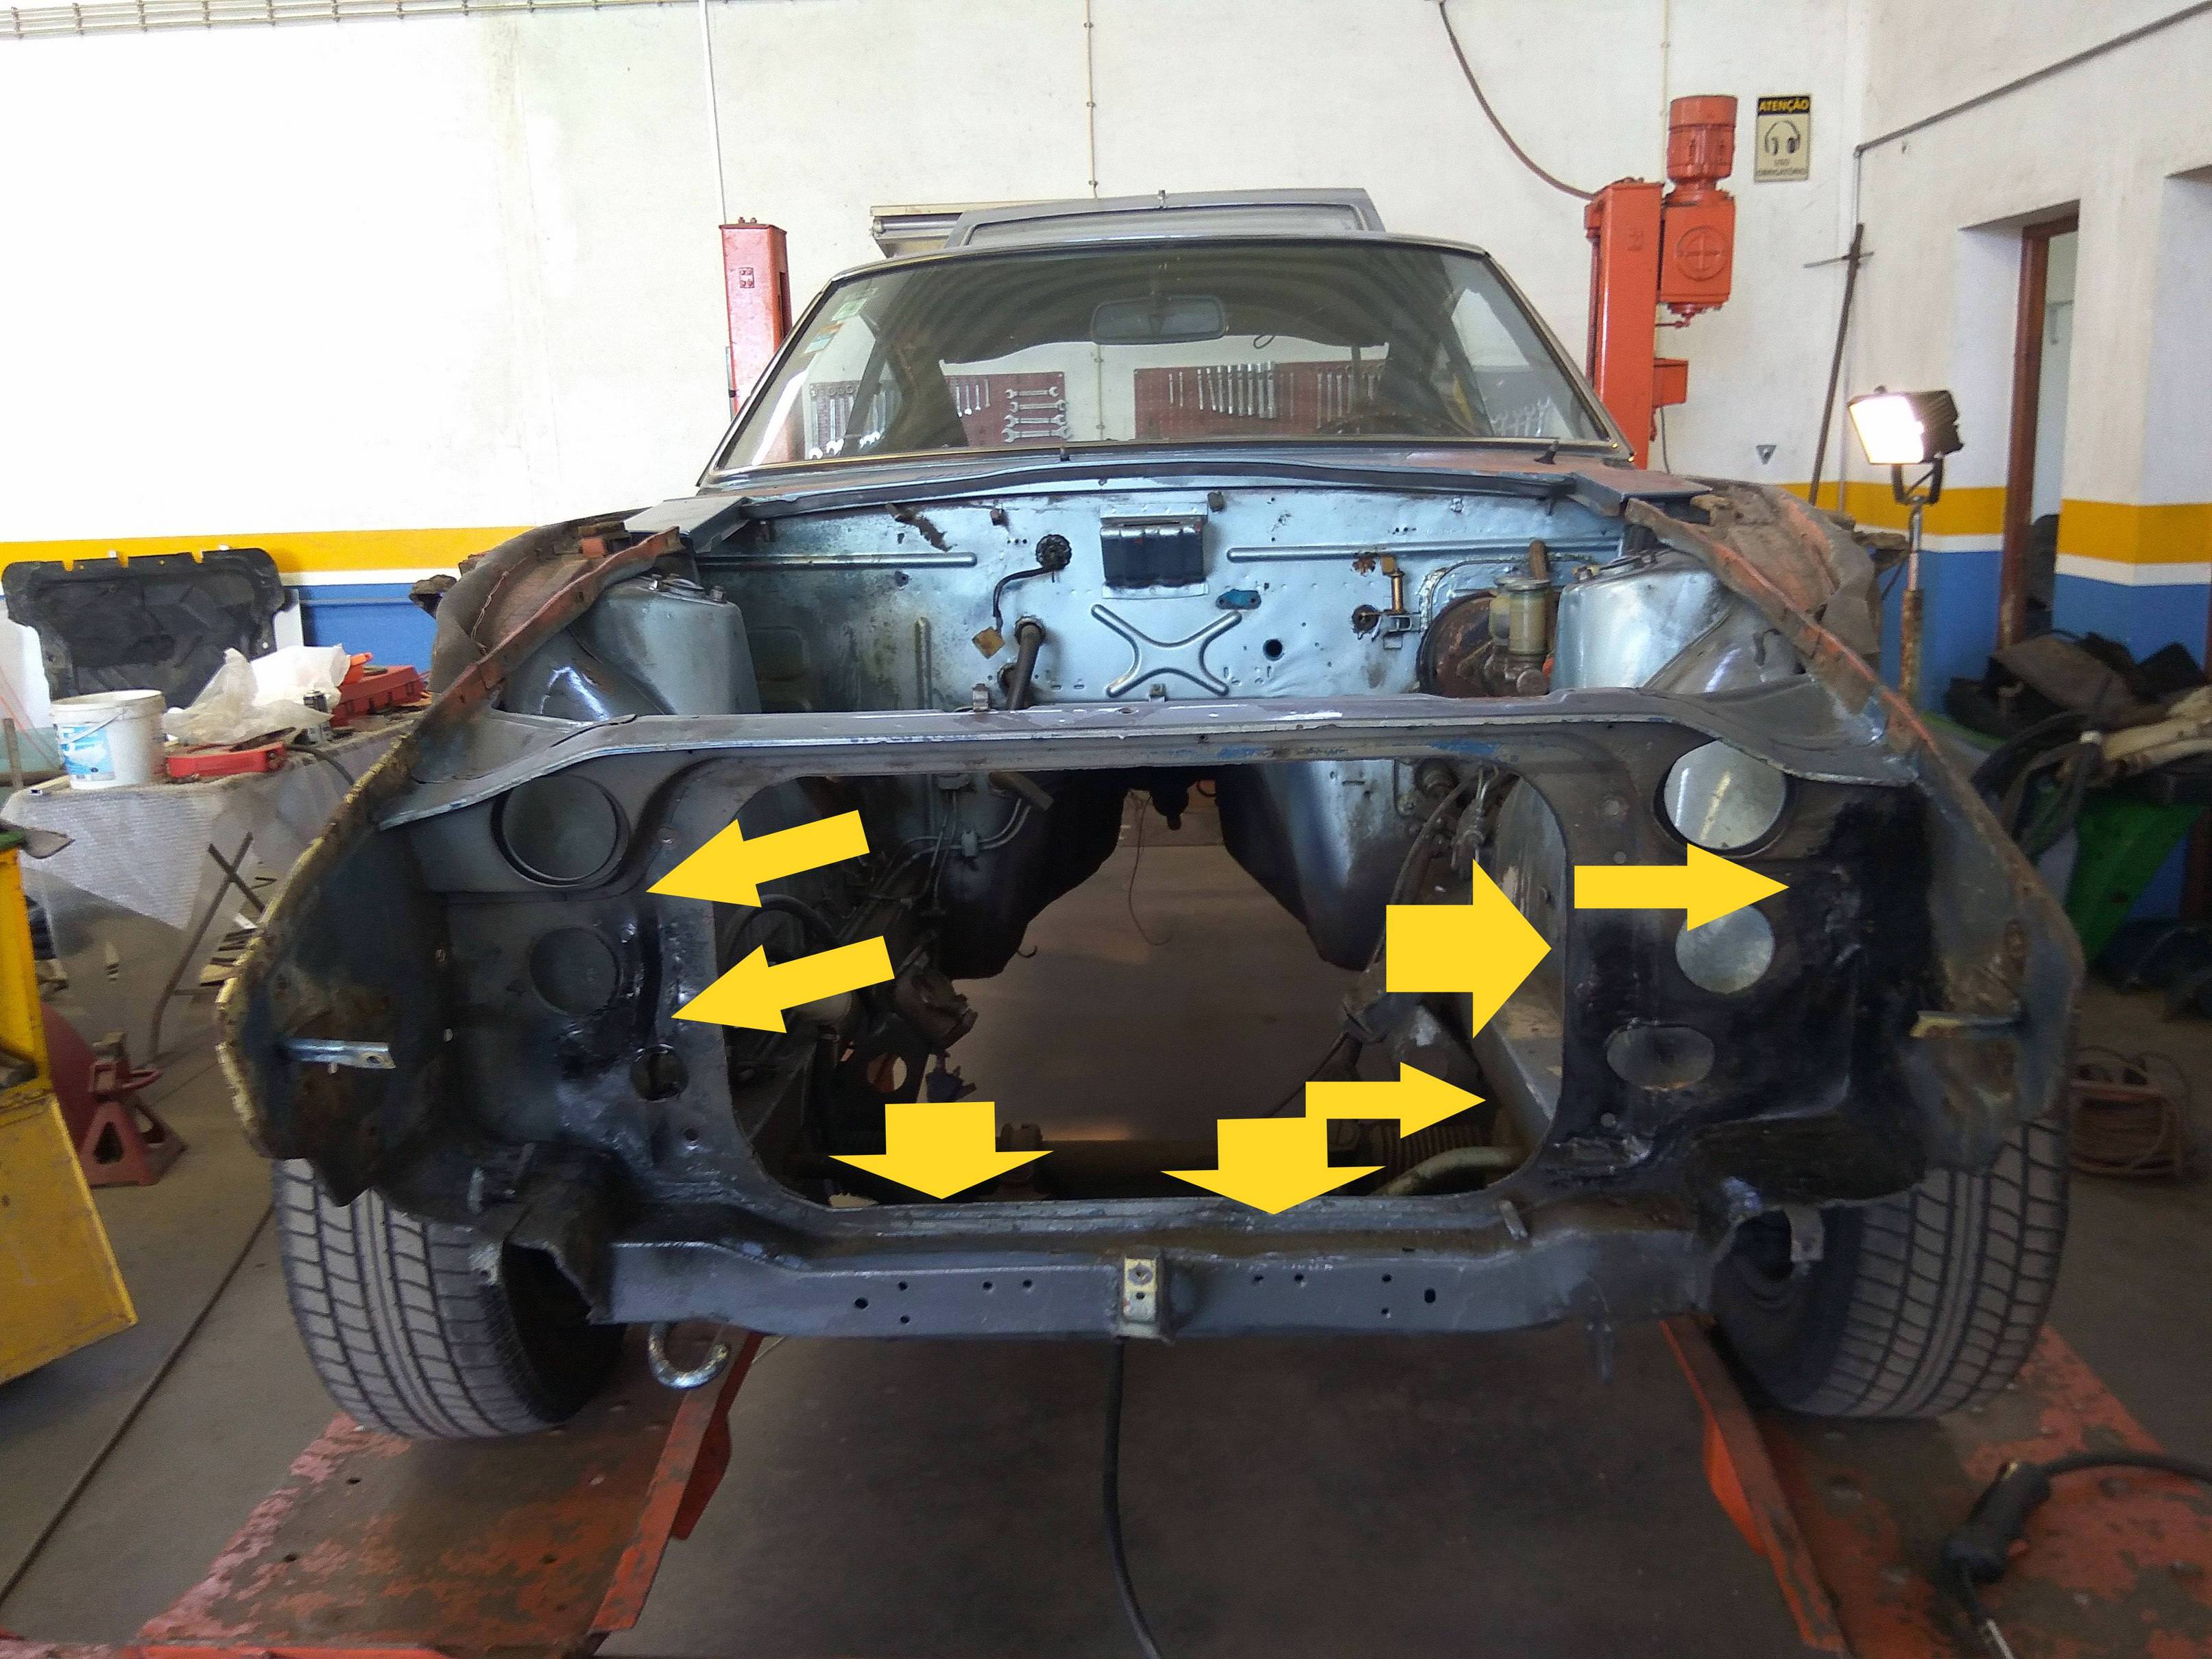
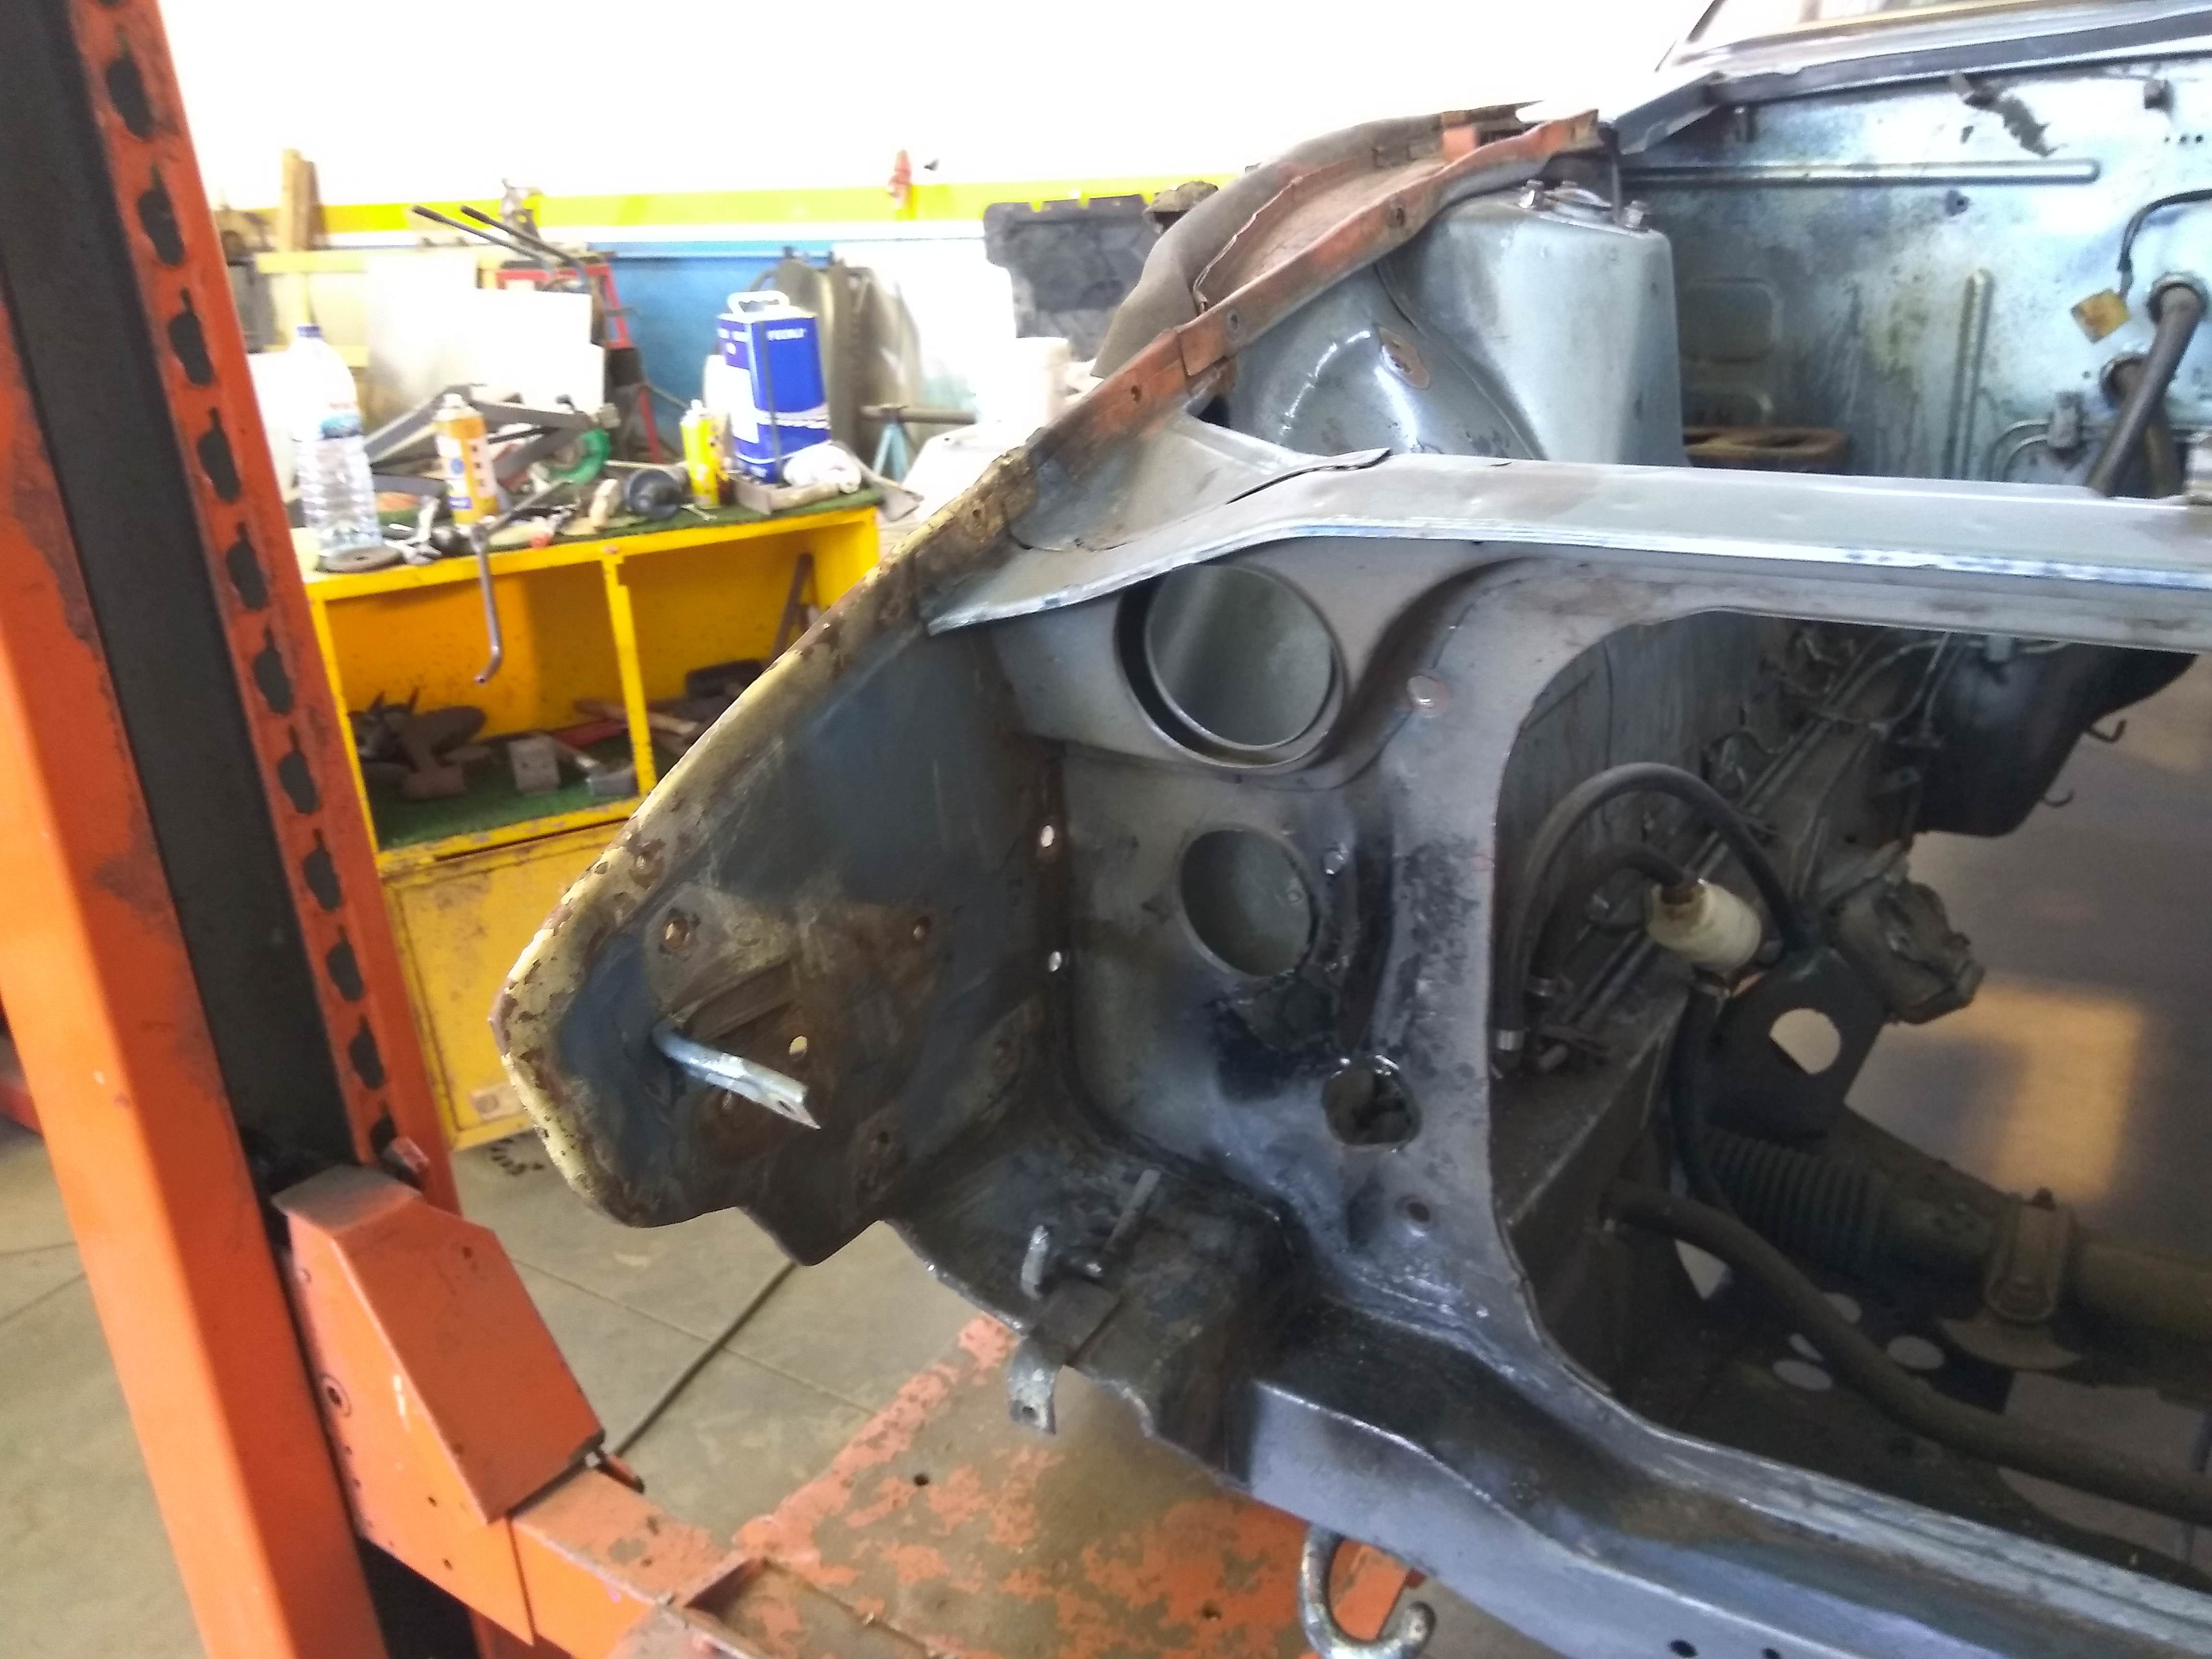
What a big hole…


The battery corner is rusty too…

All stripped…

Right side in good shape…needs a cleaning…but srews are evil…more than an hour…


Superficial rust…some luck here!!!


Down the door is possible the worst part of the right side.

Some appointments to do…nothing special!


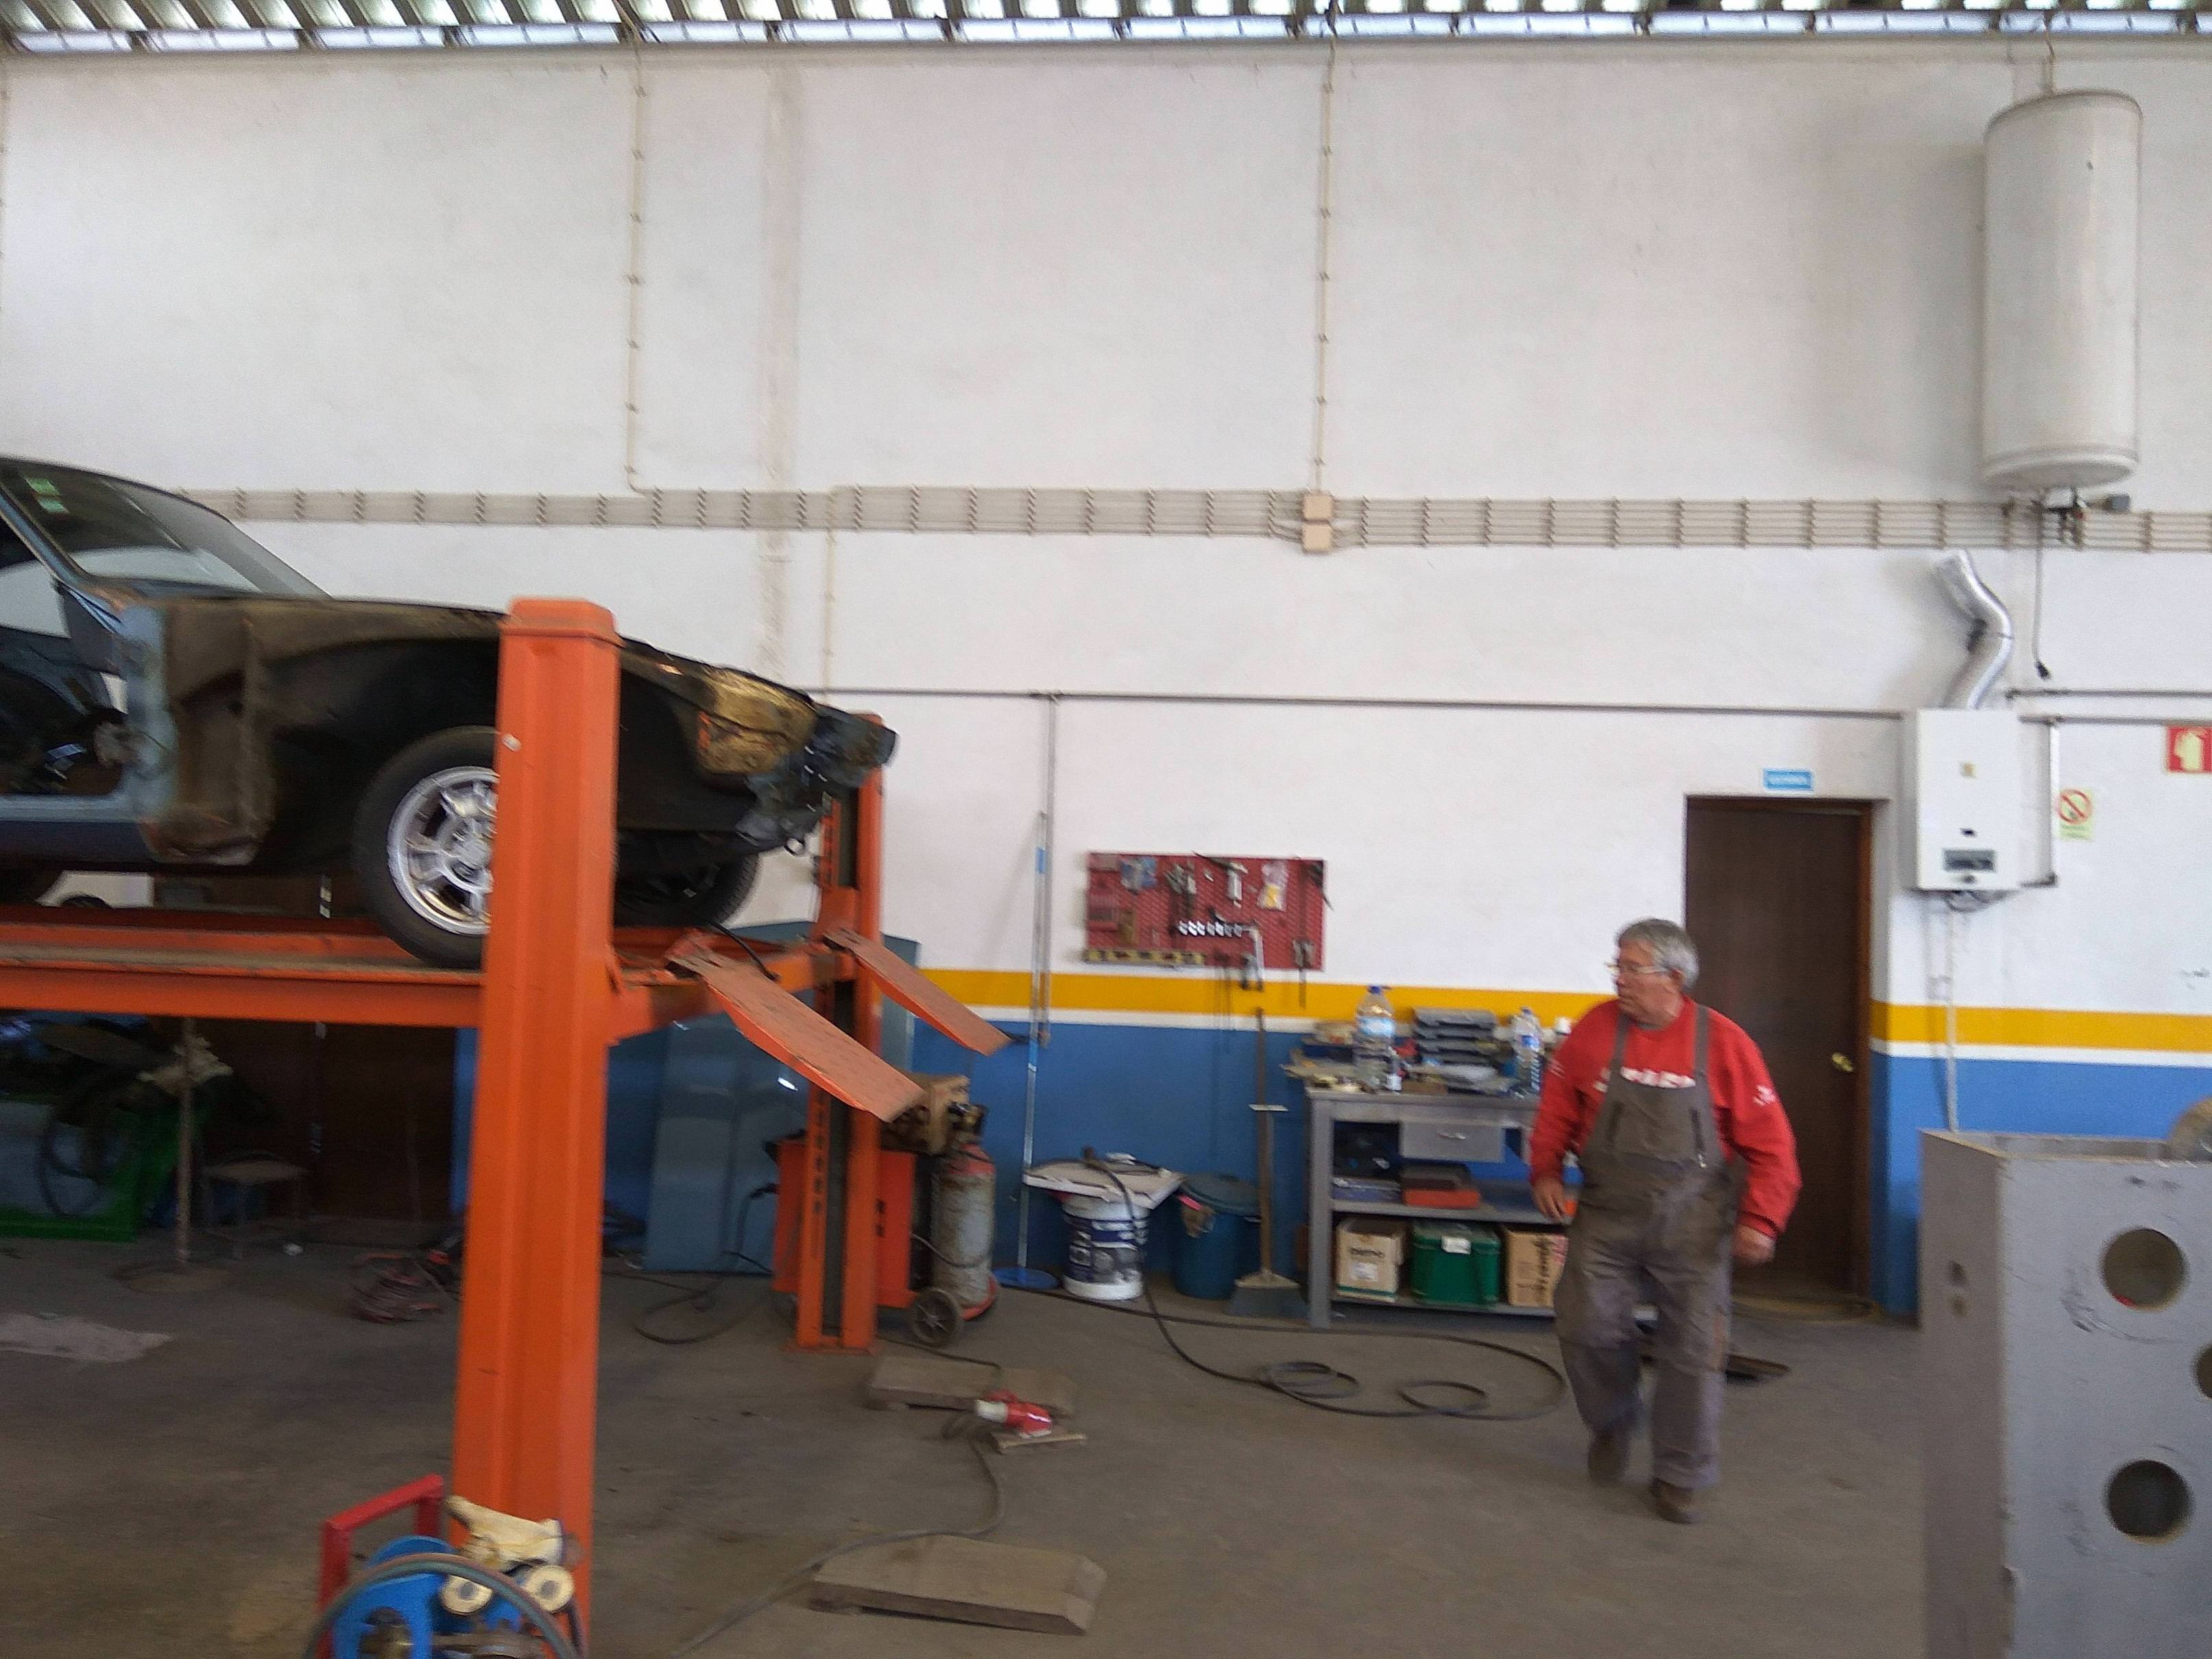
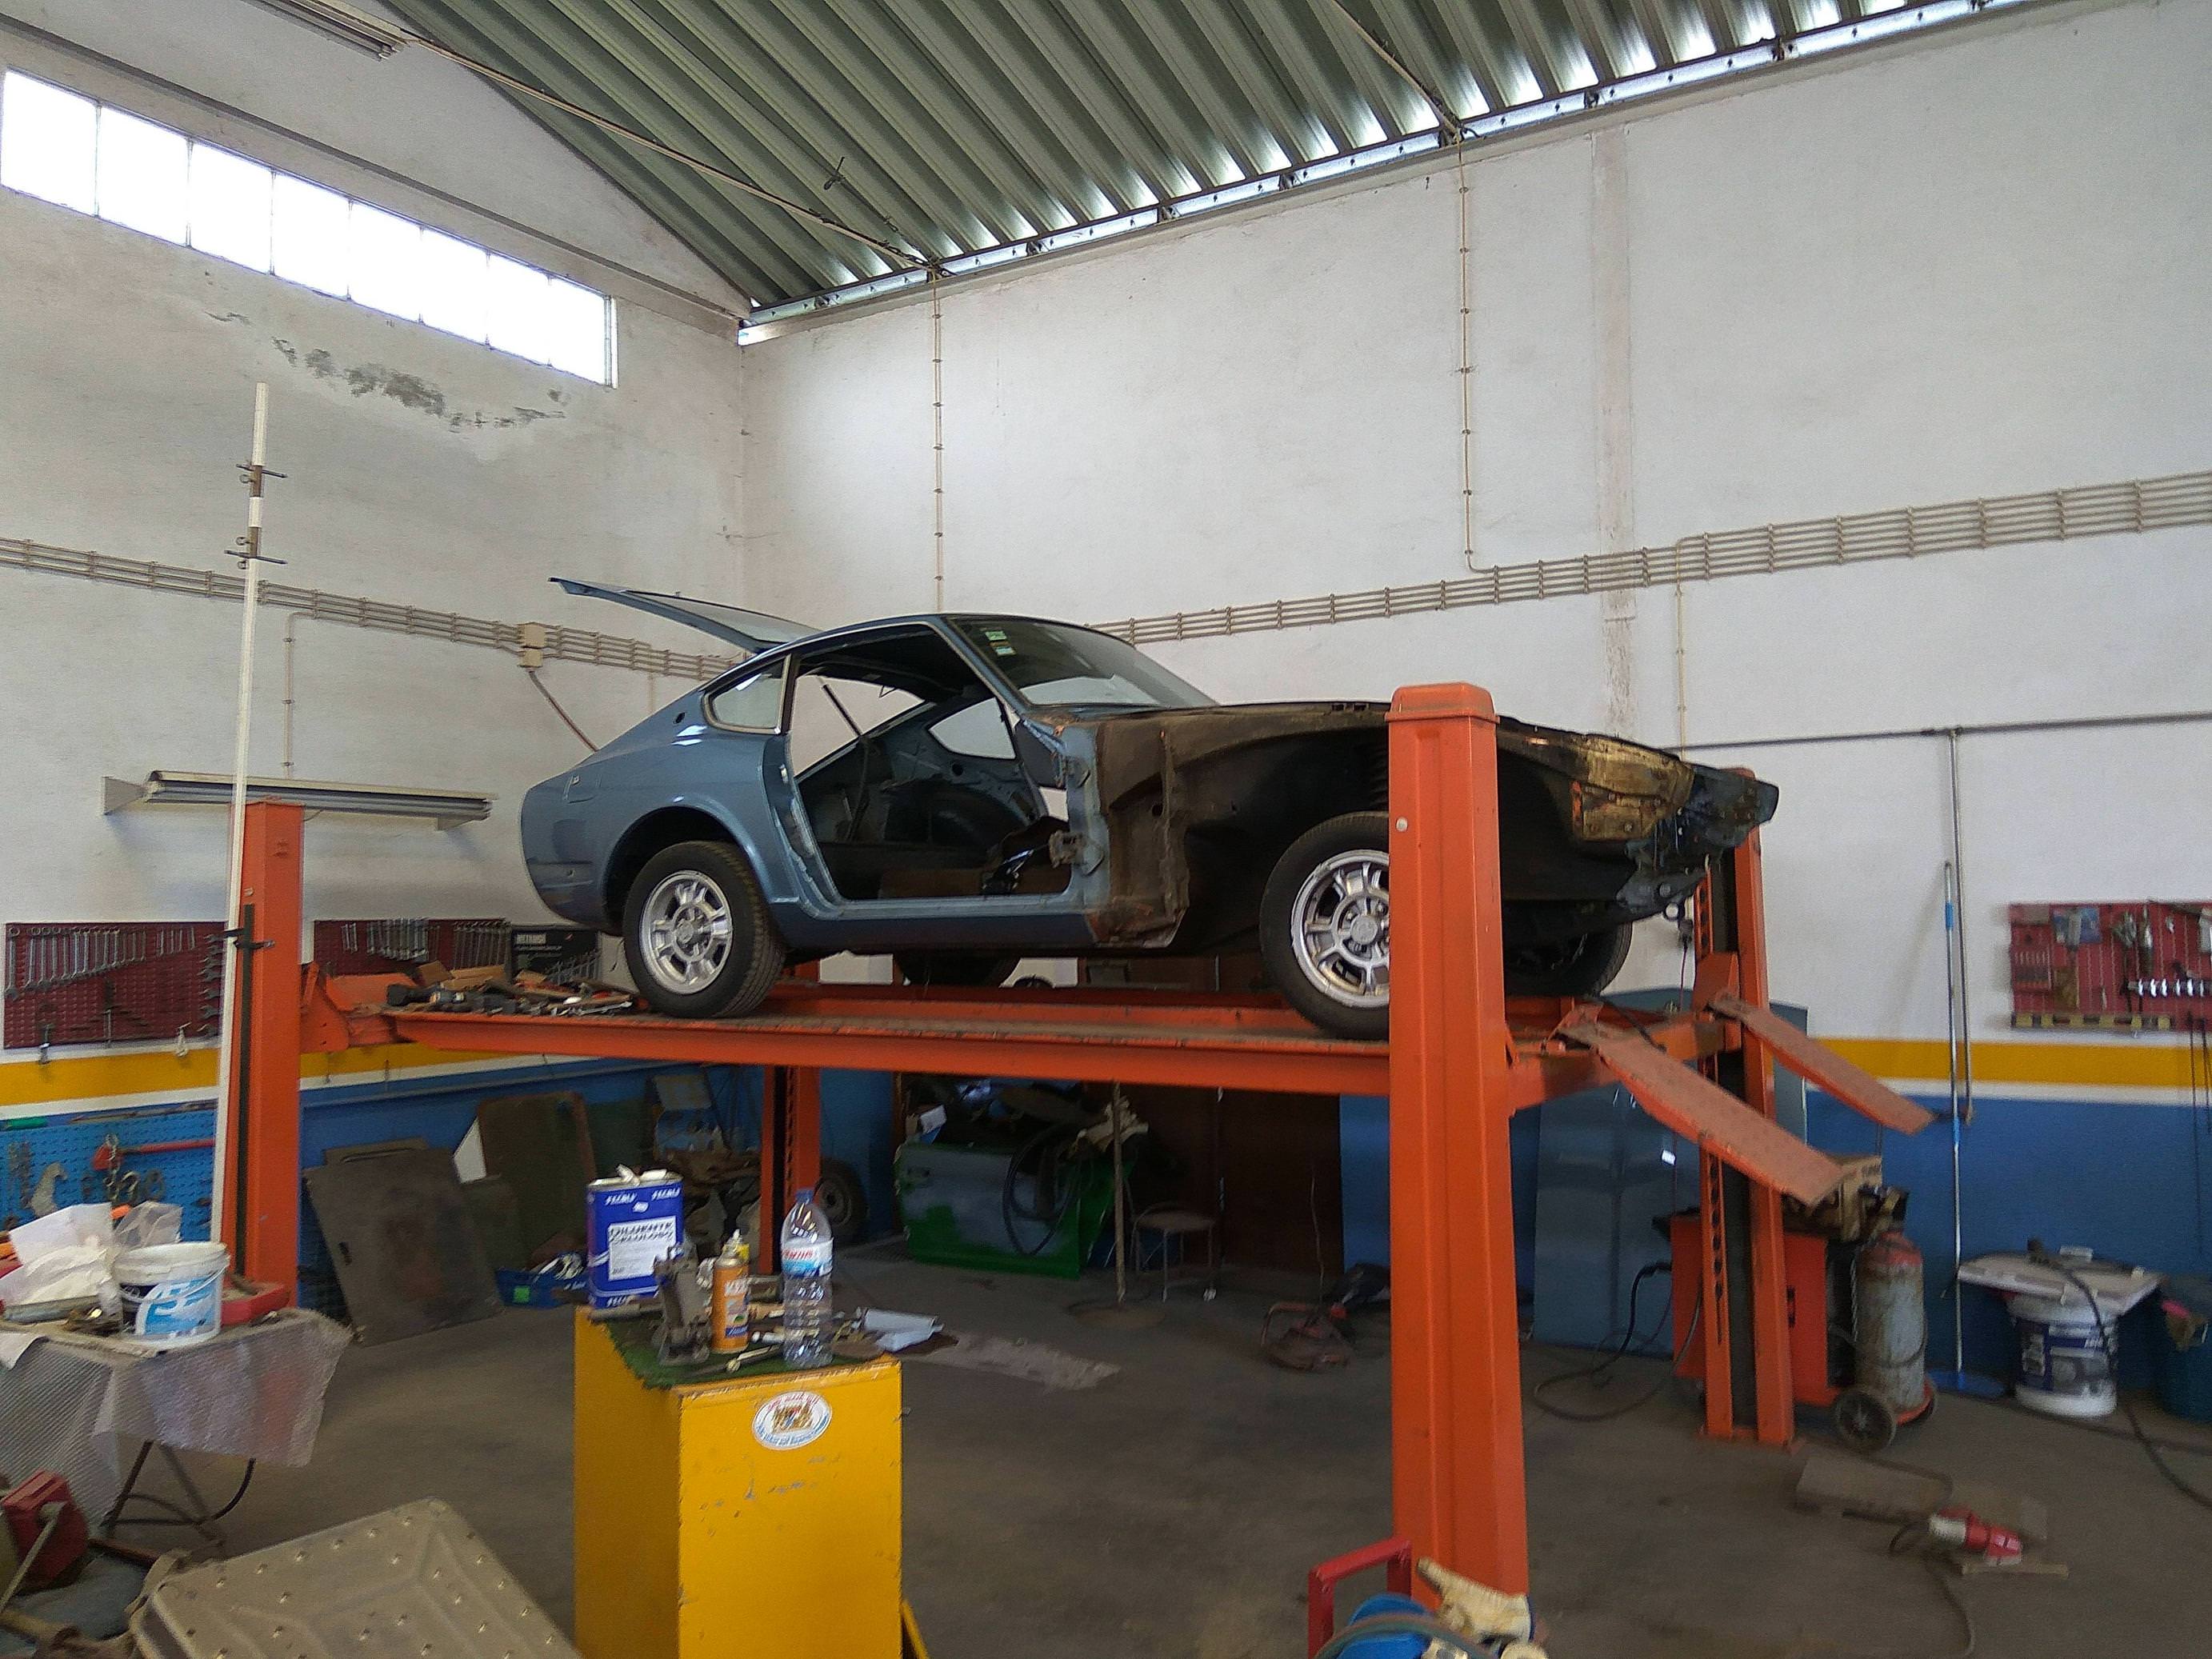
We took the car to the lifter to check all the issues we discovered…well…need deep metal work on the left side!


The battery corner is rusty too…
All stripped…
Right side in good shape…needs a cleaning…but srews are evil…more than an hour…
Superficial rust…some luck here!!!
Down the door is possible the worst part of the right side.
Some appointments to do…nothing special!
We took the car to the lifter to check all the issues we discovered…well…need deep metal work on the left side!
01-27-2018, 06:01 PM
#15
Registered User
Thread Starter
Join Date: Jul 2017
Posts: 42
Left side…


Right side…

 ~
~
These wings just need cleaning work!


And this last photo for today…bolts with story…46 precisely…but very stubborns
Hope you enjoyed the work so far…
NismoPick: Thanks a lot! I think Mr.Vitorino is one of the best here in Portugal! Has made my B110 from the zero and now the Z...
Regards
M�rio
Right side…
~These wings just need cleaning work!
And this last photo for today…bolts with story…46 precisely…but very stubborns
Hope you enjoyed the work so far…
NismoPick: Thanks a lot! I think Mr.Vitorino is one of the best here in Portugal! Has made my B110 from the zero and now the Z...
Regards
M�rio
 02-03-2018, 04:17 PM
#17
Registered User
Thread Starter
Join Date: Jul 2017
Posts: 42
Hi everybody...
another week and some more work to show...some surprises, the usual I think and some really bad news...hey after all she's 47...
Today I went Mr.Vitorino shop only to check the work and see what parts and pieces are in need for the next couple of weeks.
During the week we talked each other on the phone...always bad news...welll...ain't that bad...I think...
The good news are the fenders, they are now ready to fix the car...they were in good conditionsm only where the bolts screw were interventionated. Then all the passenger floor was re-done, the exception is in the back, small rust to clean, notheing to worry.
The bad news, the passenger floor completely ruined...I was really impressed, never thought of it!!! And it looks like someone had done some previous work too. Now I've to buy the entyre part. The water channel was started too and a hand-made part will substitute it,
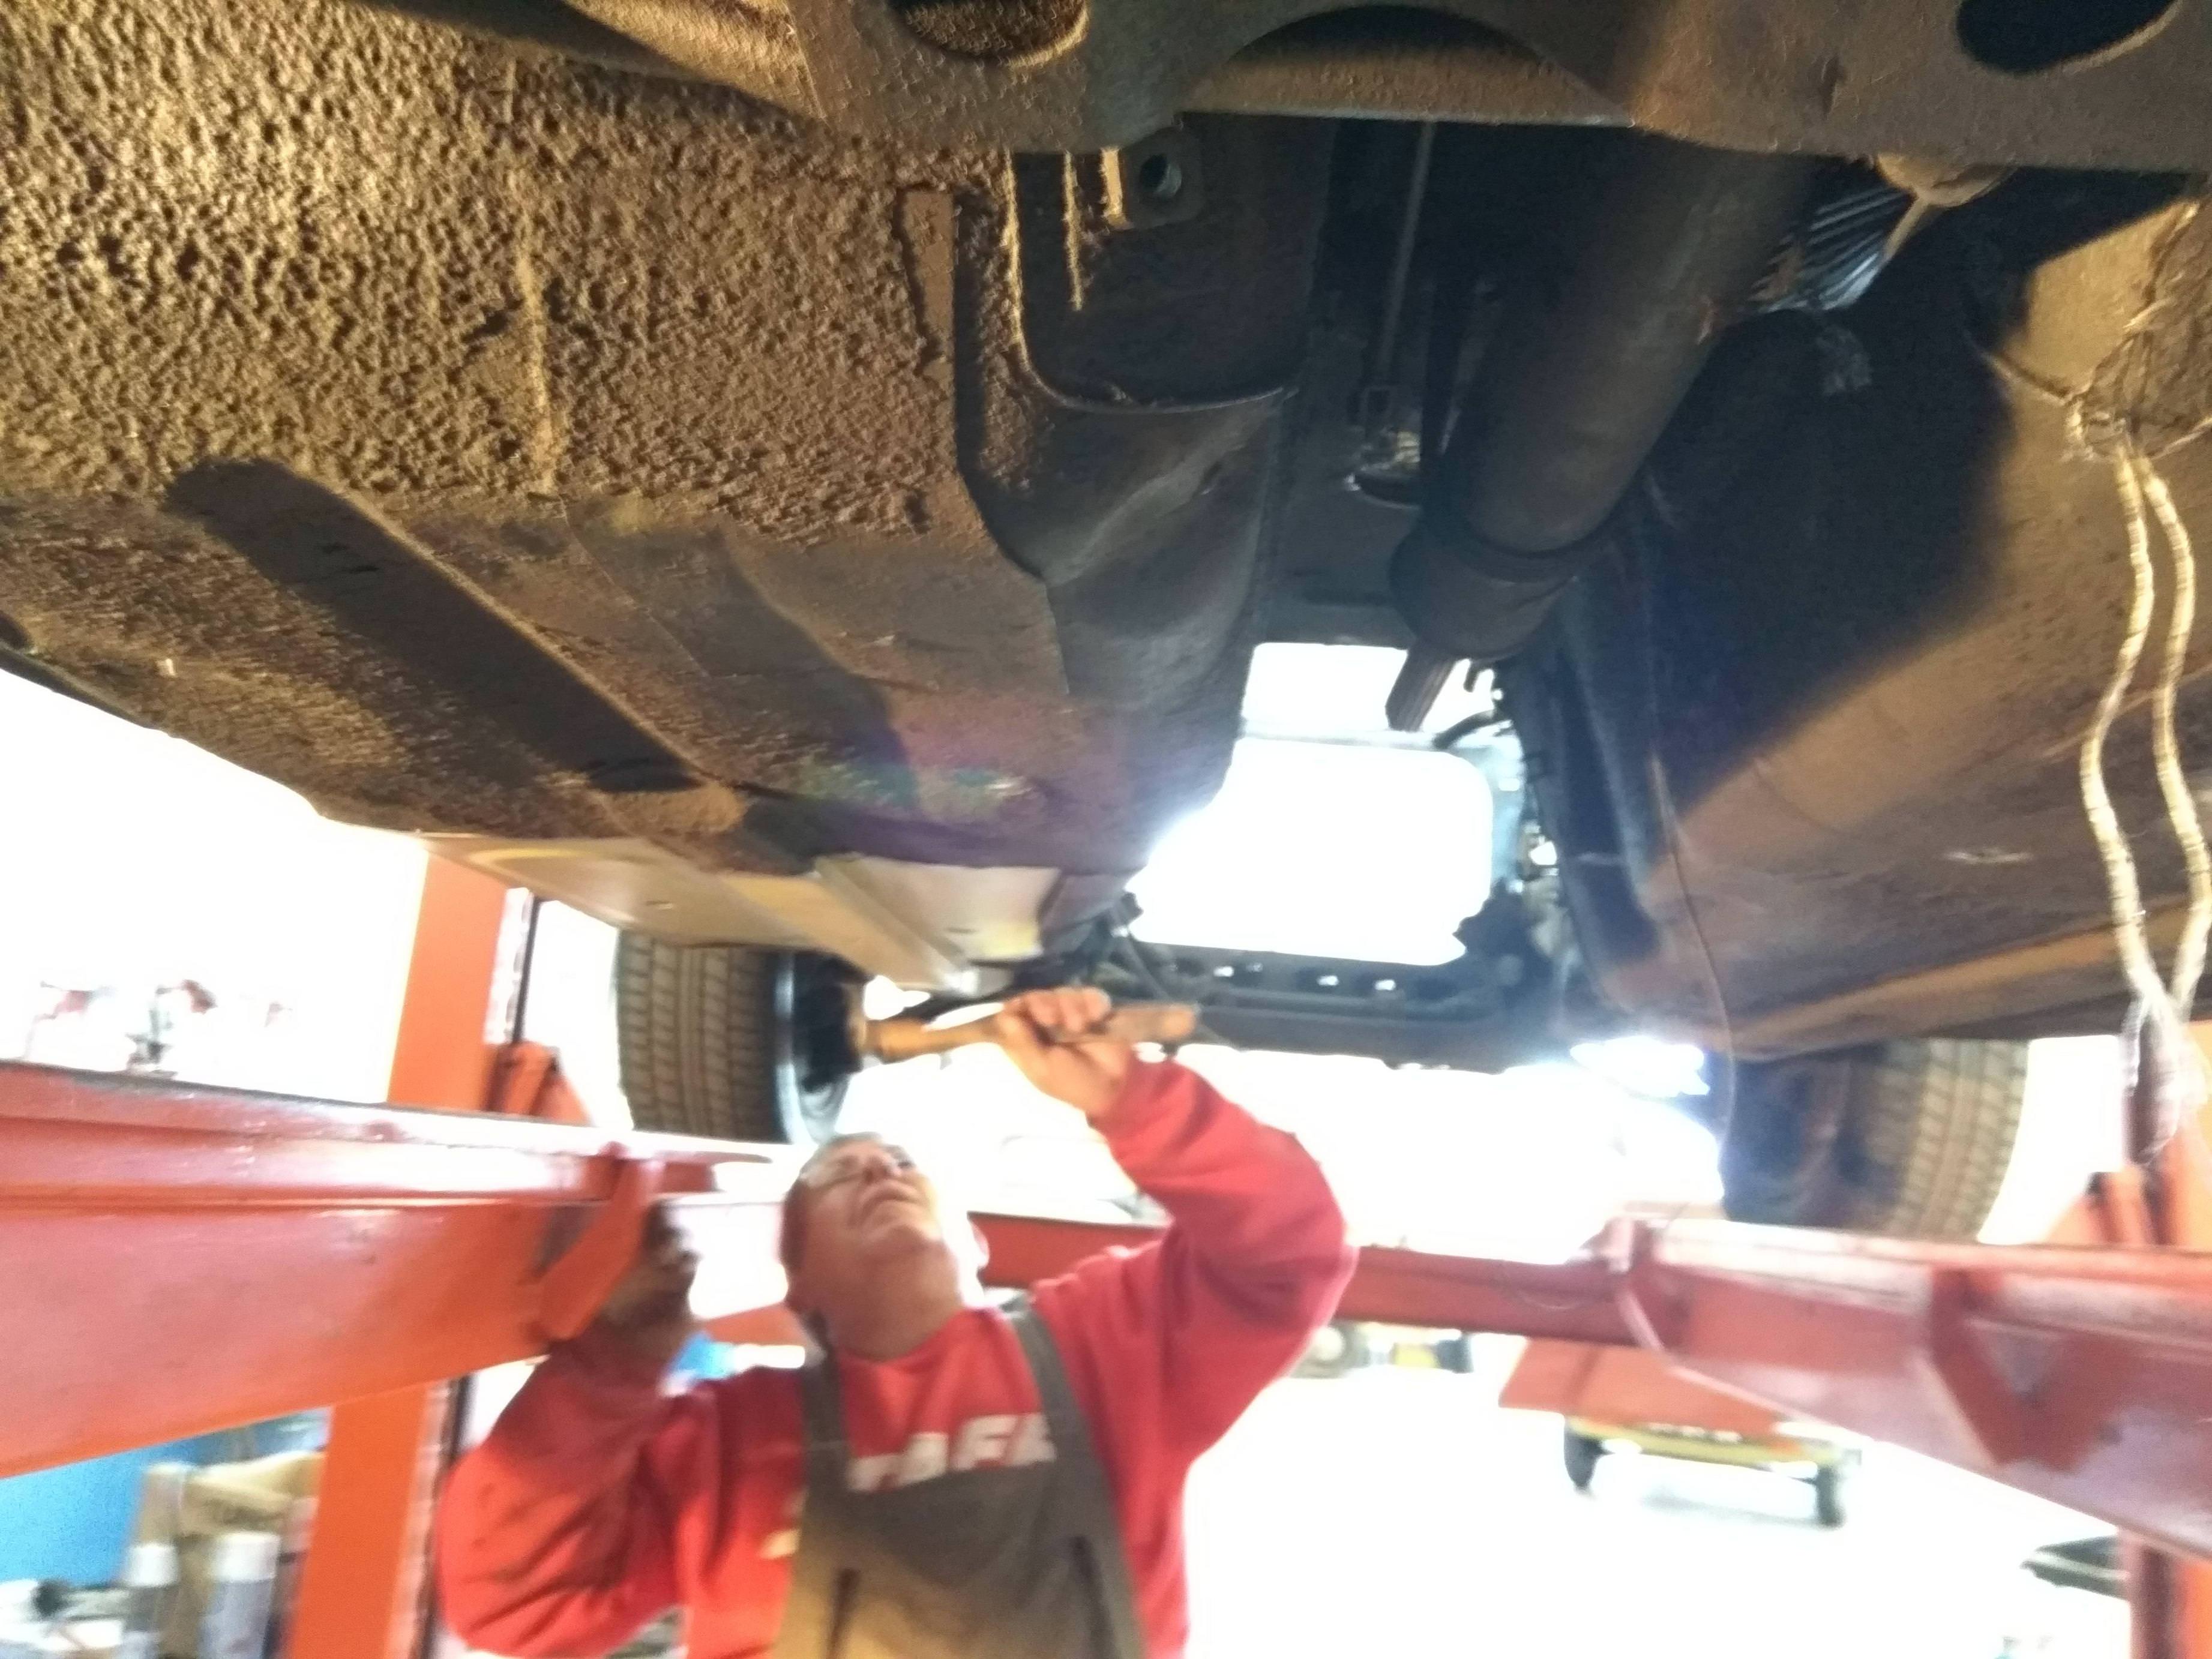
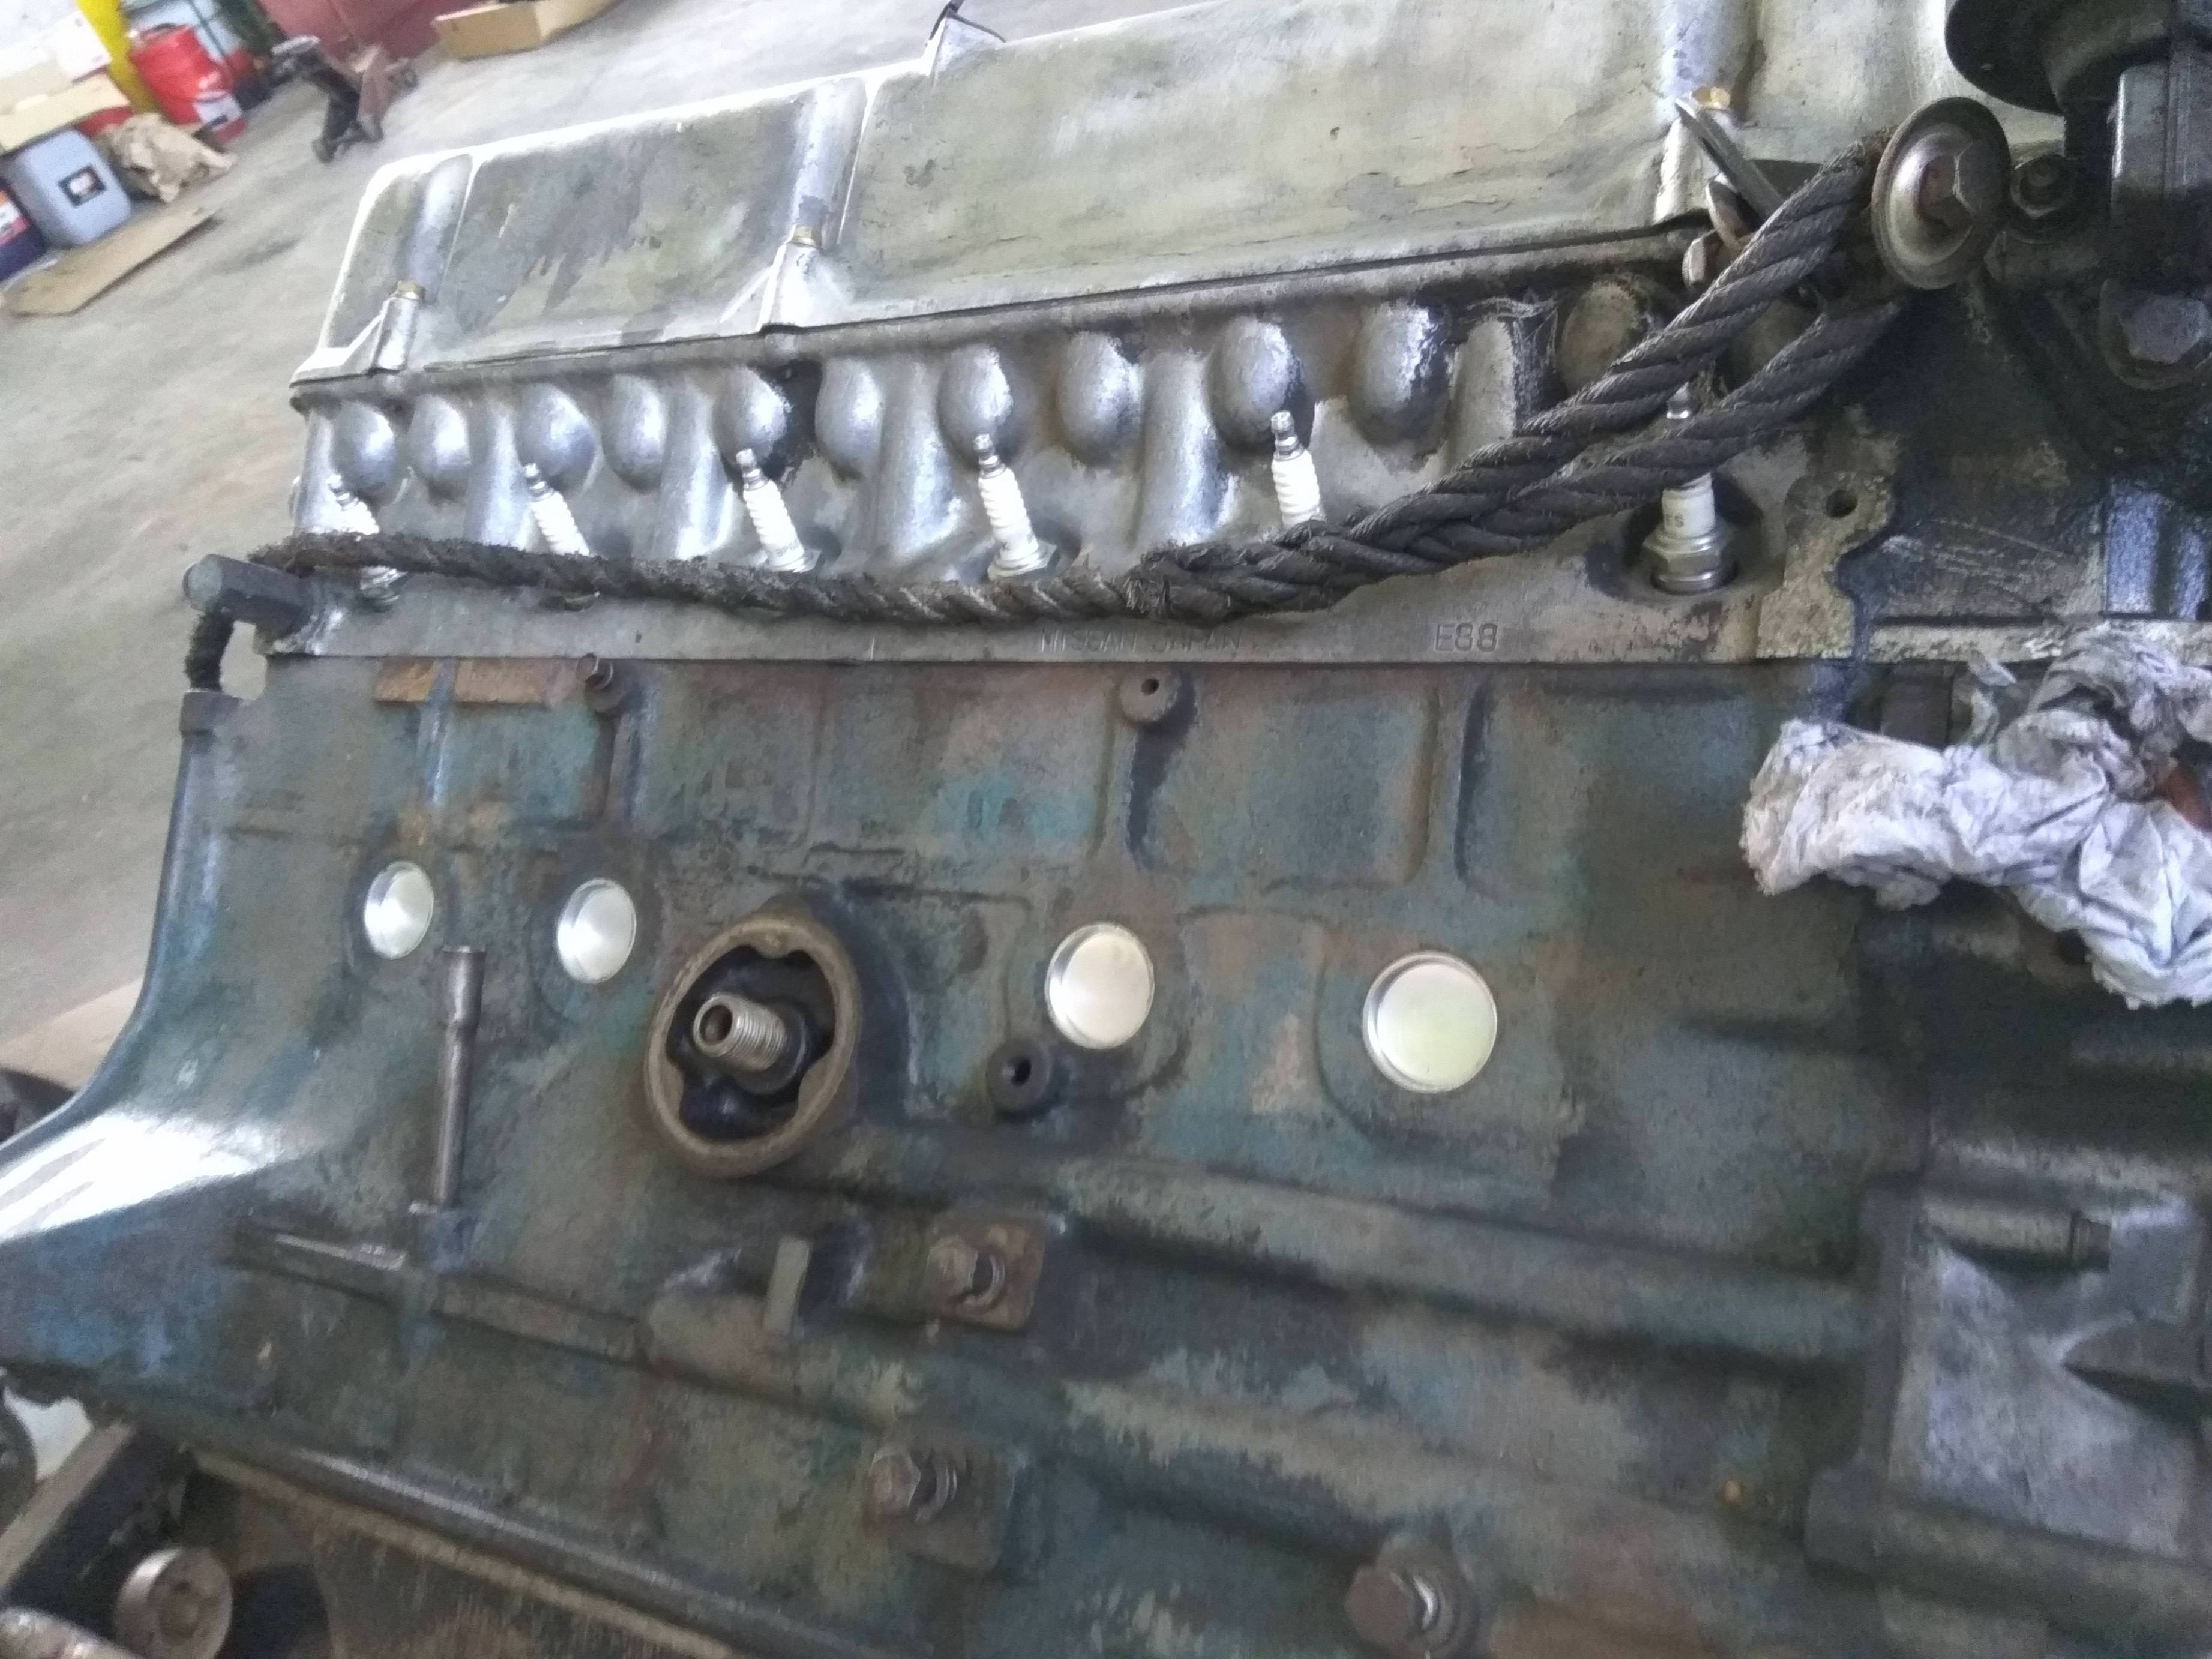
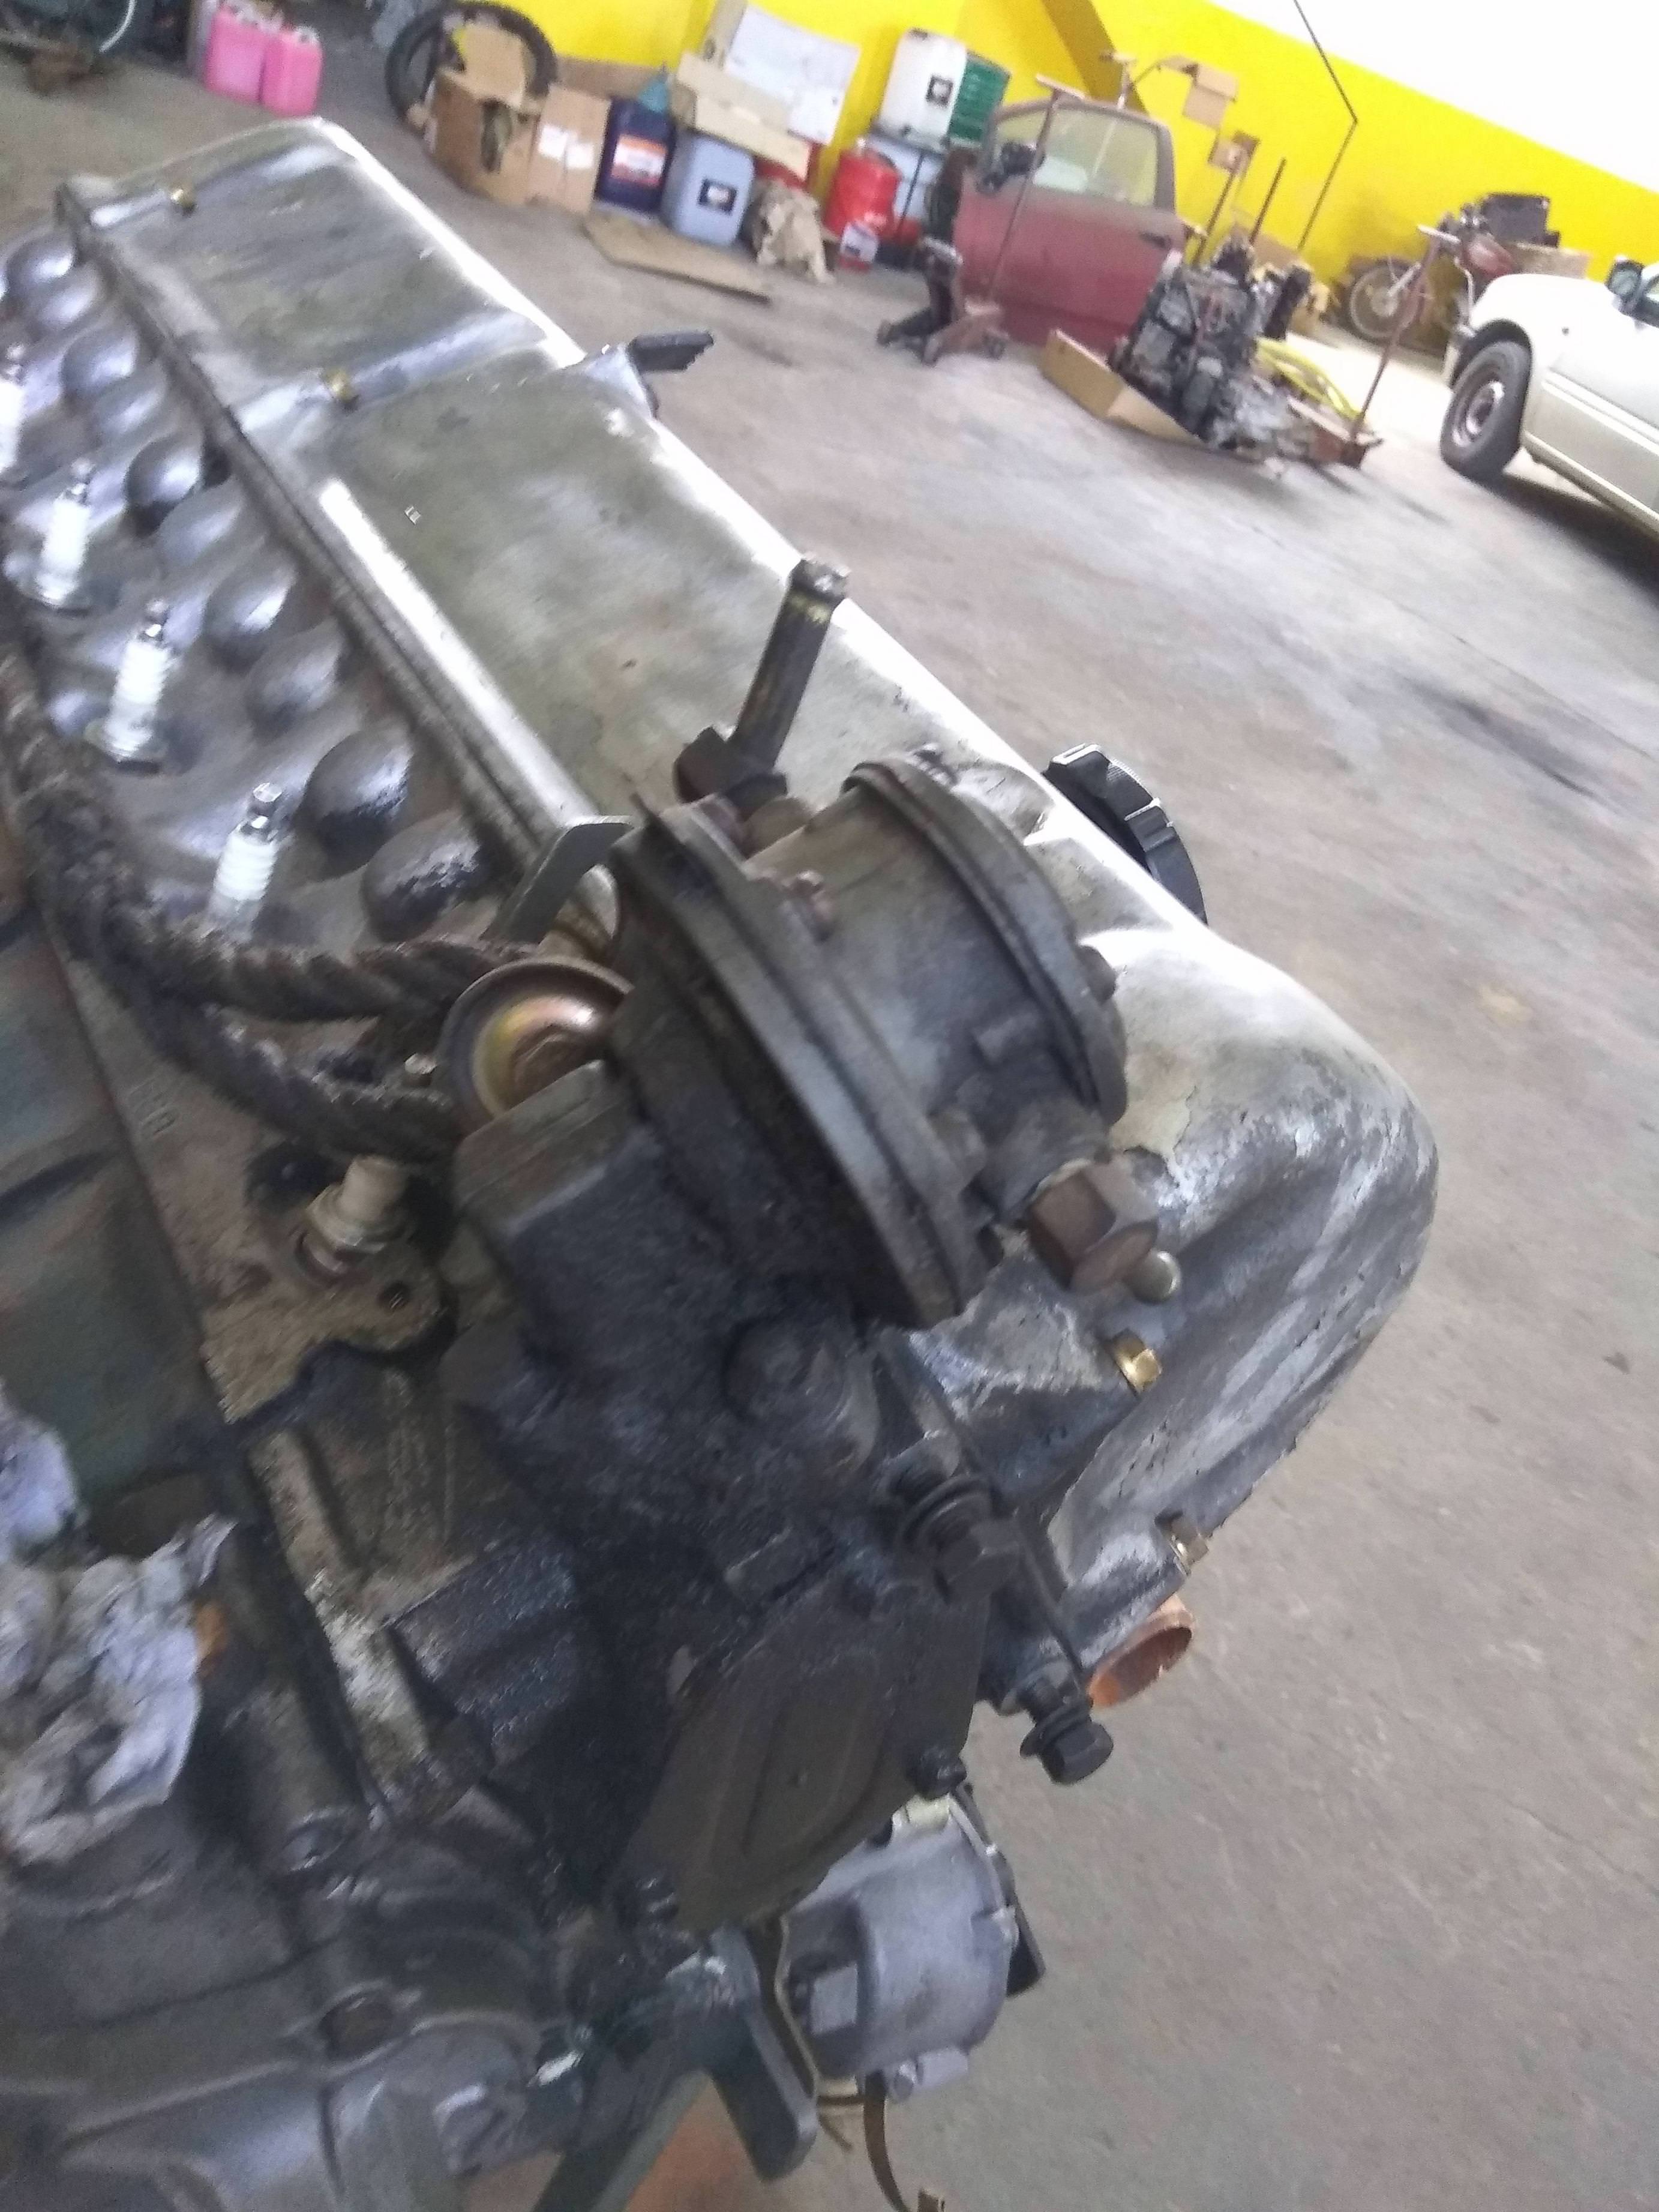
We took the engine and gearbox and nothing to worry, even the fireguard is in excellent condition...amazing but it is...Now we've to recover the colours for the air filter and engine. I'll make some work on it this week...let's see what happens.
Let's check the photos...
Arriving the shop...

Passenger side...done...the exception is in the place where Mr.Vitorino has his hands.


Driver's side...ruined...but behind the seat rails is excellent...really odd...


This is in excellent shape

another week and some more work to show...some surprises, the usual I think and some really bad news...hey after all she's 47...
Today I went Mr.Vitorino shop only to check the work and see what parts and pieces are in need for the next couple of weeks.
During the week we talked each other on the phone...always bad news...welll...ain't that bad...I think...
The good news are the fenders, they are now ready to fix the car...they were in good conditionsm only where the bolts screw were interventionated. Then all the passenger floor was re-done, the exception is in the back, small rust to clean, notheing to worry.
The bad news, the passenger floor completely ruined...I was really impressed, never thought of it!!! And it looks like someone had done some previous work too. Now I've to buy the entyre part. The water channel was started too and a hand-made part will substitute it,
We took the engine and gearbox and nothing to worry, even the fireguard is in excellent condition...amazing but it is...Now we've to recover the colours for the air filter and engine. I'll make some work on it this week...let's see what happens.
Let's check the photos...
Arriving the shop...
Passenger side...done...the exception is in the place where Mr.Vitorino has his hands.
Driver's side...ruined...but behind the seat rails is excellent...really odd...
This is in excellent shape
02-03-2018, 04:17 PM
#18
Registered User
Thread Starter
Join Date: Jul 2017
Posts: 42
Fenders ready fot the painting...


Chanel on work...

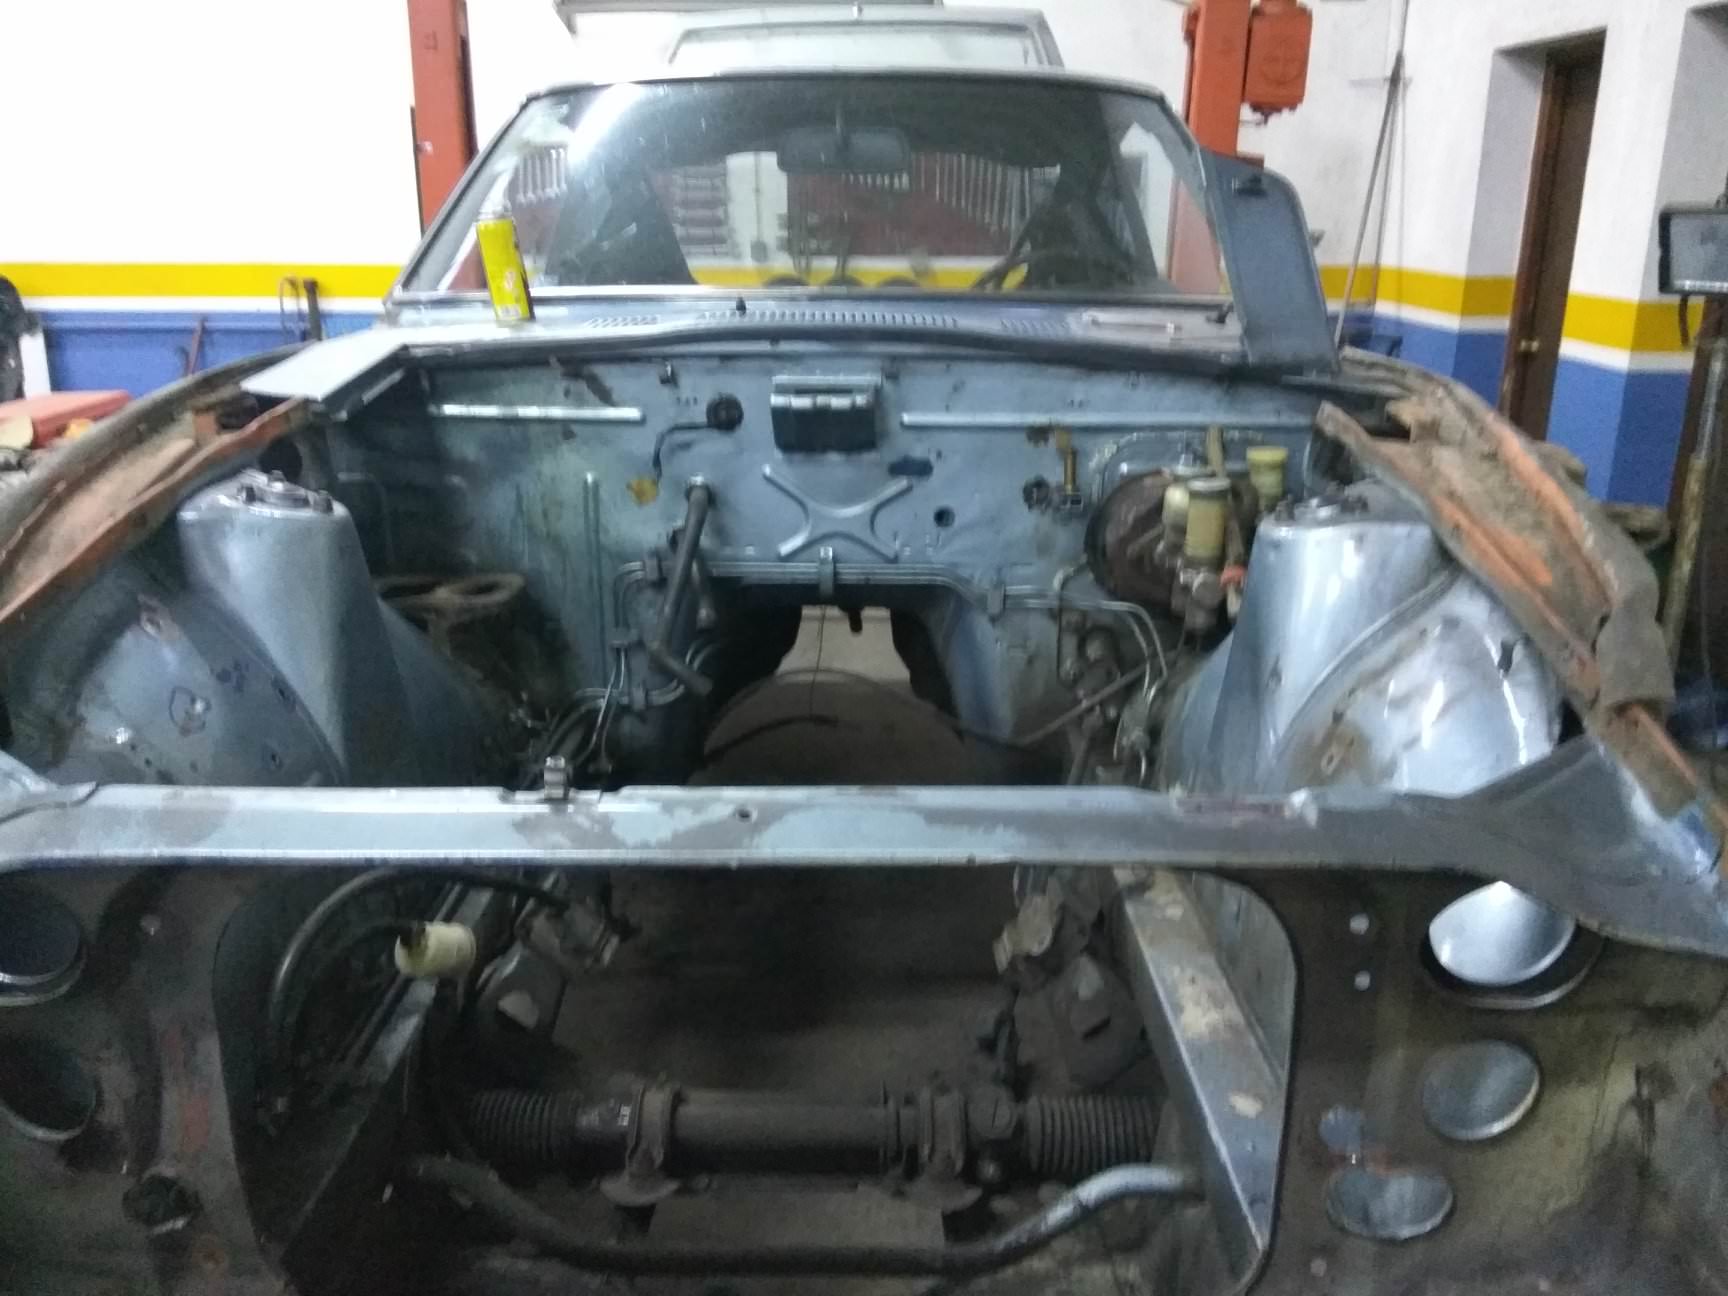
The front needs some attention...nothing serious...I think!


Now another discovery...the original blue again...
https://s10.postimg.org/494bkznt5/IM...203_120030.jpg


Engine and gearbox...nothing to worry...luckily,,,


And that's it for now!!!

This week I'll have some more news...
Hope you enjoy it!!!
zxguy1986: thanks a lot. This week it will be a tuff week...many metal work to do...let's see what happens!!! Hope in the end all went well!!!
Regards
M�rio
Chanel on work...
The front needs some attention...nothing serious...I think!
Now another discovery...the original blue again...
https://s10.postimg.org/494bkznt5/IM...203_120030.jpg
Engine and gearbox...nothing to worry...luckily,,,
And that's it for now!!!
This week I'll have some more news...
Hope you enjoy it!!!
zxguy1986: thanks a lot. This week it will be a tuff week...many metal work to do...let's see what happens!!! Hope in the end all went well!!!
Regards
M�rio
04-13-2018, 04:19 PM
#19
Registered User
Thread Starter
Join Date: Jul 2017
Posts: 42
Hi everybody!
It seems all imagens were lost…It might be a problem on postimage…really don’t know…I’ll start from last works on car.
It’s been raining hard these days in Portugal, and the cold didn’t allowed Mr.Vitorino to work on the car because of his desease…but we are back…
The news…the car will be to the paint shop within 2 weeks…and next week will be finished for shure! It’s just take out the windshields, brake pump and clutch pump, fuel tank and all the tubes!!!
But now the work on the car…
New floor…just one side was needed…an not all…
Preparint to cut…
It was ruined…
New one…

Finishing it…
The ledt side just needed some labour on the back, because the front was already done!
The original colour…very cool!!!
All the front finished
Before, but with some treatment by the time…
And ready….
There was missing a part here,,,Mr.Vitorino made a new one!
Things to do…
It seems all imagens were lost…It might be a problem on postimage…really don’t know…I’ll start from last works on car.
It’s been raining hard these days in Portugal, and the cold didn’t allowed Mr.Vitorino to work on the car because of his desease…but we are back…
The news…the car will be to the paint shop within 2 weeks…and next week will be finished for shure! It’s just take out the windshields, brake pump and clutch pump, fuel tank and all the tubes!!!
But now the work on the car…
New floor…just one side was needed…an not all…
Preparint to cut…
It was ruined…
New one…
Finishing it…
The ledt side just needed some labour on the back, because the front was already done!
The original colour…very cool!!!
All the front finished
Before, but with some treatment by the time…
And ready….
There was missing a part here,,,Mr.Vitorino made a new one!
Things to do…
04-13-2018, 04:19 PM
#20
Registered User
Thread Starter
Join Date: Jul 2017
Posts: 42
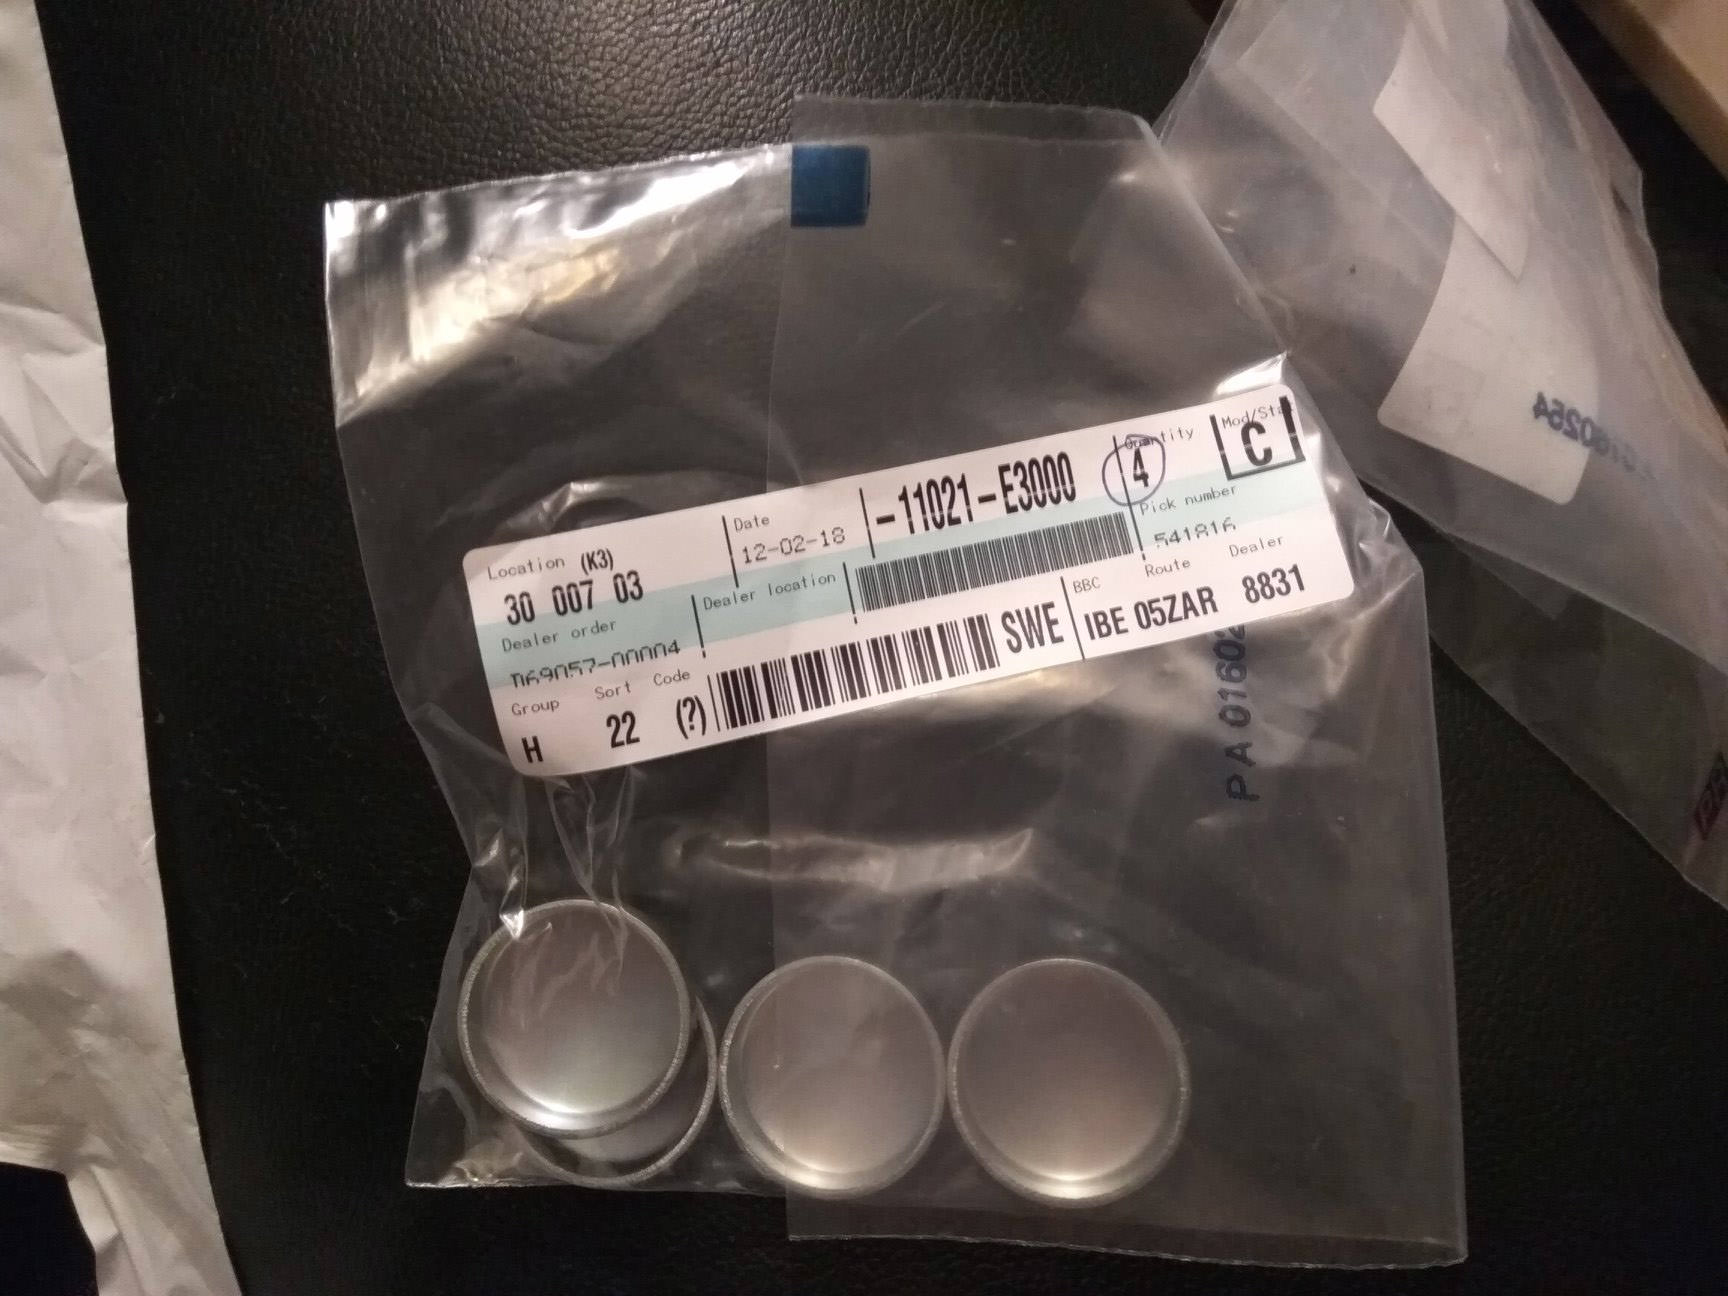
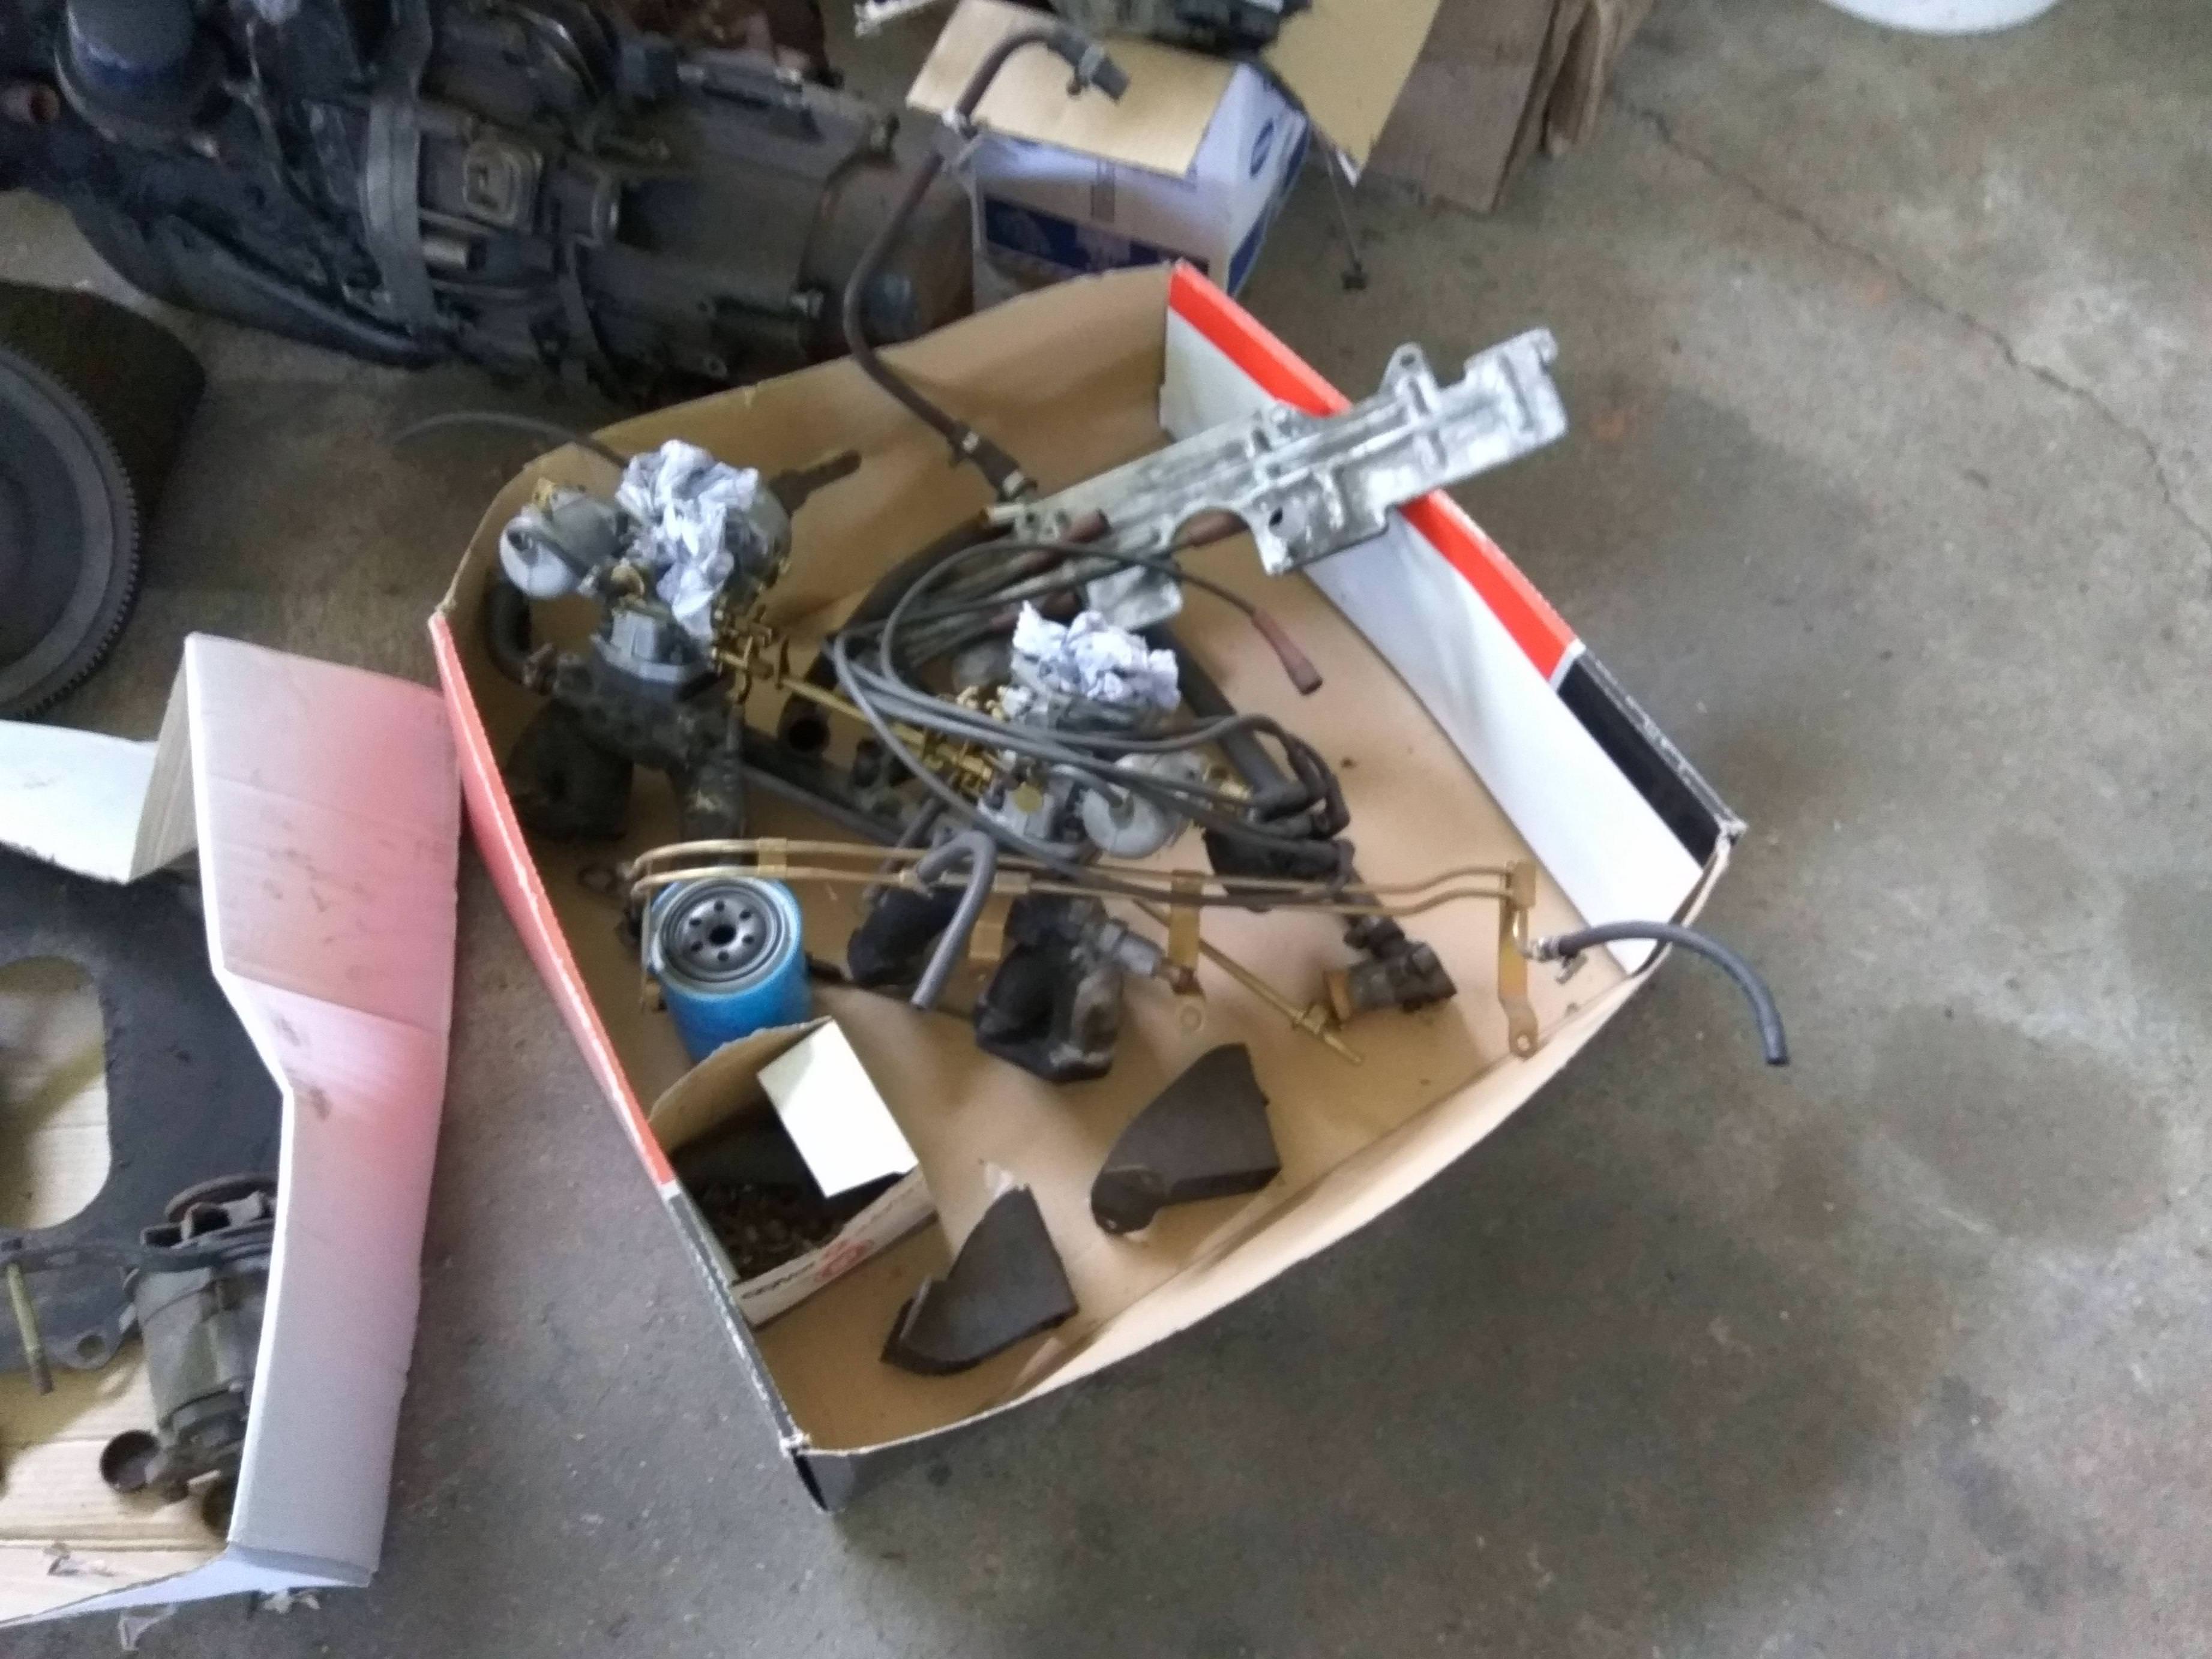
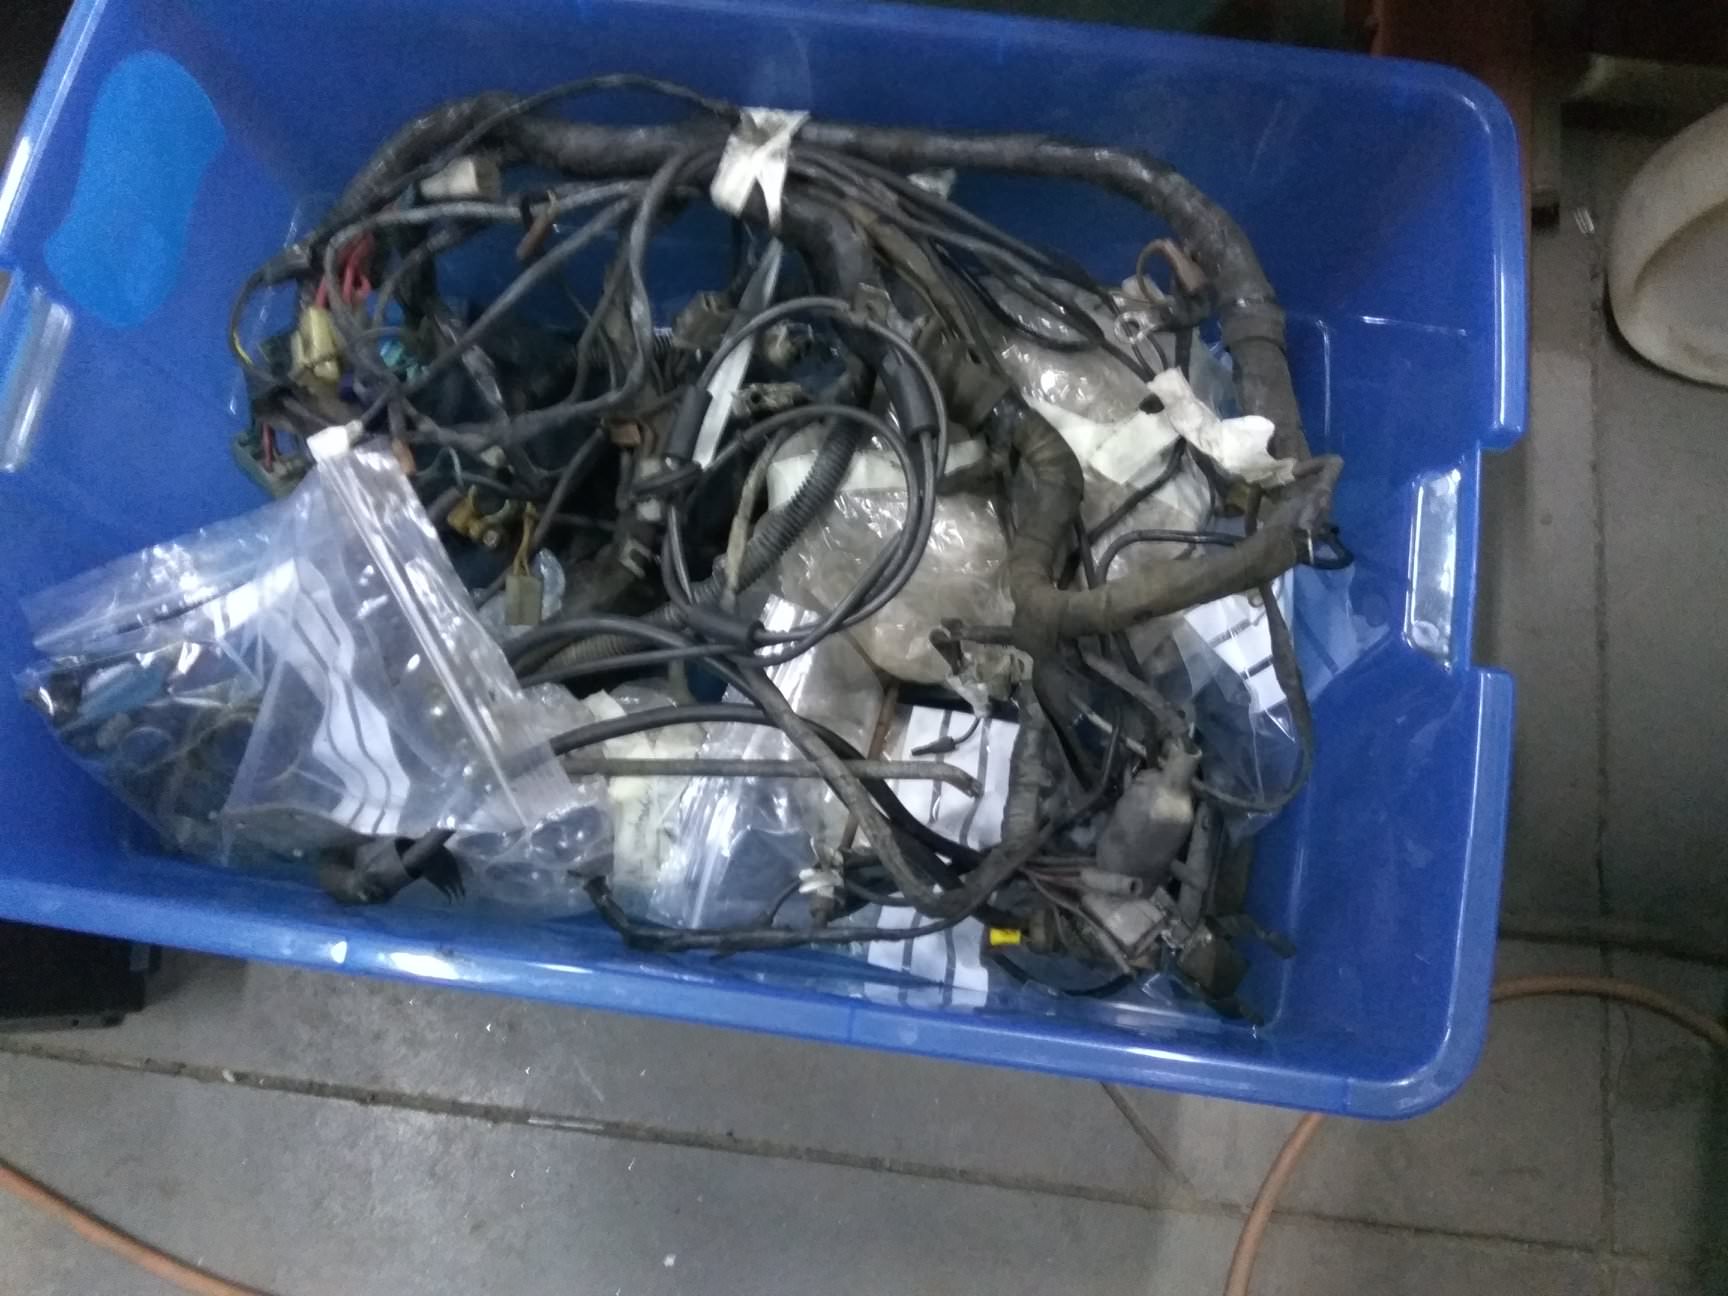
And we all star the mechanical part…new parts arrive…

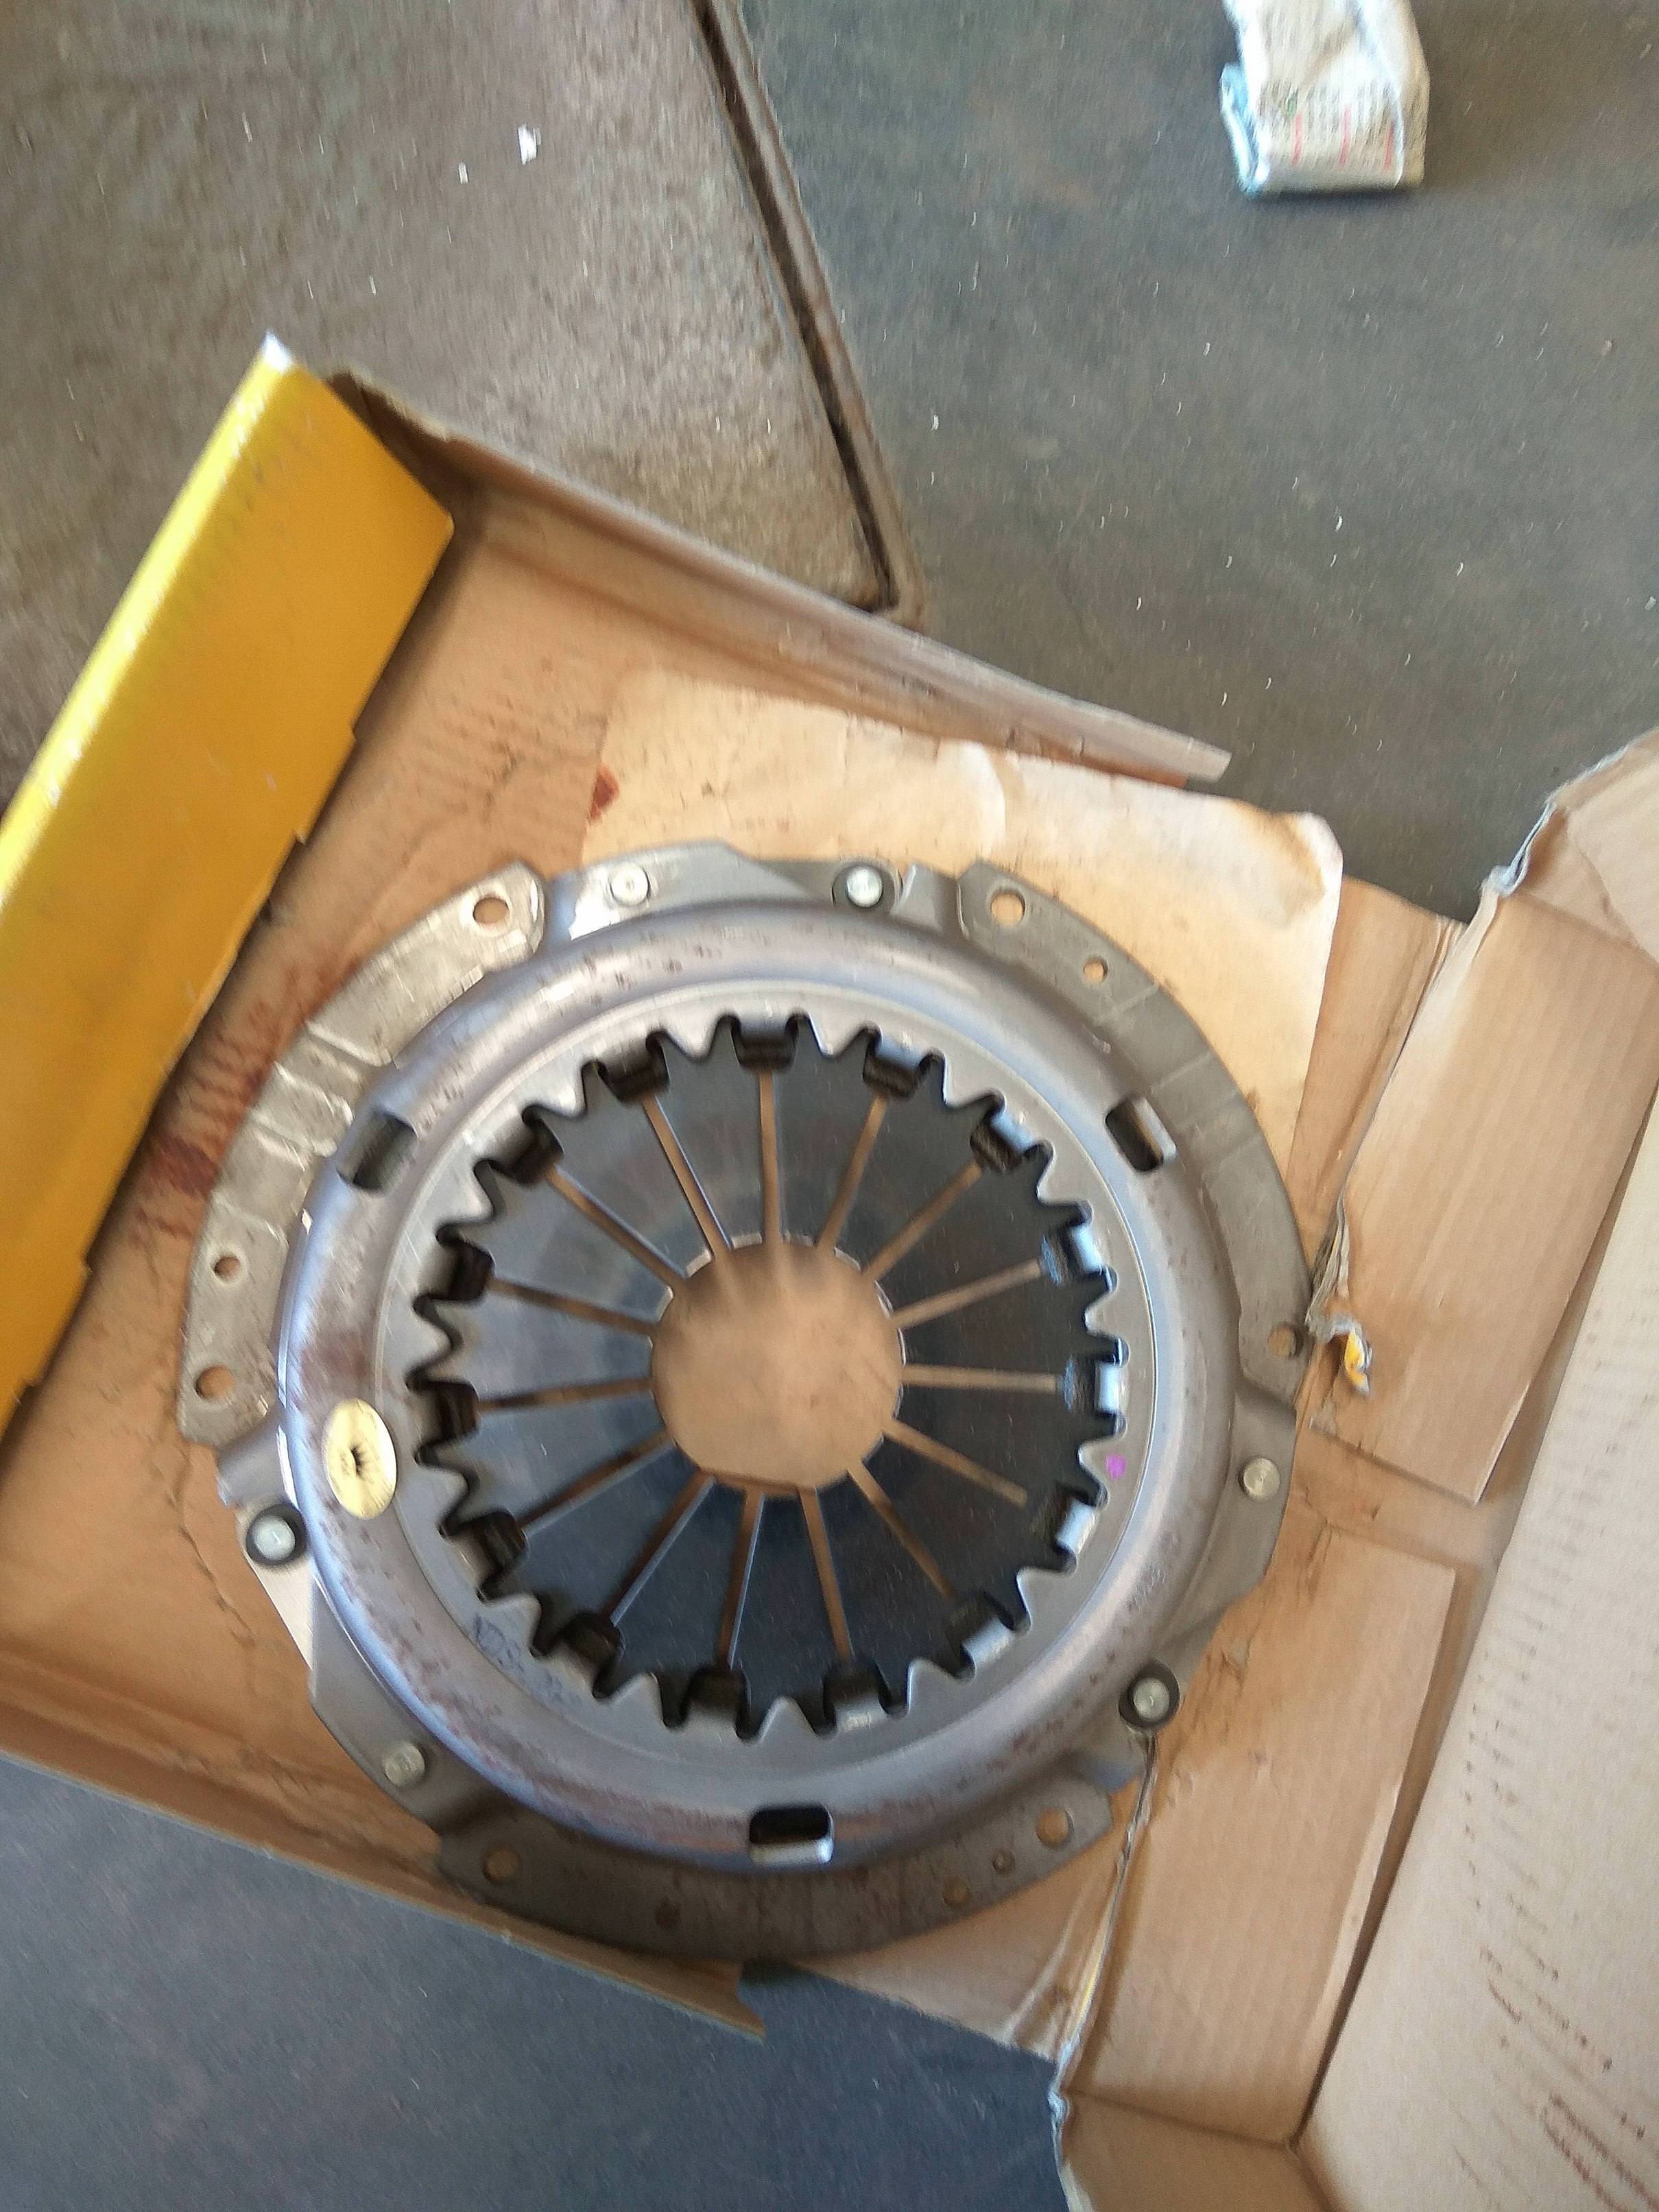
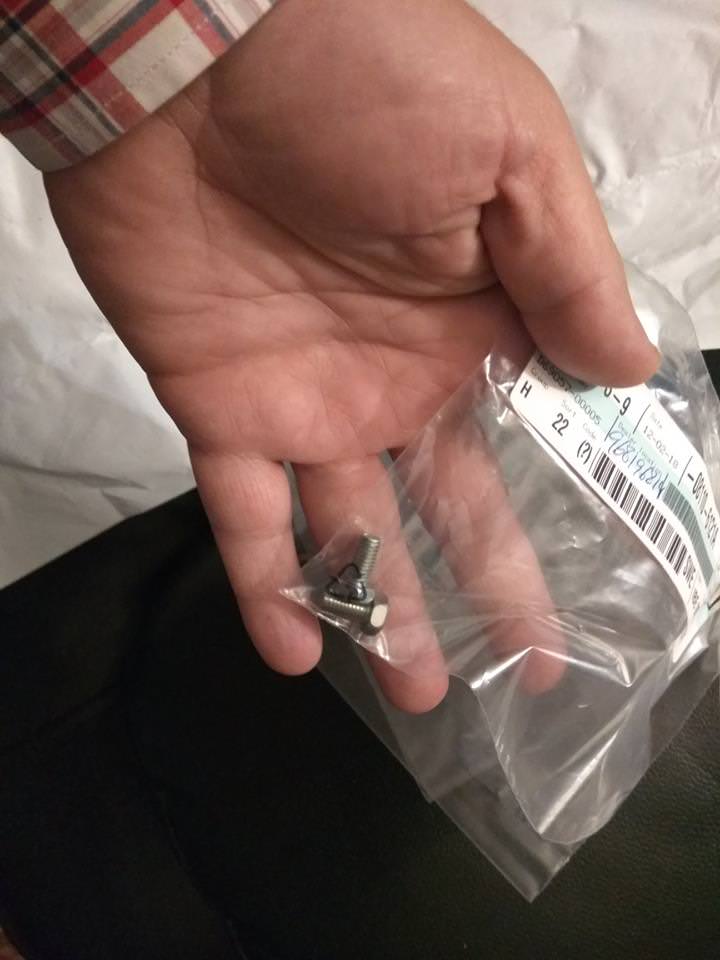


Meanwhile they arrive and put in place…
Cleaning parts…
I need a new fuel pump…but i think Ican get one new…I haven’t search for it!
Electric system waint to be revised,,,
MR.Vitorino completely exhaust…
See you nest week…Z
Hope you enjoyed it…next week I’ll put some more upgrades!
Regards
M�rio
Meanwhile they arrive and put in place…
Cleaning parts…
I need a new fuel pump…but i think Ican get one new…I haven’t search for it!
Electric system waint to be revised,,,
MR.Vitorino completely exhaust…
See you nest week…Z
Hope you enjoyed it…next week I’ll put some more upgrades!
Regards
M�rio
05-06-2018, 04:52 PM
#21
Registered User
Thread Starter
Join Date: Jul 2017
Posts: 42
Hi again!
On the last 3 weeks we have finished the Z…it’s so nice to see the car ready to paint…there are some minor details to solve, but not metal work, only disassemble some parts.
These weeks were hard…every time we thought the car was done another hole and rust appeared, so we decided to clean the metal until the last bit of paint…I’m talking about the floor…damn…completely rusty….now is new…
The engine is in the rebuilding process and I haven’t got pictures…maybe next week…
Meanwhile is just waiting for the paintig day.
Windows, fuel lines and brake lines will be removed within 15 days!
Hope you enjoy the progresso….let’s see the photos!


Floor…no words…


Final result…so nice!!!

Behind the seats…


Front floor and the battery frame…the battery flame will be fixed tomorrow…but it seems long time ago someone made a repair on it!


Someone open a hole…crazy maniascs…so…let’s cover it…


Gone…

On the last 3 weeks we have finished the Z…it’s so nice to see the car ready to paint…there are some minor details to solve, but not metal work, only disassemble some parts.
These weeks were hard…every time we thought the car was done another hole and rust appeared, so we decided to clean the metal until the last bit of paint…I’m talking about the floor…damn…completely rusty….now is new…
The engine is in the rebuilding process and I haven’t got pictures…maybe next week…
Meanwhile is just waiting for the paintig day.
Windows, fuel lines and brake lines will be removed within 15 days!
Hope you enjoy the progresso….let’s see the photos!
Floor…no words…
Final result…so nice!!!
Behind the seats…
Front floor and the battery frame…the battery flame will be fixed tomorrow…but it seems long time ago someone made a repair on it!
Someone open a hole…crazy maniascs…so…let’s cover it…
Gone…
05-06-2018, 04:52 PM
#22
Registered User
Thread Starter
Join Date: Jul 2017
Posts: 42
The mudflaps holes were covered too…they will no longer be used…
The back of the car was in bad shape too…minor dents…but needed some repair!!!


No holes….yeah!!!!

Now some photos…
The oil pan is in great shape, just needs to be painted grey…the colour is not bad….

Mr.Vitorino focused…

No doubts…903 blue…

Warriors relax…


Now we will wait 15 days…and deliver it for painting…
Hope you still enjoying it!!
Regards
M�rio
The back of the car was in bad shape too…minor dents…but needed some repair!!!
No holes….yeah!!!!
Now some photos…
The oil pan is in great shape, just needs to be painted grey…the colour is not bad….
Mr.Vitorino focused…
No doubts…903 blue…
Warriors relax…
Now we will wait 15 days…and deliver it for painting…
Hope you still enjoying it!!
Regards
M�rio
10-23-2018, 04:06 AM
#23
Registered User
Thread Starter
Join Date: Jul 2017
Posts: 42
Hi,
I'm back with fresh news!
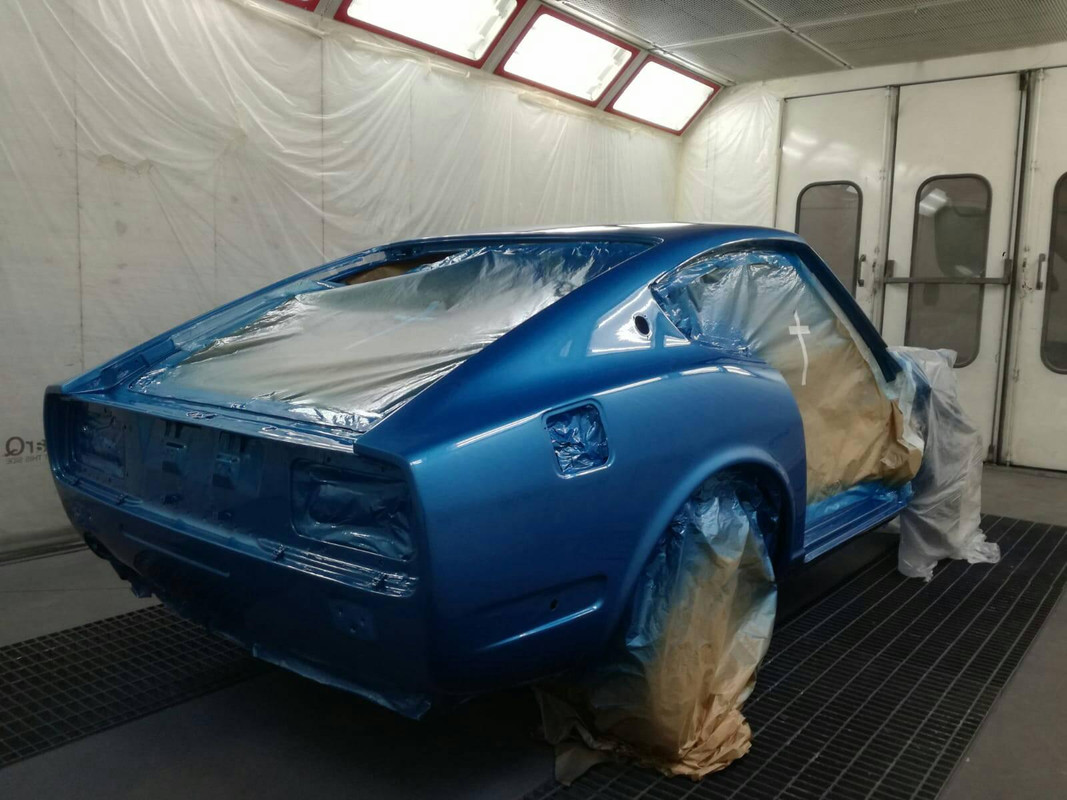
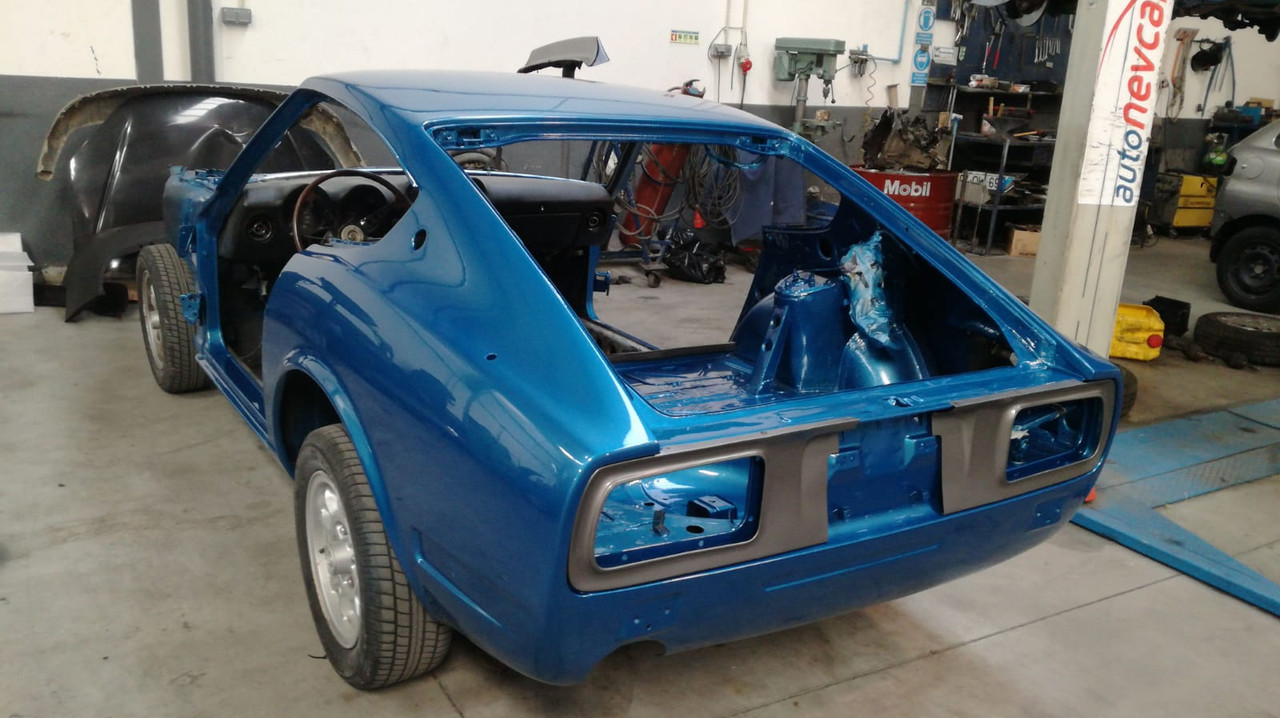
Here is the car after the painting job!!!
It looks awesome!!! I'm very happy with the results!!!
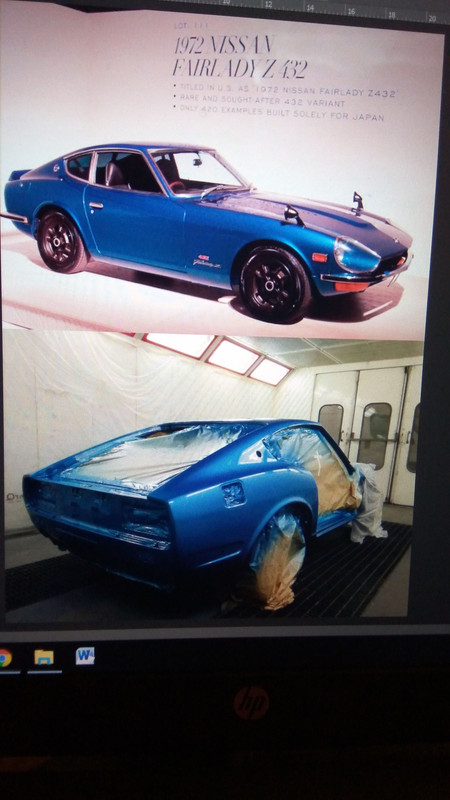
The colour is the original...I�m waiting for the final result!!!
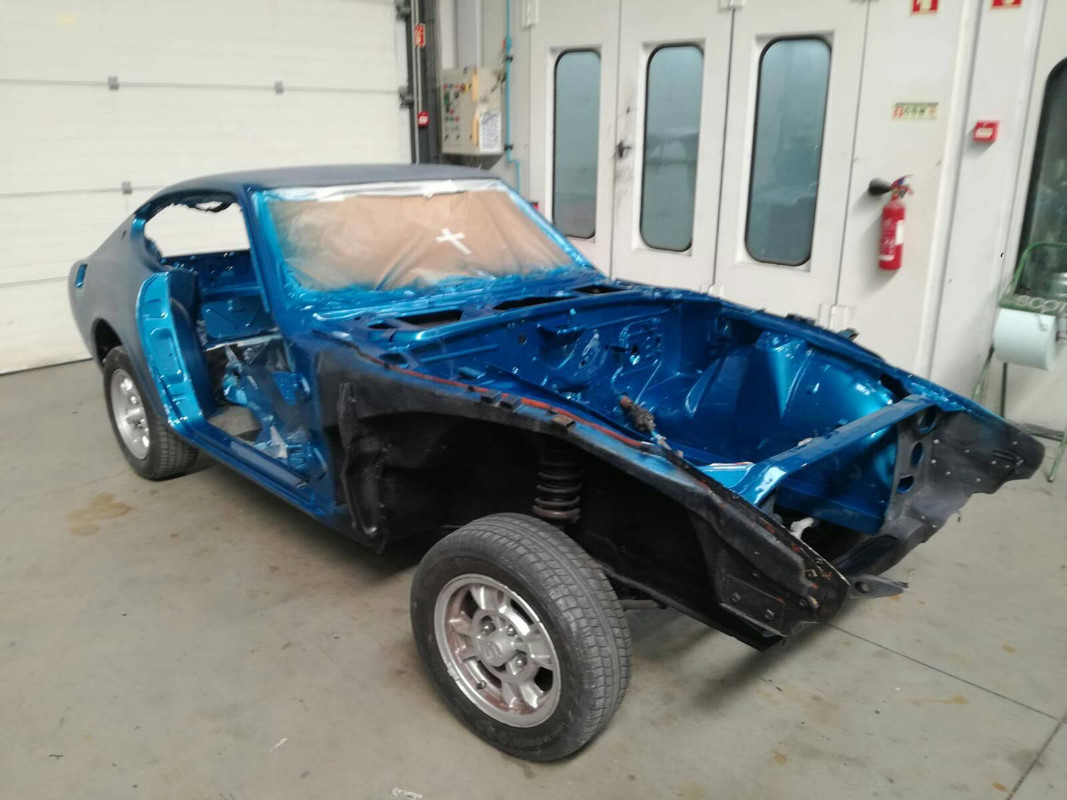

The comparison...
Regards
M�rio
I'm back with fresh news!
Here is the car after the painting job!!!
It looks awesome!!! I'm very happy with the results!!!
The colour is the original...I�m waiting for the final result!!!
The comparison...
Regards
M�rio
11-17-2018, 05:35 PM
#24
Registered User
Thread Starter
Join Date: Jul 2017
Posts: 42
Hi, here I come again with fresh news!
This weekend we made a new up-grade on some parts, and finally we start the assembling…slowly, but started…
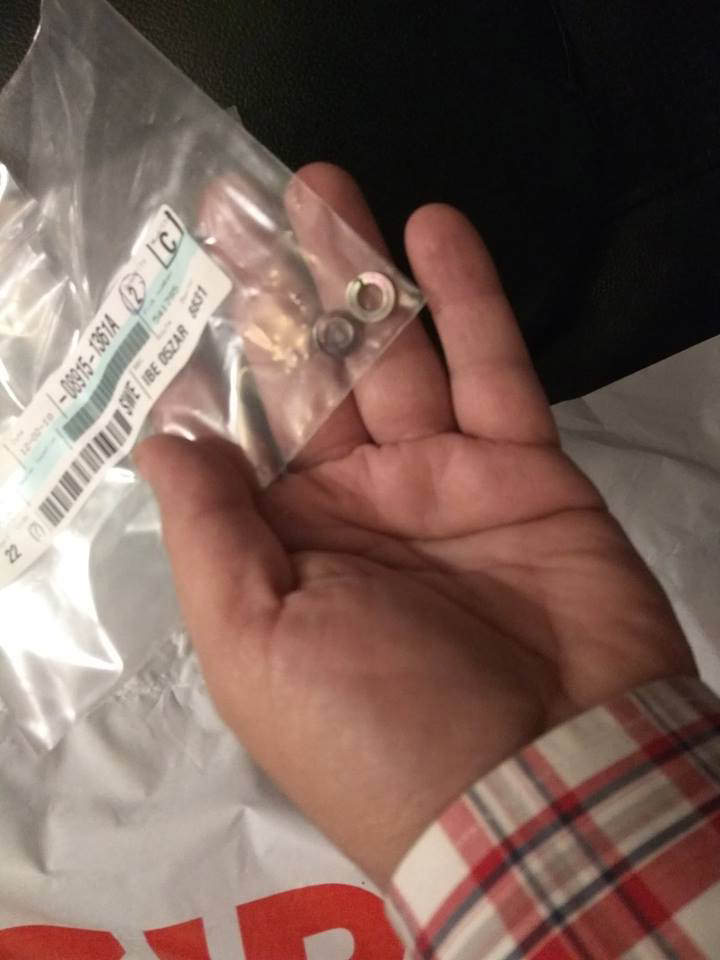
During the last week, I got most of the important parts to assemble the car, parts like bolts kit, rubbers kit, details for doors and some engine bay parts. I’ll make a list as lonf as we will put them on the car.
Most parts are original and the aftermaket ones are excelente quality,
Today Mr.Vitorino woke me up at 8:00 o’clock… - Hey, where are you???? - I’m sleeping…jump off the bed and come immediately to work on the car!!!! And so I did…ehehehehe
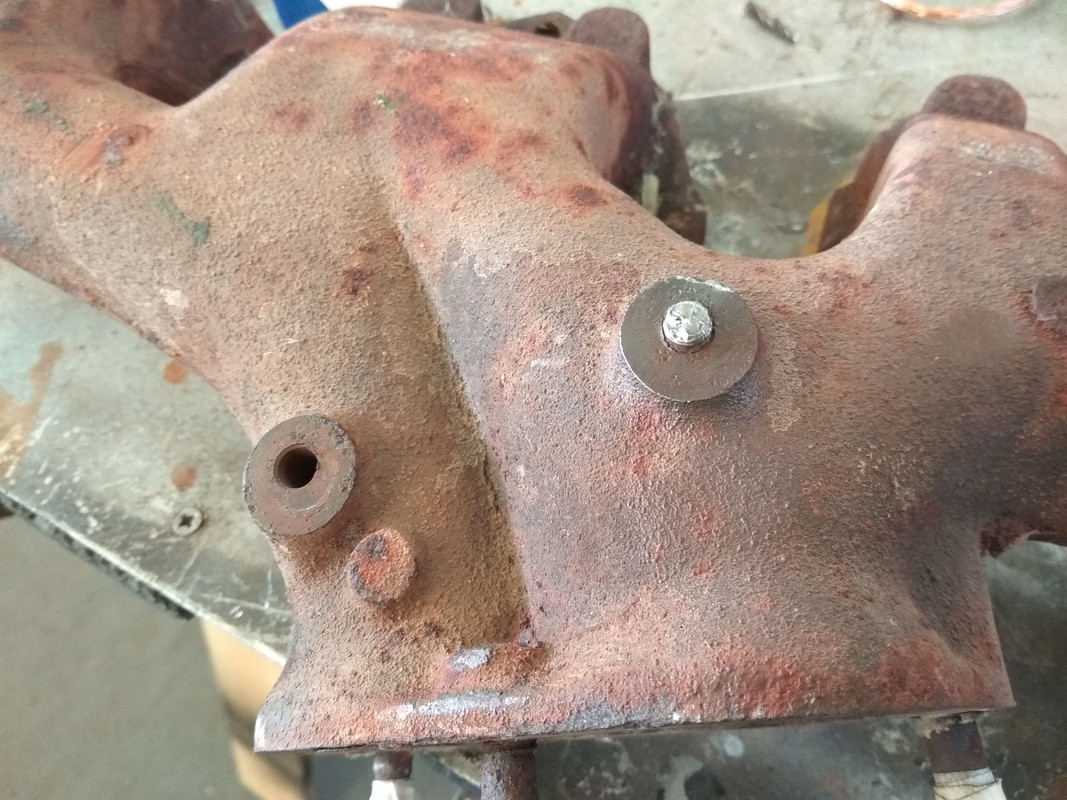
A stubborn bolt…it broke when we dissemble the engie…but Mr.Vitorino saved the day!!!
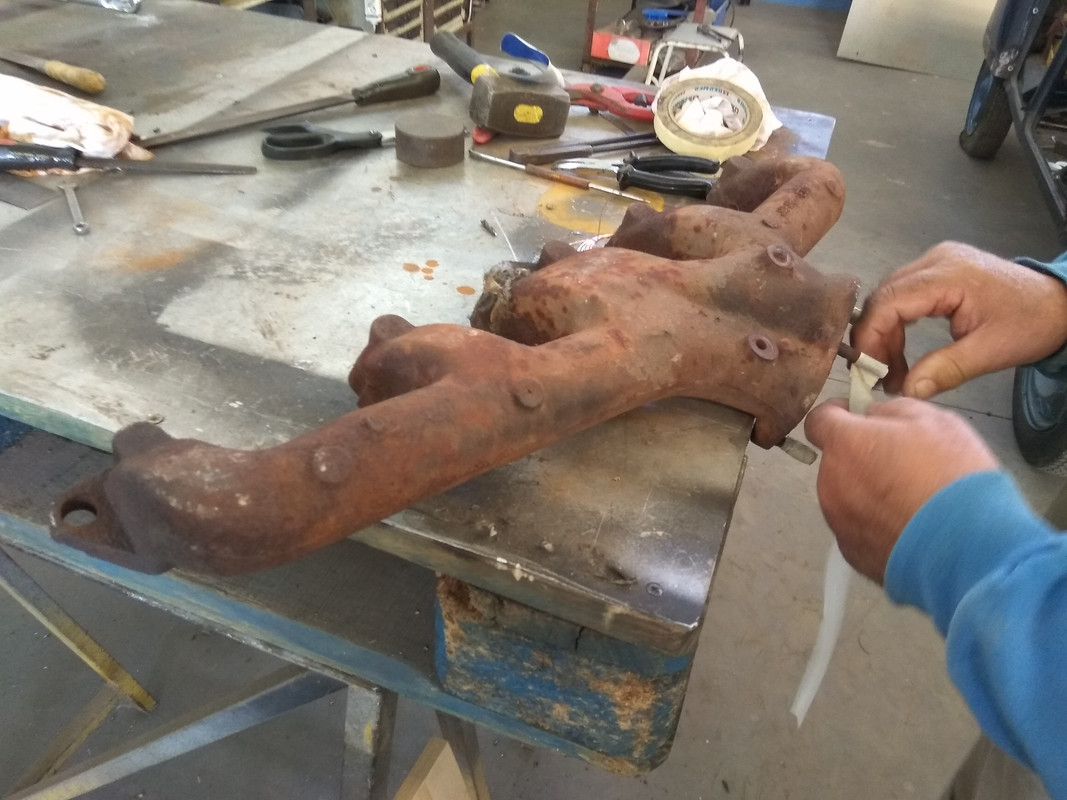
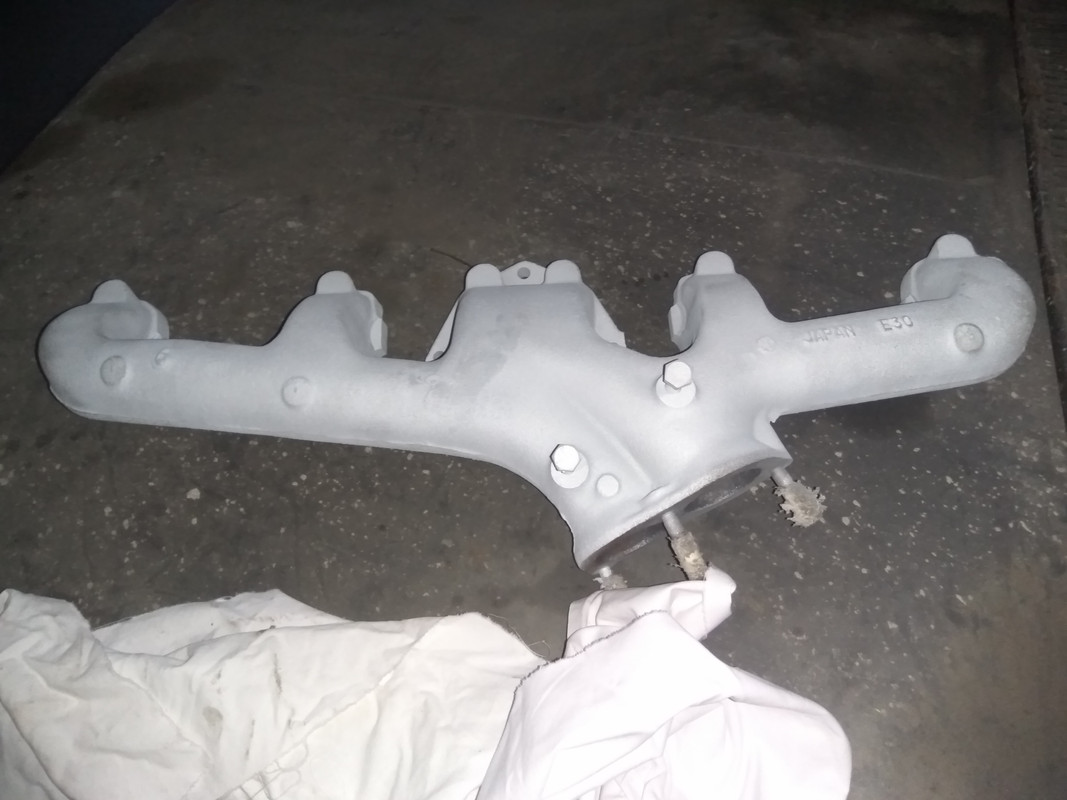
This is the resulto of the sandblast and metalization…this part is not ended yet, it will be painted with high temperature paint.
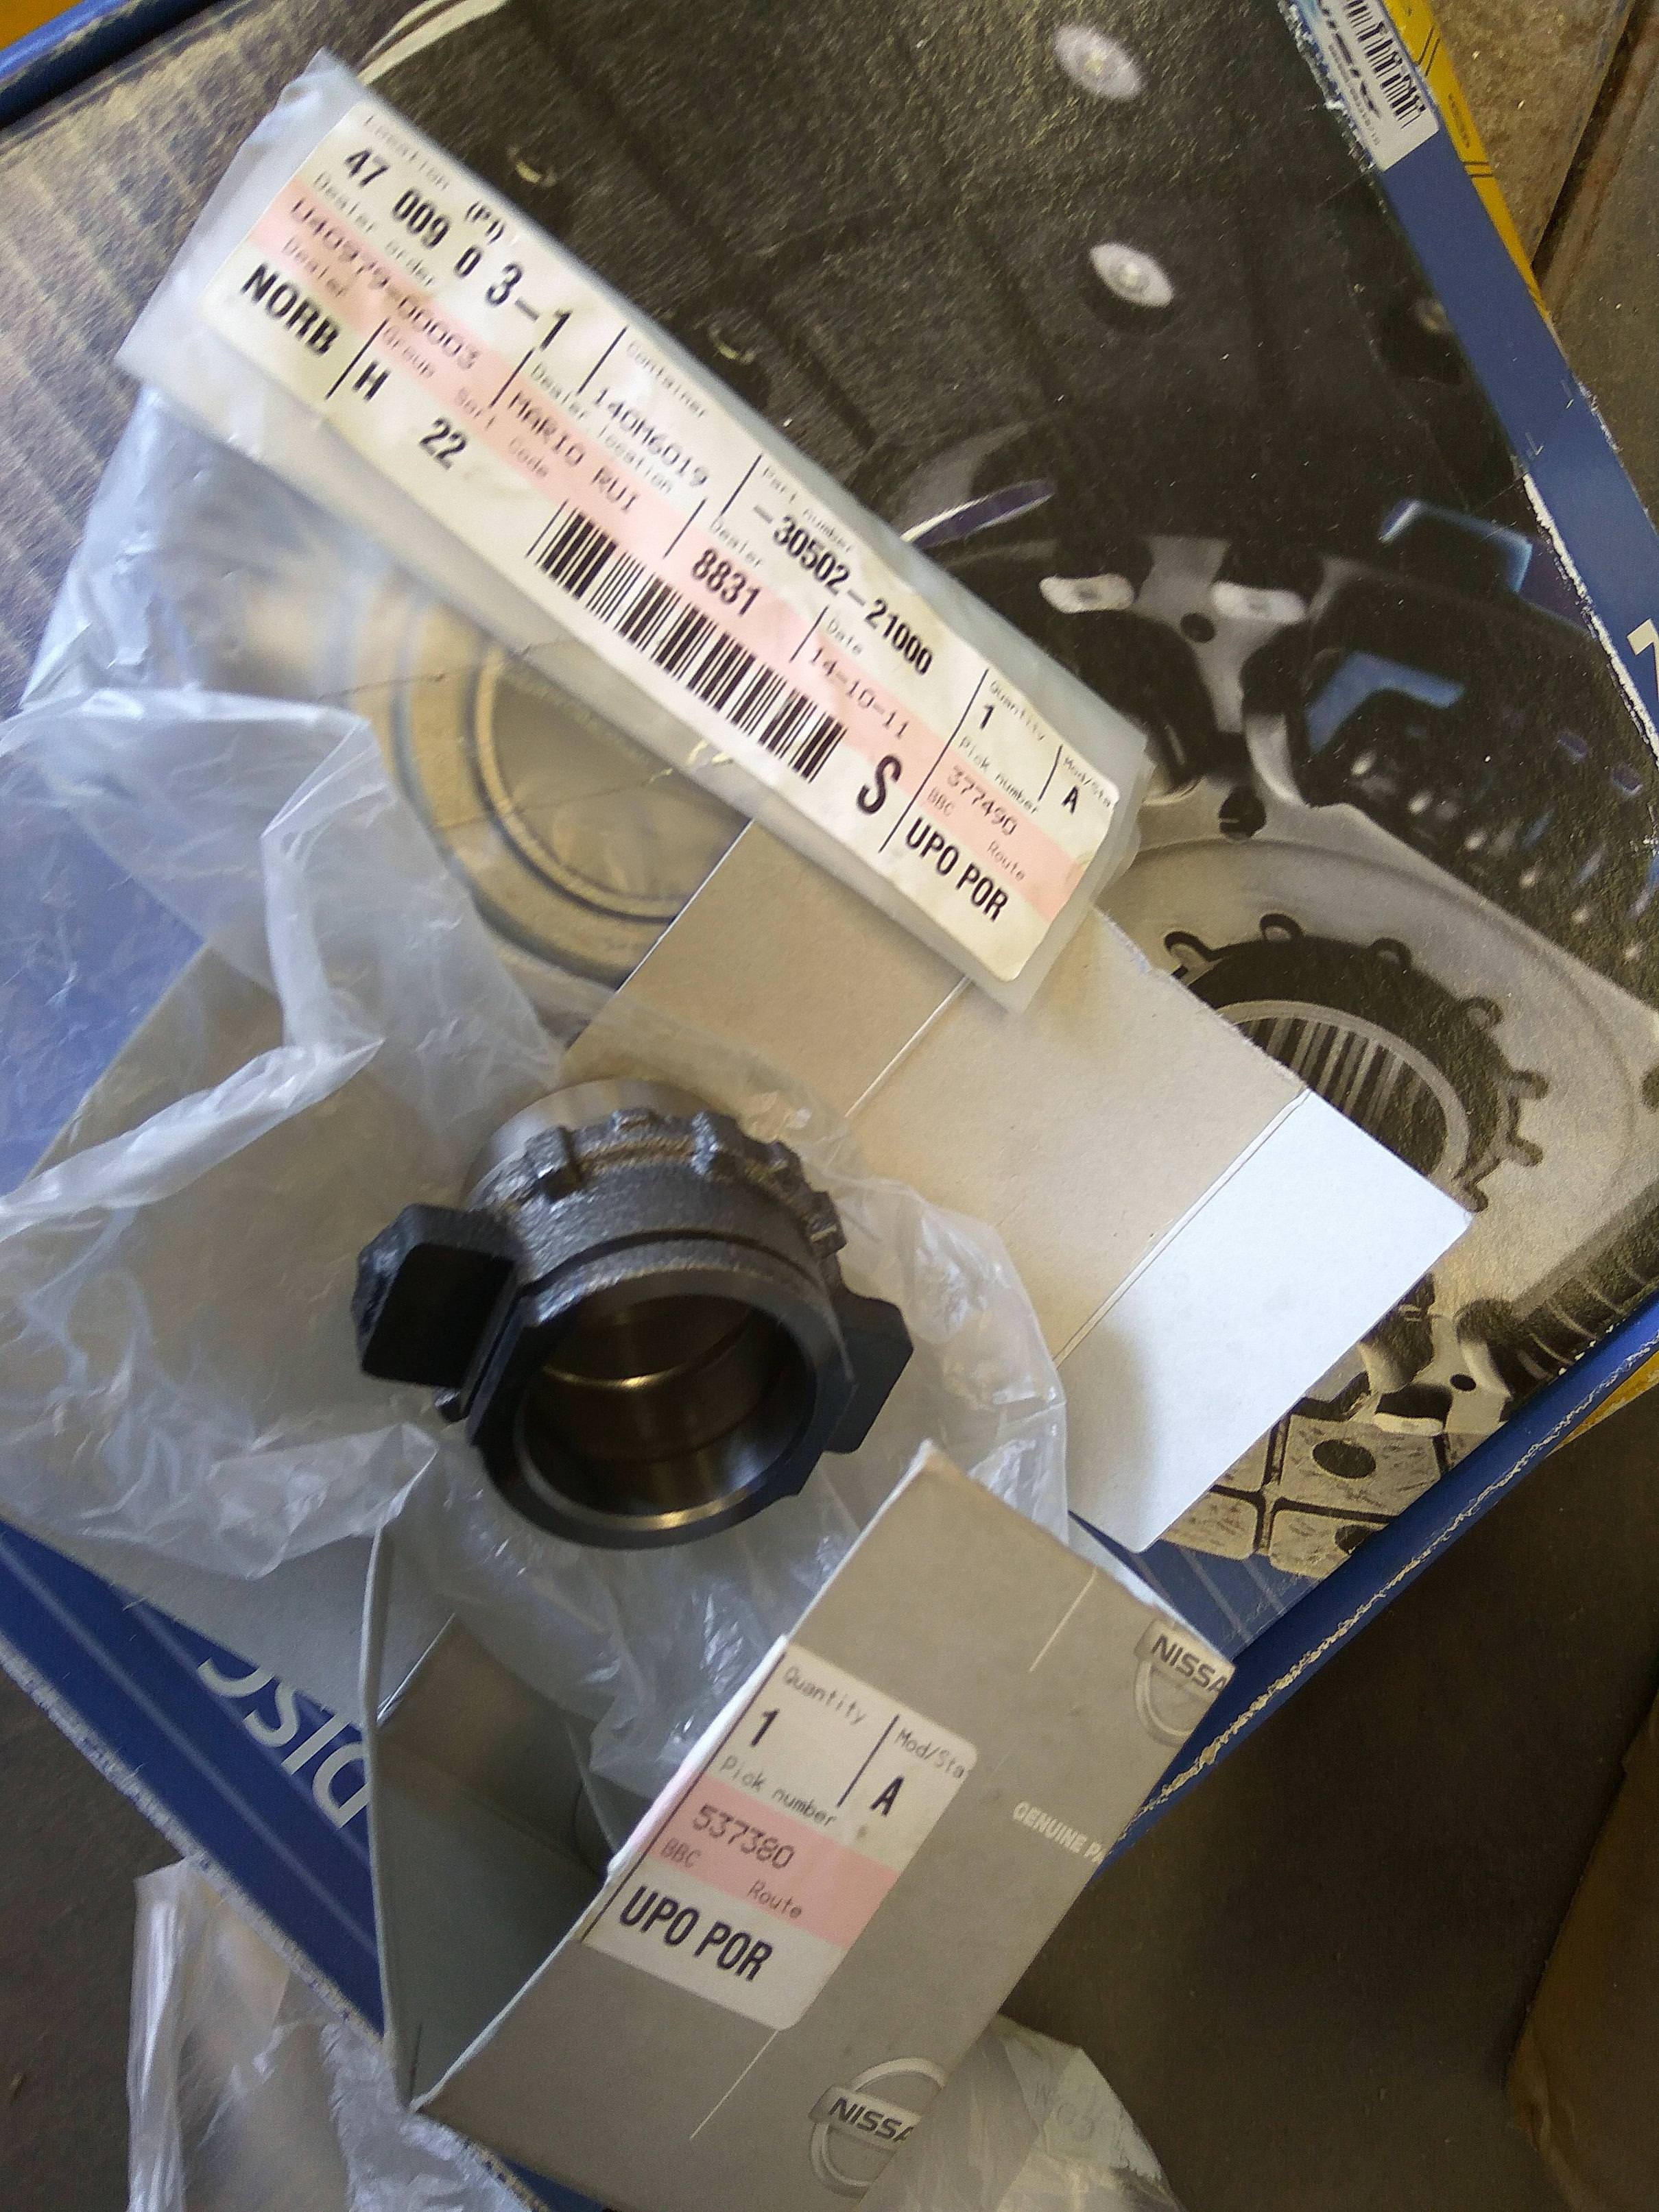
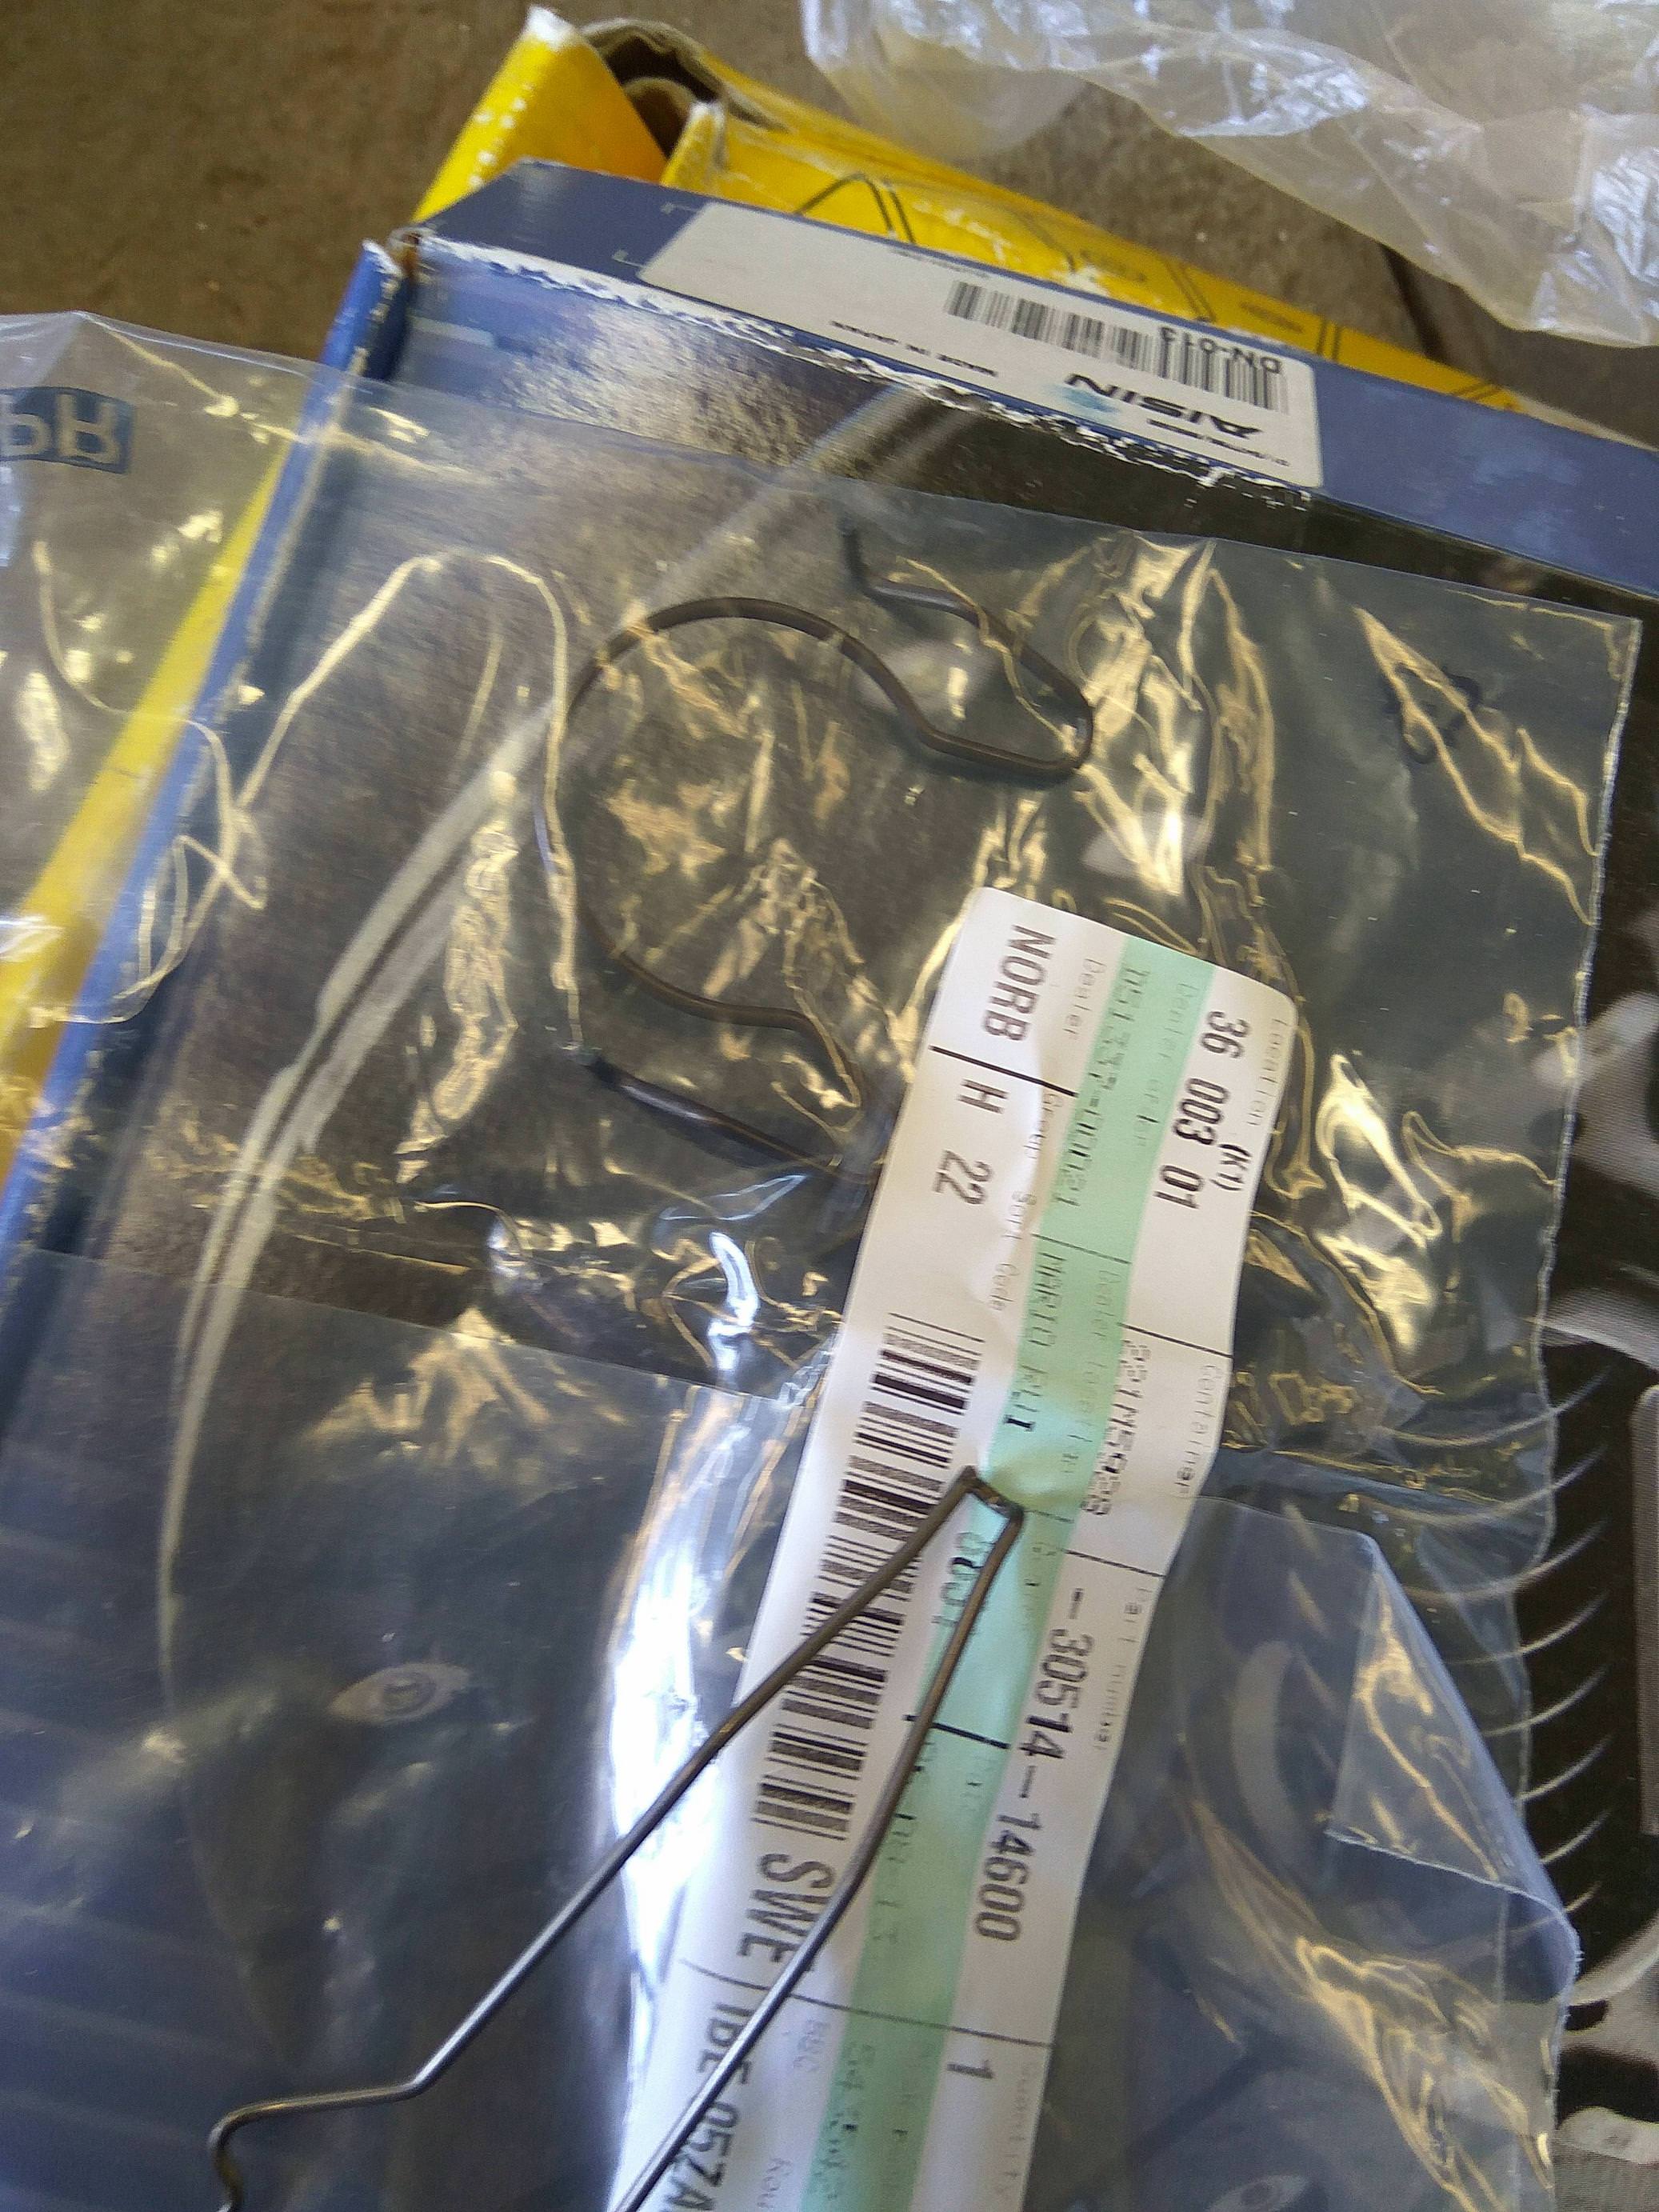
This was missing part for the gearbox…

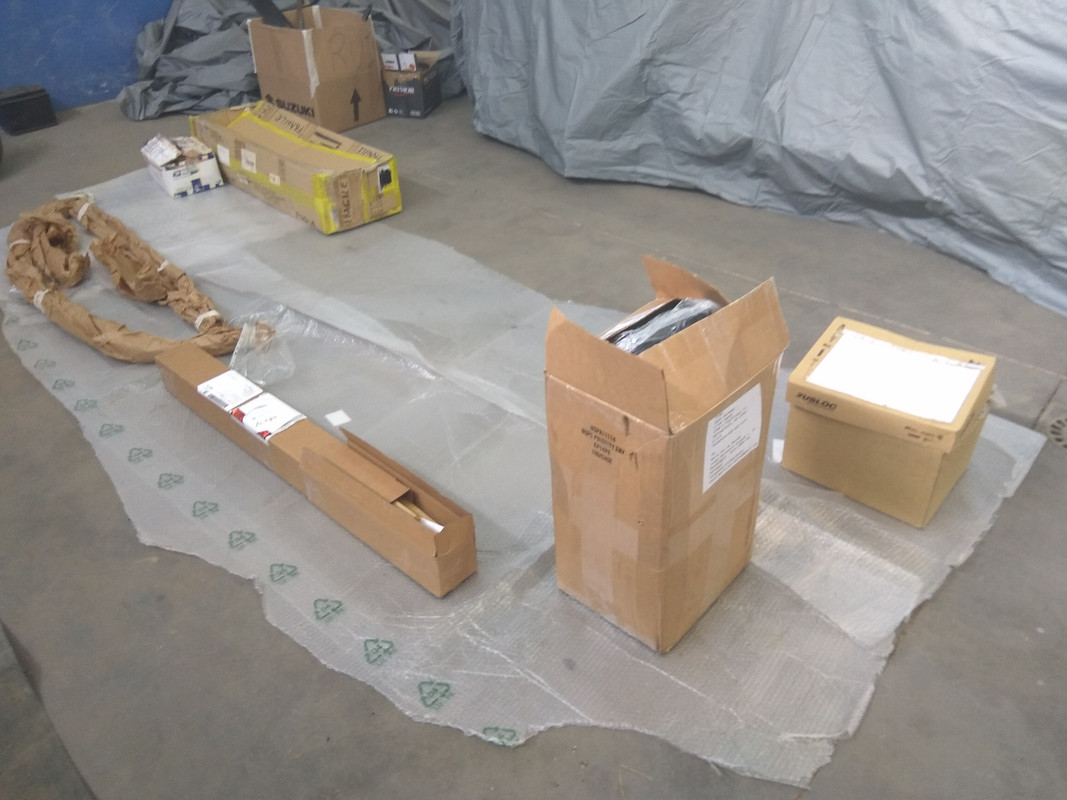
New parts arrival and some care on organization!
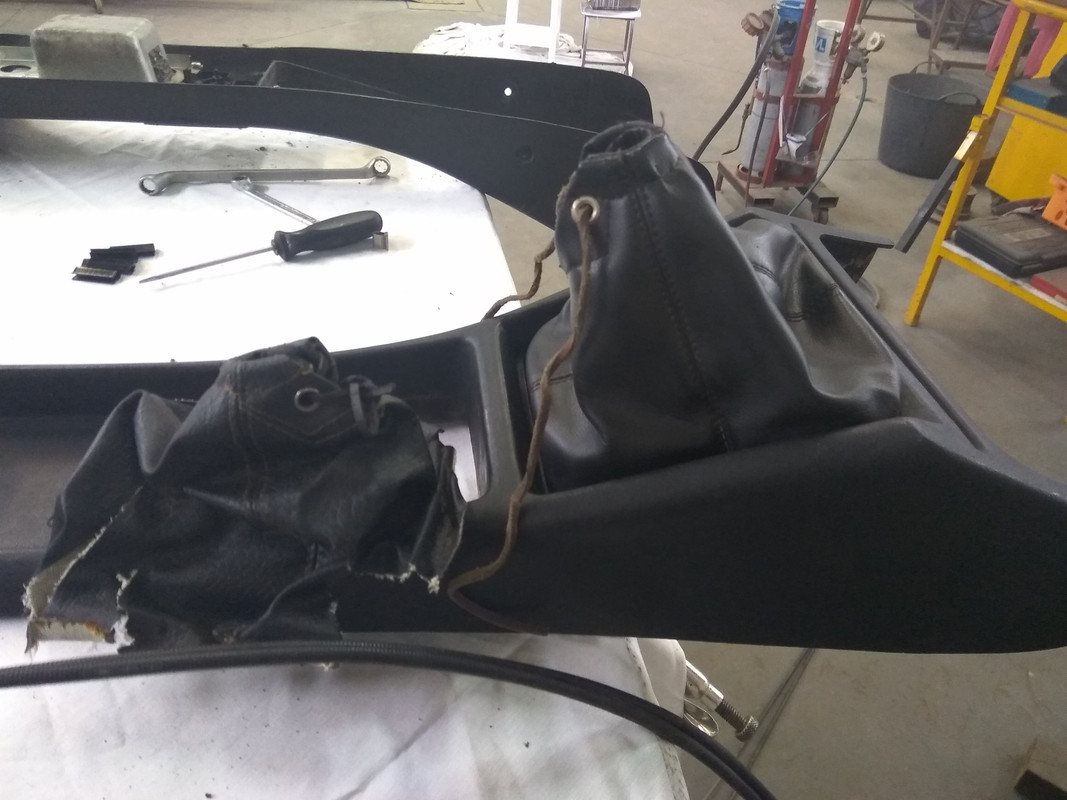
Center console up-grade

My car is a second series from March 1971, but the previous owner changes some details, and the center console was one of them.
I bought a series II to make this up-grade to make the car as much original I can. This console is much more attractive than the other…I’m extremely happy with the final result.
[img]0https://i.postimg.cc/sf80mzk1/IMG-20181117-143115.jpg[/img]
Even the leather pattern has small disserences…
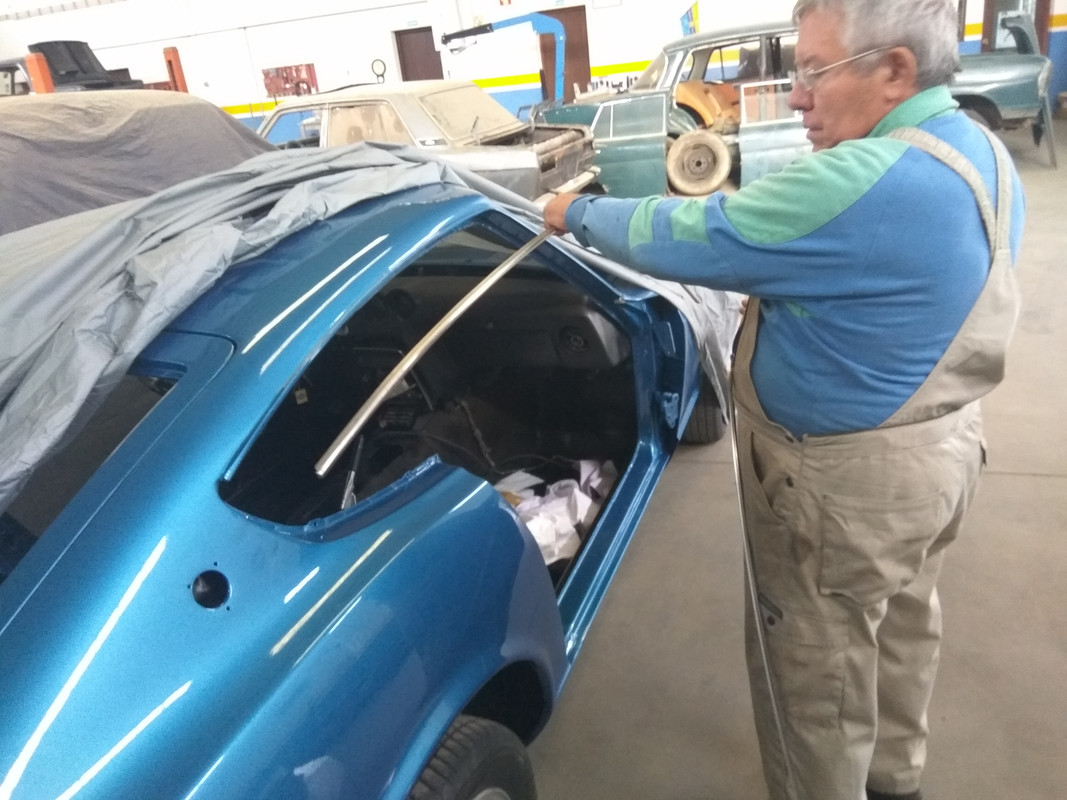
And this is the beginning…the first part that goes to the car…the exterior chrome trims…
Mr. Vitorino cleaning them with a moisture to make them bright.
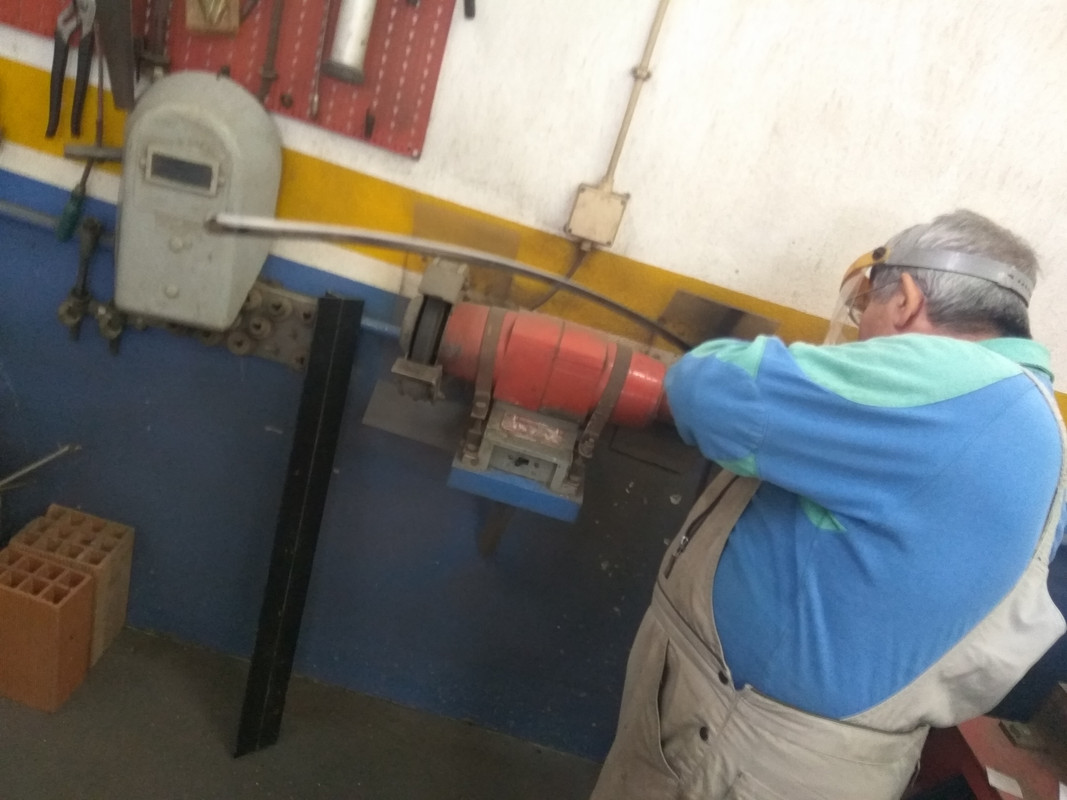

And the final result…applied on car…
Hope you enjoy this weekend work…next week will have more news…we will strat with the rear end!
Regards
M�rio
This weekend we made a new up-grade on some parts, and finally we start the assembling…slowly, but started…
During the last week, I got most of the important parts to assemble the car, parts like bolts kit, rubbers kit, details for doors and some engine bay parts. I’ll make a list as lonf as we will put them on the car.
Most parts are original and the aftermaket ones are excelente quality,
Today Mr.Vitorino woke me up at 8:00 o’clock… - Hey, where are you???? - I’m sleeping…jump off the bed and come immediately to work on the car!!!! And so I did…ehehehehe
A stubborn bolt…it broke when we dissemble the engie…but Mr.Vitorino saved the day!!!
This is the resulto of the sandblast and metalization…this part is not ended yet, it will be painted with high temperature paint.
This was missing part for the gearbox…
New parts arrival and some care on organization!
Center console up-grade
My car is a second series from March 1971, but the previous owner changes some details, and the center console was one of them.
I bought a series II to make this up-grade to make the car as much original I can. This console is much more attractive than the other…I’m extremely happy with the final result.
[img]0https://i.postimg.cc/sf80mzk1/IMG-20181117-143115.jpg[/img]
Even the leather pattern has small disserences…
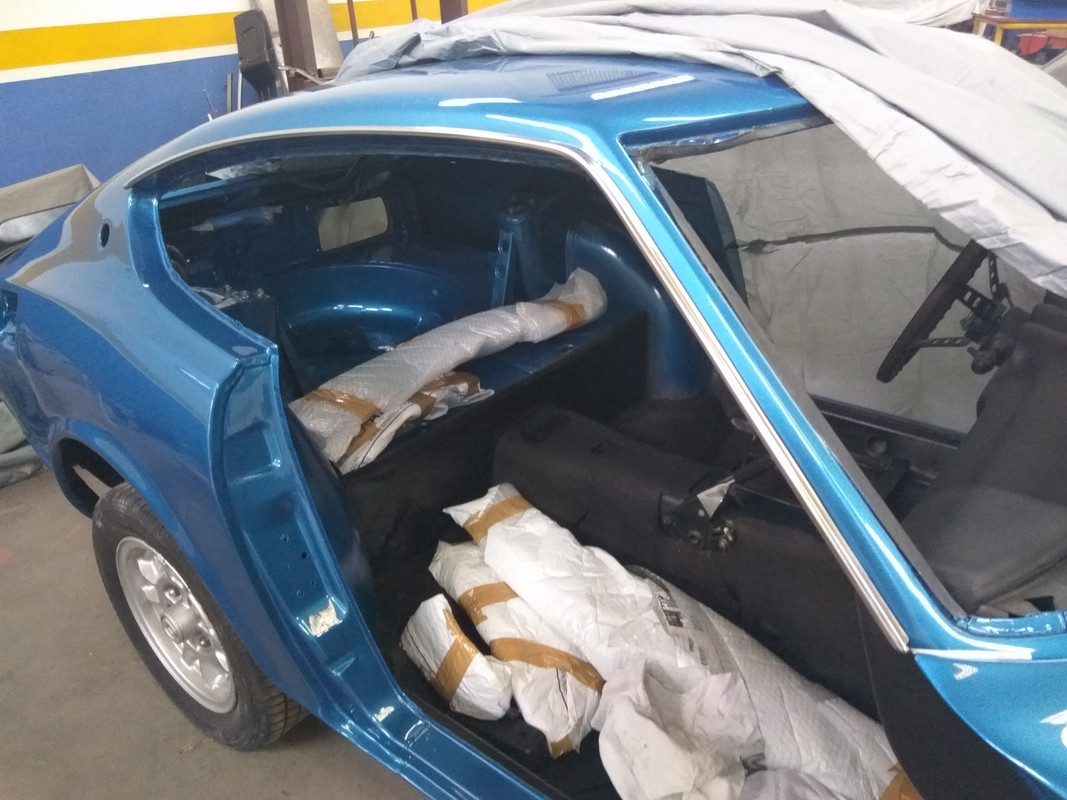
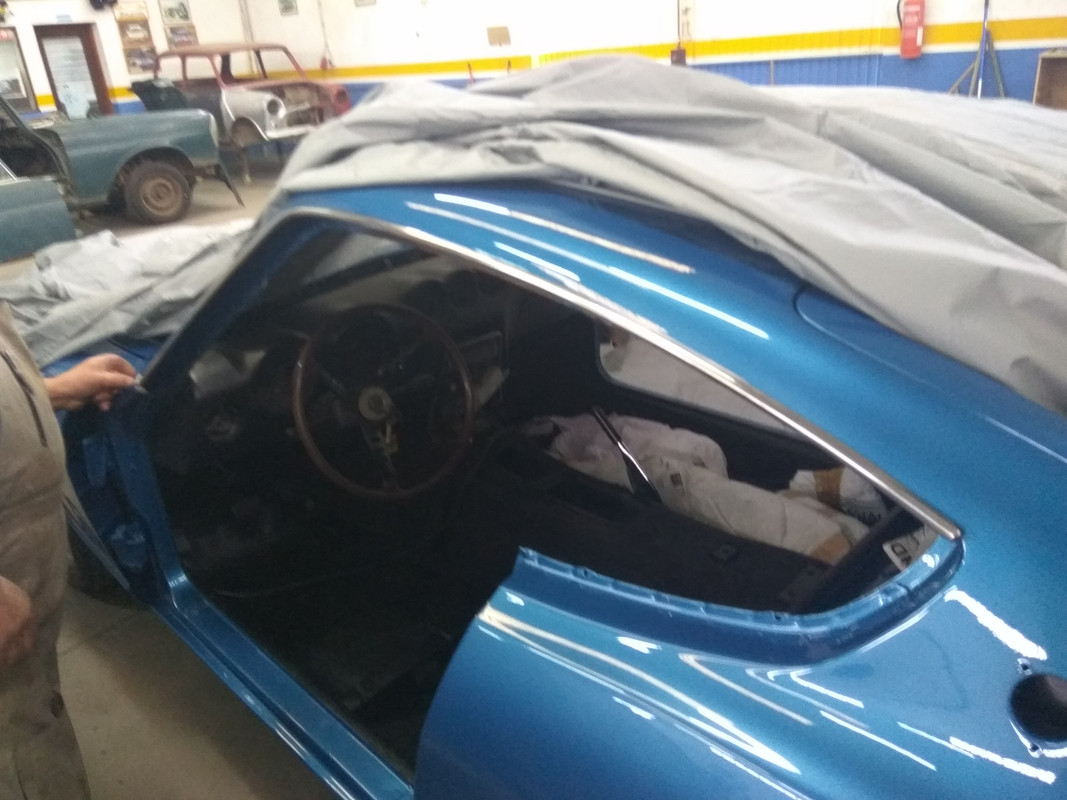
And this is the beginning…the first part that goes to the car…the exterior chrome trims…
Mr. Vitorino cleaning them with a moisture to make them bright.
And the final result…applied on car…
Hope you enjoy this weekend work…next week will have more news…we will strat with the rear end!
Regards
M�rio
12-08-2018, 03:30 PM
#25
Registered User
Thread Starter
Join Date: Jul 2017
Posts: 42
Hi!
Today I’ll show some up-grades on details and new parts I got installed.
Next week I’ll be on Christmas holidays and then the assembling continue with another rhythm. We have some interior parts, and the rear windows…what a trouble…ahahaha….rubbers and more rubbers…I’m exhausted…ehehehe
Let’s move on…
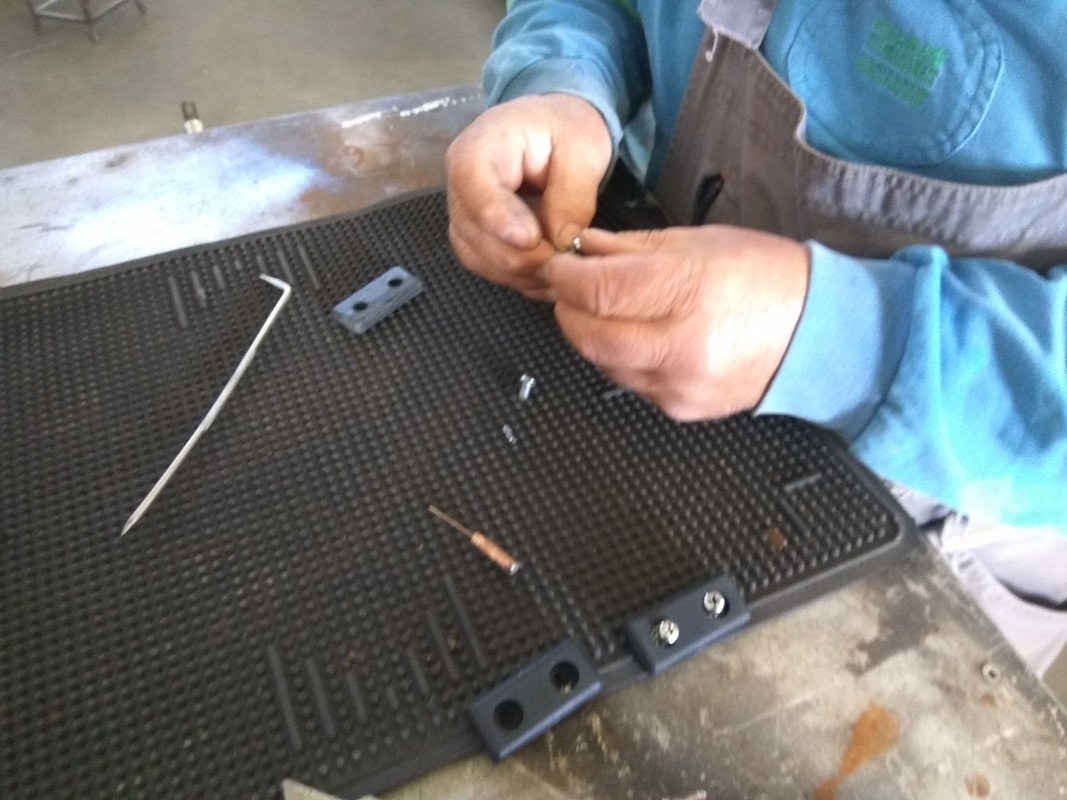
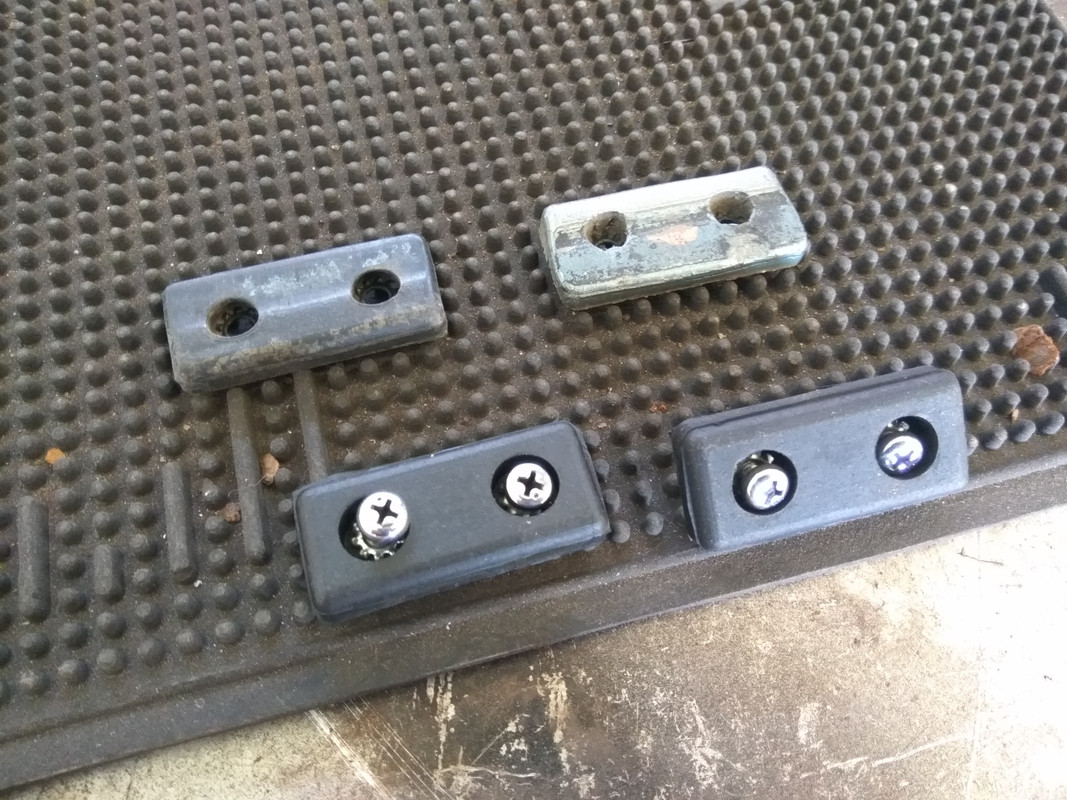
New parts on the rear…Mr.Vitorino changing the washers to the new parts.
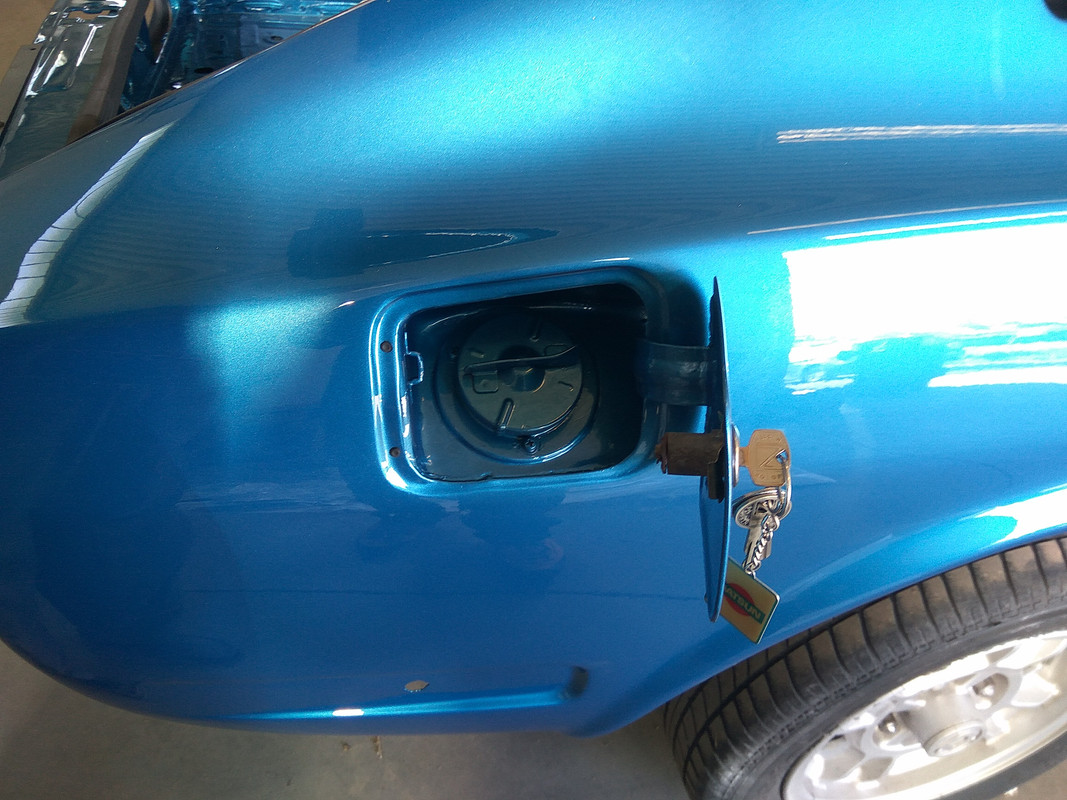
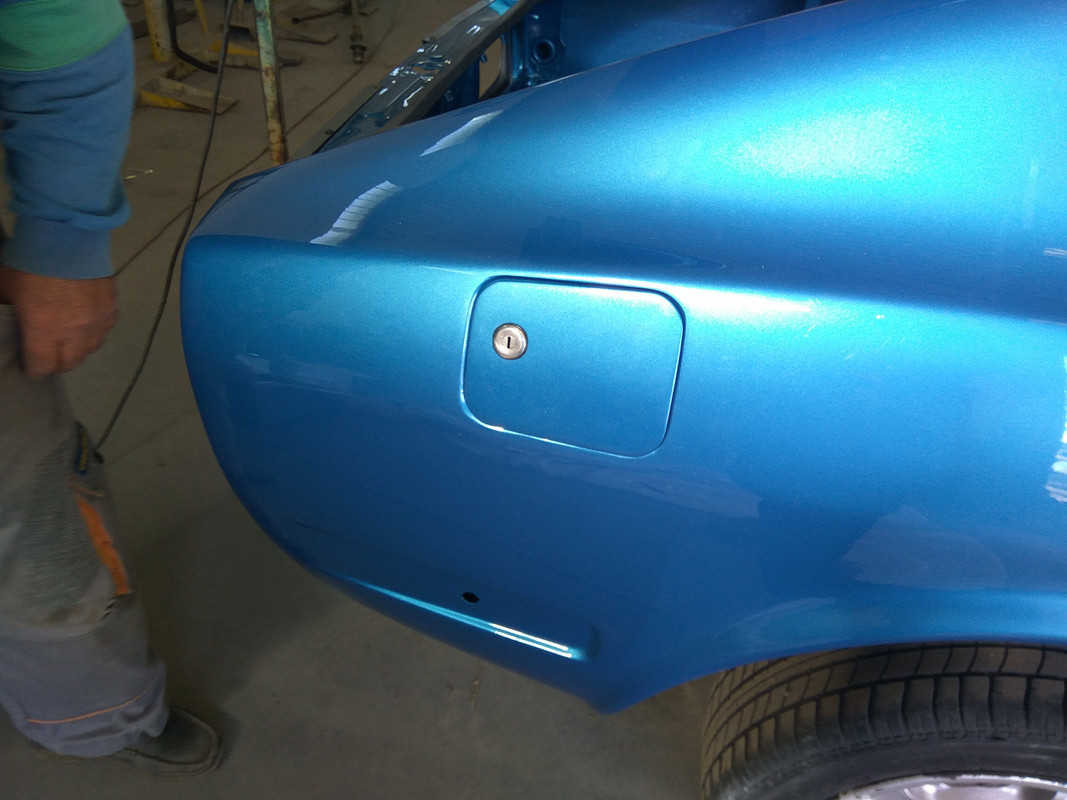
Then we move into the gas cap…not finished yet…need the cover plated…will arrive soon.
The vin plate…

Now the interiors…they are the original ones. I decide to use them because they are part of the car and Loved the result…
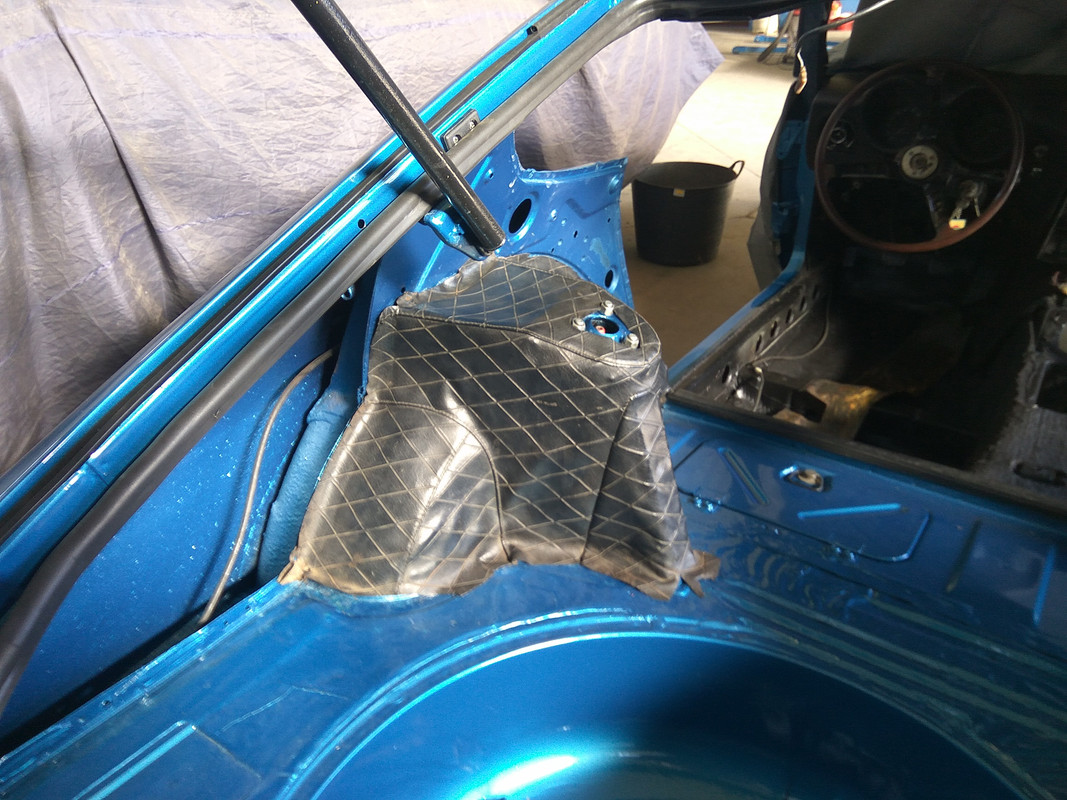
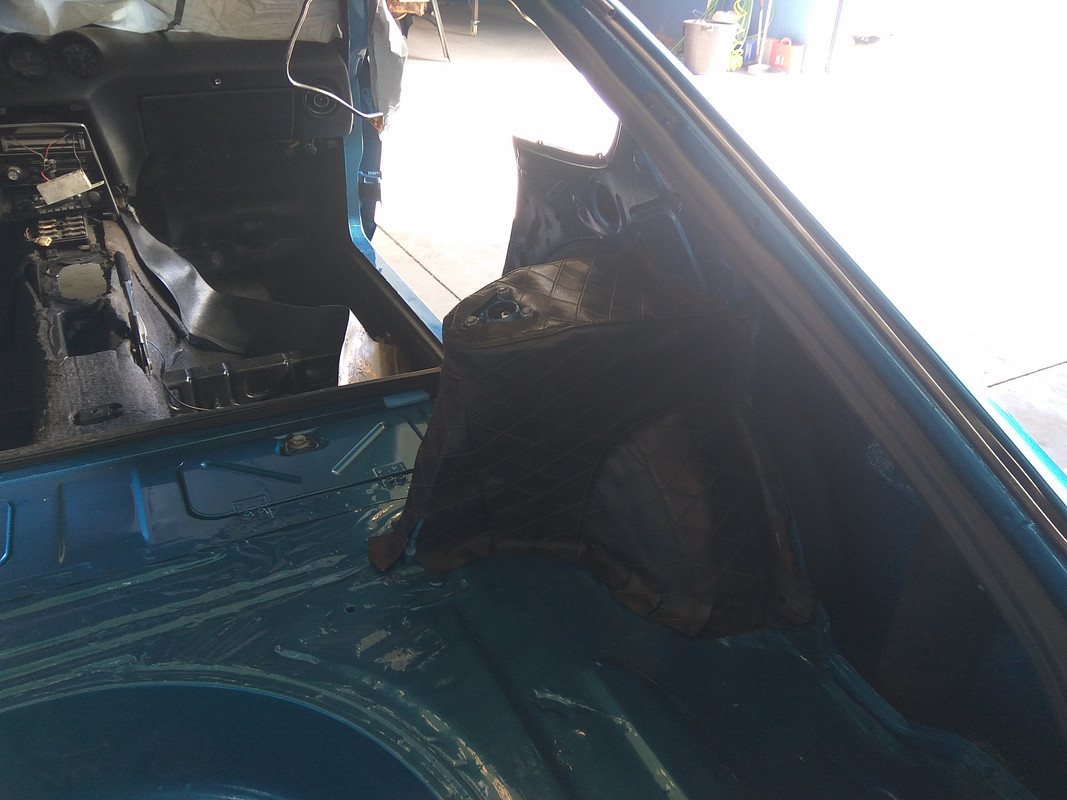
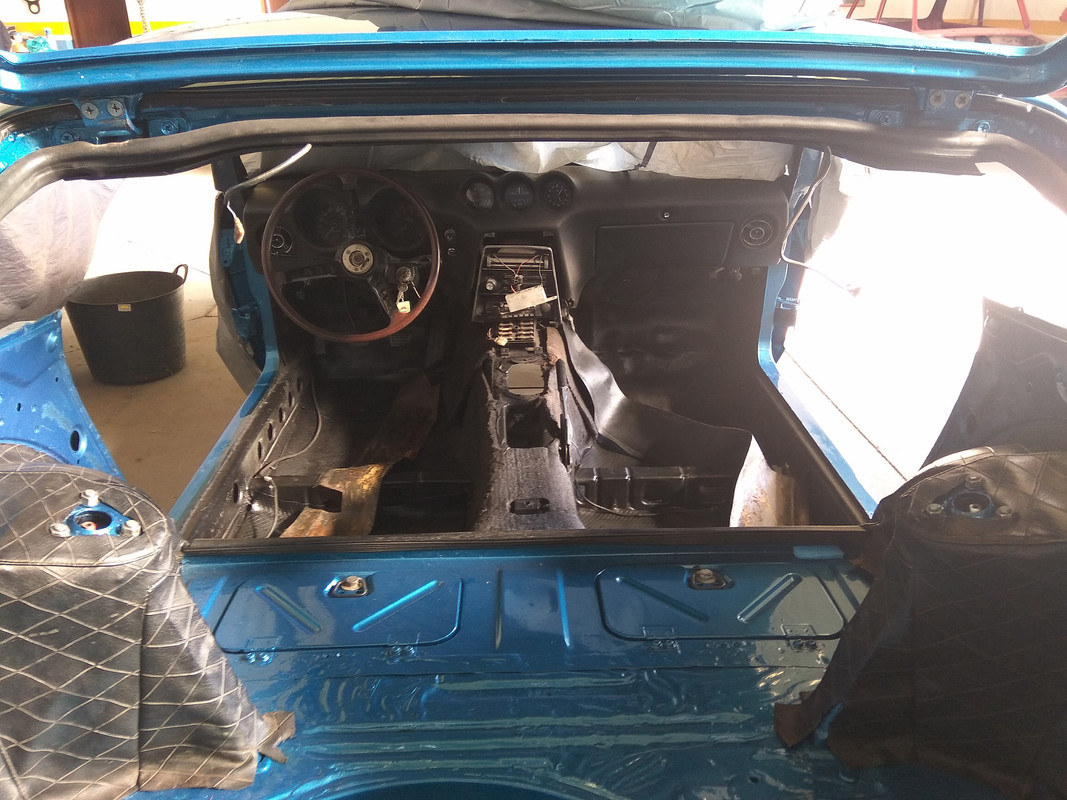
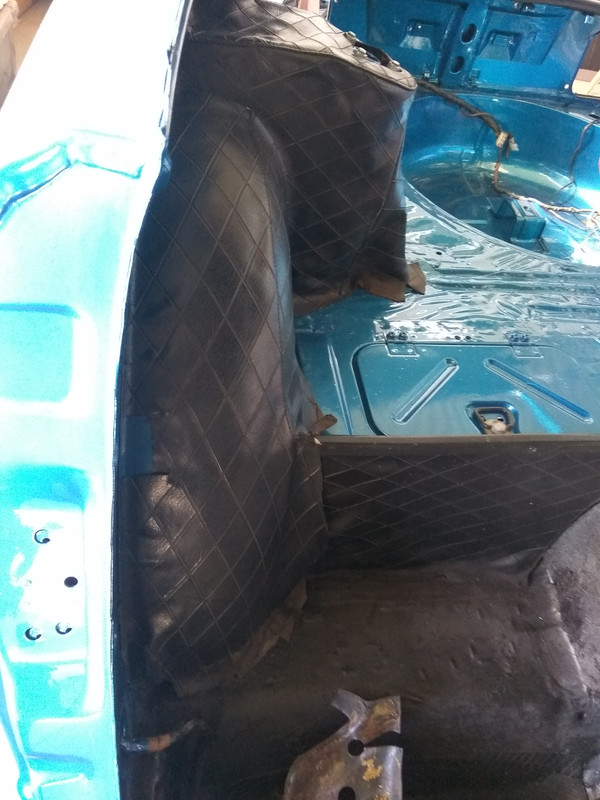
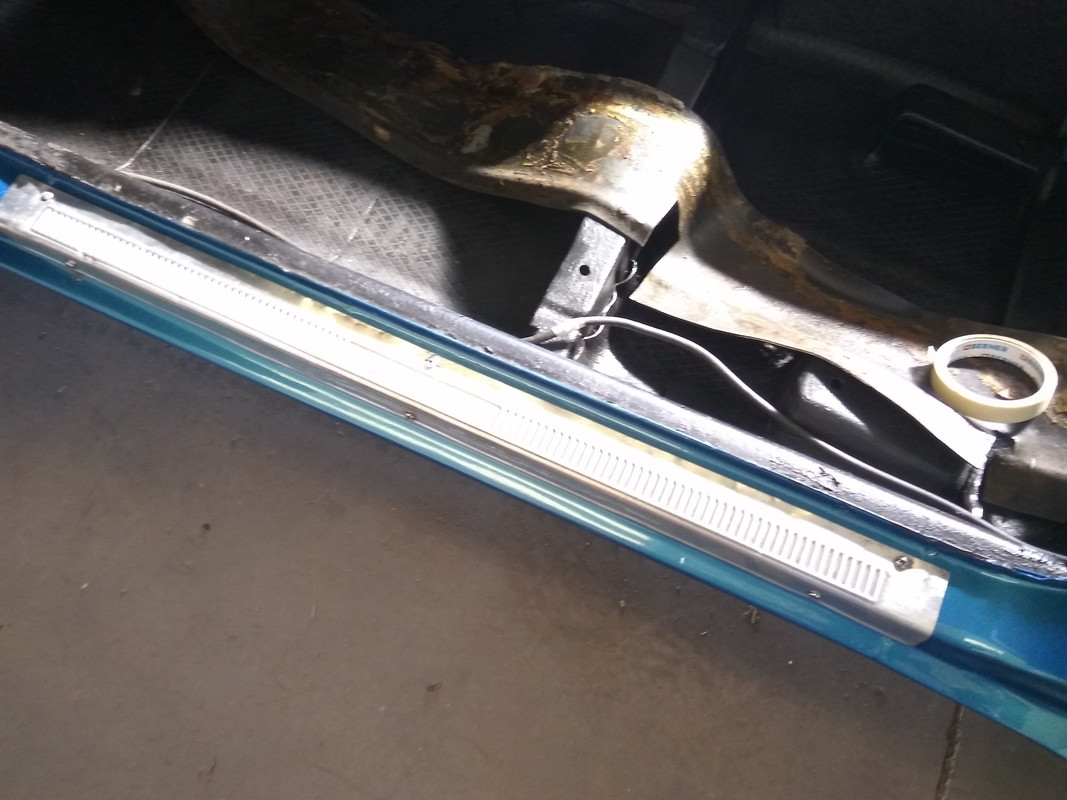
The kick panels got installed too. Mr.Vitorino just polished them…what a result!!!

Today I’ll show some up-grades on details and new parts I got installed.
Next week I’ll be on Christmas holidays and then the assembling continue with another rhythm. We have some interior parts, and the rear windows…what a trouble…ahahaha….rubbers and more rubbers…I’m exhausted…ehehehe
Let’s move on…
New parts on the rear…Mr.Vitorino changing the washers to the new parts.
Then we move into the gas cap…not finished yet…need the cover plated…will arrive soon.
The vin plate…
Now the interiors…they are the original ones. I decide to use them because they are part of the car and Loved the result…
The kick panels got installed too. Mr.Vitorino just polished them…what a result!!!


