Formal Introductions
 01-28-2013, 04:10 PM
#26
Registered User
Thread Starter

Join Date: Nov 2012
Location: Los Angeles, CA
Posts: 95
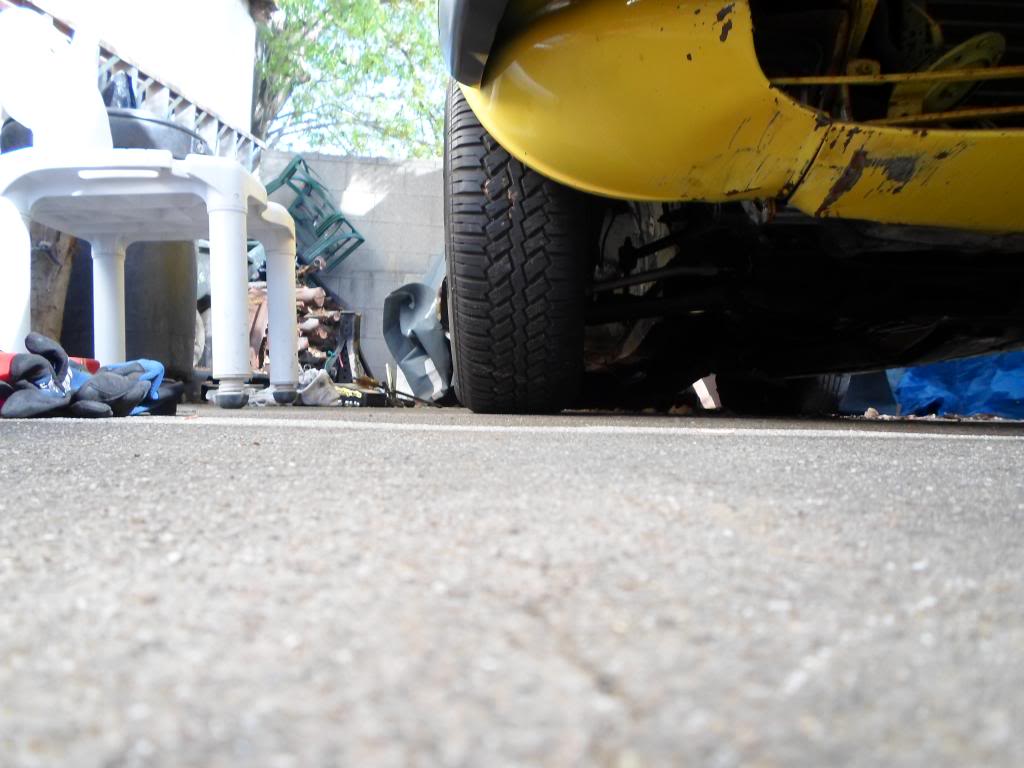
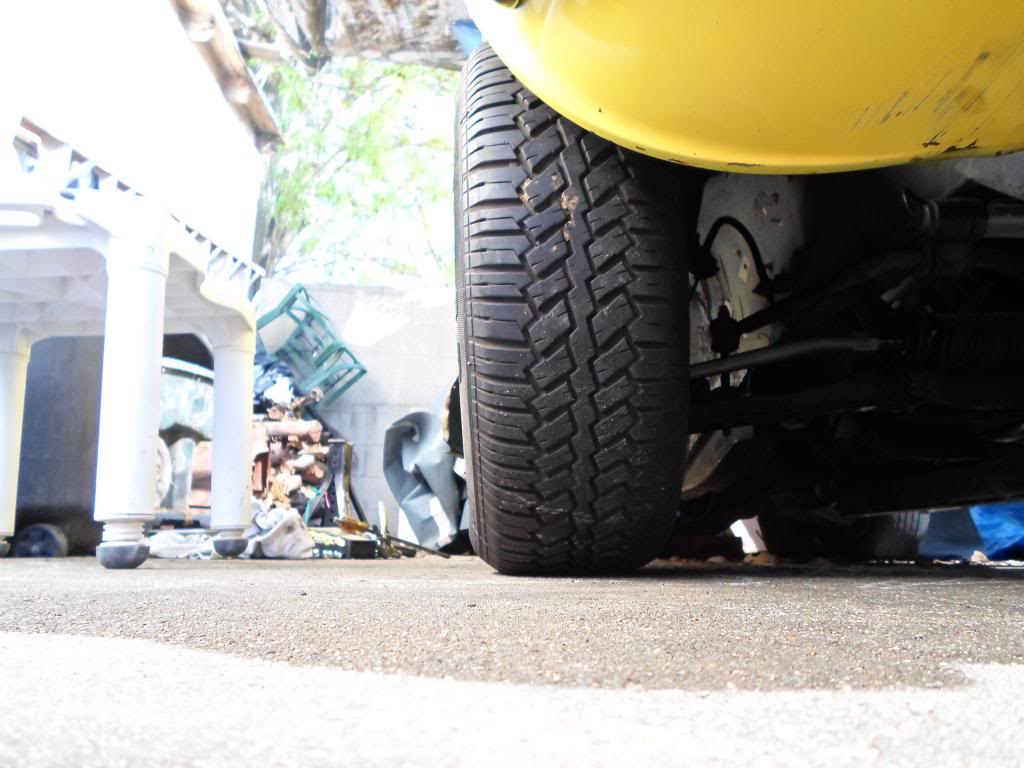
Rear alignment was out waaaaay out of whack after it destroyed my tires... guess it was whack beforehand too or else it wouldn't have destroyed them in the first place. haha Got it fixed now.  It's a '94 Acura Legend.
A week ago.

Older random pictures. lol


The 6 speed transmission really helps its cause too!
It's a '94 Acura Legend.A week ago.
Older random pictures. lol
The 6 speed transmission really helps its cause too!
Last edited by Homeboyx; 01-28-2013 at 04:13 PM.
 01-29-2013, 11:19 AM
#28
Registered User
Thread Starter
Join Date: Nov 2012
Location: Los Angeles, CA
Posts: 95
Ah yes.. you're talking about Tyson and his 500k+ Legend coupe, he's a cool guy with some pretty cool Acura's. lol I'm surprised that the word spread so far to be honest. haha His coupe is also a 6spd, last I talked to him he's still running on the original clutch and even brake rotors among other things iirc! The wheels I have on are the stock wheels for that GS model, only difference being that I sprayed them with black plastidip. 
01-29-2013, 01:26 PM
#29
Registered User

Join Date: Jun 2012
Posts: 49
Ah yes.. you're talking about Tyson and his 500k+ Legend coupe, he's a cool guy with some pretty cool Acura's. lol I'm surprised that the word spread so far to be honest. haha His coupe is also a 6spd, last I talked to him he's still running on the original clutch and even brake rotors among other things iirc! The wheels I have on are the stock wheels for that GS model, only difference being that I sprayed them with black plastidip.
01-29-2013, 07:10 PM
#30
Registered User
Thread Starter
Join Date: Nov 2012
Location: Los Angeles, CA
Posts: 95
Thanks!
----------------------------------------------

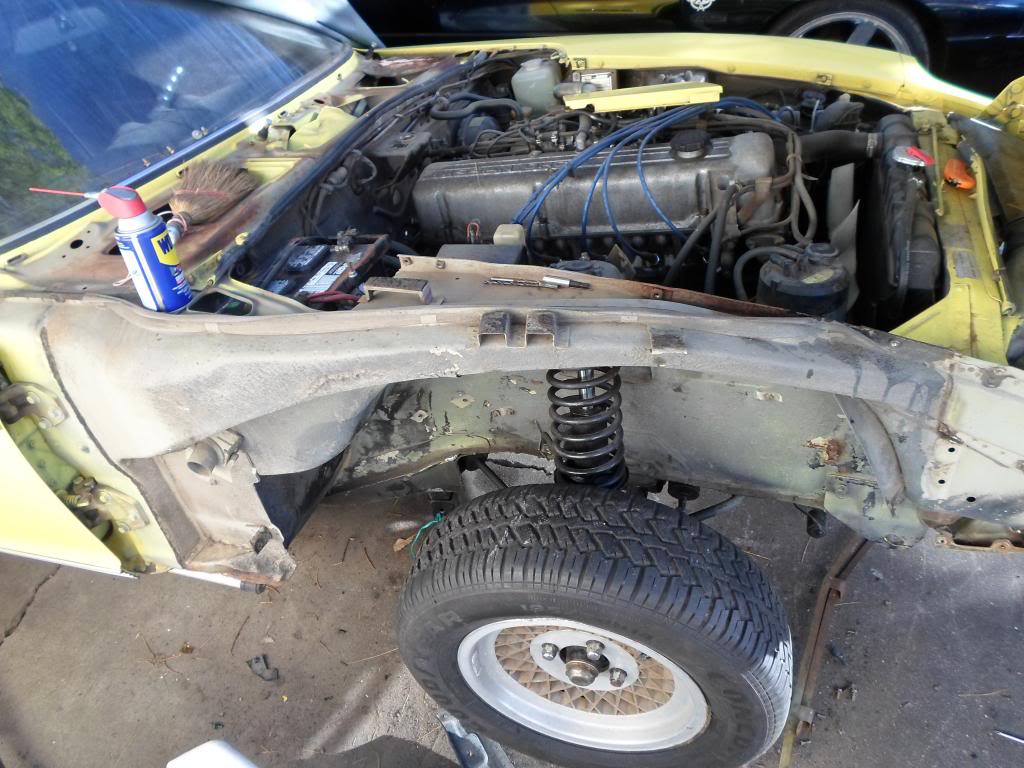
The car is now on all 4. :boink:
MOOG lifetime warranty? Hell yes. Didn't know it was a Duralast brand though. :headscratch:


The bad...
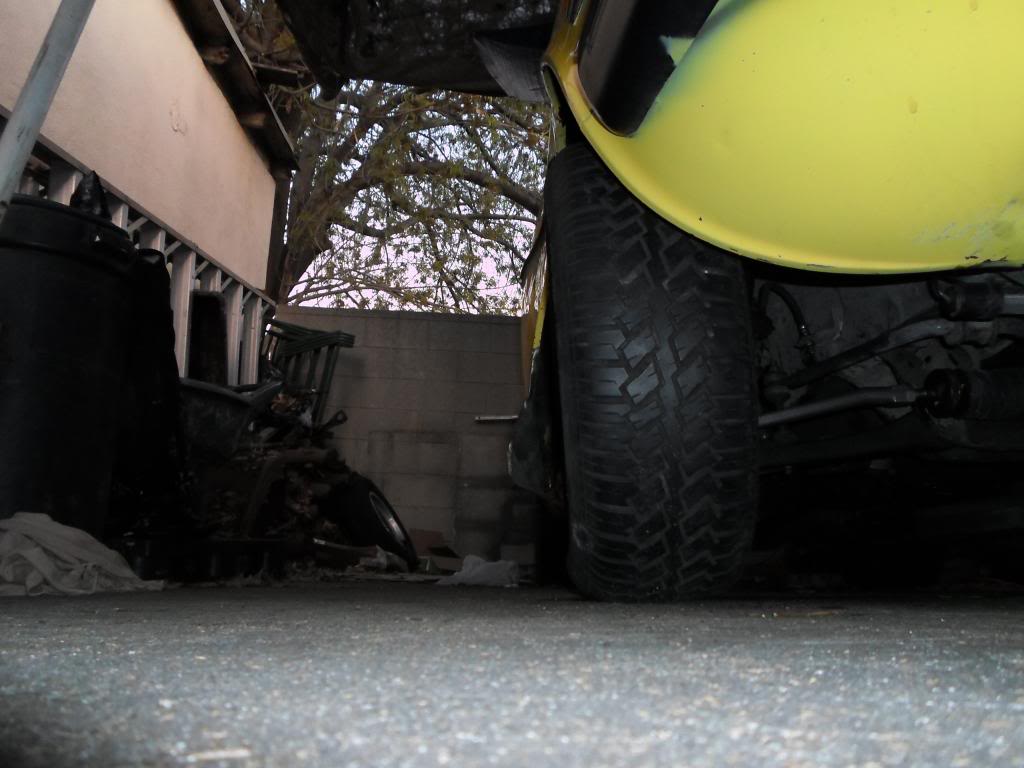
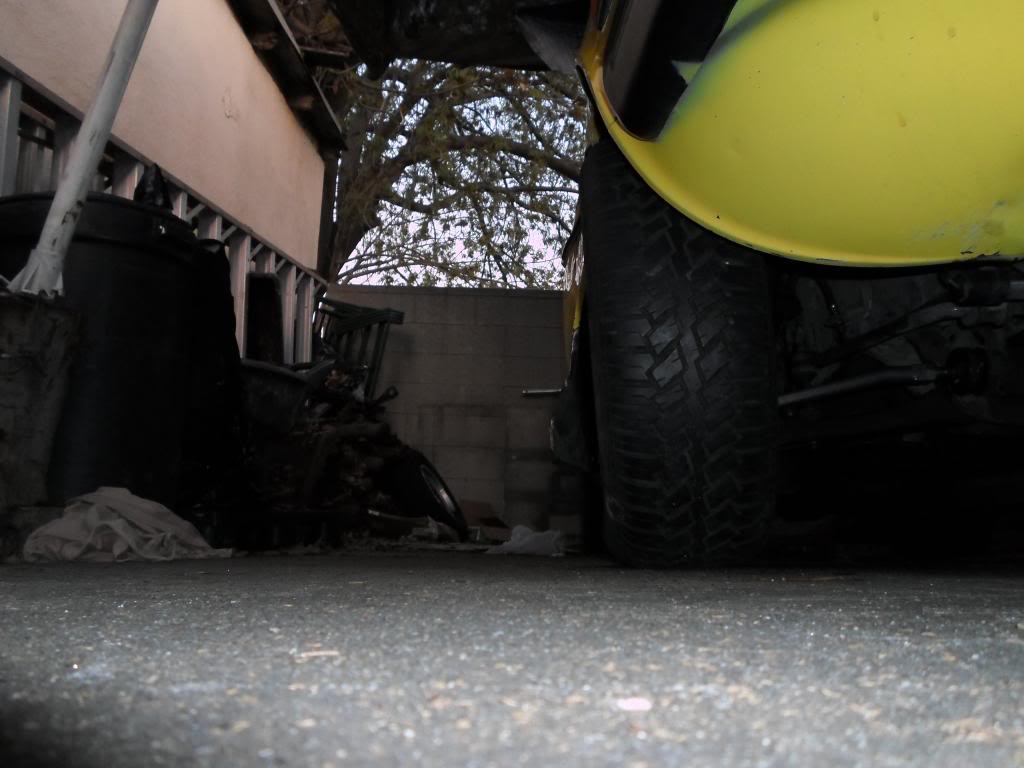
Yeaup.. positive camber. hgeez:
Then I remember that the old broken lower arm had this installed instead of a bushing.. any idea what these are for? Camber adjustment? *crosses fingers*
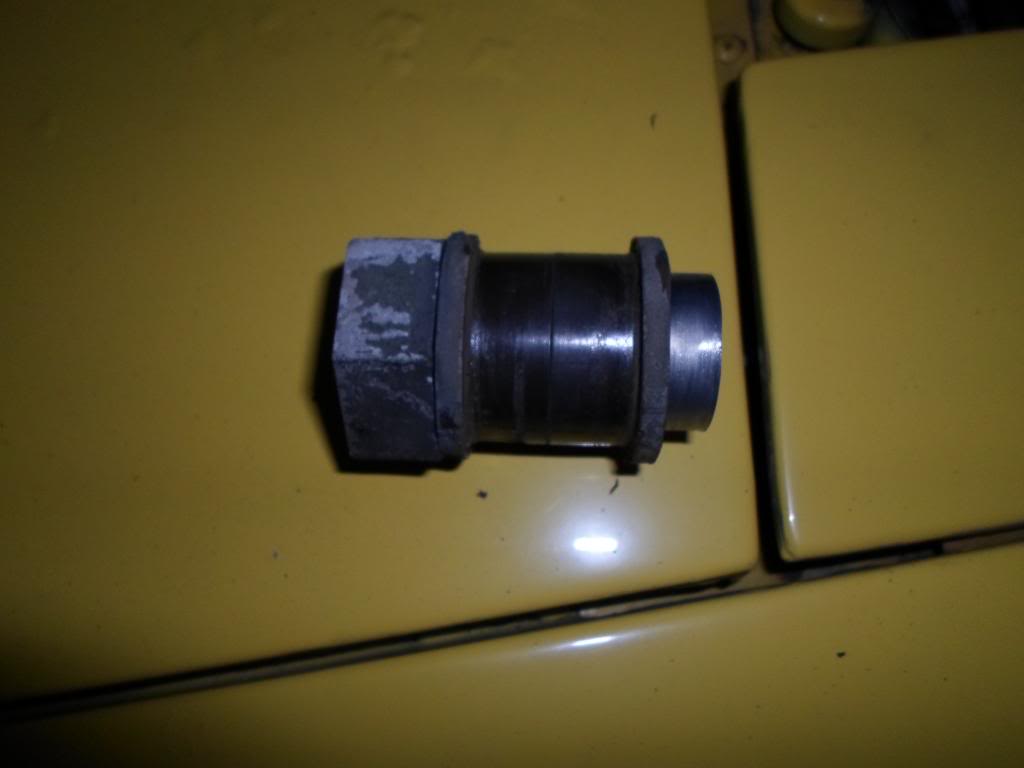

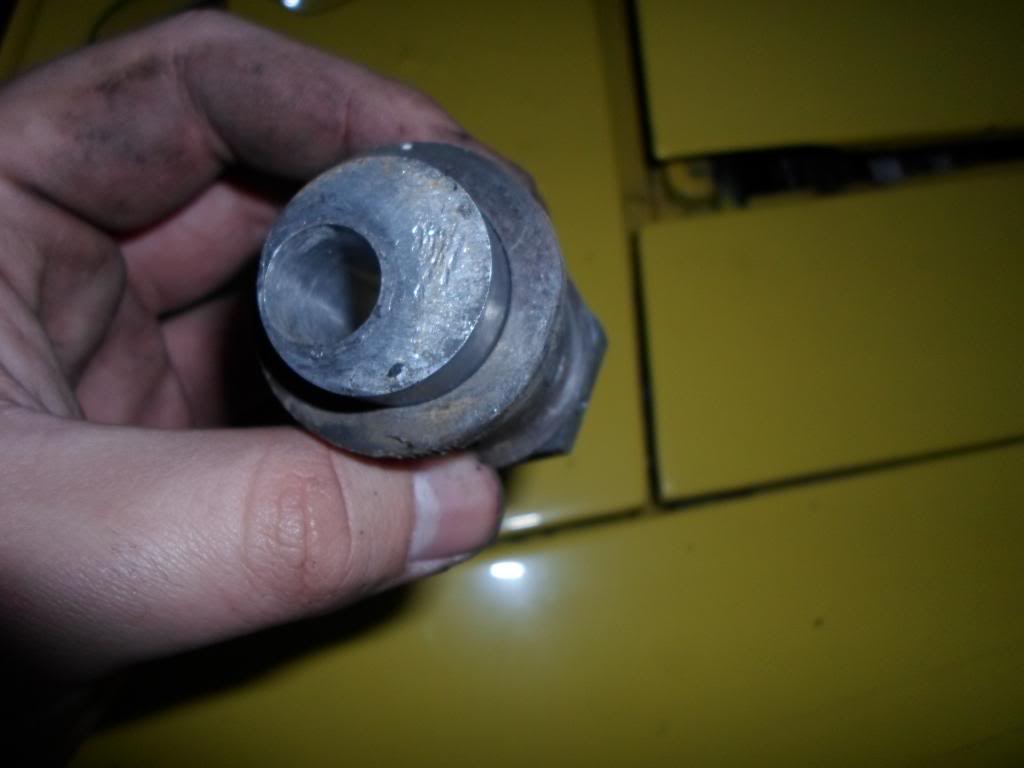
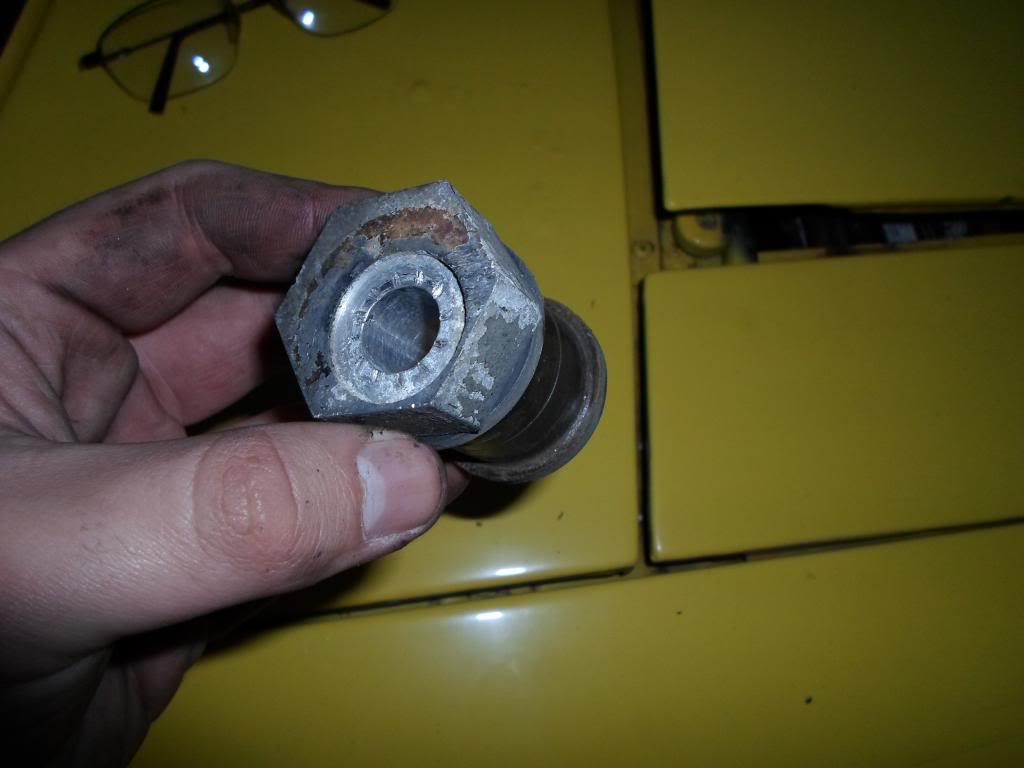
Both sides had these btw.. driver's side still has it.
----------------------------------------------
The car is now on all 4. :boink:
MOOG lifetime warranty? Hell yes. Didn't know it was a Duralast brand though. :headscratch:
The bad...
Yeaup.. positive camber.
hgeez:Then I remember that the old broken lower arm had this installed instead of a bushing.. any idea what these are for? Camber adjustment? *crosses fingers*
Both sides had these btw.. driver's side still has it.
02-05-2013, 03:37 PM
#31
Registered User
Thread Starter
Join Date: Nov 2012
Location: Los Angeles, CA
Posts: 95
Suspension Work Chapter 2: Correcting the Camber Part 1
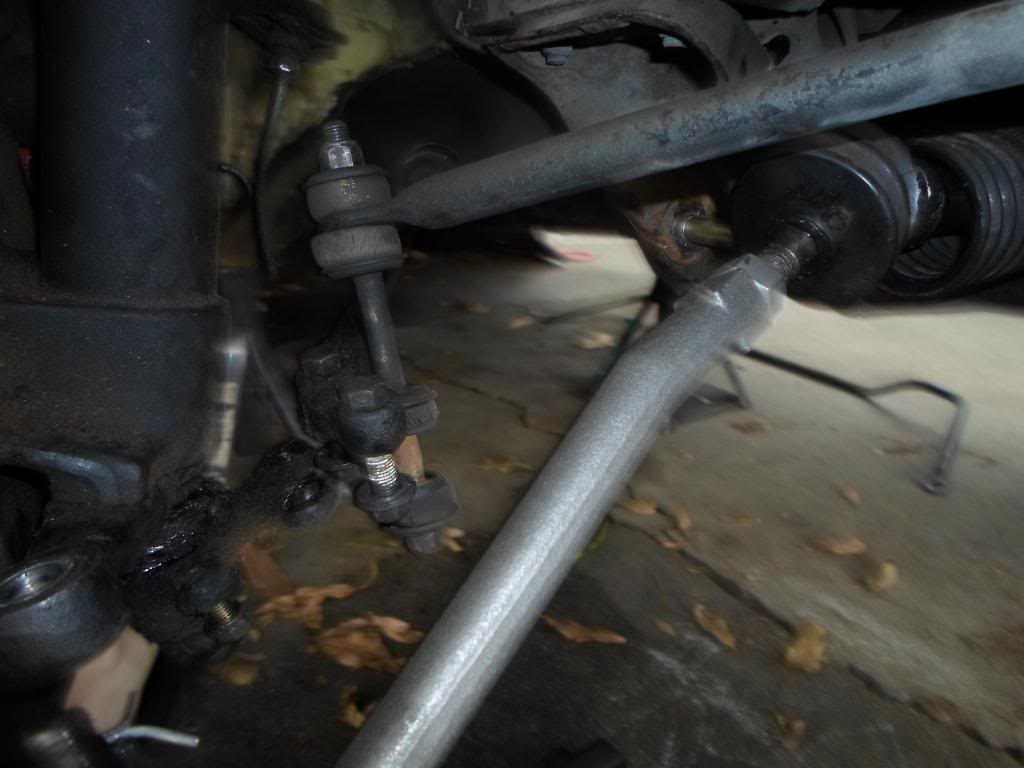
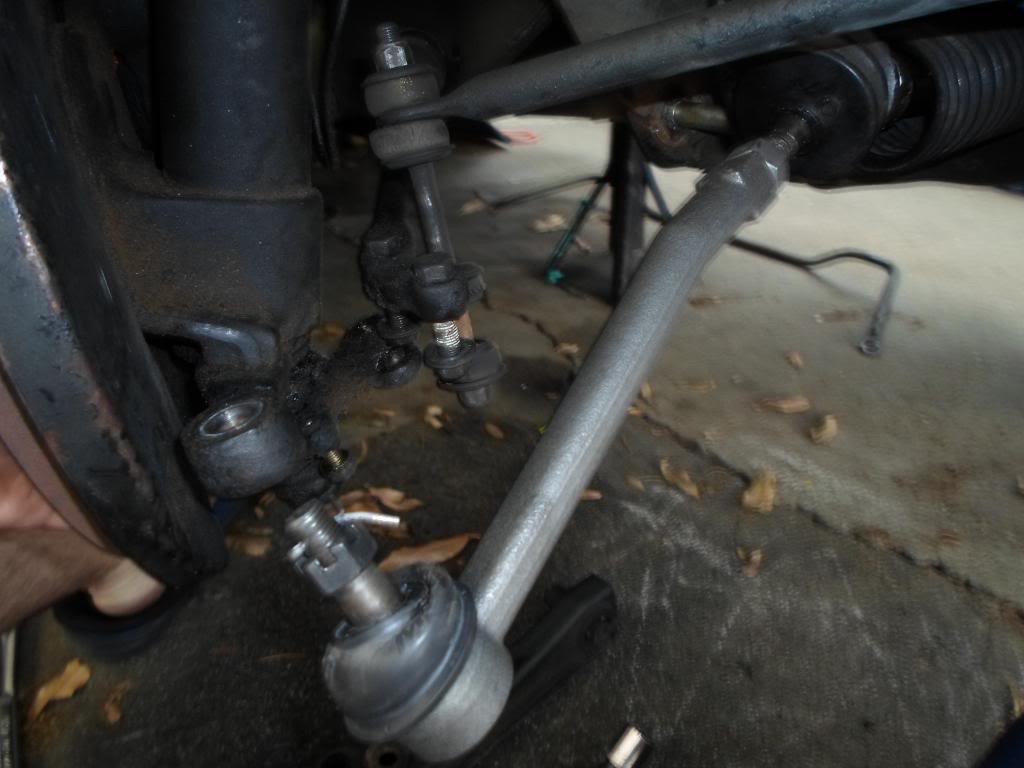
So today I decided to tackle the chore of removing to LCA so I can try and replace the busing with the camber adjuster..
Shoes? Ain't nobody got time fo dat!
It was actually ALOT easier to remove the LCA than I anticipated... thank lawd jesus!
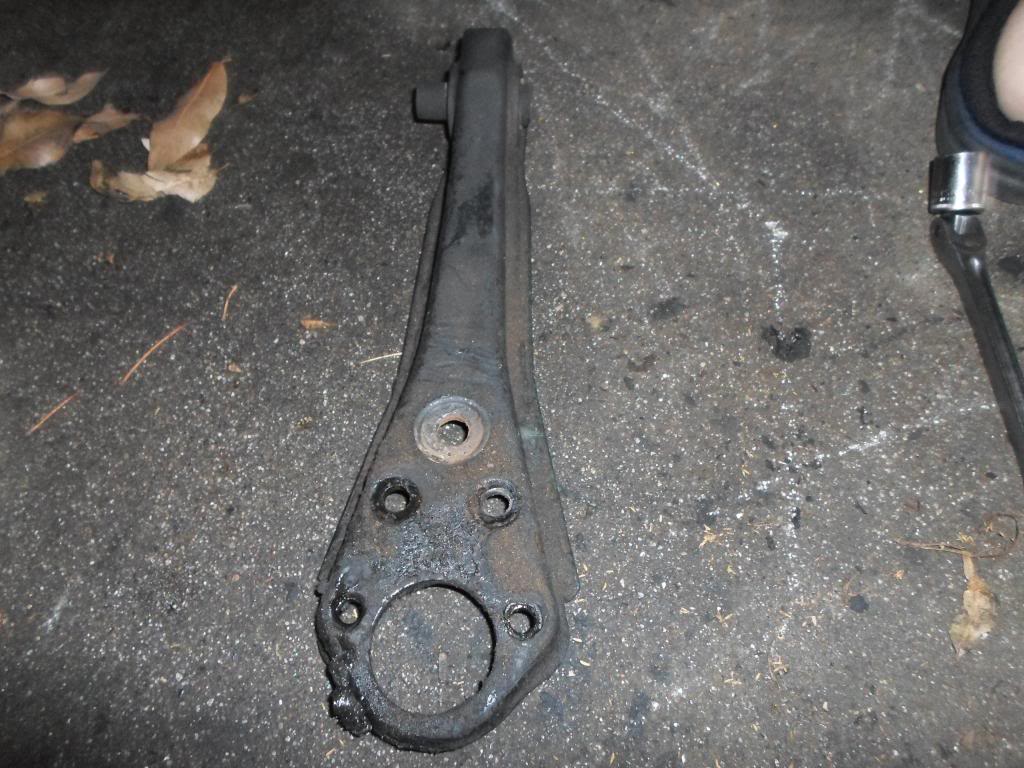
Aaaand the bushing I can't get out atm.
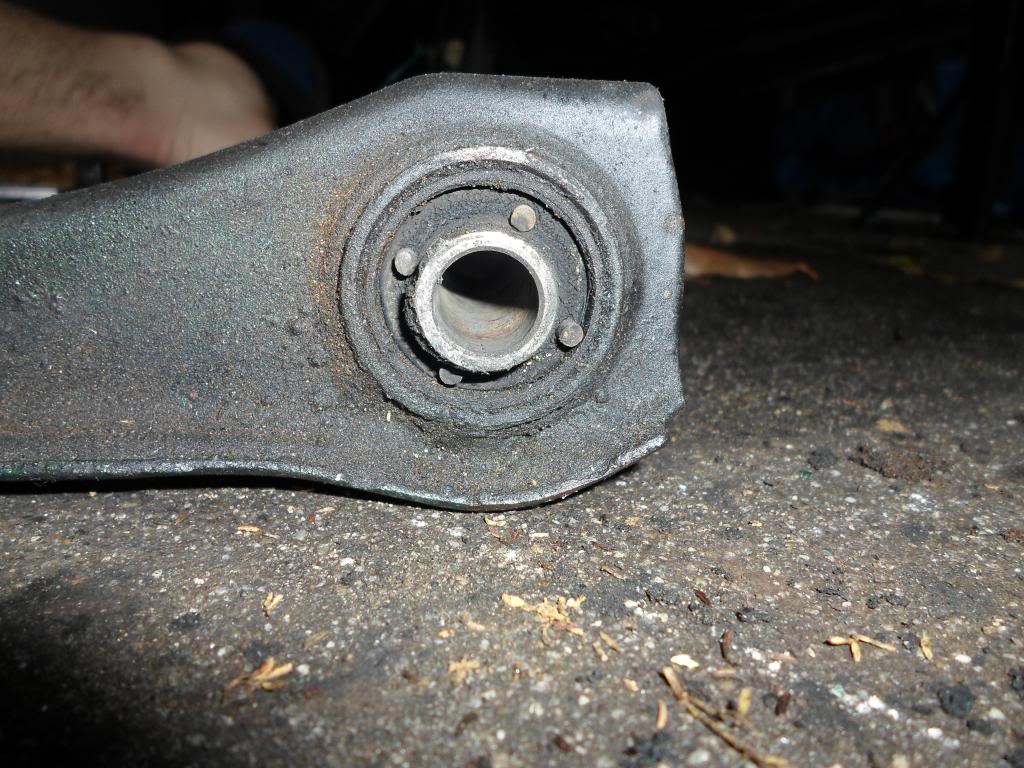
So the plan is to press it out tomorrow while I'm on my break or something at work, might even throw it in the parts washer.. thus saving me a couple of bucks from buying a mini torch. You know what they say, every saved dollar counts.
So today I decided to tackle the chore of removing to LCA so I can try and replace the busing with the camber adjuster..
Shoes? Ain't nobody got time fo dat!
It was actually ALOT easier to remove the LCA than I anticipated... thank lawd jesus!
Aaaand the bushing I can't get out atm.
So the plan is to press it out tomorrow while I'm on my break or something at work, might even throw it in the parts washer.. thus saving me a couple of bucks from buying a mini torch. You know what they say, every saved dollar counts.
02-11-2013, 03:09 PM
#34
Registered User
Thread Starter
Join Date: Nov 2012
Location: Los Angeles, CA
Posts: 95
Finally an update!
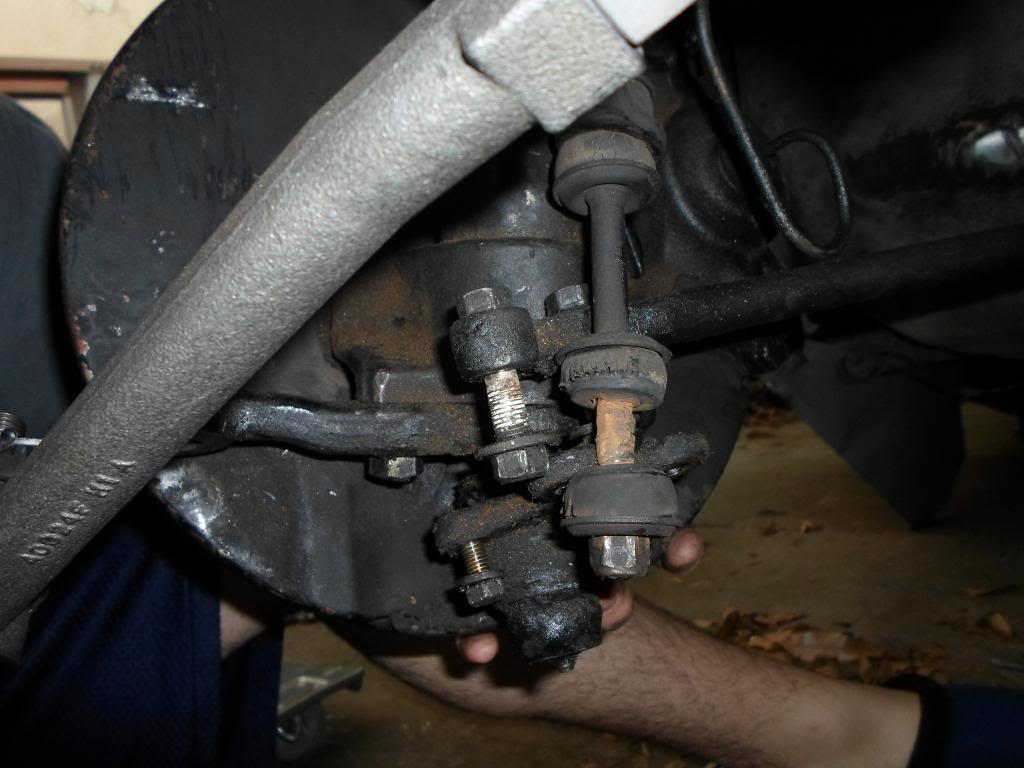
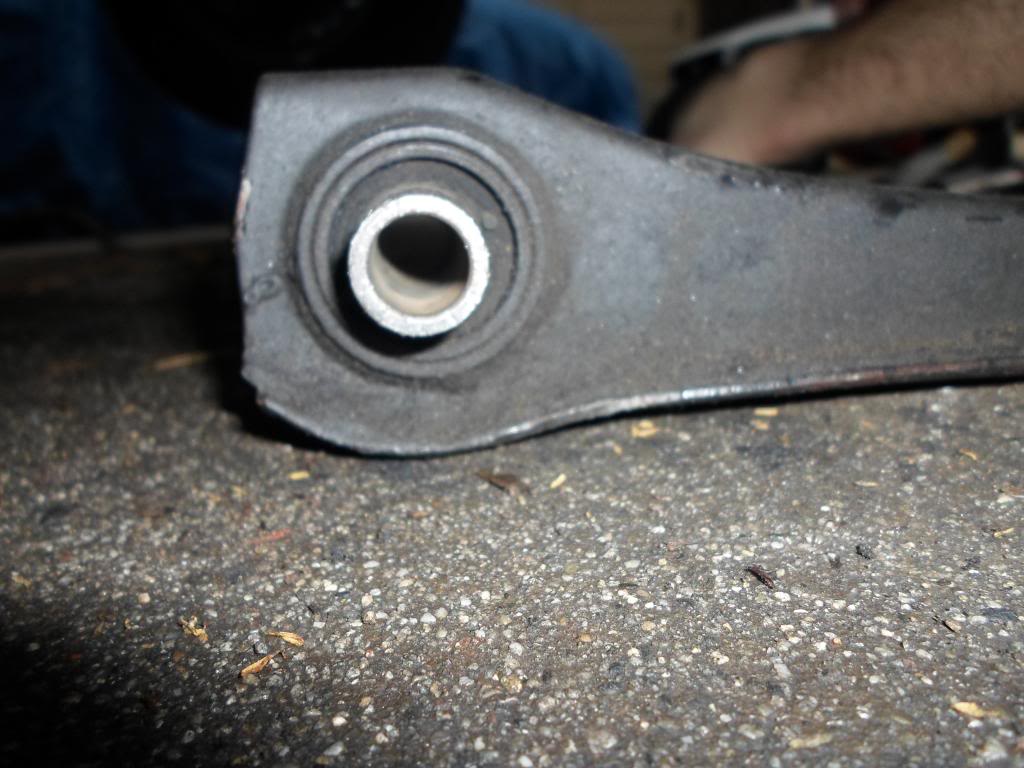
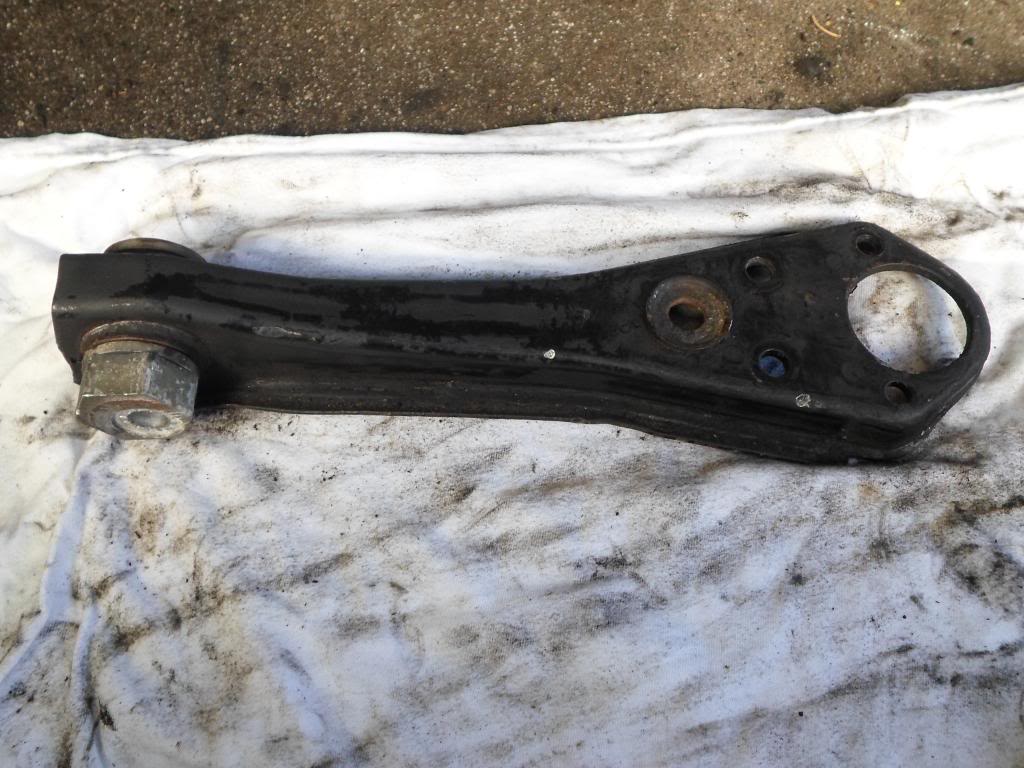
Finally got the old bushing pressed out and the camber adjuster set in.
And then this happened..
Let's see the before and after for a full effect shall we?
Before..

After..
Seems much better imo, although it may need some fine tuning from a align shop.
Next up is getting a fender... since someone hasn't gotten back to me on that.
Finally got the old bushing pressed out and the camber adjuster set in.
And then this happened..
Let's see the before and after for a full effect shall we?
Before..
After..
Seems much better imo, although it may need some fine tuning from a align shop.
Next up is getting a fender... since someone hasn't gotten back to me on that.
02-12-2013, 03:14 PM
#35
Registered User
Thread Starter
Join Date: Nov 2012
Location: Los Angeles, CA
Posts: 95
Finally was able to upload a damn video of this thing.
Have no idea why the audio is so crappy, kind of reminds me of going into adrenaline mode on some old call of duty game... or was it medal of honor?
Video does no justice on how cool the damn engine sounds in real life!
Have no idea why the audio is so crappy, kind of reminds me of going into adrenaline mode on some old call of duty game... or was it medal of honor?
Video does no justice on how cool the damn engine sounds in real life!
02-24-2013, 07:45 PM
#36
Registered User
Thread Starter
Join Date: Nov 2012
Location: Los Angeles, CA
Posts: 95
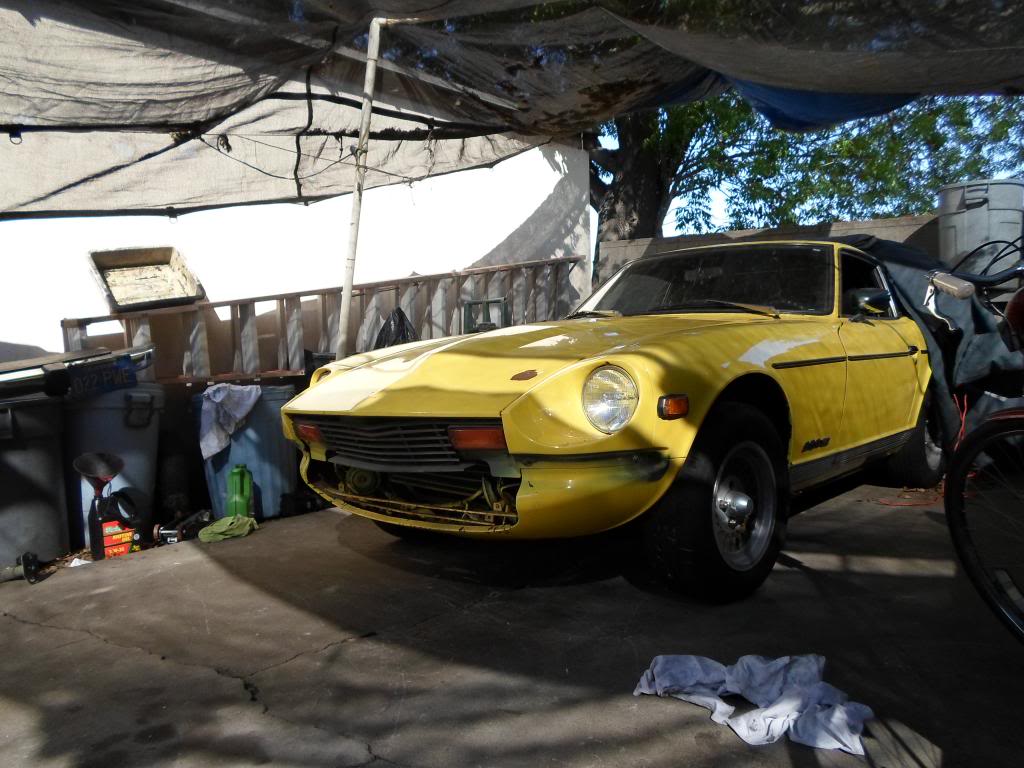
Finally had some time for the old girl today.
It was filthy before, so I took a screwdriver to loosen the stuck on dirt and simply brushed it away with a hand broom. I should've taken a before picture..
Some close ups.
A bolt decided to snap somewhere around here.
Damage report
Yes... that's a neon light. lol

Managed to slap on the fender but sun went down before I had time to take some pictures.. so I'll take some next time I have time.
It was filthy before, so I took a screwdriver to loosen the stuck on dirt and simply brushed it away with a hand broom. I should've taken a before picture..
Some close ups.
A bolt decided to snap somewhere around here.
Damage report
Yes... that's a neon light. lol
Managed to slap on the fender but sun went down before I had time to take some pictures.. so I'll take some next time I have time.
02-25-2013, 11:01 AM
#39
Registered User
Join Date: Jun 2012
Posts: 49
 02-25-2013, 09:49 PM
#41
Registered User
Thread Starter
Join Date: Nov 2012
Location: Los Angeles, CA
Posts: 95
How she sits now.. nice and purrty(er)
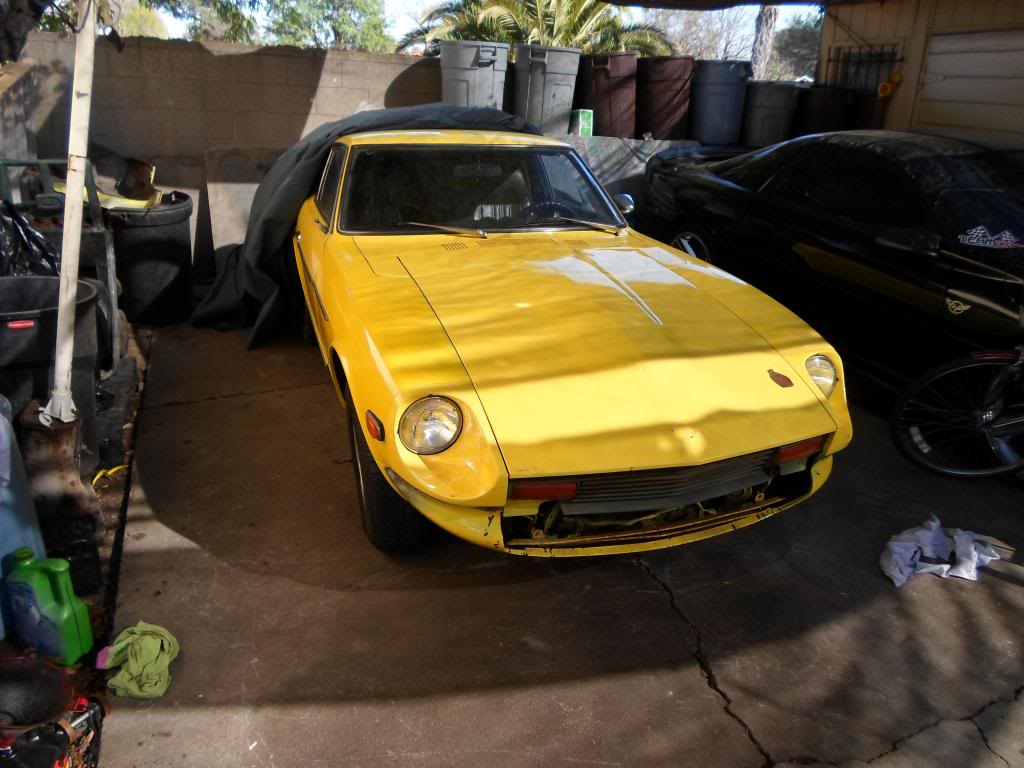
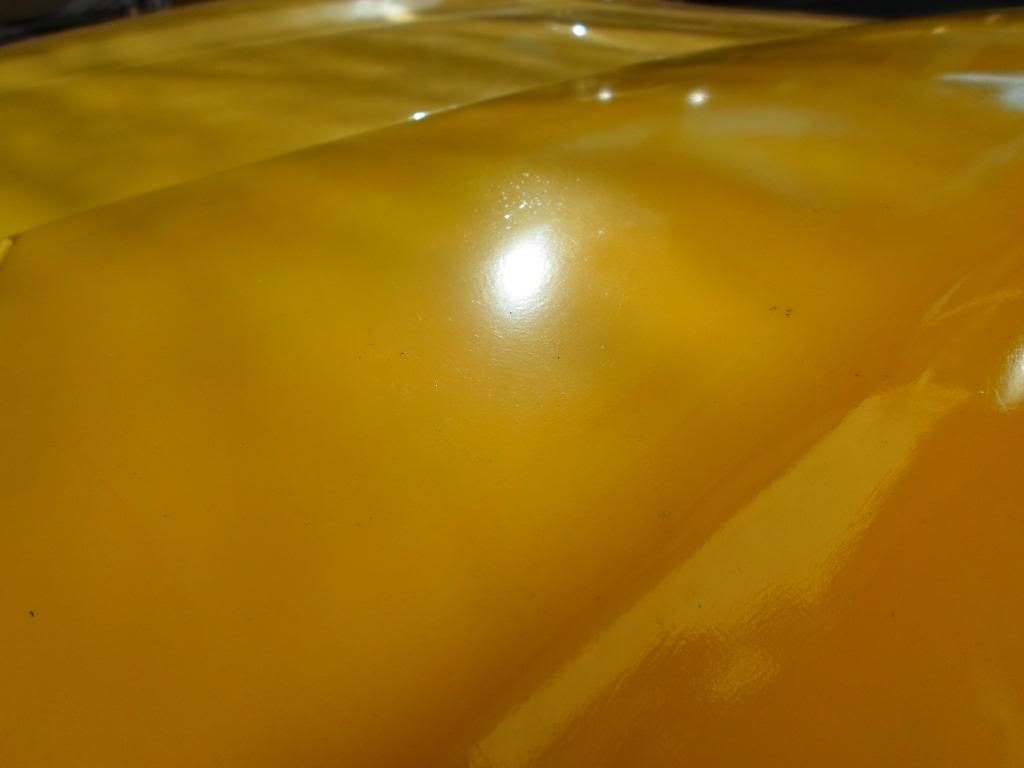
The fender I picked up was gray in color, I wasn't really wanting to painted but my brother suggested I should paint it.. so I did.
Not too shabby. Not proffessional quality since you can see all the sanding scratches and some filler primer cracking up close.. but it's good enough for now imo.
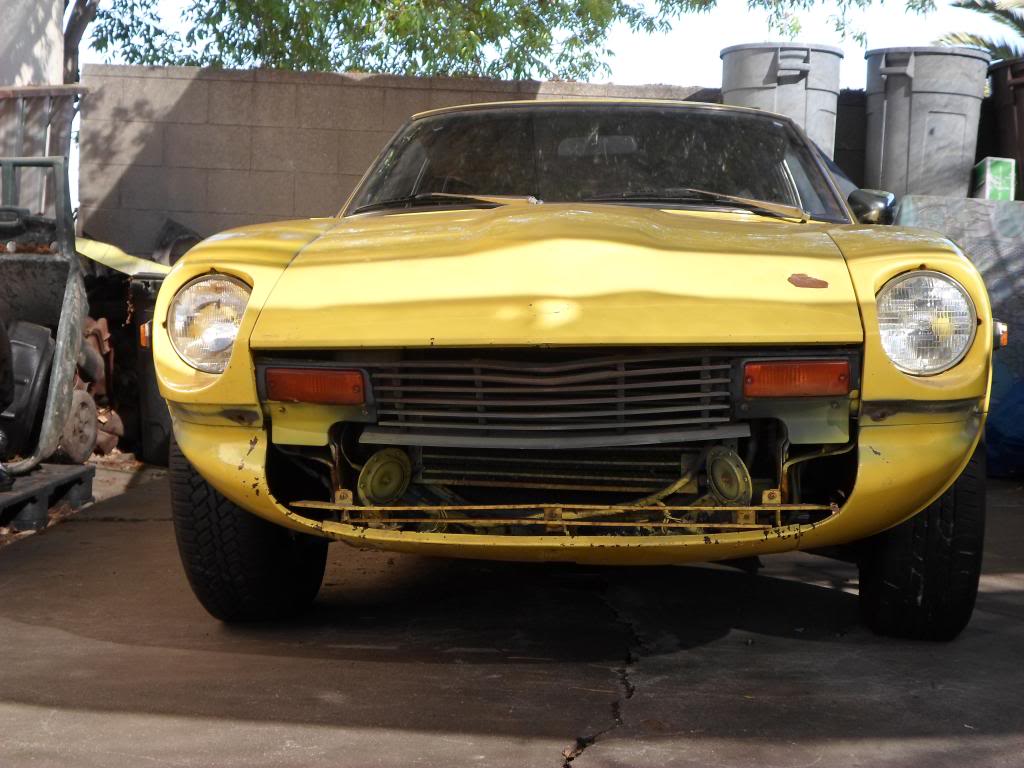
Also trying to decide on what to do with the front end.. Here are my possible options.
1) Buy a 280z front air dam and call it a day.
2) Buy a 280z front air damn AND a 240z front bumper.
3) Buy a 240z front bumper, 240z front air dam AND 240z front turn signals and make it work.
4) same as #2 but with an added 240z rear bumper.
5) same as #3 but with an added 240z bumper.
6) Leave it as is.
Included in the first 3 options is the obvious removal of the rear bumper also.
The fender I picked up was gray in color, I wasn't really wanting to painted but my brother suggested I should paint it.. so I did.
Not too shabby. Not proffessional quality since you can see all the sanding scratches and some filler primer cracking up close.. but it's good enough for now imo.
Also trying to decide on what to do with the front end.. Here are my possible options.
1) Buy a 280z front air dam and call it a day.
2) Buy a 280z front air damn AND a 240z front bumper.
3) Buy a 240z front bumper, 240z front air dam AND 240z front turn signals and make it work.
4) same as #2 but with an added 240z rear bumper.
5) same as #3 but with an added 240z bumper.
6) Leave it as is.
Included in the first 3 options is the obvious removal of the rear bumper also.
 02-28-2013, 05:04 PM
#44
Registered User
Thread Starter
Join Date: Nov 2012
Location: Los Angeles, CA
Posts: 95
Thanks!
So... ran into some problems.
I can't figure out how the quick release is suppose to latch onto the hub adapter.. and it's pissing me off!
Quick release
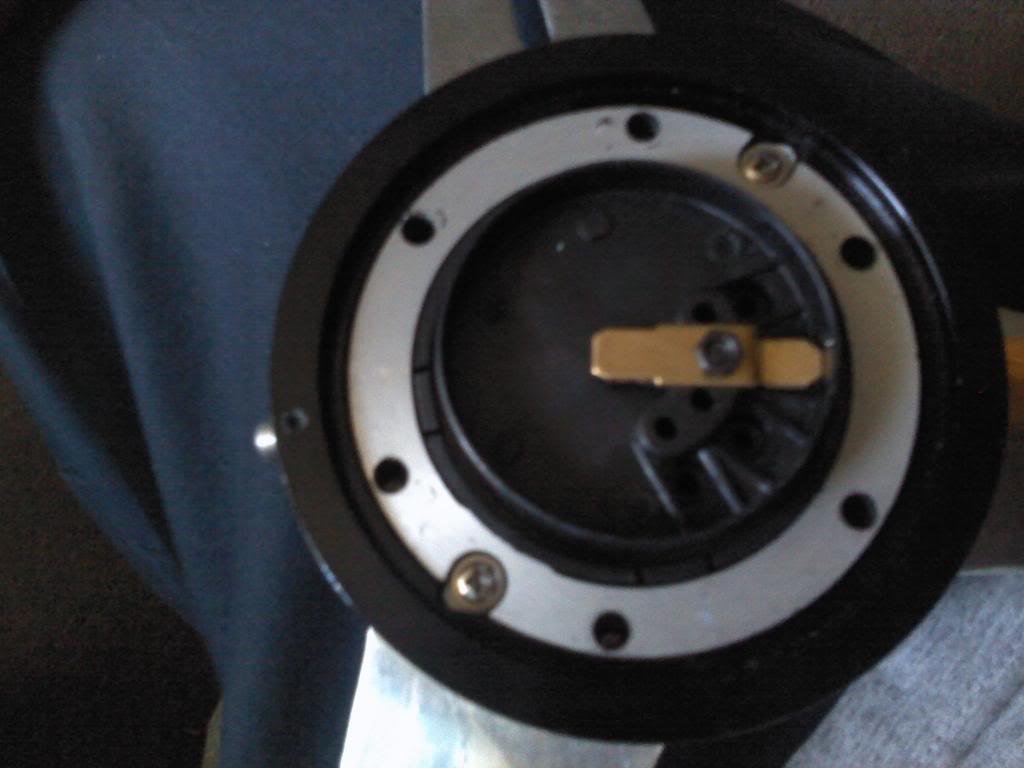
Hub adapter
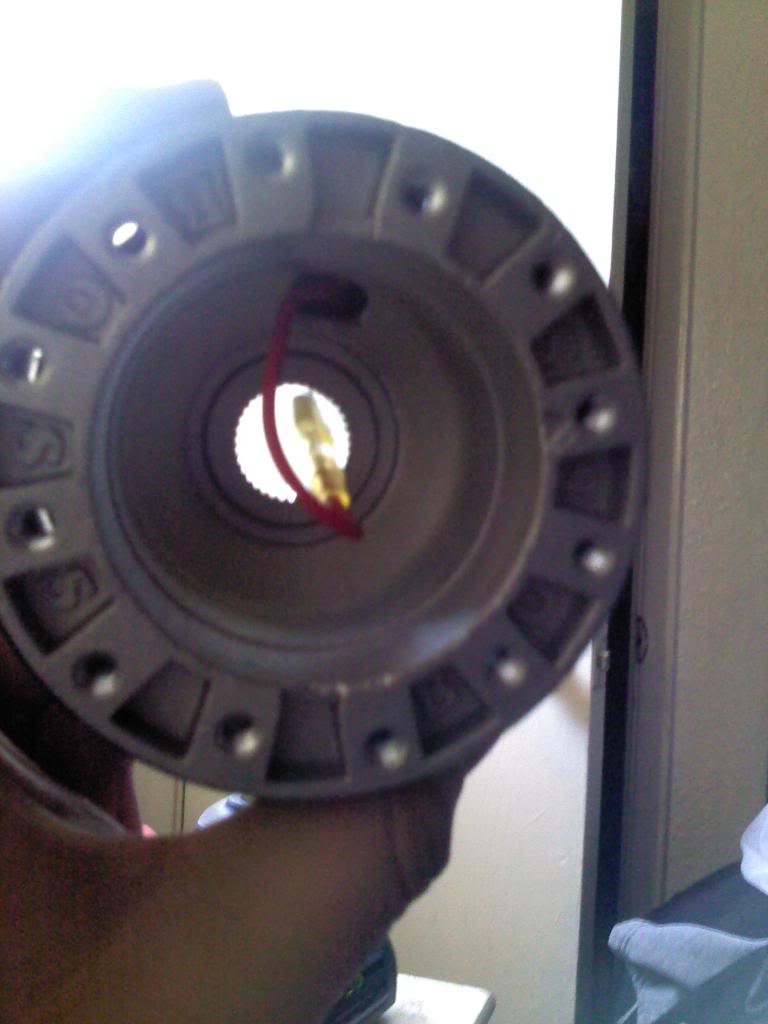
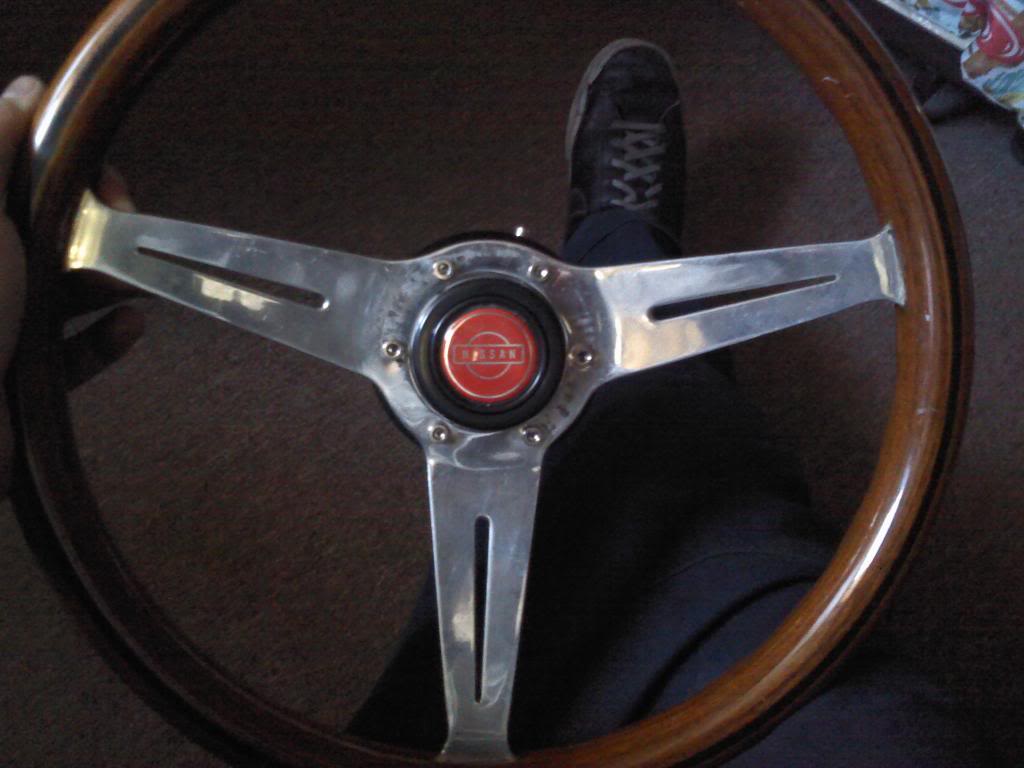
Steering wheel with a nifty horn button
There is a ring for the hub adapter btw.. but I'm assuming it's for when you don't have a quick release.
So I'm asking in hopes for useful knowledge... HOW does the quick release attach to the hub adapter? I have a feeling this quick release won't work for it or something..hgeez:
So... ran into some problems.
I can't figure out how the quick release is suppose to latch onto the hub adapter.. and it's pissing me off!
Quick release
Hub adapter
Steering wheel with a nifty horn button
There is a ring for the hub adapter btw.. but I'm assuming it's for when you don't have a quick release.
So I'm asking in hopes for useful knowledge... HOW does the quick release attach to the hub adapter? I have a feeling this quick release won't work for it or something..
hgeez:
03-18-2013, 04:29 PM
#45
Registered User
Thread Starter
Join Date: Nov 2012
Location: Los Angeles, CA
Posts: 95
Update!
So after my little brother got managed to get himself into a car accident (everyone is just fine thank god) the Expedition is now out of order.. which means we need another car... which means there's now a flame has started under my *** to get the Z road worthy ASAP.
So today I went to the dmv and paid the transfer & tag fees, after that I took it straight to the alignment shop.. boy was that a buzz kill. Here are the wacky specs, I'll only be putting those to cut to the chase.
Driver's front wheel:
Camber= -1.8
Passenger's front wheel:
Camber= +2.2
Managed to adjust the toe near 0, caster wasn't adjustable. The rear wheels have no adjustment, but the driver's rear seems to have some toe in and the passenger some toe out..
So as of right now I'm at a crossroad..
__________________
 03-20-2013, 09:59 AM
#47
Registered User
Thread Starter
Join Date: Nov 2012
Location: Los Angeles, CA
Posts: 95
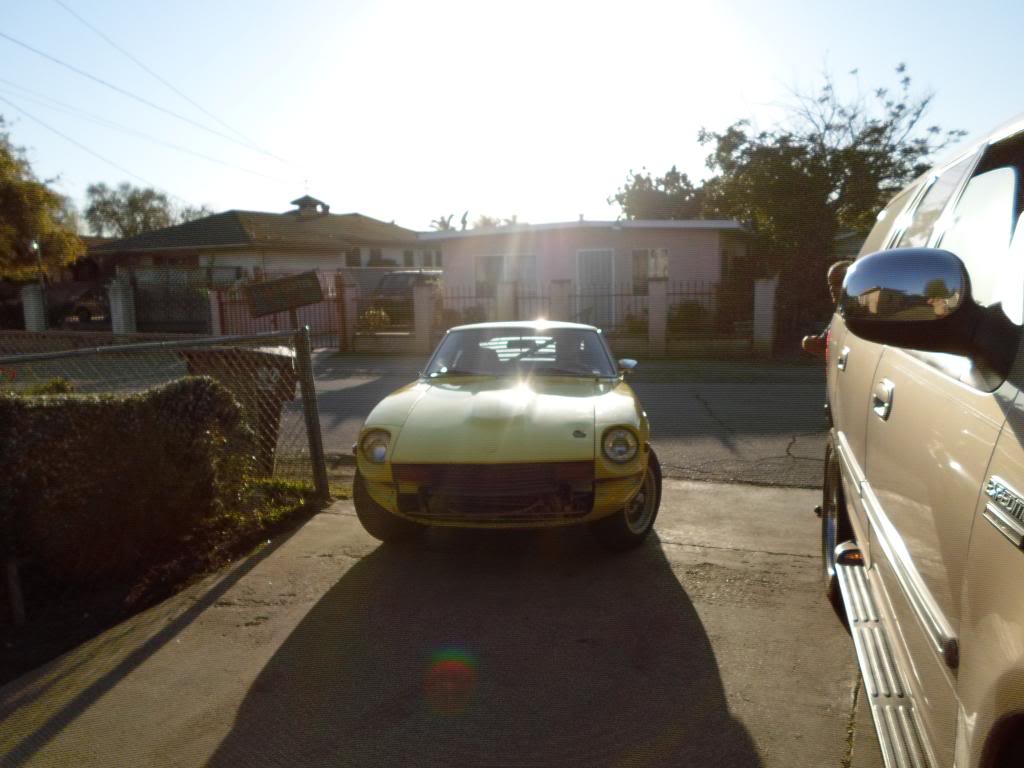
Thanks, good thing the Expedition wasn't MY DD per say, it was my moms DD.. my DD is the white car (pictured above somewhere). Now we have to get her a new car.
---------------------------------------------------------------------------
Update!
Went in for a smog check yesterday, needles to say, it passed with flying colors.
So after te excitement, I finally installed the ubber-cool aftermarket steering wheel... which I don't have pictures of atm.
---------------------------------------------------------------------------
Update!
Went in for a smog check yesterday, needles to say, it passed with flying colors.
So after te excitement, I finally installed the ubber-cool aftermarket steering wheel... which I don't have pictures of atm.
 04-05-2013, 12:23 PM
#49
Registered User
Thread Starter
Join Date: Nov 2012
Location: Los Angeles, CA
Posts: 95
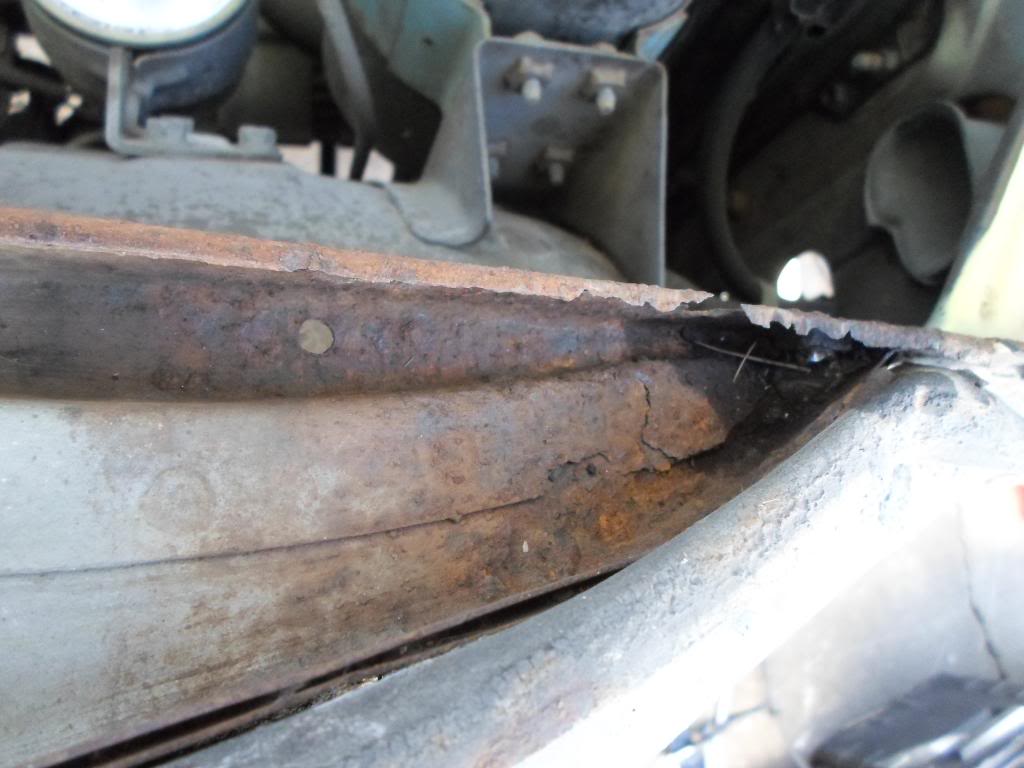
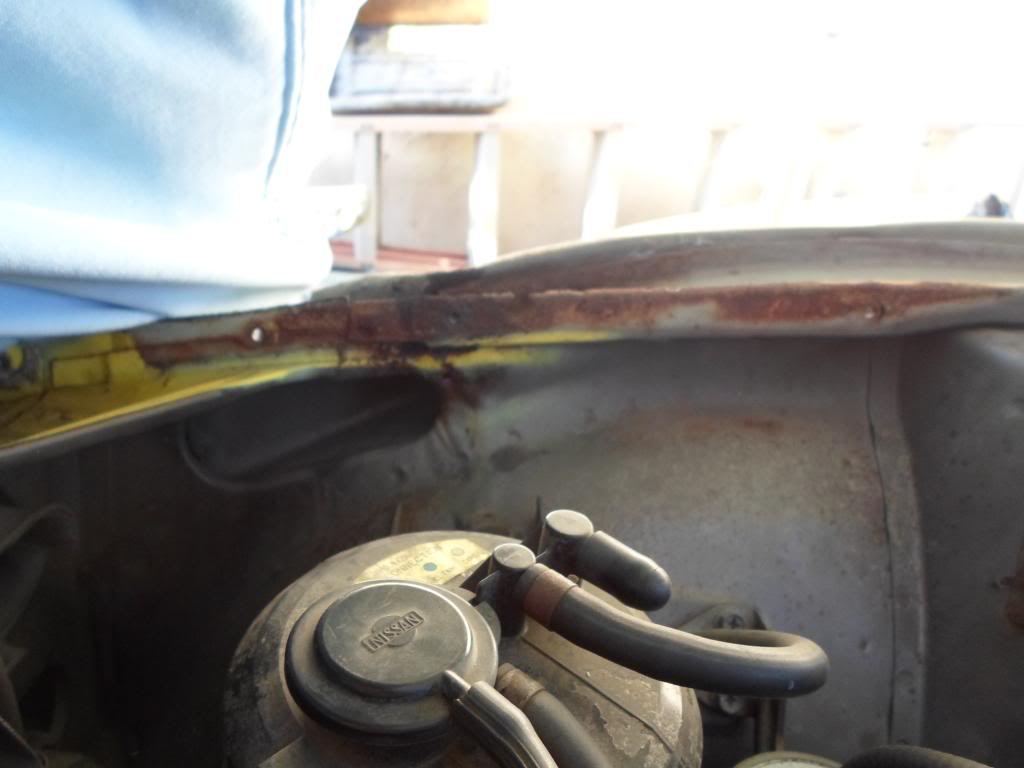
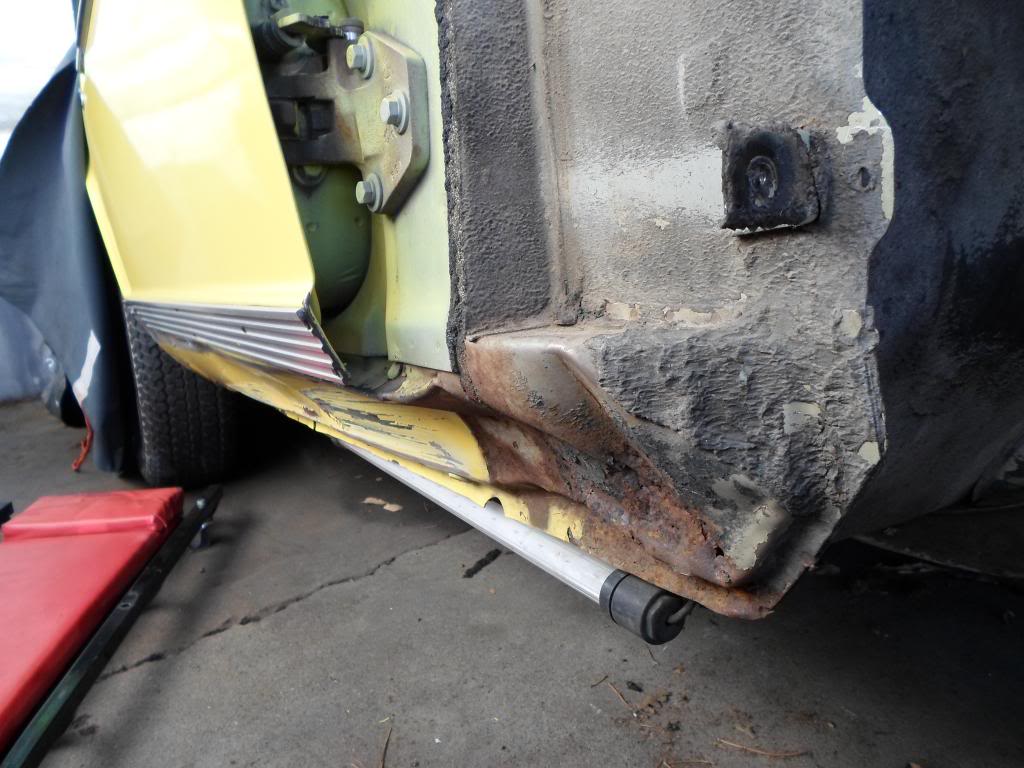
Only update so far is that it's now 100% road legal, and I finally cleaned the interior.. and found some rust under the driver's seat. 
I'm trying to find a reputable body shop around here so I can take it to them so I can get a clear diagnosis.. no luck so far.
I'm trying to find a reputable body shop around here so I can take it to them so I can get a clear diagnosis.. no luck so far.
04-05-2013, 12:58 PM
#50

How much is "some rust" ?
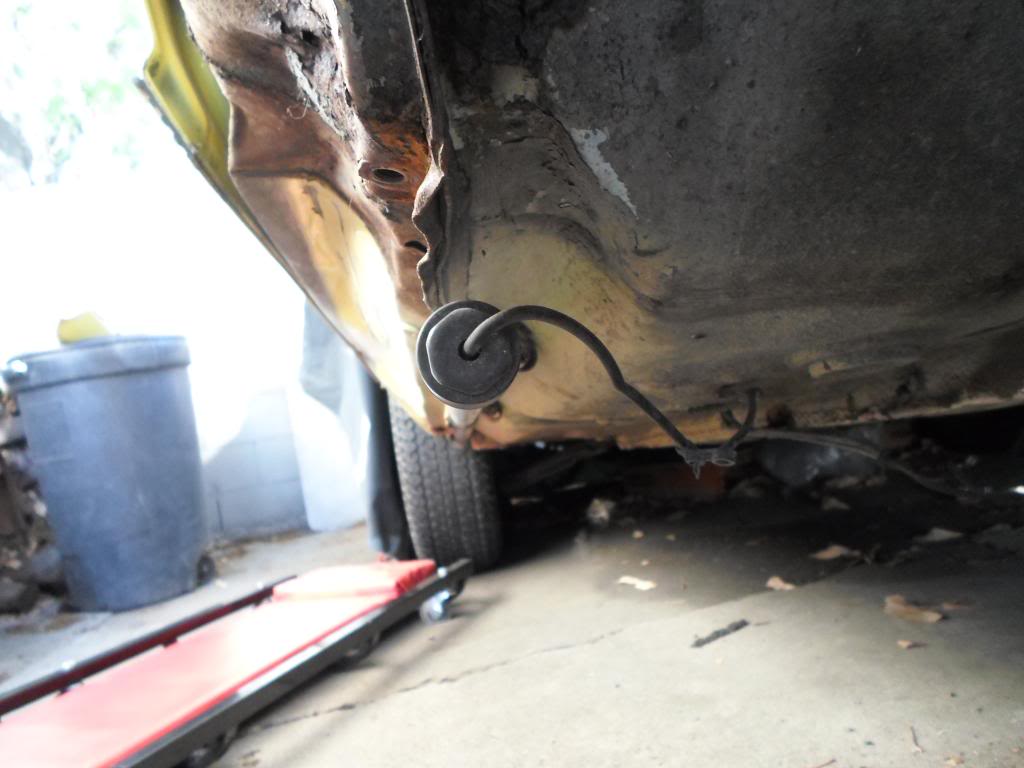
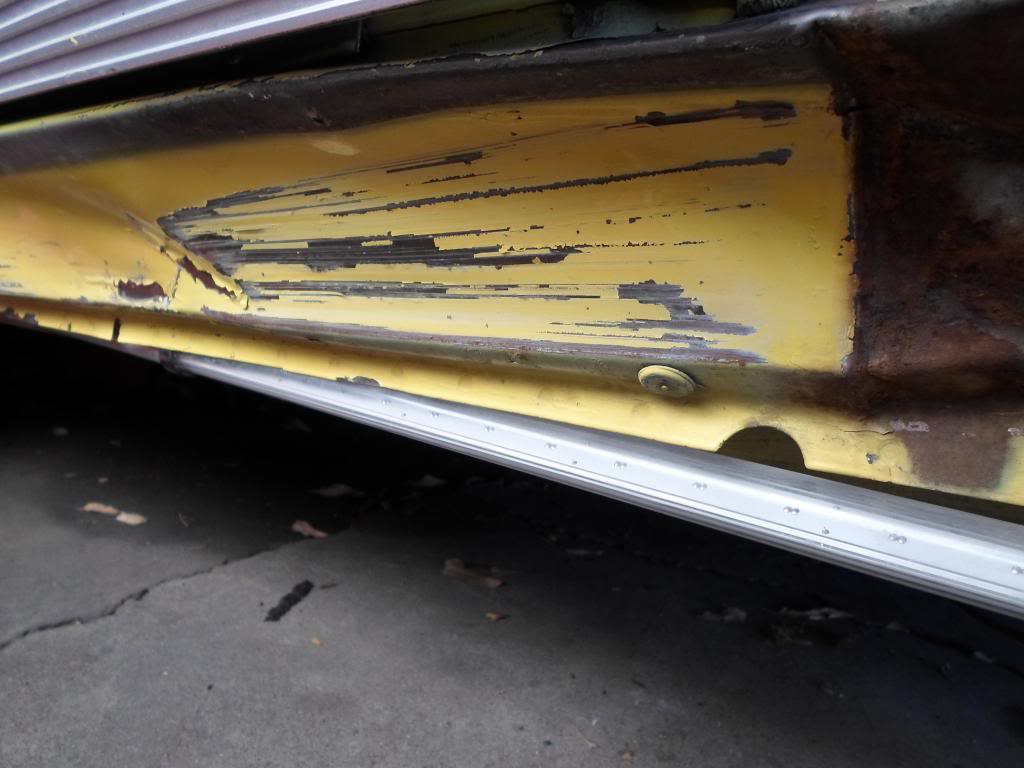
Holes? Bubbles? On both inside & outside of the floorboard?
I've done lots of rust repair. Once you dig in, you find more, and more, and more.
If it's just surface rust, or something a screwdriver can't poke through, then just wire brush it, clean it, and spray rust converter primer over it, then rubber rock guard. If there are holes, the area must be cut out, and a patch welded in, primered, painted, undercoated / sealed.
Most body shops will charge $200-$400 for a quick patch panel job.


